Covering the walls of your mobile home is a fantastic way to spruce up your living space. Whether you prefer a modern, rustic, or classic style, there’s an option for you. The choices are endless, from a simple paint job to a trendy shiplap. Let’s dive into some of the best ways to cover mobile home walls and transform your space into something you’ll love. Get ready to be inspired!
1. Paint
Painting your mobile home walls is like giving it a brand new dress – it’s the quickest and easiest way to change its look completely! Think of paint as your magic wand. You can turn a dull space into a vibrant room with just a few strokes.
Now, let’s talk paint types. For mobile homes, you want to go for high-quality, durable paint. Why? Because it lasts longer and looks better. Plus, it’s easier to clean. You can choose between glossy for a shiny finish or matte if you prefer a non-reflective surface.
Color choice is super fun! Want a cozy feel? Go for warm colors like reds or oranges. Want to make your space look bigger? Light colors like whites or pastels are your friends. And here’s a tip: test the colors first. Paint a small area and see how it looks at different times of the day.
2. Wallpaper
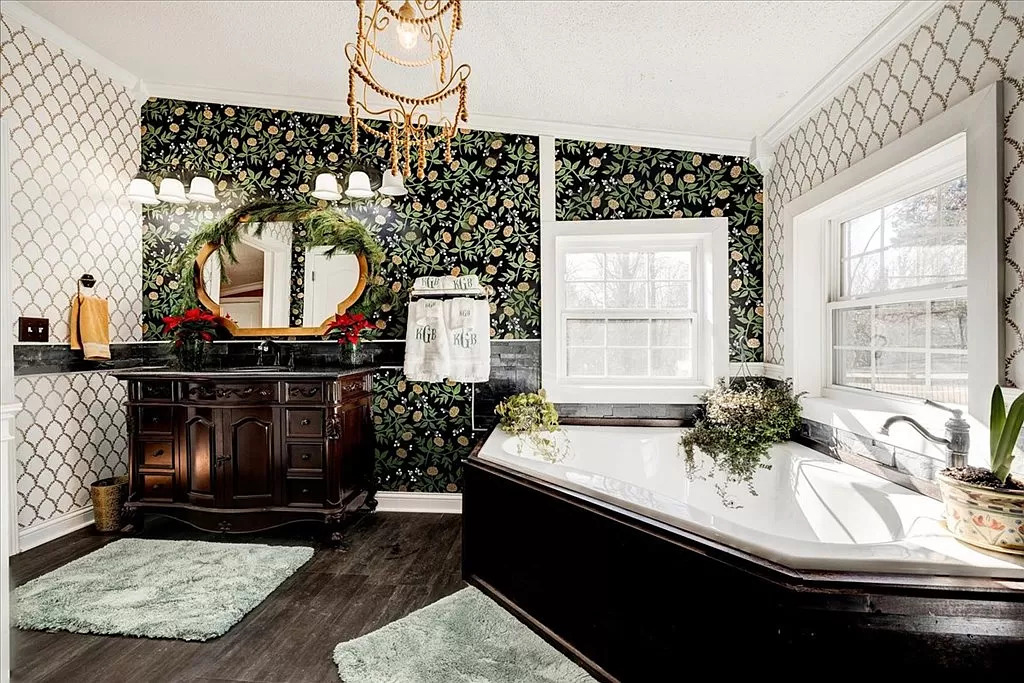
Wallpaper in a mobile home? Absolutely! It’s like adding a splash of personality to your walls. Wallpaper is not just about patterns and colors; it’s a statement about your style.
Let’s talk about the variety you get with wallpapers. Whether you love bold prints, subtle textures, or even something with a bit of shimmer, there’s a wallpaper out there for you. It’s like picking out an outfit for your home!
Installing wallpaper might seem tricky, but it’s actually quite doable. You’ll need basic tools like a brush, smoothing, and wallpaper adhesive. The key is to take it slow and steady. Measure your walls, cut the wallpaper to size, apply the adhesive, and smooth it onto the wall. It’s like putting a giant sticker on your wall!
3. Wainscoting
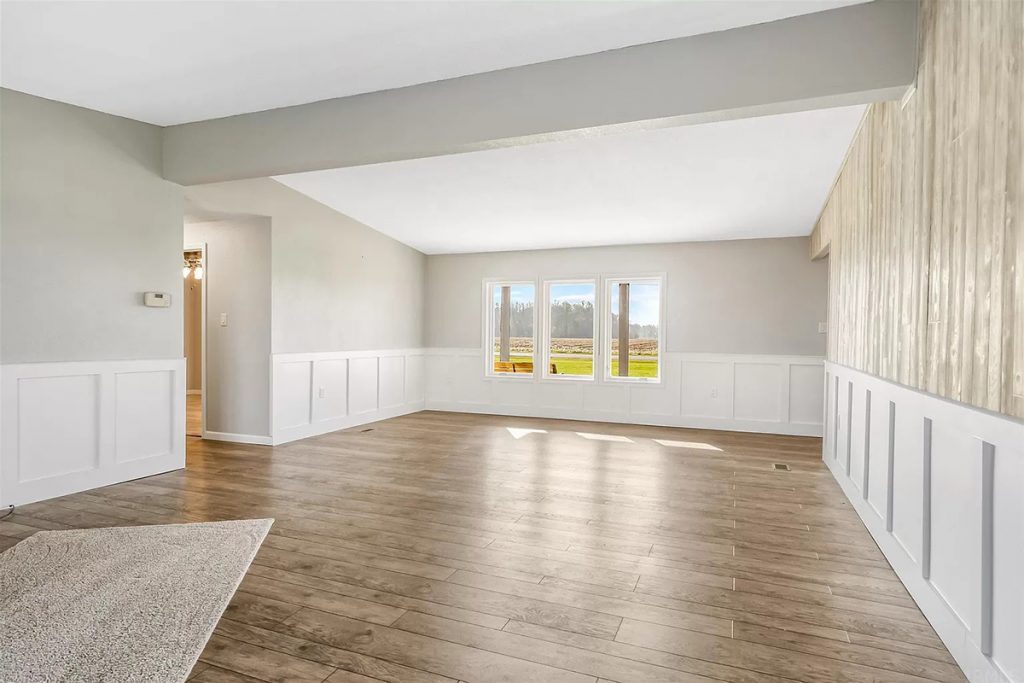
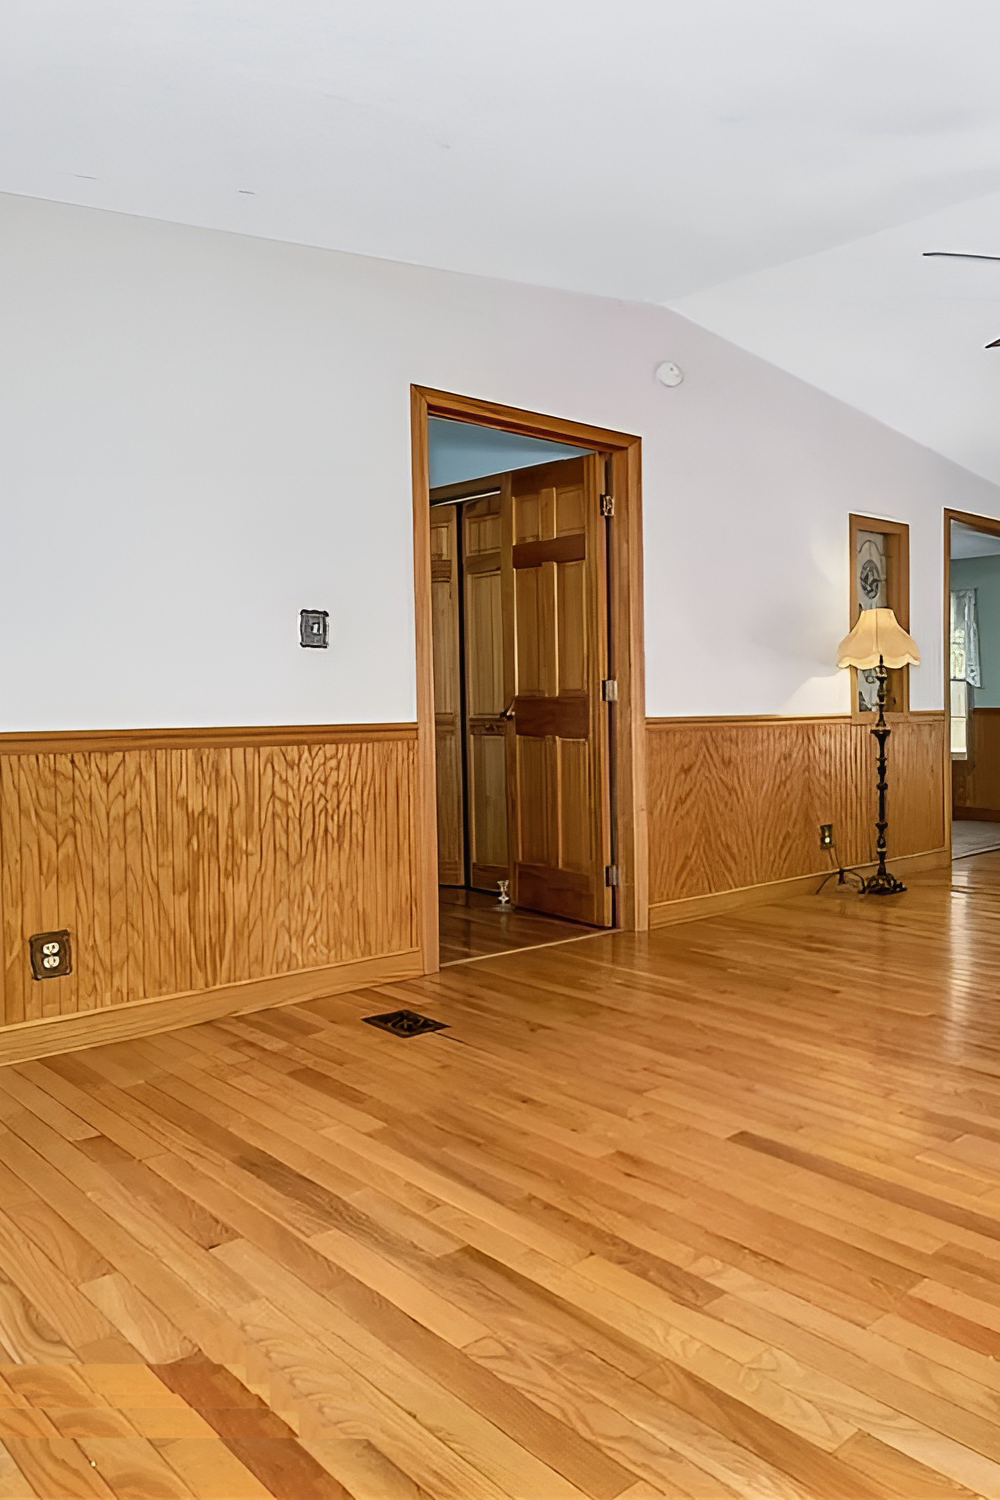
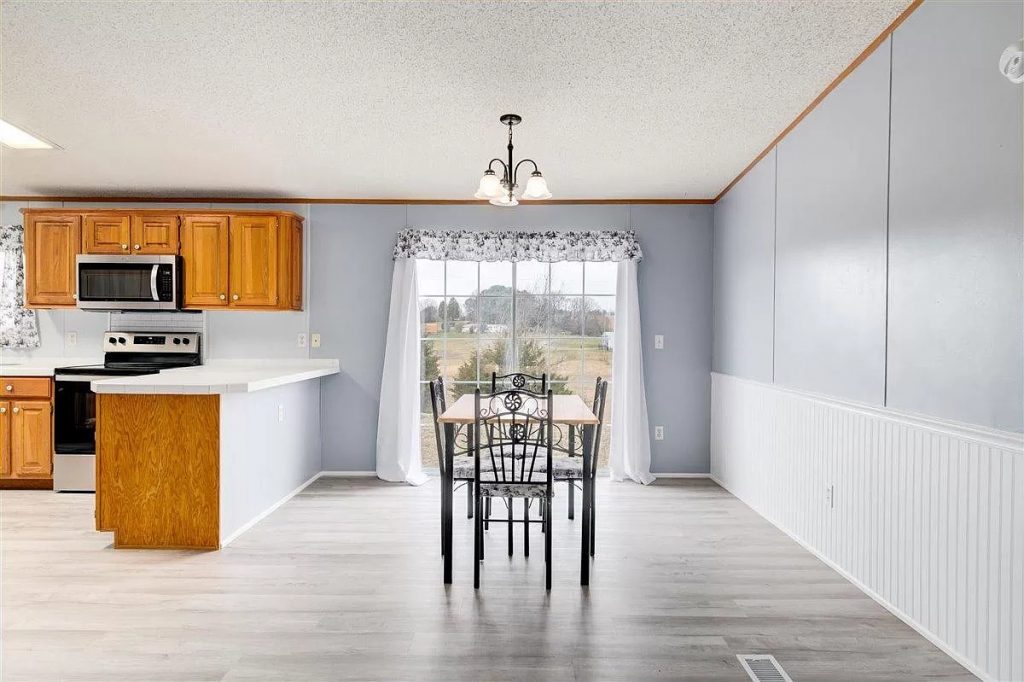
Wainscoting is like the classic jacket of wall coverings – it never goes out of style and always adds a touch of class. Think of wainscoting as a way to dress up your walls with architectural charm.
So, what exactly is wainscoting? It’s a type of paneling that goes on the lower part of your walls. It started way back as a wall covering for insulation, but now it’s all about style. You’ve got options like wood, MDF, or even PVC, which is great for bathrooms because it’s moisture-resistant.
Why choose wainscoting? It adds texture, depth, and character to any room. Plus, it’s a great way to protect your walls from scuffs and marks. It’s practical and stylish, all rolled into one.
Installing wainscoting might sound fancy, but it’s pretty straightforward. You’ll measure your wall, cut the panels to size, and then attach them, usually with nails or adhesive. It’s like building a puzzle – piece by piece, your room gets a whole new look.
Here’s the fun part – painting it! Go classic with crisp whites, or get creative with bold colors. Wainscoting is like a canvas waiting for your personal touch.
4. Tile
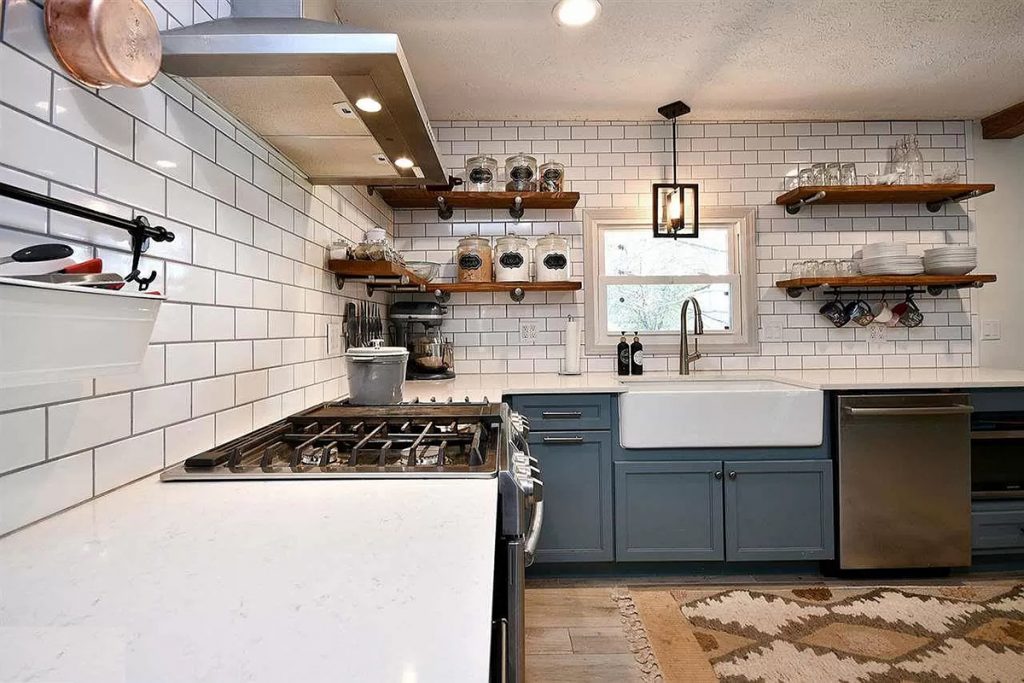
Tiles on your mobile home walls? Now that’s a game-changer! Tiles are not just for floors; they can bring walls to life, too. Imagine turning your kitchen or bathroom into a mini art gallery.
First off, tiles are super versatile. You’ve got ceramic, porcelain, glass – you name it. Each type brings its vibe. Ceramic tiles are classic and durable. Porcelain? Even tougher! And glass tiles? They add that shiny, modern touch.
Now, let’s talk about colors and patterns. From sleek subway tiles to colorful mosaics, the choices are endless. Want to make a statement? Go for bold patterns. Or, for a clean look, pick light-colored tiles. They can make your space feel bigger and brighter.
Installation is a bit like doing a craft project. You’ll need some tile adhesive and grout. Lay the tiles out first to check your pattern, then apply them to the wall, one by one. It’s kind of like making a big, beautiful puzzle.
5. Wood Paneling
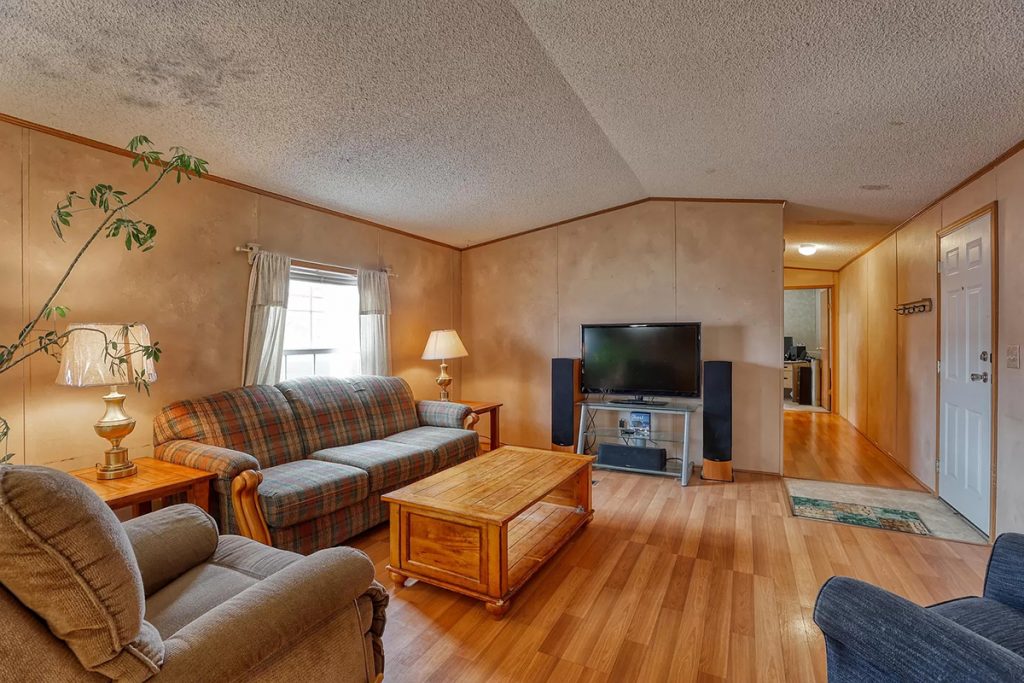
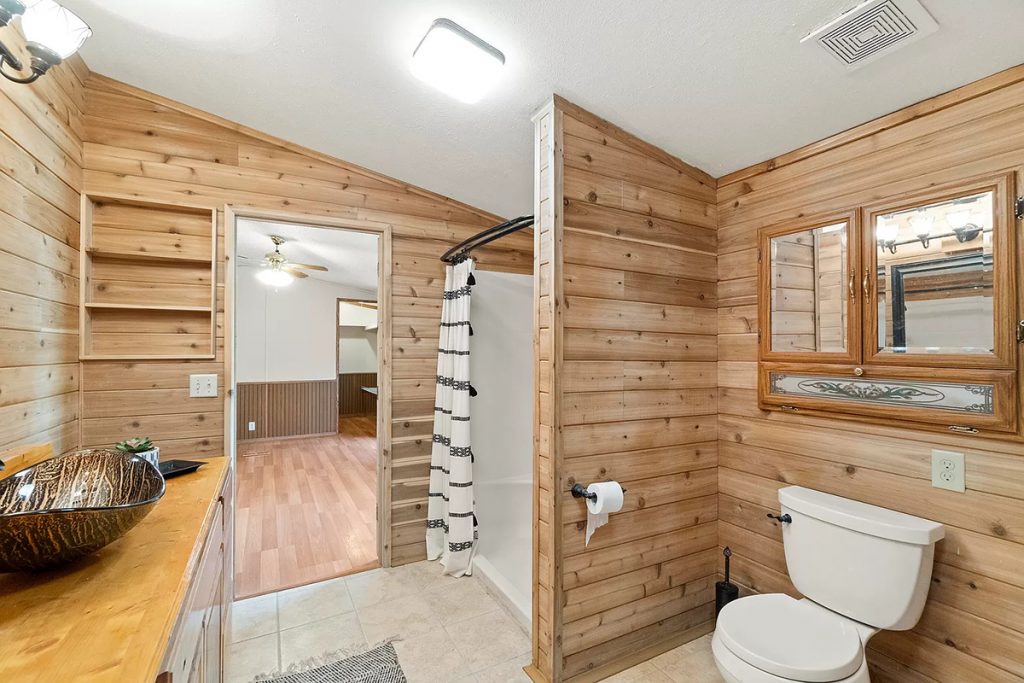
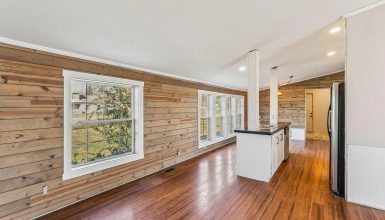
Wood paneling in your mobile home is like wrapping your walls in a cozy blanket of warmth and charm. It’s a classic look that brings a bit of the outdoors inside, creating a rustic, homey feel.
Now, let’s talk types. You’ve got options like real wood, which brings natural beauty and texture. Or, there’s engineered wood paneling, which is more budget-friendly and still looks great. Each type has its unique grain and color, making your walls a true piece of art.
Installing wood paneling is like putting together a big puzzle. You measure, cut, and then attach the panels to the walls, usually with nails or adhesive. It’s a bit of DIY fun, and the result is satisfying. Imagine transforming your space into a cozy cabin-like retreat!
And here’s something cool – you can paint or stain wood paneling. Want a modern twist? Go for a light paint color. Do you prefer a traditional look? A rich stain brings out the wood’s natural beauty.
One of the best things about wood paneling is how it changes the feel of a room. It adds warmth, texture, and a sense of nature. It’s perfect for creating a relaxing, welcoming space.
6. Shiplap
Shiplap in your mobile home is like giving your walls a trendy makeover! It’s all the rage now, thanks to its clean, crisp lines that add a fresh, modern touch to any space.
So, what’s shiplap? It’s a type of wooden board usually used for building sheds and barns. But when you put it on your walls, it creates this cool, farmhouse vibe that’s both rustic and chic.
Installing shiplap is a bit like stacking slices of bread. The boards overlap slightly, creating these neat lines across your wall. You can nail them up horizontally or vertically, depending on the look you’re going for. Horizontal lines make your room look wider, while vertical lines draw the eye up, making the ceiling seem higher.
The best part? You can paint shiplap any color you like! Keep it classic with white for that bright, airy feel. Or, go bold with a dark color for a dramatic look. It’s all about what feels right for your space.
Shiplap isn’t just pretty; it’s practical too. It adds a layer of insulation and can even hide imperfections on your walls. Plus, it’s pretty durable and easy to clean.
7. Fabric Panels
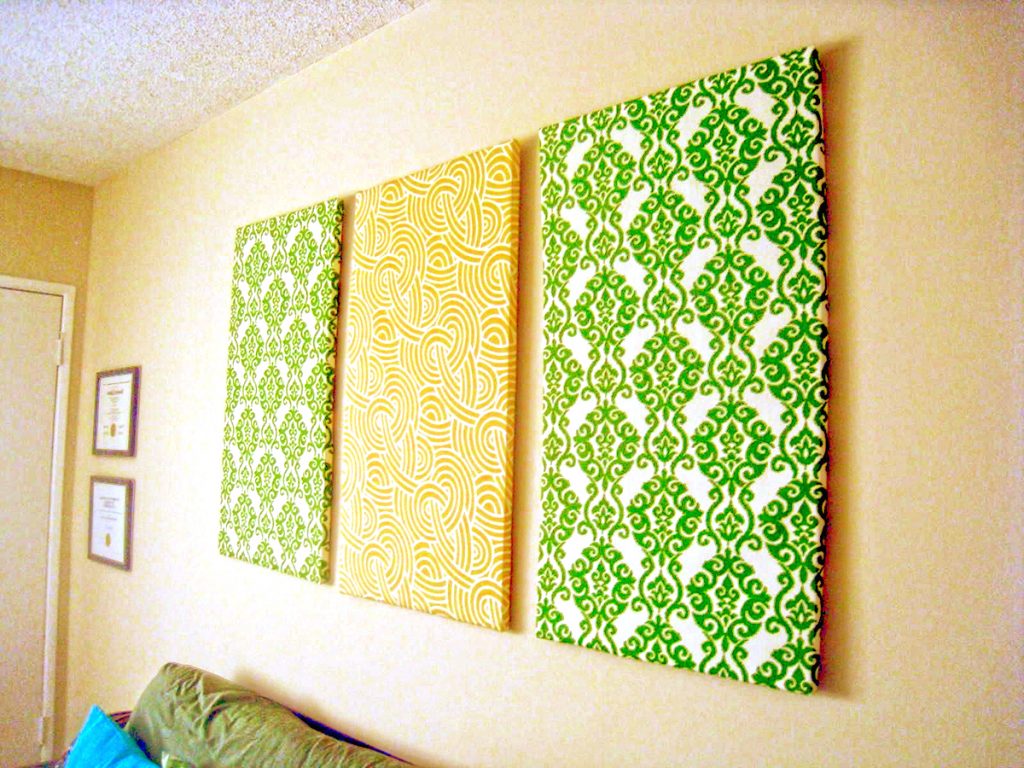
Fabric panels in a mobile home are like dressing your walls in your favorite outfit. They’re unique and personal and can change the mood of a room.
Imagine this: soft, textured fabric covering your walls. It’s not just about color; it’s about bringing a sense of warmth and depth to your space. You can choose from a world of fabrics – from luxurious velvets to breezy cottons.
Installing fabric panels is a bit like a craft project. You’ll need a frame to stretch the fabric, like a canvas for painting. Then, you attach this frame to the wall. It’s a bit of work, but the result is worth it. You end up with this cozy, cushiony wall that feels as good as it looks.
Here’s where it gets fun. You can mix and match patterns or go for a big, bold print. It’s like making a statement piece for your room. And if you ever get bored, just change the fabric! It’s like getting a new look without too much hassle.
Fabric panels also have a practical side. They’re great for soundproofing, perfect for bedrooms or music rooms. Plus, they add an extra layer of insulation.
8. Beadboard
Beadboard in your mobile home is like adding a pinch of classic charm to your walls. It’s a timeless look brings a bit of cottage feel wherever it goes.
So, what exactly is beadboard? It’s a type of paneling that has these neat, vertical grooves. It gives your walls texture and a rhythmic pattern pleasing to the eye. Think of it as giving your walls a bit of rhythm and flow.
Installing beadboard is a fun DIY project. It usually comes in panels or as tongue-and-groove boards that fit together snugly. You can cover the whole wall or just half with a nice chair rail. It’s kind of like putting together a big puzzle that ends up looking fabulous.
One of the coolest things about beadboard is that you can paint it any color you like. Keep it crisp and clean with white, or go for something bold to make a statement. It’s all up to your taste.
Beadboard isn’t just about looks; it’s also practical. It’s durable and easy to clean, which makes it an excellent choice for busy areas like the kitchen or bathroom. And it’s a great way to cover up any less-than-perfect walls.
9. Stone Veneer
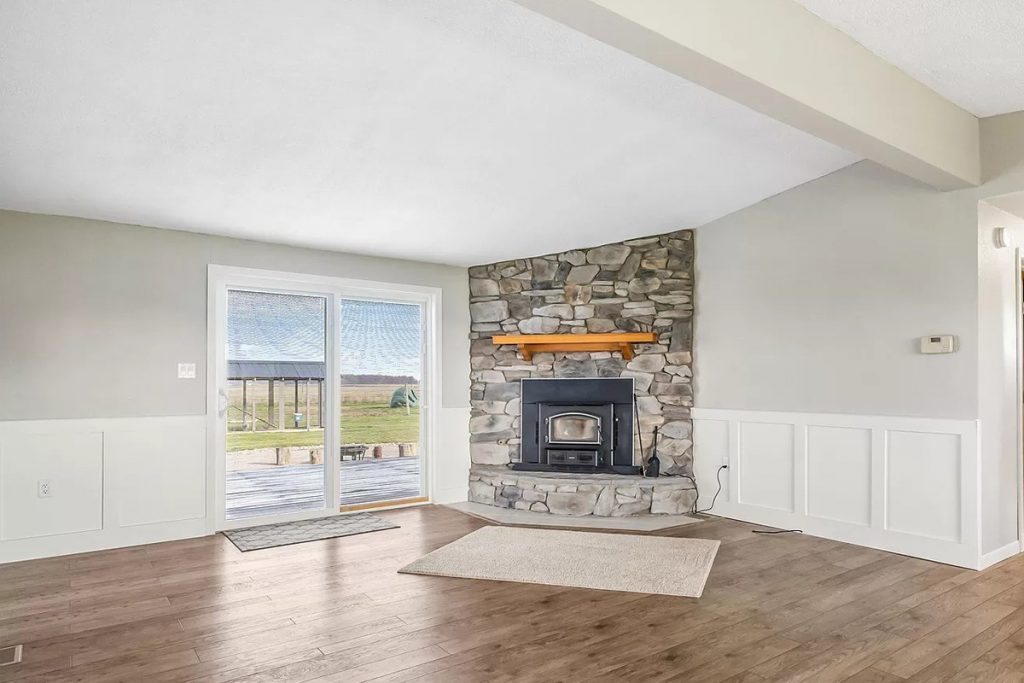
Adding stone veneer to your mobile home is like giving it a touch of nature’s elegance. It’s a way to bring the rustic beauty of the outdoors right into your living space.
Stone veneer is this fantastic, lightweight material that looks just like real stone. But here’s the cool part – it’s much easier to install and weighs less than natural stone. It’s like getting the castle look without the castle hassle.
You can choose from all styles – from rugged fieldstone to sleek slate. Each type adds its unique texture and color to your walls. It’s like picking the perfect accessory to complement your home’s style.
Installing stone veneer is a bit like doing a mosaic art project. You apply the stones piece by piece, fitting them together in a pattern you like. It’s a bit of work, but seeing your wall transform into a work of art is worth it.
And here’s a great thing about stone veneer – it’s super durable, and maintenance is a breeze. A quick wipe now and then is all it needs to keep looking great. Plus, it’s perfect for adding a focal point in your home, like around a fireplace or on a feature wall.
10. Peel-and-Stick Tiles
Peel-and-stick tiles in your mobile home are like magic stickers that instantly upgrade your walls. They’re the perfect mix of easy and stylish – a quick fix for any space that needs a little pizzazz.
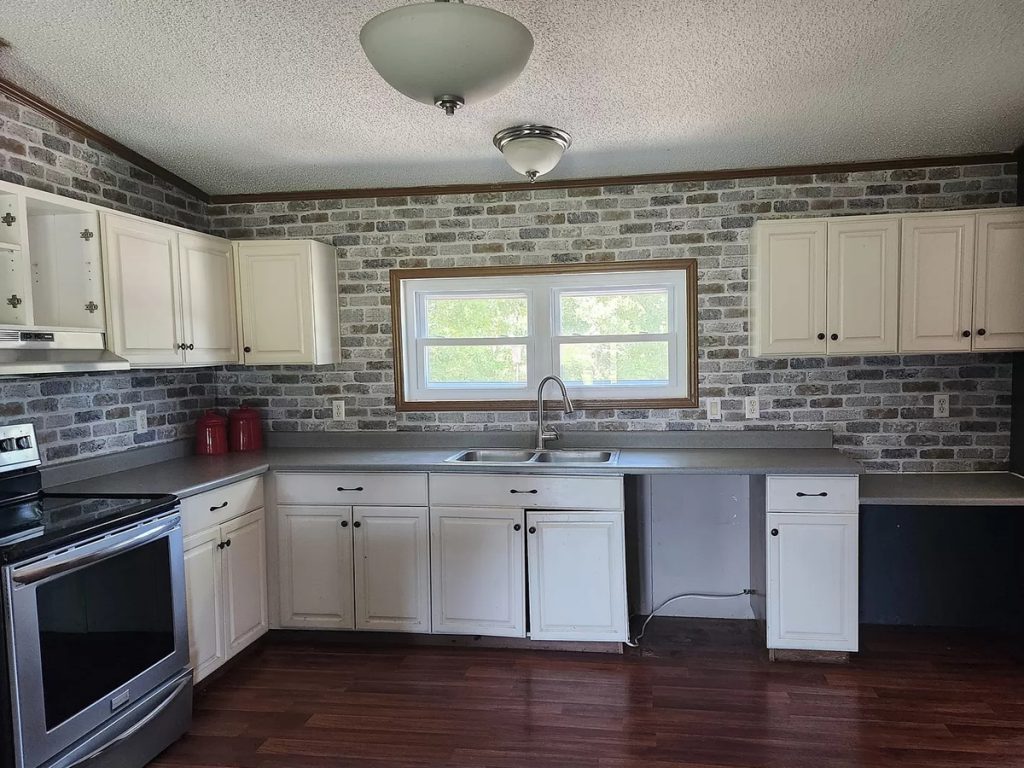
Think of peel-and-stick tiles as the ultimate DIY dream. They’re exactly what they sound like – tiles with a sticky back that you just peel off and stick onto your wall. No mess, no fuss, and no need for complicated tools. It’s like putting a big, beautiful sticker on your wall!
The variety you get with these tiles is amazing. Want a subway tile look? You got it. Fancy some Moroccan patterns? No problem. Every taste has a style, from sleek and modern to quirky and colorful.
Here’s the best part: installing these tiles is a breeze. You just clean your wall, measure the space, cut the tiles to fit, and stick them on. It’s a fun project that you can finish in just an afternoon. Plus, seeing your room transform right before your eyes is super satisfying.
Peel-and-stick tiles aren’t just pretty; they’re practical too. They’re easy to clean and perfect for areas like the kitchen or bathroom. And if you ever want to change things up, they’re easy to remove and replace.

Peel & stick do not stick however. Ive placed them along the bottom boarder of 2 walls & almost all came unstuck, yes I cleaned the wall & used alcohol on it. Same with a desktop. They popped up as well. Had 2 glue most of it back on.