

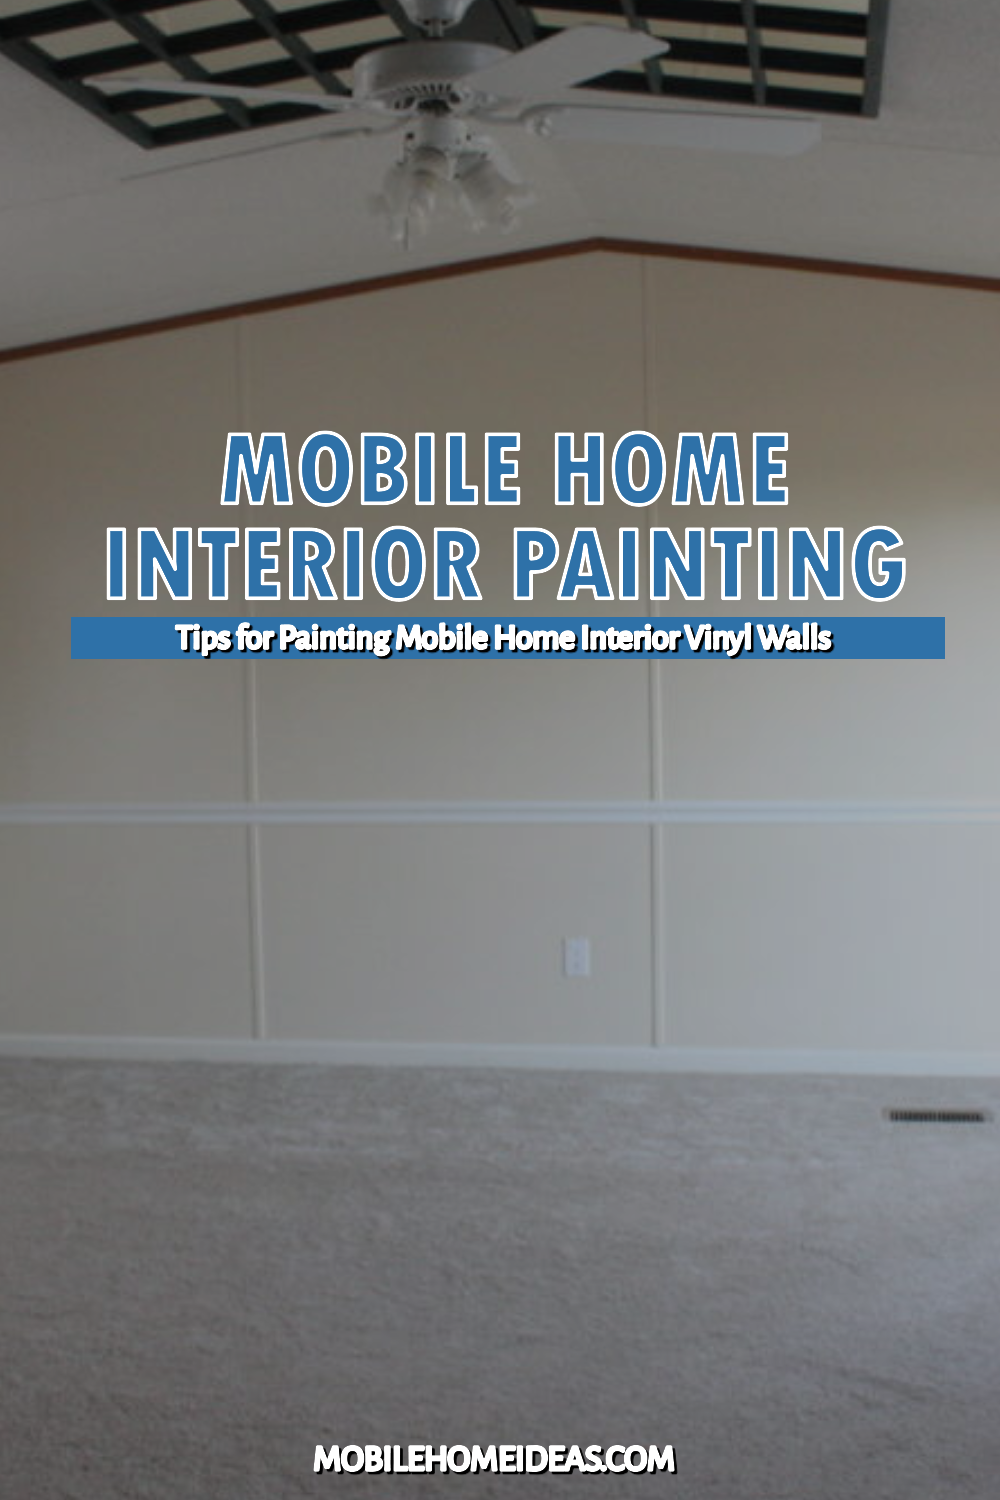
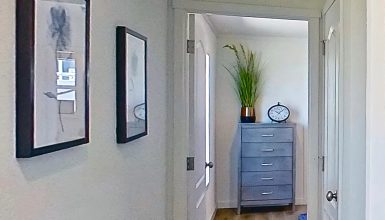
Ready to give your mobile home’s vinyl walls a fresh look with some paint? Great choice! Painting those walls can change your space’s vibe, making it feel brand new. However, painting vinyl-on-gypsum (VOG) wall panels differ slightly from painting regular walls. Don’t worry, though – I’ve got some top tips to help you get it right. From picking the perfect paint to getting that smooth finish, I’ll walk you through everything you need to know. So, grab your paintbrush, and let’s turn those walls into your canvas!
1. Clean the Walls
Starting your painting project with clean walls is like cooking with fresh ingredients – it makes all the difference! This step is essential for vinyl walls in your mobile home. Why? Because these walls can collect a lot of unseen dirt and grime over time.
Here’s the deal: Grab a bucket, mix some mild soap with warm water, and you’re ready to go. Think of it as giving your walls a gentle bath. Use a soft sponge or cloth – nothing too abrasive, or you might scratch the vinyl. Gently scrub the walls, paying extra attention to any areas that look dirty or greasy, especially in the kitchen or near doorways.
Rinsing is key. After scrubbing, wipe off any soap residue with a clean, damp cloth. You don’t want soap left behind, which can affect the paint’s performance.
And here’s a pro tip: Wait until the walls are completely dry before you start painting. This might mean waiting a day, but it’s worth it. Painting on damp walls? That’s a no-go, as it can lead to peeling or bubbling paint later on.
2. Use a Primer
Using a primer before painting your mobile home’s vinyl walls is like putting on a base coat before nail polish – it makes everything better! Primer is your secret weapon for a beautiful paint job that lasts longer.
Here’s why primer is necessary: Vinyl walls have a slick surface, and paint alone might not stick very well. But when you roll on a primer layer first, you give the paint something to hold onto. Think of primer as a friendly middleman between your wall and the paint.
Now, not just any primer will do. You want a primer specifically designed for vinyl or hard-to-stick surfaces. These primers are made to grip onto slick surfaces, making sure your paint doesn’t just slide right off.
Applying primer is pretty straightforward. Grab a roller or brush and cover the wall evenly, just like paint. Be sure to get every nook and cranny – this step is all about creating a uniform base for your paint to sit on.
Lastly, let the primer completely dry before you start painting. It might be tempting to jump right to the fun color part, but giving the primer time to dry sets the stage for a flawless paint job.
3. Choose the Right Paint
Choosing the right paint for your mobile home’s vinyl walls is like picking the perfect outfit for a special occasion – you want it to look good and last! Not all paints are created equal, especially when it comes to vinyl.
Here’s the scoop: You’ll want to look for high-quality acrylic or latex paint. Why these? Well, they’re like the superheroes of paint for vinyl walls. They stick well, last long, and come in a rainbow of colors. Plus, they’re flexible, which is excellent because vinyl walls can expand and contract with temperature changes.
Now, let’s talk finishes. You’ve got options like matte, eggshell, and semi-gloss. Matte gives a no-shine look, perfect for hiding imperfections. Eggshell has a bit of sheen and is great for living spaces. Semi-gloss? It’s shiny and easy to clean, ideal for kitchens and bathrooms.
Color time! This is where you get to express yourself. Light colors make small rooms feel bigger, while dark colors add drama and depth. Not sure about a color? Grab a few sample pots and test them on the wall. See how they look in different lights throughout the day – it’s like a test drive for your walls.
Remember, the right paint can make all the difference. It’s not just about the color; it’s about the quality and finish, too. So, take your time picking the paint. Your walls are your canvas; the right paint is your first art stroke!
4. Test Paint First
Testing paint on your mobile home’s vinyl walls first is like trying on shoes before you buy them – you’ve got to make sure they’re just right! It’s a small step that can save you a big headache later.
Here’s the deal: Paint can look different on your wall than in the can or on a color swatch. The lighting in your home, the wall texture, and even surrounding colors can change how a paint color looks. That’s why testing is key.
So, how do you test? Easy! Get a small sample of the paint color you’re eyeing. Then, paint a small wall section – think like a mini canvas. Don’t worry about it being perfect; it’s just a test.
Now, the fun part: Watch how the paint looks at different times of the day. Morning, afternoon, and artificial evening light can make the color look different. It’s like seeing the color’s true personality.
And here’s a pro tip: Paint next to any trim, cabinets, or furniture that will stay in the room. This helps you see how the color interacts with other elements in your space.
5. Apply Light Coats
Applying light coats of paint on your mobile home’s vinyl walls is like building the perfect sandwich – it’s all about layering! We will build it up gradually instead of piling on a thick layer of paint in one go. Trust me, this is the secret to a smooth, even finish.
Think of each light coat as a step toward your wall’s new look. Start with a thin, even layer of paint. Don’t worry if the wall’s old color peeks through – it’s all part of the process. The idea is to avoid heavy, gloppy paint that can drip or look uneven.
After your first coat, let it dry. I know waiting can be tough but vital to a great result. Once it’s dry, take a look. See any spots that need a bit more love? That’s where your next light coat comes in.
Apply your second coat just like the first – nice and light. This layer will start covering up any peek-through spots from the first round. It’s like giving your wall a second chance to shine.
You might need a third coat, depending on your color and the wall. But remember, light coats are the way to go. They dry faster, look smoother, and become more durable in the long run.
6. Use the Right Tools
Using the right tools for painting your mobile home’s vinyl walls is like having the right ingredients for your favorite recipe – it makes everything turn out just right! The tools you choose can significantly affect how your paint job looks and lasts.
First up, let’s talk brushes. A good quality brush is a painter’s best friend. A smaller angled brush works wonders for cutting in around edges and corners. It gives you control and precision – think of it as the fine pen of the painting world.
Now, for the big surfaces, a roller is your go-to tool. It covers more area faster and gives a nice, even coat. But not just any roller – go for a medium nap roller. It’s perfect for getting that smooth finish on vinyl walls. It’s like the broad brush that fills in the big picture.
Here’s a pro tip: Don’t forget a roller tray if you’re using a roller. It helps you get just the right amount of paint on the roller – no more, no less.
And let’s not forget about tape. Painter’s tape is necessary for protecting trim, ceilings, and any other areas you don’t want to get paint on. It’s like the safety net that catches any little mistakes.
7. Avoid Extreme Temperatures
Painting your mobile home’s vinyl walls in extreme temperatures is like trying to have a picnic in a storm – it just doesn’t work out well! The temperature can affect how paint behaves and dries, so picking the right day to paint is super important.
Here’s the thing: Paint doesn’t like it too hot or too cold. When it’s really hot, the paint dries too fast. This can leave you with streaks and uneven spots – like when the ice cream melts before you can enjoy it. Conversely, paint can have trouble drying when it’s too cold. It might get thick and gloopy, like trying to spread cold butter on toast.
The sweet spot for painting is usually between 50 and 85 degrees Fahrenheit. It’s like the Goldilocks zone for paint – not too hot or cold, just right. This range helps the paint go on smoothly and dry evenly, giving you that flawless finish you’re after.
So, before you pop open, that paint can check the weather. A nice, mild day can make all the difference in how your paint job turns out. It’s all about timing it right to get the best results. Let’s wait for that perfect painting day to make your walls look fabulous!
8. Allow Proper Drying Time
Allowing proper drying time for each coat of paint on your mobile home’s vinyl walls is like letting a delicious cake cool before frosting it – it’s essential for the best result! Rushing this step can lead to a paint job that’s less than perfect.
Here’s the lowdown: Paint needs time to settle and dry to really stick to those walls. If you paint the next coat too soon, you might get smudges or peeling. It’s like when you try to rush out of the house with wet hair – it just doesn’t work out well.
Each type of paint has its own drying time. Usually, it’s somewhere between a couple of hours to overnight. It’s all about giving the paint time to do its magic. Think of it as letting each layer of paint get comfortable and cozy on your wall.
And here’s a tip: Touch the paint lightly with your fingertip to see if it’s dry. It needs more time if it feels tacky or sticks to your finger. It’s like poking a cake to see if it’s done – you’re just checking in on the progress.
Remember, good things come to those who wait. By giving your paint the time it needs to dry, you’re setting yourself up for a paint job that looks great and lasts long. So, let’s be patient and let each coat dry properly. Your walls will thank you!
9. Seal Edges
Sealing the edges of your mobile home’s vinyl walls when you’re painting is like putting the perfect frame on a beautiful painting – it gives everything a clean, finished look. It’s a simple step, but it dramatically affects how professional your paint job appears.
Here’s the deal: Where your walls meet the ceiling and the floor, and around doors and windows, there are these little gaps. If left unsealed, they can make even the best paint job look messy. It’s like wearing a great outfit with scuffed shoes – it just doesn’t complete the look.
So, what’s the secret to sealing these edges? Caulk! Caulk is this wonderful, paintable sealant that fills those gaps and creates a smooth transition between surfaces. It’s like the magic eraser of painting.
Applying caulk is pretty straightforward. You’ll need a caulking gun, which is super easy to use. Just run a bead of caulk along the edge you’re sealing, then smooth it out with your finger or a caulking tool. It’s like icing a cake – you want a smooth, even line.
Do this before you start painting. Once the caulk is dry (which doesn’t take long), you can paint right over it, and voilà – seamless, beautiful walls!
10. Ventilation is Key
Keeping your mobile home well-ventilated while painting those vinyl walls is super important – it’s like opening the windows on a sunny day to let in fresh air. Good ventilation keeps the air safe and helps the paint dry just right.
When you’re painting indoors, those paint fumes can get a bit overwhelming. They’re not just smelly; they can be harmful too, especially in a small space like a mobile home. It’s like cooking a strong-smelling dish – you don’t want those aromas hanging around too long!
So, how do you keep things airy and fresh? Simple – open those windows! Let the breeze flow through your home. It’s like giving your space a breath of fresh air. If you have fans, turn them on. They help circulate the air, whisking away those paint fumes.


