
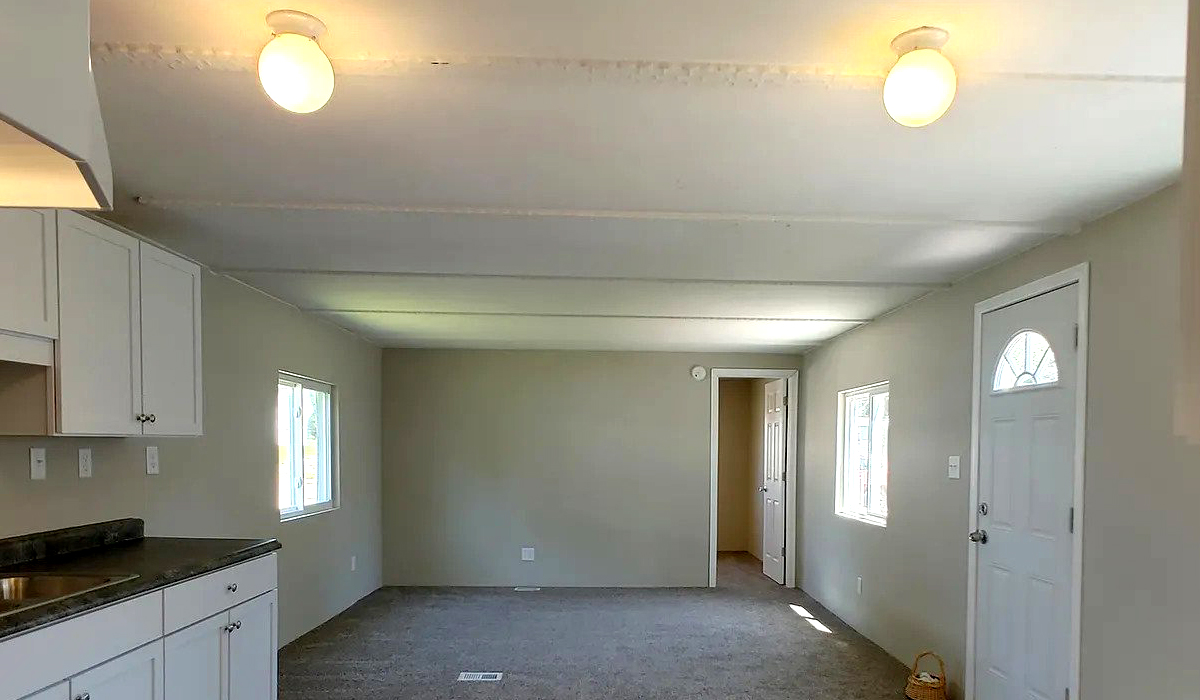
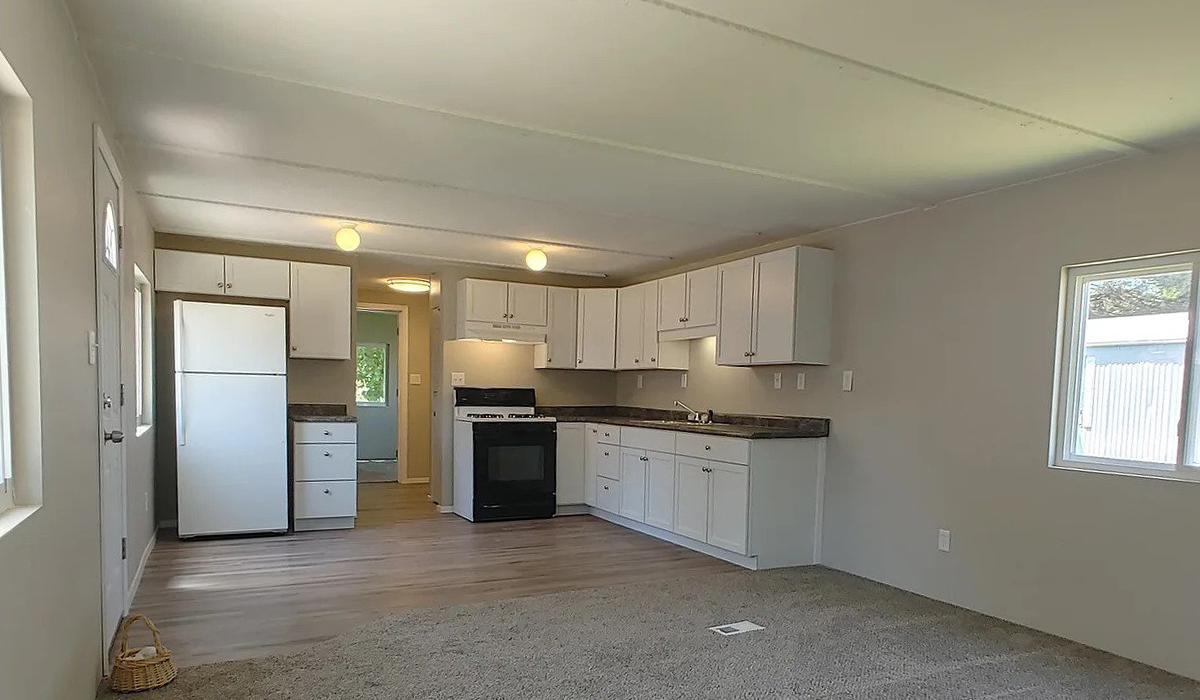
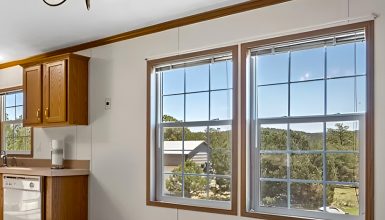
Ready to elevate your mobile home to a new level of chic? Drywall can be your best friend. It’s the unsung hero that sets the stage for your stylish décor and modern finishes. This guide is your go-to resource for everything you need to know about drywall in a mobile home. From the types that suit your needs to expert tips on installation, we’ve got you covered. So, let’s roll up those sleeves and dive in!
Section | Summary | Tips |
A brief description of what drywall is. Exploring the optimal thickness of drywall suitable for mobile homes. Usually ranges between 1/4-inch to 5/8-inch. | Pick the right thickness based on your wall's needs. | |
Discussing the types of drywall that are suitable for mobile homes, such as standard, moisture-resistant, and fire-resistant options. | Choose the right type based on your home's specific needs. | |
Weighing the pros and cons of using drywall in a mobile home, from aesthetics to cost. | Think long-term: investment vs. initial cost. | |
What you should know before even picking up a screwdriver, like inspecting the framing and maybe upgrading insulation. | Do a thorough inspection first; better safe than sorry. | |
A detailed playbook for installing drywall, from prep work to the final coat of paint. | Gather all tools and materials before you start; it makes the process smoother. | |
How to keep your new walls looking like they were just installed. | Regular cleaning and prompt damage repair are key. | |
A breakdown of potential costs, from materials to labor. | Always have a budget cushion for unforeseen expenses. |
What is A Drywall?
So, what’s the big deal with drywall? Simply put, it’s the magic behind your walls. Think of it as a blank canvas for all your interior dreams. A drywall, also known as sheetrock, is a sheet of gypsum plaster sandwiched between two sheets of heavy paper. It’s what makes your walls smooth, flat, and paint-ready.
Drywall Thickness
Now, let’s talk thickness. You might see various options like 1/4-inch, 3/8-inch, and 1/2-inch. For most mobile homes, 1/4-inch or 3/8-inch is your best bet. Why? These options are lighter and more flexible, perfect for mobile homes that may need to move! The 1/2-inch thickness is commonly used in traditional homes but could be overkill for your mobile abode.
Choosing the right thickness isn’t just about stability; it’s also about how you’ll use the space. Got a room that needs extra soundproofing? You might want to go for a specialized soundproof drywall. Need a bathroom that resists moisture? There’s drywall for that, too.
So there you have it—the 411 on sheetrock thickness for mobile homes. Remember, the right choice makes all the difference in your space’s look, feel, and function. Now you’re one step closer to making your mobile home the dreamy retreat you’ve always wanted!
Types of Drywall for Mobile Homes
Think of drywall like ice cream. So many flavors, right? Just like you wouldn’t serve just any scoop at a birthday bash, you shouldn’t slap up any old drywall in your mobile home. Let’s dig into the kind of drywall used in mobile homes.
1. Standard Drywall
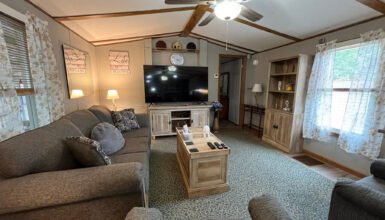
First up, standard drywall. It’s your vanilla—classic, reliable, and fits most needs. It’s also lighter on the wallet. You can dress it up with paint or wallpaper. But remember, this type is best for low-moisture areas like living rooms and bedrooms.
2. Moisture-Resistant Drywall
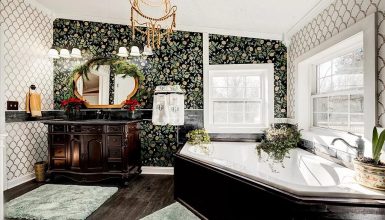
Have you got a bathroom or kitchen? Say hello to moisture-resistant drywall. Imagine it as your mint chocolate chip. It won’t get soggy when things steam up. It’s specifically designed to repel moisture, so you avoid that dreaded mold.
3. Fire-Resistant Drywall
Now, safety first! You’d want fire-resistant drywall for spaces near a heating source or appliances. Think of it as your robust rocky road filled with layers of protection. This type helps slow down the spread of flames. So, you get peace of mind right alongside that cozy fireplace.
4. Soundproof Drywall
Last but not least, the VIP—soundproof drywall. It’s your fancy gelato. Perfect for bedrooms or home offices, this type keeps noise where it belongs: out. You won’t hear the TV from the next room or your neighbor’s lawnmower at dawn.
See? Drywall isn’t one-size-fits-all. Your choice sets the vibe and purpose of each room. So, pick your flavor carefully and get ready to indulge in some serious home improvement!
Advantages and Disadvantages
Alright, now that we’ve chatted about the types of drywall, let’s get into the nitty-gritty—the pros and cons. Because, hey, every rose has its thorn, right?
Advantages
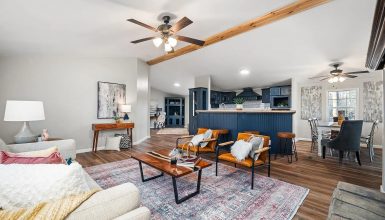
Let’s kick off with the positives. First off, aesthetics. Drywall gives your mobile home that polished, clean look we all adore. Paint colors pop, and wallpaper sticks like a dream. It’s like putting on your favorite pair of jeans; everything just looks better.
On to the next win: design freedom. Drywall lets you go wild with your imagination. Want an accent wall? Go for it. Dreaming of built-in shelves? No problem. The sky’s the limit here.
Now, who doesn’t love a cozy, warm home? Drywall’s got insulation benefits. It helps keep the heat in and the cold out. You’ll notice a dip in those energy bills. Win-win!
Lastly, safety. We already talked about fire-resistant options. It’s like having a superhero hidden in your walls, just waiting to protect you.
Disadvantages
Okay, now let’s flip the coin. First up: the price tag. Quality drywall and professional installation can add up. Trust me, this isn’t a weekend DIY you want to botch. So, be ready to loosen those purse strings a bit.
Next, drywall can be a drama queen. It’s prone to dents, holes, and water damage. Picture a toddler with a crayon; accidents happen, and you must be on cleanup duty.
And speaking of water, if you skimp and go for standard drywall in a moisture-heavy area like the bathroom—expect trouble. We’re talking warping, bubbling, and that dreaded mold.
So, drywall can be your dream come true or a bit of a diva, depending on how you treat it. Choose wisely, invest in quality, and your mobile home will thank you!
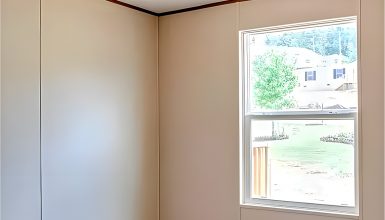
Pre-Installation
You wouldn’t run a marathon without warming up, right? The same goes for drywall installation. A little prep work makes all the difference. So, let’s prep that canvas before we dive into the masterpiece, shall we?
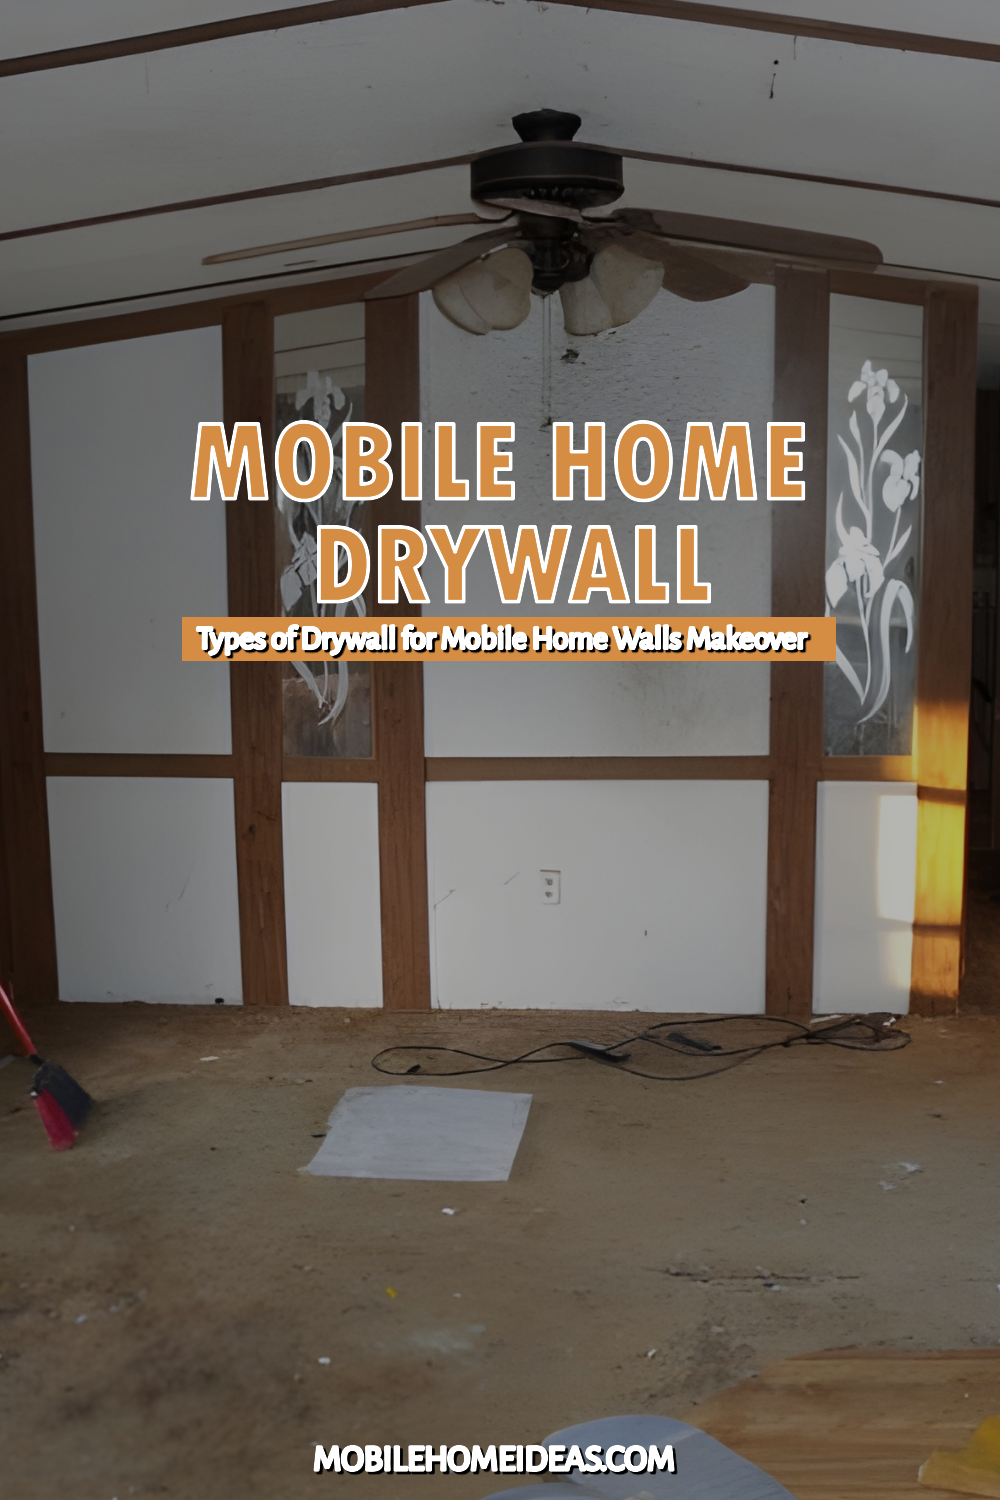
1. What’s Your Current Wall Situation?
First things first—what are you working with? Do wood paneling or existing drywall? Knowing what’s already up there helps you plan for the teardown or any extra prep work.
2. Get Out That Tape Measure
Measure the room. Twice. You want to know exactly how much drywall you’ll need. Nothing’s worse than running out of materials mid-project. Think of it like baking—you can’t make a cake with just half the flour!
3. Budget Talk
Budgets aren’t fun, but they’re crucial. Drywall costs vary. Remember, you’re not just buying panels; you’ve got screws, tape, joint compound, and possibly even pros to pay for. Consider a solid number, and maybe add some cushion for those unexpected surprises.
4. Tools
Now, let’s talk tools. A drywall knife, saw, screw gun, and sturdy ladder are your new best friends. Don’t have them? Borrow or rent. Just don’t try to wing it with the wrong gear.
5. Optional: Insulation Vibes
If you’re ripping down old walls, consider updating your insulation. Better insulation means a cozier home and lower energy bills. Think of it as giving your home a warm hug.
These steps may feel like a hassle, but trust me, they’re the secret sauce to a smooth, stress-free project. Measure, budget, tool up, and get your game face on. Your dream walls are just around the corner!
Step-by-Step Drywall Installation
Alright, tools in hand and game face on? Let’s turn that drywall stack into the dreamy walls you fantasize about. Here’s your step-by-step playbook to hit a home run with your installation.
Step 1: Prep Like a Pro
First, clear the room. Get those furnishings out of the way. Lay down some drop cloths. Basically, create a blank canvas that’s itching for some drywall magic.
Step 2: Off With the Old
If you’re swapping out old walls, this is demo time! Be safe—gloves, goggles, and maybe even a mask for the dust. Tear down any old paneling or outdated drywall. Out with the old, in with the new!
Step 3: Optional Insulation
If your old insulation looks like it partied too hard in the ’90s, replace it. Staple new insulation between those wall studs. Your home’s comfort level will thank you.
Step 4: Panel Time!
Now, the real fun begins. Start from the top corner and work your way down. Use drywall screws to secure the panels to the studs. Make sure those screws sink just below the surface. Smooth is the name of the game.
Step 5: Tape and Mud
Once all the panels are up, it’s taping time. Apply joint compound—aka “mud”—over every seam. Place drywall tape on the wet mud, then add another mud layer on top. The goal? Seamless walls, baby.
Step 6: Sandman’s Visit
After the mud dries, bring out your inner Sandman. Sand those joints until they’re as smooth as your grandma’s mashed potatoes. Dust off the walls when you’re done.
Step 7: Priming and Painting
Last, prime those walls to give your paint something to cling to. Once the primer dries, grab that roller and bring your color dreams to life!
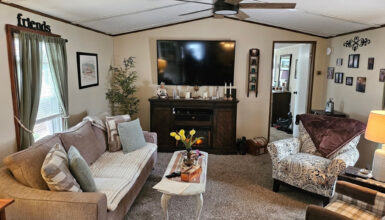
And there it is—you’re a drywall wizard now! You’ve just turned your mobile home into a canvas for all your décor daydreams.
Maintenance Tips
The paint’s dry, and you’re beaming at your pristine walls. High fives all around! But hang on—keeping those walls looking fab requires a little TLC. Let’s dive into maintenance mode.
1. Routine Cleaning
First off, dust is not your wall’s best friend. A simple feather duster or a damp cloth does wonders. Swipe it across the walls every so often. Just a little upkeep keeps that fresh look alive.
2. The Fixer-Upper: Small Holes
Did you get a small hole from a rogue nail or an overzealous door handle? No sweat! You’re good to go with some spackle and a putty knife. Just apply, let it dry, then sand it smooth. Finish it off with a touch of paint. Voila, it’s like it never happened!
3. Dealing with Damage
If you spot water damage—don’t panic. Cut out the soggy bit and replace it with a new drywall patch. Tape, mud, sand, and paint. It’s like a mini-installation project. Sure, it’s a headache, but early catching it saves you time.
4. Large-Section Replacements
Sometimes, accidents happen. Like, big ones. We’re talking more than a hole; maybe a large crack or severe damage from who knows what. Same drill here—cut, replace, tape, mud, sand, and paint. Sure, it’s a bigger chore, but it brings your wall back from the brink.
Maintenance is all about those small, regular efforts. Think of it as your drywall’s spa day, just less cucumber water and more spackle. Keep these tips in your back pocket; your walls will look Insta-worthy for years!
Mobile Home Drywall Costs
Money talks, especially when you’re jazzing up your mobile home. So, let’s have the money chat—what are we talking about dollar-wise to get this drywall dream off the ground?
1. Drywall Sheets
First things first, the star of the show: the drywall itself. Standard sheets range from $10 to $20 each, depending on size and thickness. Need moisture-resistant or fire-resistant? Add a few more bucks to that price tag. For example, for a 2000 sq ft mobile home, you’d need roughly 63 sheets. At $15 per sheet, that would be $945.
2. Screws, Tape, and Mud
But wait, there’s more! You’ll need screws, tape, joint compound, or “mud,” as it’s fondly called. Budget around $50 to $100 for these goodies. Trust me, you don’t want to skimp on quality here.
3. Professional Help
Going pro? Installation services can range from $1 to $3 per square foot. It sounds pricey, but you’re buying peace of mind and expertise. No wonky walls or uneven seams—just sleek, perfect drywall.
4. Prepare for the Unknown
Have you ever heard of Murphy’s Law? Whatever can go wrong will go wrong. Whether it’s additional insulation or unexpected wall repairs, having a cushion of an extra $200 can be a lifesaver.
Adding it all up, for a pro installation in a 2000 sq ft mobile home, you’re looking at around $5,345. Remember, these are ballpark figures; real-world costs can vary.
Conclusion
You’re now armed with all the insider info to transform your mobile home with drywall. We’ve covered the bases from types and costs to installation and upkeep. Whether you’re DIY-ing or calling in the pros, the roadmap to your home’s glow-up is right here. Think of your new walls as a canvas, ready for all the color, texture, and flair you can throw.


