
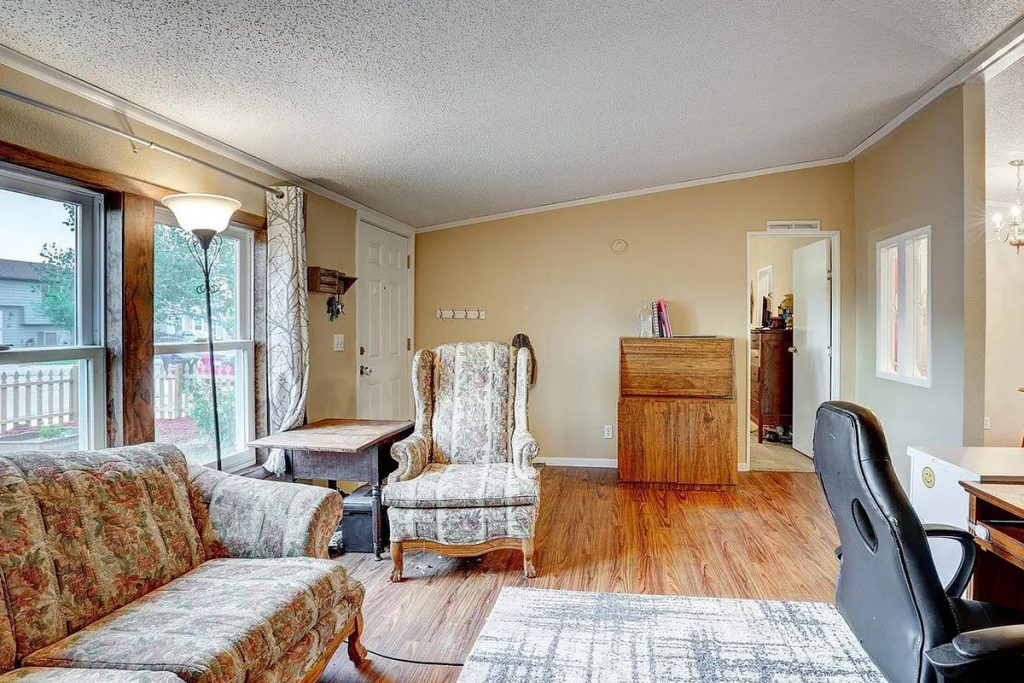
Step inside any mobile home, and you’ll find that the little details make the space truly shine. Those chic baseboards? The elegant crown molding gracing the ceiling? It’s all about the interior trim! Dive in with us as we journey into the world of mobile home interior trims. Let’s roll!
Section | Summary | Tips |
The decorative and finishing touch to walls, windows, and doors. | Quality matters; always opt for durable trims. | |
Overview of crown molding, baseboards, window trims, and door trims. | Match the trim type to the room's function. | |
Delve into styles like contemporary, traditional, modern, and rustic. | Use pinterest for inspiration. | |
Focus on budget, style preference, and maintenance. | Consult with a designer for a cohesive look. | |
A roadmap from measuring and marking to adding the finishing touches. | Always double-check measurements. | |
A hypothetical cost breakdown of installing mobile home interior trims. | Get multiple quotes before settling on a contractor. |
What is Interior Trim?
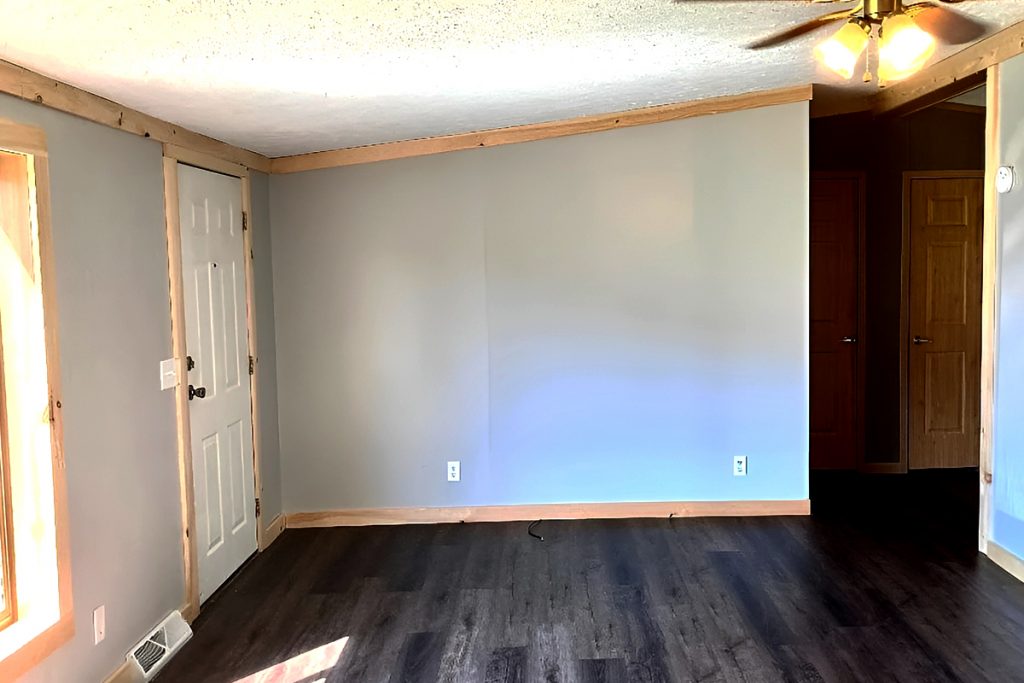
First things first, what exactly is an interior trim? Imagine it as the decorative frame that puts the finishing touch to your rooms, defining the borders where your walls meet the ceiling and the floor, around windows and doors. The flourish elevates a space from “meh” to “wow”!
Why the fuss over interior trim? Well, a well-chosen trim can quickly take a room from zero to a hundred! It amps the aesthetic, maximizes space perception, and even increases home value. Talk about a win-win-win, right?
Now, let’s chat about the materials commonly used for interior trims. We have the ever-classic wood, which brings a warm and natural vibe to your home. Then there’s MDF or Medium-Density Fiberboard – a wallet-friendly option that’s a hit for modern spaces. And let’s not forget PVC and metal trims. These bad boys are known for their durability and sleek look.
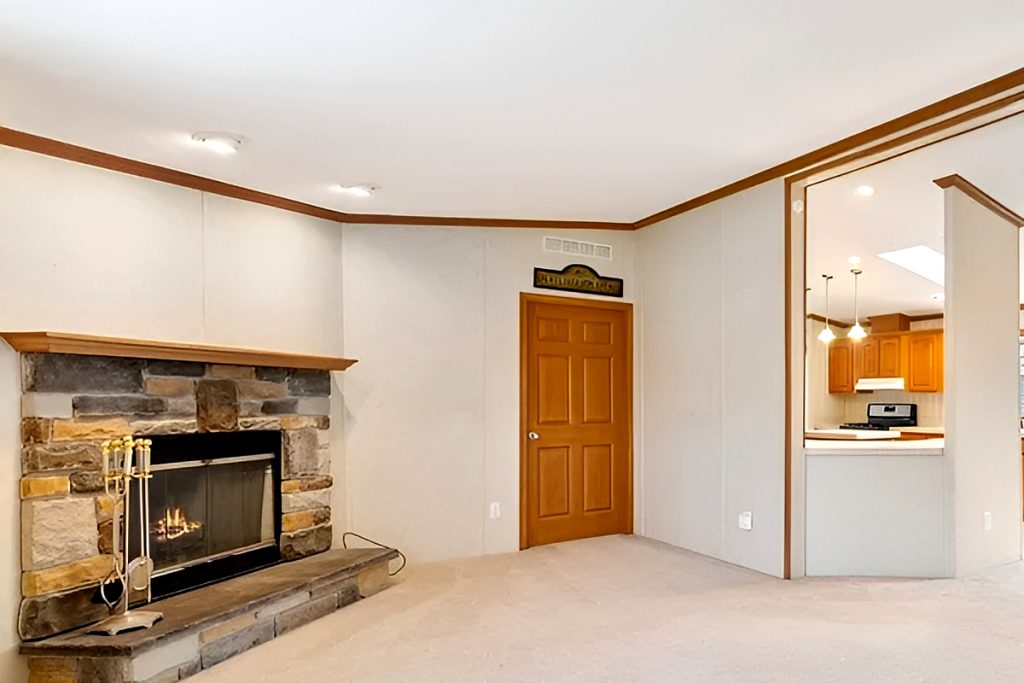
Types of Interior Trim for Mobile Homes
So, you’ve got a handful of superstar trims to choose from, each with its unique role in beautifying your mobile home. Let’s meet the lineup.
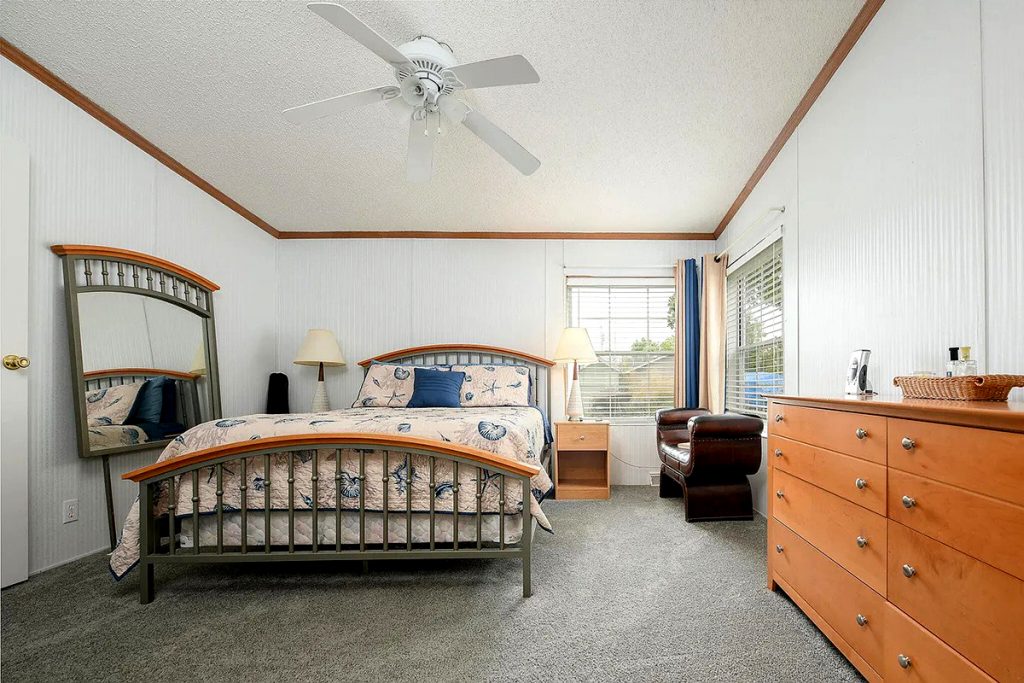
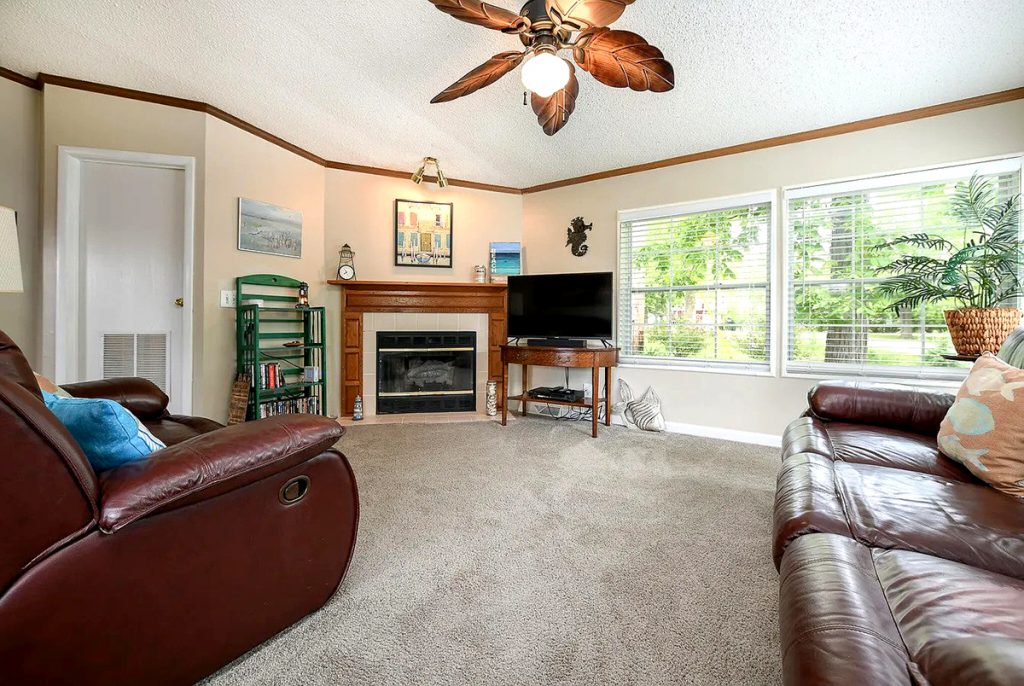
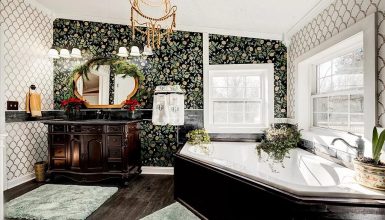
1. Crown Molding
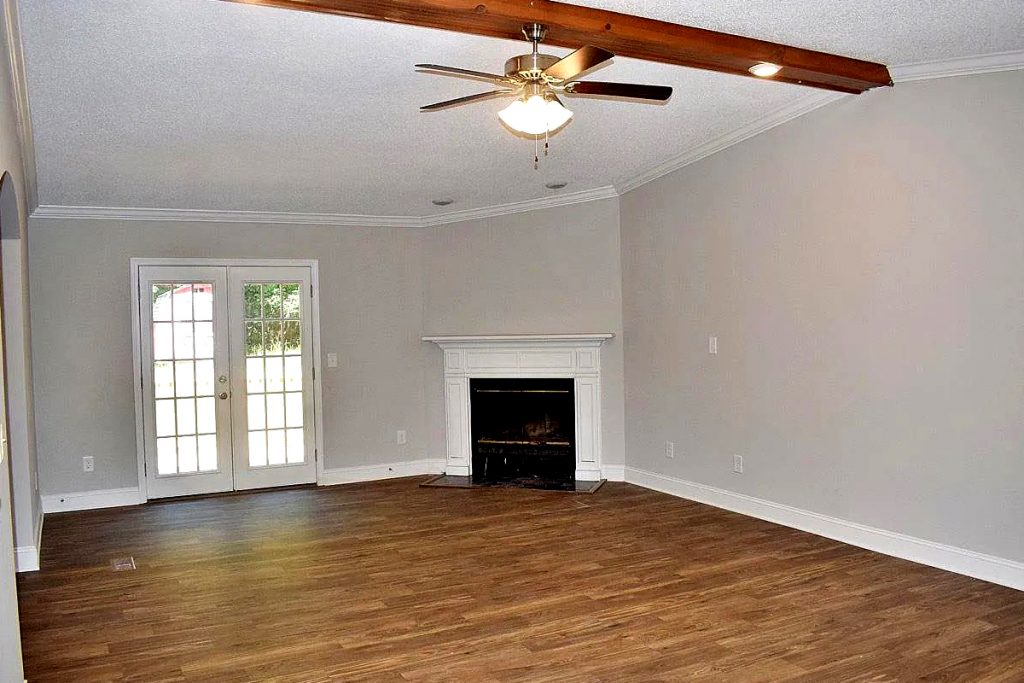
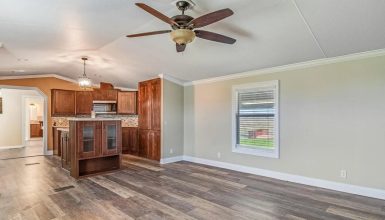
First, we have the crown molding of the ceiling queen. It’s that fantastic piece that gracefully sits where the wall meets the ceiling, adding elegance to the room. It’s like a majestic crown that encircles your room, hence the name!
Now, think of sophistication, style, and a smooth transition from wall to ceiling. Picture walking into a room and your eyes drifting upwards to witness this architectural masterpiece. It elevates the space, making it feel regal and finished. Plus, it comes in different styles to suit your taste — from intricate designs to sleek modern lines, the sky’s the limit!
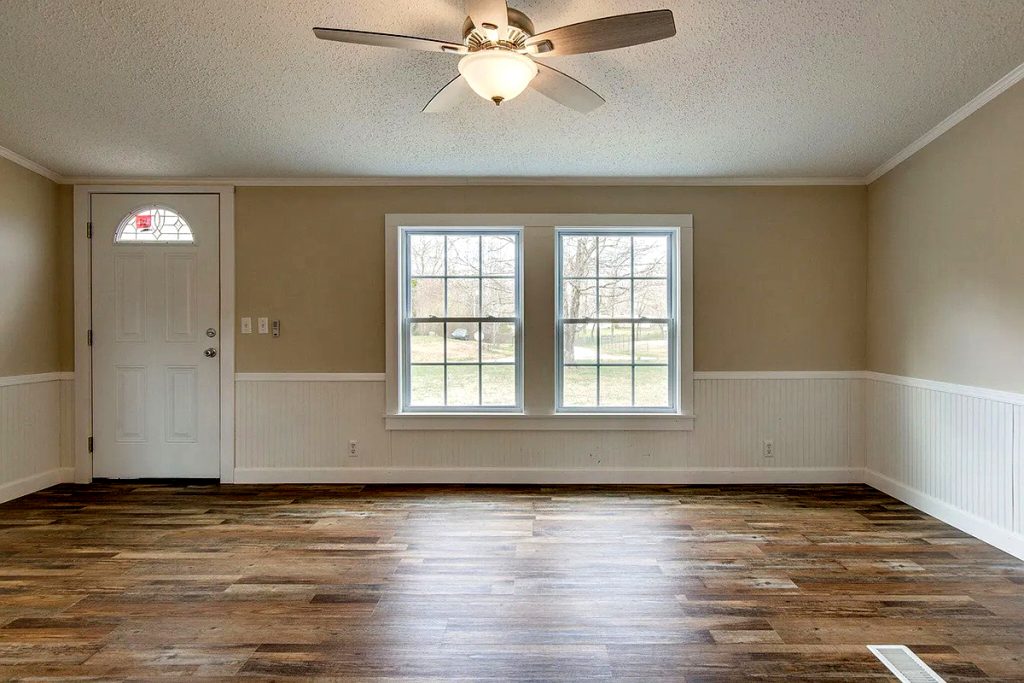
2. Baseboards
Next on the stage are baseboards, the unsung heroes guarding the lower realms of your walls. Baseboards give the walls a neat, streamlined finish, hiding any irregularities at the floor level. It’s like giving your room a nice, clean haircut, trimming away the uneven edges, and giving a polished look.
Picture a smooth transition from your wall to the floor, a protective barrier that adds style and grace. It’s more than just a functional element; it’s an aesthetic powerhouse that packs a punch in the style department.
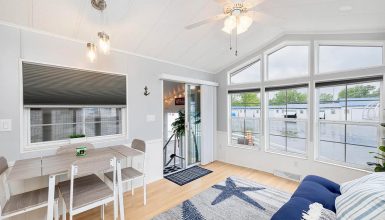
3. Window Trims
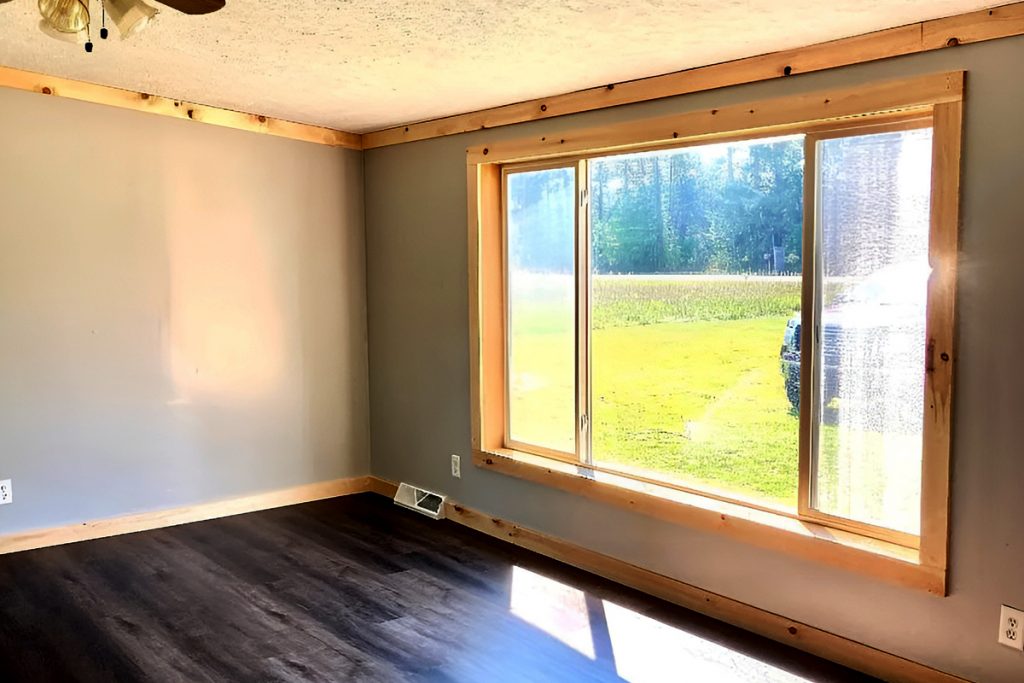
Meet the magical frame for your windows, the trim that turns regular windows into art pieces. Window trims define your windows, showcasing the outside world like a constantly changing painting.
Imagine framing your favorite picture. That’s what window trims do; they provide a beautiful frame that complements the view, adding depth and interest to the walls. Plus, they come in all shapes and styles, offering a fun playground for your design aspirations.
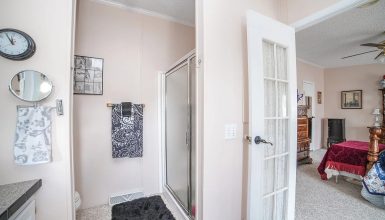
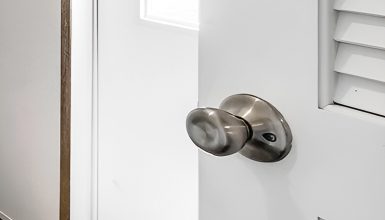
4. Door Trims

Last but certainly not least, door trims walk in to add flair to your doorways. Picture this: a door frame with a perfectly styled trim, inviting you in with open arms. It transforms a plain door into a statement piece, adding character and charm to your interiors.
Door trims say “welcome” in style, creating a grand entrance for every room. It’s like rolling out the red carpet for your guests, offering a warm, styled embrace every time they step into a new space in your home.
And here’s a spicy little tip: mix and match different styles to create a unique blend that’s all your own. Picture a modern baseboard paired with a vintage-style crown molding. It’s all about mixing and matching to find that perfect style cocktail that screams “you”!
Popular Interior Trim Styles
Let’s chat about the most popular interior trim styles. It’s all about finding a style that resonates with you turning your mobile home into a space that tells your story. Let’s dive right in!
1. Contemporary
First off, the contemporary style is a canvas of clean lines and minimalist elegance. It’s the go-to for those who adore a fresh, clean look with a dash of today’s trends. Picture subtle yet striking trims, often featuring asymmetrical designs and a mixture of materials. It’s all about blending the new with a bit of the unexpected, creating spaces that feel alive and ever-evolving.
Picture it: a room adorned with sleek, smooth trims, reflecting the here and now with a playful nod to futuristic designs. It says modern, screams sophistication, and states you’re in tune with the times.
2. Traditional
Next up is the traditional style, the epitome of timeless grace and elegance. It takes cues from the classics, bringing a sense of warmth, comfort, and familiarity. Think beautifully crafted wood trims with detailed carvings that tell a story of craftsmanship from a bygone era.
Envision walking into a space where each trim holds a history, offering a rich, textured background that brings depth and narrative to your home. It’s inviting, warm, and like a heartfelt hug from a good old friend.
3. Modern
On to the modern theme, where less is more, and simplicity reigns supreme. Picture clean, straight lines and uncluttered spaces where each element can breathe and shine on its own. It’s all about stripping down to the basics embracing functional designs with a neat, streamlined aesthetic.
Imagine a canvas of calm, orderly beauty, where everything has its place and a harmonious design flow. It’s crisp precise, and paints a picture of effortless style with a fresh, upbeat vibe.
4. Rustic
Finally, we venture into the rustic style, a tribute to the rugged beauty of nature. Here, we embrace raw materials, hearty woods, and a palette inspired by earthy tones. Think trims with a robust, textured feel, bringing a touch of the outdoors into your home.
Picture a cozy cabin vibe, where each trim showcases the natural beauty of wood, with all its knots, grains, and imperfections. It’s warm cozy, and invites you to unwind in a grounded and real space.
So, which style speaks to you? Whether you’re dreaming of the sleek lines of the contemporary or the warm embrace of the rustic, remember it’s all about creating a space that feels uniquely yours.
Considerations When Selecting Interior Trim
Let’s unravel the big questions you must consider when searching for the perfect interior trim. It’s like preparing for a grand event; you’ve got to think about the budget, style, and how to keep everything looking fresh and fabulous. Let’s break it down!
1. Budget
First and foremost, let’s talk money. Setting a budget is your starting point; the frame holds your grand design plan together. But remember, a tighter budget doesn’t mean compromising on style. There are incredible options in every price range. It’s all about smart shopping finding deals that give you the biggest bang for your buck.
Imagine finding that perfect trim that suits your budget and elevates your space to a new level. It’s possible, and with a keen eye, you’ll score budget-friendly and beautiful trims. It’s all about balance, finding that sweet spot where affordability meets style.
2. Style Preference
Next up, your style takes center stage. This is where you play, dream, and carve out a space uniquely you. Are you a modern minimalist or a lover of rustic charm? Your style preference will dictate the direction of your trim adventure, steering you towards choices that resonate with you.
Picture a space that tells your story through every line and curve of the trim, a place that reflects your personality in all its vibrant colors. Dive deep into your style preferences, explore different aesthetics, and let your space become a canvas for your personal style story.
3. Maintenance
Last but certainly not least, let’s chat maintenance. Your new trims will need a bit of TLC to keep looking their best over the years. Some options are virtually maintenance-free, while others might need a regular touch-up to maintain their charm.
Think long-term. Imagine the kind of upkeep you’re up for. Are you okay with a little extra care to preserve a particular look, or are you all for the easy, breezy, low-maintenance life? Your answer to this will help guide your choices, ensuring you pick trims you can maintain happily for years.
Tools Needed for Trim Installation
Let’s dive into the toolbox and check out the essentials to bring your interior trim vision to life. Picture yourself as an artist; these tools are your brushes, ready to craft a masterpiece in your mobile home. Let’s get into it!
Hammer and Nails
First up, the classic duo: a hammer and nails. These are the real MVPs in your tool kit. You’ll use these to securely fasten the trim to your walls, creating a firm and lasting bond. Picture a sturdy connection, a union forged with good old-fashioned hammering, ensuring your beautiful trims stay put for years.
Saw
Next, meet the saw, your go-to for crafting the perfect trim pieces. Whether you’re going for straight cuts or angled beauties, the saw is your trusted partner. Imagine carving out pieces precisely, creating those perfect lengths to adorn your home with style and grace.
Level
Then we have the level, the guardian of straight lines and even surfaces. It’s your checkpoint for perfection, ensuring that each trim piece is installed straight, creating harmonious lines that please the eye. Picture it: a balanced flow from one piece to another, a visual symphony orchestrated with the help of your trusty level.
Tape Measure
Let’s not forget the tape measure, your roadmap to getting those dimensions just right. It’s all about measurement magic, grabbing those numbers that will guide your cuts, ensuring a fit that’s just right. Imagine the satisfaction of pieces fitting together like a dream, all thanks to the meticulous measuring work you did up front.
Paint and Brushes
Lastly, paint and brushes come into play, bringing life and color to your trims. Think vibrant hues or understated neutrals, painting a personality onto each trim piece. The final flourish, the stroke of genius, brings everything together in a beautiful, cohesive look.
So, gear up, grab your tools, and get ready to transform your space one trim at a time. It’s more than just a DIY project; it’s a journey into crafting a home that bears your signature style. Ready to get your hands dirty and make some magic? Let’s do it!
Step-by-Step Interior Trim Installation
Let’s roll up those sleeves and dive into the beautiful world of installing your interior trim. Picture yourself stepping into the role of the maestro, ready to conduct a symphony of home transformation with a step-by-step guide as your music sheet. Let’s hit the right notes!
Step 1: Measure and Mark
First, grab that tape measure and start sizing up your space. It’s like taking the vital signs of your room and getting to know the nooks and crannies. You’ll mark the spots where your fabulous trims will go, painting a blueprint in your mind’s eye. Dream big, plan meticulously, and mark those measurements down to the tee.
Step 2: Cutting the Trim
Now, it’s time to meet your trim pieces and introduce them to the saw. It’s a meeting of materials and craft, where you’ll carve out the perfect pieces tailored to your space. Imagine each cut as a bespoke suit fitting, ensuring a sharp, tailored, and absolutely stunning look. Precision is your best friend here!
Step 3: Dry Fit
Next up, let’s play dress-up with a dry fit. This is your rehearsal, a chance to see how everything will look before the grand debut. Picture your room trying on its new accessories, giving you a sneak peek of the transformed space. It’s a moment of visualization where dreams start taking a physical form.
Step 4: Secure the Trim
Now, the spotlight turns to the hammer and nails, ready to secure your trims in their rightful places. It’s commitment time, sealing the bond between your walls and their new adornments. Picture a firm handshake, a promise of beauty and elegance that stands strong.
Step 5: Finishing Touches
Finally, we arrive at the finale, the magical moment of adding finishing touches. Paintbrush in hand, you’ll grace your trims with colors that breathe life into them. Imagine the trims coming alive, blossoming under the strokes of your brush, ready to showcase their full glory.
And as you step back, paintbrush resting, you witness the grand transformation, a room reborn with character, charm, and undeniable style. It’s a standing ovation, a round of applause for the maestro — you!
So, are you ready to take on the role of the artisan, the craftsman, the visionary? With this guide in hand, you’re all set to craft a space that’s not just a home but a masterpiece. Let’s make magic, one step at a time!
Cost of Installing Mobile Home Interior Trims
Everyone loves a good makeover story, but the budget chapter? That’s where things can get really juicy. So, let’s break it down with an example that clearly shows the costs involved in sprucing up a mobile home with some stylish interior trims.
1. Material Costs
Picture this: You walk into your local home improvement store, eyes wide, considering the vast array of trim options. Let’s say you settle on a mid-range trim that boasts quality without going overboard on the price. For a mobile home, you might need about 500 feet. At $1 per foot, that’s $500 on trims alone.
2. Tool Costs
Ah, tools! The unsung heroes of any DIY adventure. Suppose you don’t have a saw or a level on hand. Purchasing or even renting these tools might set you back another $100. Add those brushes, paints, and other bits and bobs; we’re looking at around $150.
3. Labor Costs (If Applicable)
Now, if you’re rolling up your sleeves and doing this alone, pat yourself on the back for the savings! But, if you’re leaning towards hiring a pro to ensure that pristine finish, it could cost around $2 per foot for installation. Doing the math, that’s an additional $1000.
So, after a whirlwind shopping spree, with trims, tools, and a trusty pro by your side, the total comes to approximately $1650. Remember, this is just a ballpark figure. Prices can dance higher or lower based on your choices and location.
Conclusion
From understanding what interior trims are to grasping the nuts and bolts of installation, we’ve crafted a world of possibilities for your mobile home. It’s fascinating, isn’t it? How such seemingly small details can transform a space, giving it life, character, and personality. Whether diving into DIY or calling in the pros, remember this is your canvas. Your choices, your vision.


