
Mobile homes offer many perks—affordability, flexibility, you name it. But the walls? They can be a whole different ball game. We’re talking about cracks, water damage, and maybe even some mysterious mold sprouting you didn’t know existed. Don’t sweat it. You’ve got this, and we’re here to guide you through every fix, step by step. Whether your walls are vinyl, paneling, or good old drywall, we’re diving into the most common hiccups you might face. By the end of this guide, you’ll be armed and ready to tackle any wall issue that comes your way.
Problem | Fix | Tips |
Patch with joint compound or wall putty | Always sand smooth for a seamless finish | |
Replace damaged area with new drywall | Use a moisture meter to detect hidden damage | |
Scrape off old material, prime, and repaint | Use a quality primer for best results | |
Clean, then use mold-resistant paint | Always wear a mask and gloves | |
Use a leveling compound | Measure twice, pour once | |
Nail or glue back into place | Ensure you're securing to a stud | |
Fill gaps with spray foam or fiberglass rolls | Always wear safety gear |
Know Your Walls

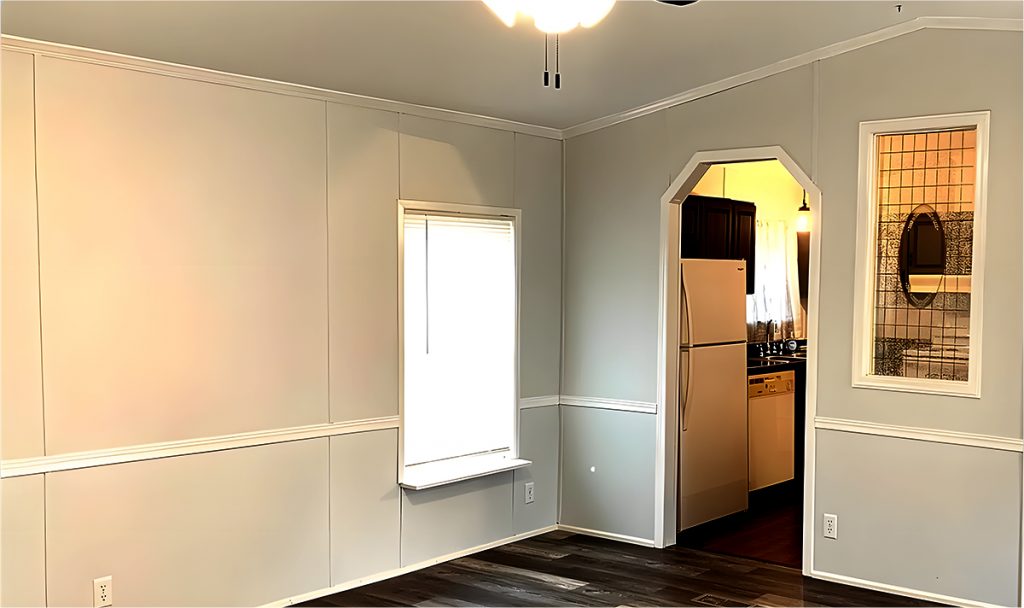
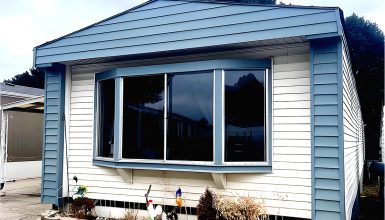
Before diving into the nitty-gritty of repairs, let’s get to know the show’s stars: your mobile home walls. Yep, not all walls are created equal, especially in mobile homes. So, what are we dealing with here?
First off, vinyl-covered walls. These babies are super common in mobile homes. They’re cost-effective and quick to install. The downside? Stains and scuffs show up like uninvited guests. But don’t worry, we’ve got fixes for that.
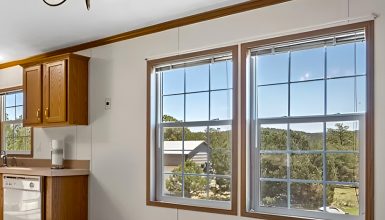
Next up is paneling. Ah, the retro charm! These can add a cozy, vintage vibe. But be warned, they can warp or get water damage. Keep an eye out, and we’ll show you how to keep them pristine.
Now, drywall. If you see these, consider yourself lucky. They’re the most like traditional home walls. Easy to paint, easy to repair. But yes, they can still run into issues like cracks and holes. We’ll get to that.
Last but not least, hardboard. Think of it as the strong, silent type. These walls are durable but can be a real pain if they start to deteriorate. You’ll want to catch issues early on.
Have you got all that? Great! Knowing your wall type is like knowing your enemy—you’re already halfway to victory. So, let’s roll up those sleeves and get to work!
1. Cracks and Holes
So, you’ve found some cracks and holes, huh? No need to panic. Seriously, this is the stuff of weekend warriors. You’ve got this.
First things first, let’s figure out what caused them. Knowing the root cause helps you pick the right fix. It could be simple wear and tear, or maybe someone got a little too rowdy with indoor soccer—we’re not judging!
Alright, tools in hand? For small cracks, a simple spackling paste should do the trick. Just smear it on, smooth it out, and give it a good sanding once it’s dry. Boom, you’re golden.
Now, you’ll want a wall repair patch for bigger holes. It’s like a Band-Aid for your walls! Just slap it on the hole, cover it with joint compound, and sand it down when dry. Paint over it, and it’s like it never happened.
If you’ve got paneling, wood filler is your new best friend. Just like spackling, fill that hole, smooth, and sand. Simple as that.
Drywall? Basically, the same steps as paneling. Nothing a patch and some joint compound can’t solve.
Oh, and let’s not forget the hardboard. These might need a bit of epoxy filler. Mix it, apply it, and sand it down.
The trick is to be patient. Don’t rush the drying and sanding parts. I know the excitement is real, but haste makes waste. Soon enough, those walls will be as good as new!
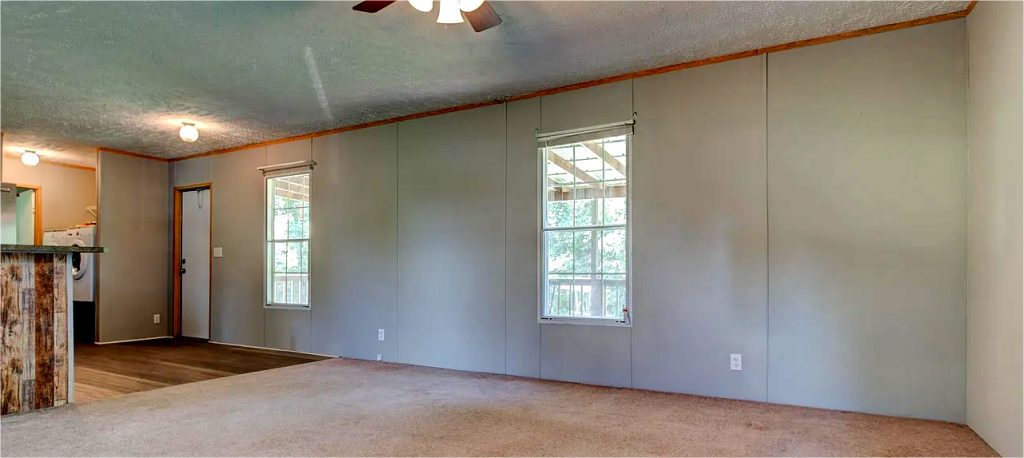
2. Water Damage
Ugh, water damage. It’s like the bad gossip of the home repair world—once it starts, it spreads fast. But guess what? You’re totally equipped to stop this drama in its tracks. Let’s break it down.
First up, find the source. You’ve got to stop the water leak before anything else. It could be a busted pipe or a leaky roof. Once you spot it, fix it ASAP. This isn’t a “wait until next weekend” kind of problem.
Now, let’s assess the damage. If it’s just a stain, you lucked out. Grab some stain-blocking primer and slap it on there. Follow up with your regular paint, and you’re done. Easy, right?
But let’s say the wall feels soft to the touch—yep, that’s worse. You’ll need to cut out the damaged part. Whether vinyl, drywall, or paneling, a good old utility knife will do the job. Cut, remove, and dispose. No looking back.
Next, you’ll want to replace the cut-out spot. Just measure and cut a new piece of the same material. Nail or screw it into place. You’re almost there!
The last step is to paint or finish to match the rest of the wall. And voila, it’s like that water damage was just a bad dream.
Key takeaway? Act fast. Water damage is no joke, but with some quick thinking and handy work, you can make your wall problems a thing of the past. So go ahead, show that water damage who’s boss!
3. Peeling Paint or Wallpaper
Alright, onto peeling paint and wallpaper. Is your wall starting to look like it’s shedding its skin? It’s not cute, but it’s fixable. Let’s roll up those sleeves and get cracking—or should I say, un-peeling?
First thing first, you have to know why it’s happening. Humidity, poor adhesion, or just cheap paint could be the culprits. Identifying the cause helps you prevent it in the future.
Time to prep. Whip out that scraper and go to town on the peeling areas. Get all that loose stuff off so you have a smooth surface. Feeling extra? A light sanding will make that wall as smooth as a baby’s bottom.
Now, let’s talk primer. Don’t skip this step. A good primer seals the wall and gives your paint or new wallpaper something to hold onto. Trust me, it’s a lifesaver.
Ready for the transformation? Paint or wallpaper goes on next. Take your time, do it right. If you’re painting, use long, even strokes. Wallpapering? Make sure to smooth out any air bubbles as you go.
The final touch is sealing. A coat of quality sealant ensures your hard work looks fresh for years. Think of it as the cherry on top of your labor of love.
And there you go! No more peeling, no more eye-sores, just beautiful, solid walls that make you proud to call your mobile home your own. High-five to you!
4. Mold and Mildew
Mold and mildew? Yikes. Don’t freak out. It’s unsightly and not something to ignore, but it’s also manageable. You’re more than capable of handling this, so let’s tackle it head-on.
First step: identify the enemy. Mold is usually black or green, and mildew is gray or white. Both love damp areas, so bathrooms and kitchens are prime real estate for them. Have you seen it? Good, now let’s get rid of it.
Next, gear up. You’ll want gloves, a mask, and good ventilation. Safety comes first, always. Open those windows and let the fresh air in!
Time for the cleanup. A mix of water and bleach works wonders. Just apply it with a sponge or cloth. But do a patch test first, especially on colored walls. We’re trying to eliminate mold, not your wall’s color!
Scrub away, but be gentle. Too much elbow grease, and you could damage the wall. Once you’re done, rinse off any bleach residue.
Dry it. Yep, mold loves moisture, so make sure the area is bone dry when you’re done. A fan can speed things up.
The last step is prevention. Consider a mold-resistant paint or adding better ventilation to the problem area. Trust me, an ounce of prevention is worth a pound of cure.
There it is! You’ve conquered mold and mildew. Not only do you get a cleaner, healthier living space, but you also get significant bragging rights. Go ahead, show off a little!
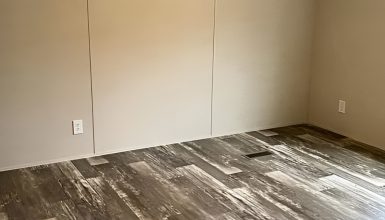
5. Unlevel Walls
The unlevel walls. They’re like that annoying friend who just can’t take a hint—the one who messes up group photos by not standing straight? Yeah, let’s set them directly—literally.
First, find out why they’re off-kilter. It could be a settling issue or even a foundation problem. If it’s the latter, call in the pros. No DIY-ing that one, sorry.
Now, let’s say it’s something less serious. Good news: you’ve got options.
Option one: shimming. Slide thin wood or cardboard behind the wall to make it level. This is great for slight unevenness. Just make sure to measure and check with a level as you go. We’re aiming for precision here!
Option two: skimming. Apply a thin layer of joint compound to fill in the low spots. Then sand it smooth. Yep, it’s like contouring, but for your walls.
Either way, you’ll have to repaint or reapply wallpaper. Consider this a chance to redecorate! Who knows, you might just find your new favorite color.
And for the love of all things home improvement, check your work with a level when you’re done. Nothing says ‘I nailed it’ like a perfectly straight wall.
So be the friend who sets things straight—starting with your walls! You’ll feel like a champ, and your home will look better.
6. Loose Wall Panels
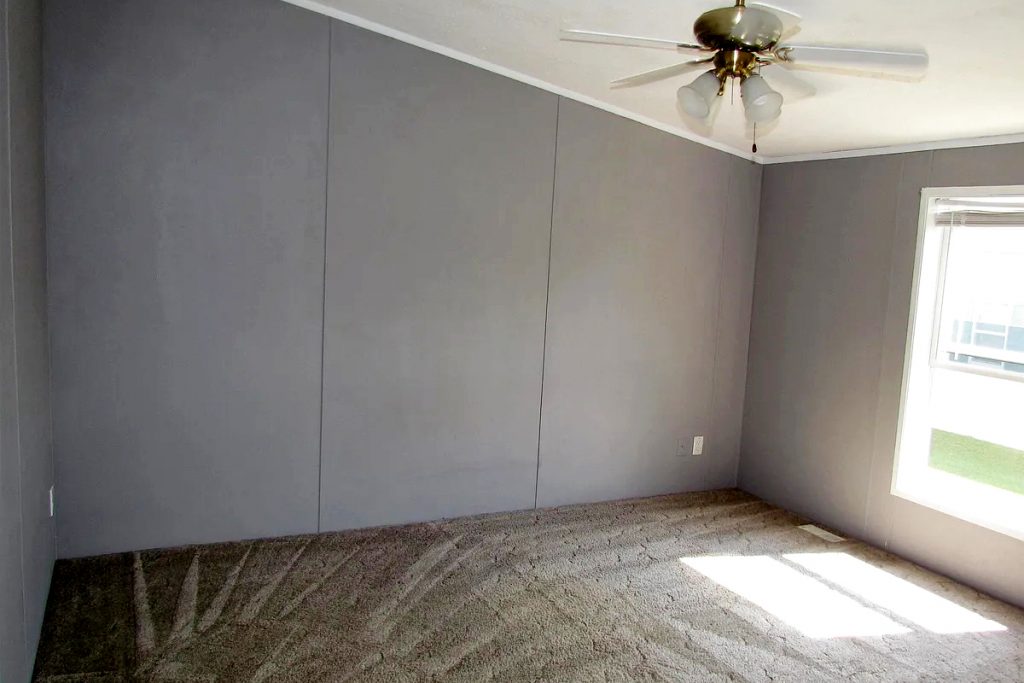
Loose wall panels? That’s like your home’s version of a loose tooth. Annoying and unsettling, right? We’ve got this. Grab your tool belt; it’s time for some home dentistry—or, should I say, carpentry?
First things first, let’s get a good look at the problem. Gently push on the wall to see how extensive the looseness is. A little give? That’s manageable. A whole wobbly section? We’ve got some work to do.
So, option one: the trusty nail or screw. If the looseness is minor, fasten the panel back into the studs. Just ensure you’re not hitting wires or pipes behind the wall. Safety first, always!
Option two: adhesive. Construction adhesive is your new BFF for those panels that won’t sit flush. Apply a zigzag pattern on the back of the panel and press it back into place. Hold it there for a minute or so to let the adhesive get a grip.
Do you have gaps or seams? Seal them up with caulk. Not only does it look better, but it also helps keep out moisture. That’s a win-win in my book.
Once everything’s secure, give it a little tap. Hear that? No creaks, no wobbles. It’s just the sweet sound of home improvement success.
The last step is finishing. Whether it’s paint, wallpaper, or a happy dance, put the finishing touch on your project.
So there you have it. Loose panels are no match for you and your DIY skills. Take a moment to admire your handiwork. Feels good, right?
7. Insulation Issues
Insulation issues? Oh, the chill! Or the sweat, depending on the season. But don’t fret; insulation is like your home’s cozy sweater, and we will make sure it fits just right.
First off, let’s spot the trouble zones. Cold drafts in the winter or hot spots in the summer are the usual suspects. Find them? Great, let’s dig deeper.
It’s time for a bit of detective work. Pop off a wall panel or an outlet cover to inspect the insulation. What you want to see is fluffy, complete material. Anything less? That’s your problem right there.
Now for solutions. If you’ve got gaps, fill them. Spray foam is quick and easy for small spaces. Just aim and fill, but don’t go overboard. This stuff expands!
For larger areas, rolls of fiberglass insulation are your go-to. Just measure, cut, and fit it into place. Make sure to wear gloves and a mask, though. Safety gear is a must when you’re dealing with insulation.
Have you got it all snug and secure? Excellent. Now, patch up any holes or wall panels you removed. A smooth wall is a happy wall, after all.
Lastly, test it out. Spend a day or two as usual and see how it feels. Warmer? Cooler? Just right? That’s what we’re aiming for.
So pat yourself on the back. You’ve just tackled insulation and made your home more comfy and energy-efficient. Now, who’s ready for a cozy movie night? You’ve earned it!
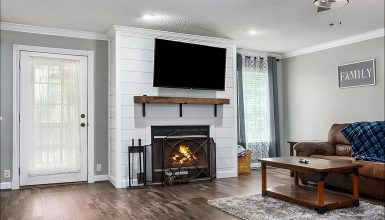
Conclusion
You’ve tackled everything—from cracks and water damage to insulation issues. Give yourself a high-five or, you know, do a little victory dance in your newly fixed-up space. Now, your mobile home is not just a structure; it’s a robust and secure sanctuary. You’ve sealed, repaired, insulated, and become the superhero of home maintenance.


