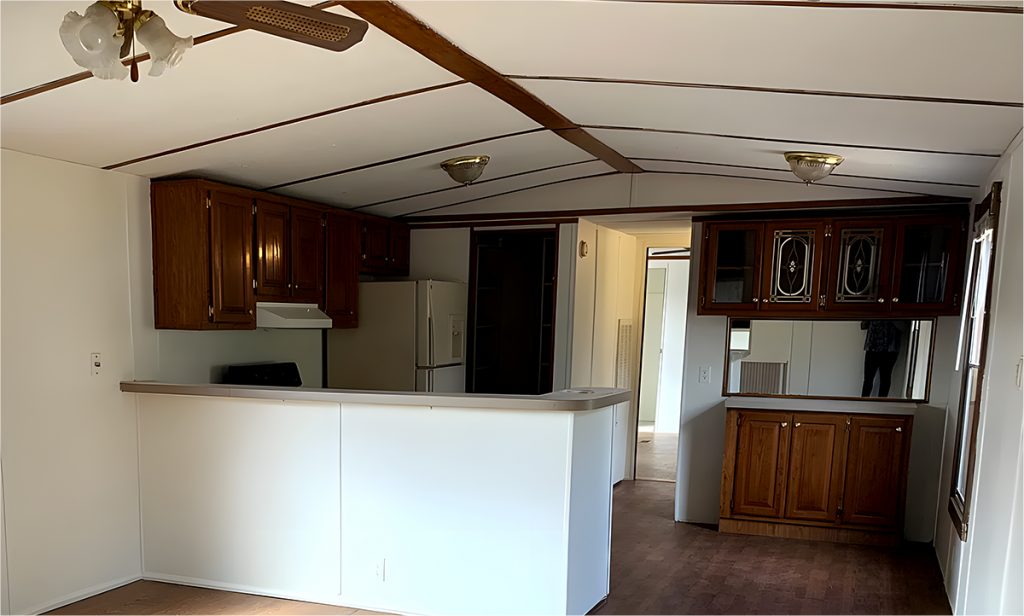
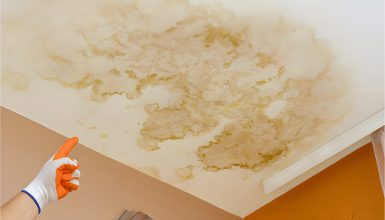
You love your mobile home. It’s cozy, it’s compact, and it’s yours. But let’s face it—those ceiling panels have seen better days. Maybe they’re sagging a bit, hosting an unwanted mold party, or just screaming 1980s in a 2020s world. No worries! A ceiling makeover isn’t just for stick-built houses; your mobile home can also get in on the action. Let’s dive in!
6 Options Ceiling Panel for Mobile Homes
Ceiling panels in mobile homes are pretty important. They play a role in your home’s overall look and feel, insulating from noise and temperature. And can also hide electrical wiring or plumbing. Here are some options you can consider:
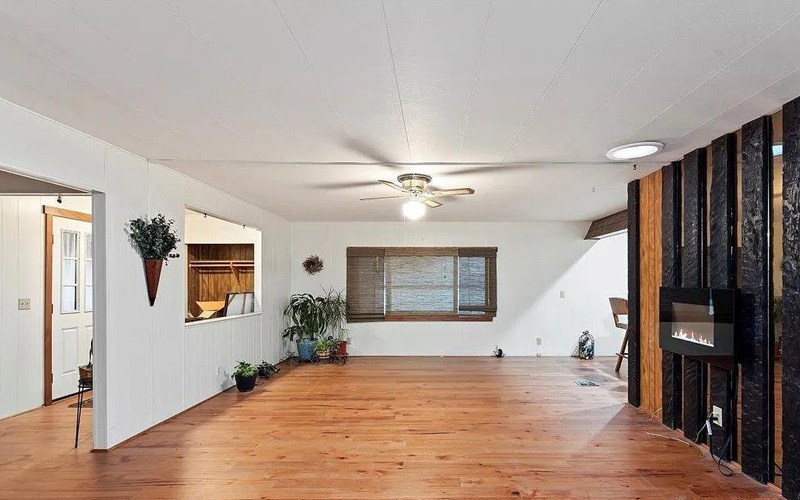
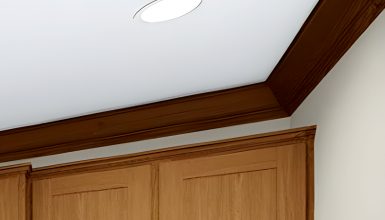
1. Drywall Panels
Drywall panels, you’ve probably heard of them. They’re a common sight in homes nationwide and for a good reason. Let’s get to know them a bit better, shall we?
So, drywall panels, also known as sheetrock or gypsum board, are essentially large, flat sheets of gypsum material. It’s sandwiched between two layers of paper. Picture a super-sized Oreo, but less tasty and much more durable.
- Pros
One of the best things about drywall panels? Versatility. You can paint, wallpapering, and even texture them. The world is your oyster when it comes to drywall design. They’re like a blank canvas, waiting for you to unleash your inner Picasso.
But drywall panels aren’t just a pretty face. They’re also relatively easy to install. In fact, with a bit of guidance and the right tools, you could do it yourself over a weekend.
- Cons
However, they do have their quirks. Drywall panels can be a bit sensitive, you see. They dislike water, so bathrooms and kitchens can pose a challenge. And while they’re pretty tough, they can crack or dent if dealt a heavy blow.
- Cost
You can expect to pay somewhere in the ballpark of $0.40 to $0.65 per square foot for standard drywall panels. Of course, the cost can increase for higher-end or specialty drywall, like mold-resistant or soundproof versions.
2. PVC Ceiling Panels
PVC ceiling panels. You’re probably more familiar with PVC in terms of pipes, but believe it or not, this versatile material has carved out a significant niche in the world of ceiling panels.
Picture this – lightweight, sturdy, waterproof sheets that can withstand the hustle and bustle of daily life. That’s what PVC ceiling panels bring to the table. These panels are made from Polyvinyl Chloride (hence the name PVC) and have much to offer.
- Pros
They’re like the superhero of ceiling panels. They shrug off water, making them perfect for moisture-prone areas like the bathroom or kitchen. Got a clumsy cook in the family? No problem! These panels are easy to clean, so splashes and stains won’t stand a chance.
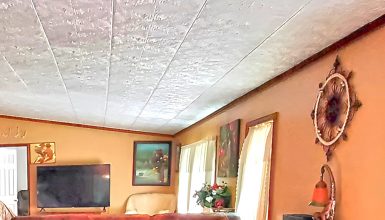
In terms of design, PVC ceiling panels are no wallflowers. They come in a dizzying array of colors and patterns. Whether you prefer a smooth, glossy finish or a design miming wood or tin, a PVC panel fits the bill.
- Cons
Now, PVC panels aren’t perfect. While they’re super practical, they don’t offer the best insulation. So, suppose you live in a particularly cold or noisy area. In that case, you may consider other options or additional insulation measures.
- Cost
They’re like that trendy item that’s surprisingly affordable. Prices can range from a dollar to several dollars per square foot, depending on the style and thickness. Plus, since they’re easy to install, you could save on labor costs by doing it yourself.
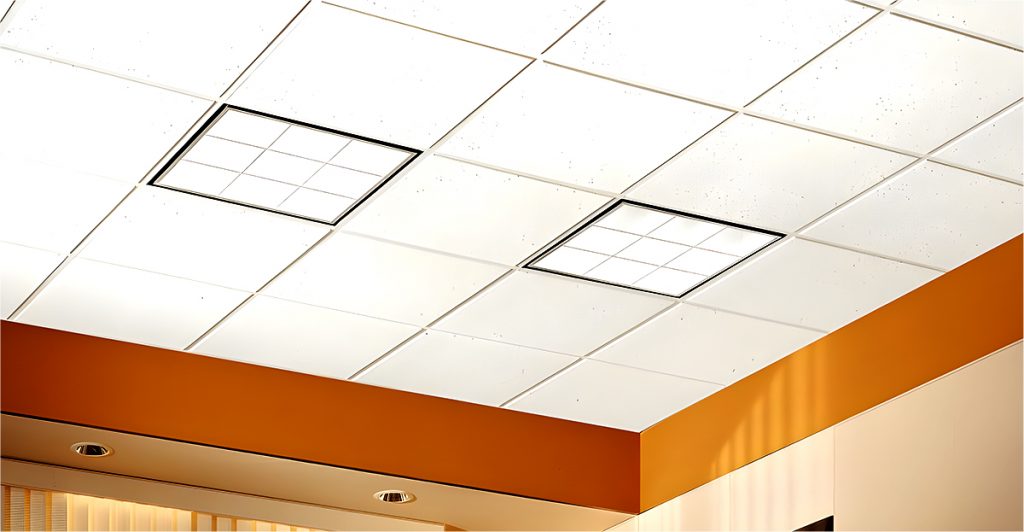
3. Acoustic Ceiling Tiles
Acoustic ceiling tiles, they’re the unsung heroes of peaceful living. These little wonders work to absorb sound, minimizing echoes and reducing noise. So, whether it’s the sound of the TV from another room or the noise of traffic outside, these tiles help to keep the peace.
- Pros
But it’s not just about noise reduction. Acoustic tiles come with a dash of style too. They’re available in various textures, patterns, and colors, so you can choose a design that fits your aesthetic. Want a modern, sleek look? There’s a tile for that. Prefer a traditional, classic style? There’s a tile for that too.
The best part is that installing acoustic tiles isn’t a Herculean task. These tiles typically come in a handy drop-ceiling format. It means they’re suspended just below the actual ceiling, creating a small gap. It’s not only great for soundproofing, but it’s also perfect for hiding wires or ductwork.
- Cons
However, they do have their limitations. While they’re champions at absorbing sound, they’re not the most durable regarding moisture or physical damage. So, a stray football or a leaky pipe might leave a mark.
- Cost
Acoustic tiles can be a bit pricier. Think of them as the designer label of ceiling panels. Prices can run anywhere from $2 to $5 per square foot or even more for higher-end options. The peace they bring, though? Priceless.
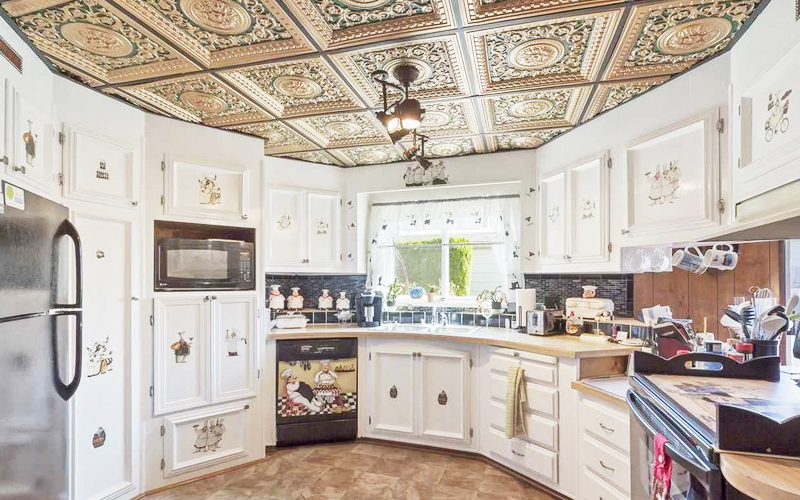
4. Metal Ceiling Panels
Metal ceiling panels; ever thought about them? They may sound a bit industrial, but let me tell you, they’ve got a whole lot of charm and practicality.
- Pros
Metal ceiling panels can add a dash of retro, industrial, or even modern elegance to your mobile home. They’re like the chameleons of ceiling panels, blending into various decor styles with surprising ease. And when it comes to designs, the options are limitless!
Do you fancy the ornate charm of Victorian-era tin tiles? Or maybe you’re into the smooth, sleek look of brushed aluminum. Whatever your style, metal ceiling panels have you covered.
But these panels aren’t just about style. Metal is strong, durable, and naturally resistant to common ceiling woes like mold and pests. Plus, unlike other panels, metal isn’t bothered by moisture, making them a good choice for kitchens or bathrooms.
- Cons
As for downsides, metal panels aren’t the best insulators. So, if you live in an area with extreme temperatures, you might want to add extra insulation. Plus, while they’re super sturdy, they can be prone to dents and scratches. But your metal ceiling can remain beautiful for years with some love and care.
- Cost
Metal ceiling panels can vary a lot in price depending on the style and material. You might find options from $2 to $15 per square foot or more. They’re like that antique shop finds – you could get a deal or splurge on a rare piece.
Installing these panels can be a bit tricky, though. They’re stiffer and heavier than others, so you might want to have a buddy to help or consider hiring a pro.
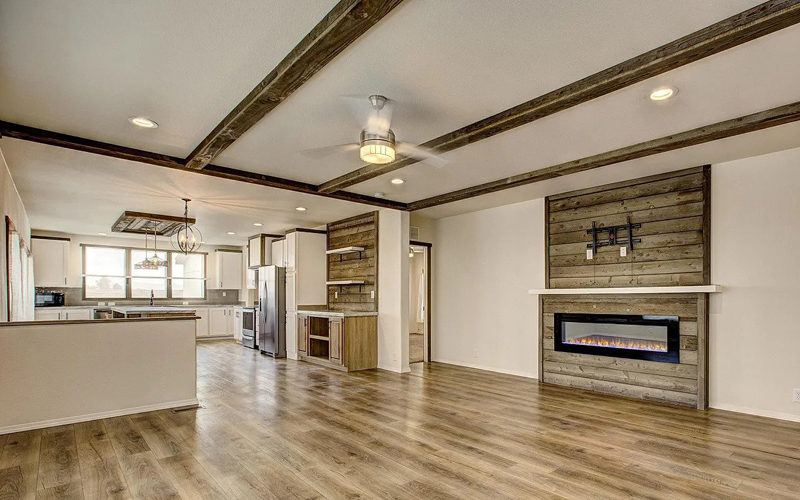
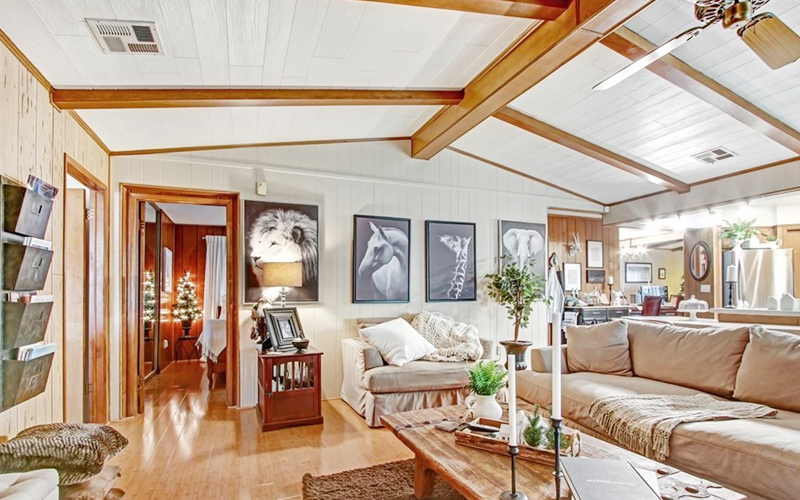
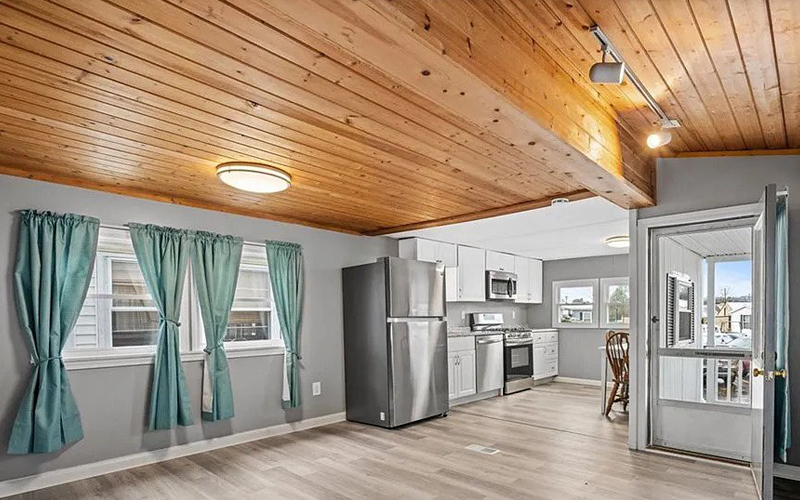
5. Wood Paneling
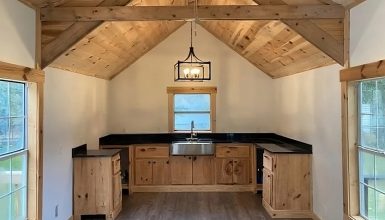
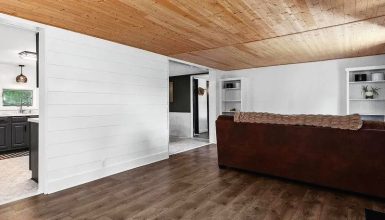
Wood paneling for ceilings – it’s like wrapping your home in a warm, cozy blanket of natural charm. This timeless material has been gracing homes for centuries, and it’s easy to see why.
- Pros
There’s just something about the warmth and richness of wood that makes a house feel like a home. And with the variety of wood species and finishes available, from pine and cedar to oak and mahogany, you can create a look that’s uniquely yours.
Think of it as your home’s signature- rustic barn boards for that cozy country cottage vibe, sleek maple panels for a modern, minimalist look, or anything in between.
But wood paneling isn’t just a pretty face. It’s a sturdy choice that can withstand everyday wear and tear. And because it’s a natural material, each panel has its own unique grain and color variations, adding depth and character to your space.
- Cons
As for drawbacks, wood needs a little more TLC than other materials. It can be susceptible to moisture and temperature changes, so regular maintenance, like sealing and staining, is vital. But trust me, when you’re sitting back admiring your beautiful wood-paneled ceiling, you’ll find it worth the effort.
- Cost
Wood paneling is like your bespoke, tailor-made suit. The cost can vary greatly depending on the type of wood, with prices ranging anywhere from a couple of dollars per square foot for basic panels to $20 or more for exotic woods.
Installing wood paneling can be a bit of a project. But with some patience, the right tools, and maybe a friend or two to lend a hand, you can create a stunning, custom ceiling that you’ll be proud to show off.
6. Fiberglass Ceiling Panels
Let’s talk fiberglass ceiling panels. Now, I know what you’re thinking – “Fiberglass? Really?” But hear me out. These underdogs of the ceiling world have more to offer than you might think.
- Pros
First things first, fiberglass panels are tough. They’re durable and resistant to many of the wear and tear that ceilings can face. Mold, mildew, moisture – fiberglass just shrugs it all off. So, if you’re looking for a ceiling that can stand up to a challenge, fiberglass might be just the ticket.
But it’s not all about durability. Fiberglass panels are also pretty good when it comes to insulation. They can help keep your home cooler in the summer and warmer in the winter. Plus, they can offer some degree of soundproofing too.
Style-wise, fiberglass ceiling panels are surprisingly versatile. They can be finished in various ways to mimic textures like wood, tin, or plaster. So you can enjoy the benefits of fiberglass without sacrificing style.
- Cons
However, they’re not perfect. Fiberglass can fade or yellow over time, especially if exposed to sunlight. And while they’re generally quite sturdy, they can crack or break if handled roughly.
- Cost
Fiberglass panels are like your reliable, everyday outfit. They’re typically priced between $2 and $4 per square foot. Their easy installation and durability can make them a cost-effective choice in the long run.
Now, onto the installation. One word – effortless. Fiberglass panels are lightweight and simple to install so you can give your ceiling a makeover without the heavy lifting.
Factors to Consider
So, you’re ready to give your mobile home a ceiling makeover. But with so many options, how do you choose the right one? Here are some key factors to consider that can help guide your decision.
- Weight
Mobile homes, by design, are intended to be lightweight for ease of transport. Adding too much weight can impact your home’s structural integrity and safety. Different materials have different weights. For instance, drywall and metal panels tend to be heavier. On the flip side, PVC and fiberglass panels are generally lighter. If you have your heart set on a heavier material like metal or wood, don’t despair. There might still be ways to work it in. But you’ll want to chat with a professional to ensure your home can handle the extra load.
- Budget
Think of this as your ceiling shopping fund. Different materials come with different price tags. But remember, it’s not just about the cost of the panels. You must also factor in installation costs, maintenance expenses, and potential repairs.
- Style
It is like your home’s personal fashion statement. You want a ceiling that matches your decor and reflects your style. Are you a rustic charm fan or prefer a modern, sleek look? The good news is there’s a ceiling panel for every aesthetic.
- Durability
Consider this as your panel’s strength and stamina. Different environments need different levels of toughness. Have you got a busy kitchen or a steamy bathroom? You might need something moisture-resistant, like PVC or fiberglass. Have a lively living room with kids or pets? Look for something sturdy that can stand up to wear and tear.
- Maintenance
Think of this as ongoing care for your ceiling. Some panels, like metal or PVC, are pretty low maintenance. Others, like wood, may need a bit more TLC. So, consider how much time and effort you will put into keeping your ceiling looking its best.
- Insulation
It is all about comfort. Some materials provide better insulation, helping to keep your home cozy in winter and cool in summer. So, consider your climate and how your ceiling can help you maintain a comfortable temperature.
- Installation
Some panels are easy to install yourself, while others might require professional help. If you’re a handy type, you might enjoy the challenge. If not, you’ll need to factor in the cost of hiring a pro.
Tools and Materials Needed for Replacement
Ready to make that ceiling shine? Awesome! But hold your horses. Let’s talk about tools and materials before tearing down the old to make way for the new. It’s like going on a road trip—you must pack the right stuff to make the journey smooth.
Tools
First off, safety gear. We’re talking goggles, gloves, and a dust mask. This is non-negotiable, folks. Protect those eyes, hands, and lungs—you’ll thank me later.
Now, the measuring tape. Size matters, especially when it comes to ceiling panels. Get your measurements spot-on, or you’re in for a world of hurt involving extra trips to the hardware store.
Alright, let’s move on to cutting tools. A good saw is a must-have. Whether it’s a hand or a circular saw depends on what you’re installing. Drywall? Get a drywall saw. Plywood? A circular saw will be your best buddy.
You’ll also need something to fasten those panels. Nails or screws? Take your pick, but ensure they’re the right size and type for your chosen panels. And don’t forget the corresponding nail gun or drill to make the job a breeze.
Adhesive is up next. Some panels, like PVC, love a suitable adhesive. Get one that’s moisture-resistant for those damp areas like bathrooms.
Materials
And, of course, the star of the show—the ceiling panels! Ensure you’ve enough to cover your ceiling, plus a little extra for those “oops” moments. Trust me, they happen to be the best of us.
You can’t forget the ladder. You’re not an NBA player; even if you are, a sturdy ladder is essential for reaching those lofty heights.
Got all that? Good! You’re set for a hassle-free installation with the right tools and materials. You’ll be gazing up at that brand-new ceiling in no time, wondering why you didn’t tackle this project sooner. Let’s do this!
Assessing the Scope of Replacement
So, you’ve eyeballed your ceiling and itching to get started. But wait a second. Before you tear down anything, let’s figure out just how big of a project we’re talking about.
Full Replacement vs Partial Replacement
First things first, what’s the damage? Are we talking about a few ugly spots, or does the whole thing need a facelift? You might get away with a partial replacement if it’s just a small area. It’s like fixing a chipped tooth instead of getting a full set of veneers. But if that ceiling is more sag than swag, it’s time for a total redo.
Estimating the Cost
Next, let’s talk money. Yeah, the not-so-fun part. Ceiling materials aren’t free, you know. Plywood, drywall, acoustic panels—they all come with price tags. Add the cost of tools you might not have, and things can add up. Make a budget and stick to it. No one wants a half-finished ceiling because the piggy bank ran dry.
Time needed for the project
Don’t forget time. Rome wasn’t built in a day, and your ceiling won’t be, either. Simple projects might take a weekend, but complex ones could stretch over weeks. Be realistic. If you’re DIYing it between work and life, plan accordingly.
Oh, and a pro tip: consider getting a few professional quotes. Even if you’re all in on a DIY project, having a benchmark is good. Sometimes, the pros can do it more economically than you’d think, especially when you factor in your time.
In a nutshell, don’t jump in blindfolded. Assess the lay of the land—or the ceiling, in this case. Knowing what you’re up against in scale, cost, and time will make the whole process smoother. And hey, a smooth project means a smooth ceiling, right? Let’s get to it!
Steps to Remove Old Ceiling Panels
Okay, it’s go-time! You’ve picked your panels, stocked up on tools, and psyched yourself up. Now comes the moment of truth—ripping down that old ceiling. It’s like tearing off a Band-Aid; you must do it. But let’s do it right, so strap on your tool belt and get cracking!
Step one: Safety first. Seriously, grab those goggles and gloves. Put on a dust mask. Turn off the power to the room. Safety isn’t just a buzzword; it’s a must-do.
Now, clear the room. You never know where to put furniture, decor, and that weird vase—get it all out. You don’t want dust and debris ruining your prized possessions.
Step two: Identify the seams. You’re looking for the lines where the old panels meet. This is where you’ll start your demo. Got ‘them? Great.
Time for action. Grab your pry bar or hammer gently wedge it into the first seam. And I mean gently. We’re not going for a Hulk smash here. Once the bar’s in, gently pull back to lift the panel. It should start to give way.
Got one panel down? Sweet. Keep the momentum going. Work your way across the ceiling, one panel at a time. Watch for nails or screws that may be holding the game up as you go. Remove those as needed.
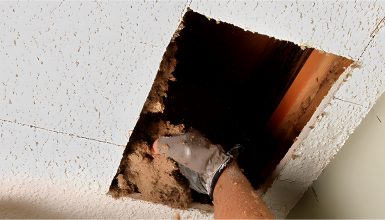
Hold on, are those wires or pipes? Pause! Never yank a panel down if there are wires or pipes. Detour around them, and if you’re not sure what to do, call in the pros for this part. Safety first, remember?
As you remove panels, stack them neatly to the side. If they’re in bad shape, consider disposing of them safely. There is no need to keep trash lying around.
The last step: Clean up. Once all panels are down, you’ll likely have a mess. Sweep up debris, remove any remaining nails or screws from the ceiling joists, and give the whole area a good vacuum. A clean workspace sets you up for a smooth installation.
Installation Process for New Ceiling Panels
The old panels are history, and you’ve got a blank canvas. It’s showtime, folks! It’s time to make that ceiling go from zero to hero. So, let’s get those new panels up there and give your room the glow-up it deserves!
Step 1
Kick things off by measuring. Again. Seriously, measure twice, cut once—it’s the golden rule for a reason. Mark the spots on the ceiling joists where the new panels will attach. It’s like connecting the dots but for grown-ups.
Step 2
Now, grab a buddy. These panels can be unwieldy, and an extra pair of hands is a lifesaver. Start at one corner of the room and work your way across. Lift the first panel and align it with your marks. One of you holds it in place while the other fastens it.
Step 3
Speaking of fastening, here’s where your choice of nails or screws comes in. Secure the panel at each marked joist. Make it snug, but don’t overdo it; you don’t want to dent the panel. Got the first one up? High five, you’re on a roll!
Step 4
Time to add the next panel. Line it up flush with the first one, making sure the edges meet cleanly. Fasten it the same way you did the first. And keep going. Panel by panel, you’ll see that new ceiling come to life.
Encountered a light fixture or a vent? No worries. Cut holes in the panel for these before you lift it. Remember, measure twice! A big or small hole is a headache you don’t need.
Step 5
Okay, you’re nearing the finish line. Are all panels up? Fantastic! But don’t pop the champagne yet. You’ll likely see seams where the panels meet. It’s time to break out the tape and mud to make those seams disappear. This step adds that pro touch, giving you a seamless and polished ceiling.
Step 6
Finally, let it dry. Yes, I know, the waiting is the hardest part. But a dry surface means you’re ready for painting or staining, the cherry on top of your ceiling sundae.
Tips for a Smooth Installation
You’ve got the basics down and feel like a DIY superstar. But let’s kick it up a notch. How about some insider tips to make your ceiling installation good and jaw-droppingly amazing? You know, the kind that has your friends asking, “Did you do this yourself?” Yep, that’s the goal!
First, let’s talk about that first panel. It sets the tone for everything else. So, triple-check that it’s level and aligned. A wonky start makes for a wonky finish, and nobody wants that.
Have you ever heard of the stagger technique? Avoid lining up the seams perfectly from row to row when placing panels. Think bricklaying; stagger those seams for a more solid and visually appealing result. It’s like a puzzle but way more satisfying.
Now, about those corners—make them snug. It will haunt you later if you’ve got even a tiny gap. Filling it with mud or caulk is fine, but nothing beats getting it right first. So take your time and aim for perfection.
Here’s a golden nugget—pre-drill your holes. Whether using screws or nails, pre-drilling eliminates the risk of splitting your beautiful new panels. It’s a tiny step that saves a ton of stress.
While we’re on the subject of drilling, don’t go too deep. You want the screws flush with the panel, not digging into it. Press too hard, and you could dent the material. A gentle touch is key here.
And, if you’re painting or staining afterward, prime first. A primer helps the final color pop and last longer. Plus, it covers up any small imperfections, giving you a flawless finish. Think of it as the makeup primer of the DIY world.
Don’t forget to let any adhesive dry if you’re using it. Rushing can cause the panels to shift, throwing off your entire game. So be patient; good things come to those who wait.
Conclusion
Choosing the right ceiling panel isn’t just a pick-and-go affair. It’s like choosing a new haircut—each style has its vibe and maintenance level. From the rustic allure of wood to the smooth, modern look of drywall, your choice sets the mood for the whole space. Plywood’s your go-to for a budget-friendly makeover. At the same time, acoustic panels bring that hush-hush feel, perfect for a cozy bedroom.

