
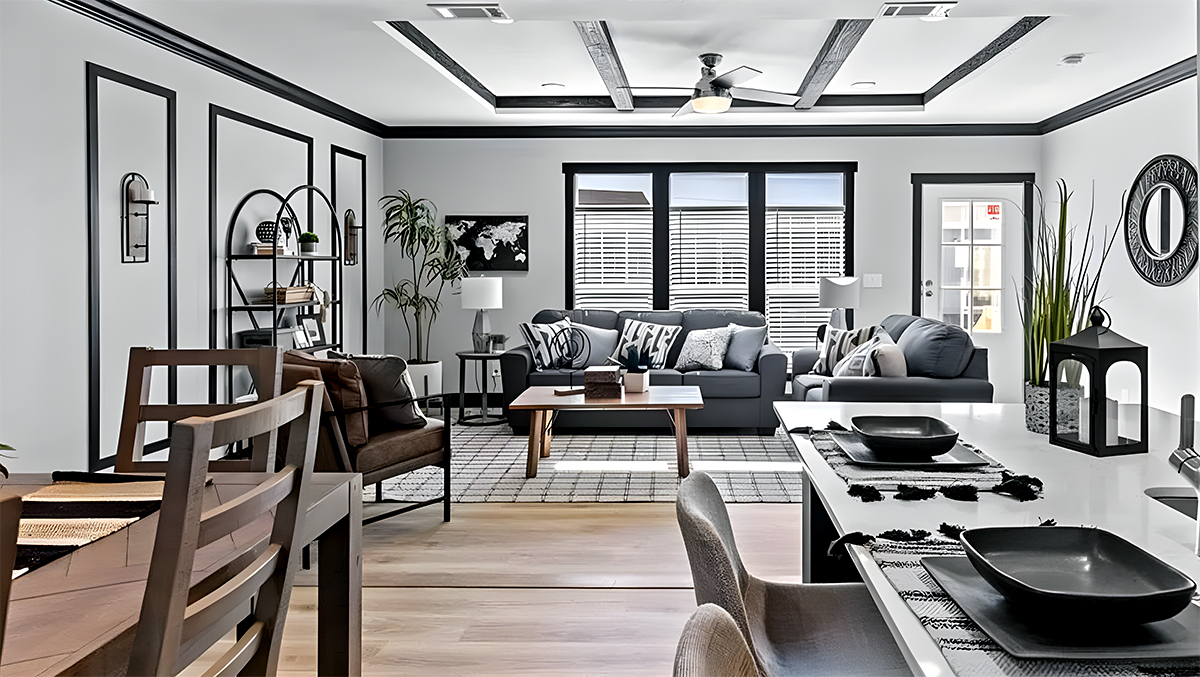
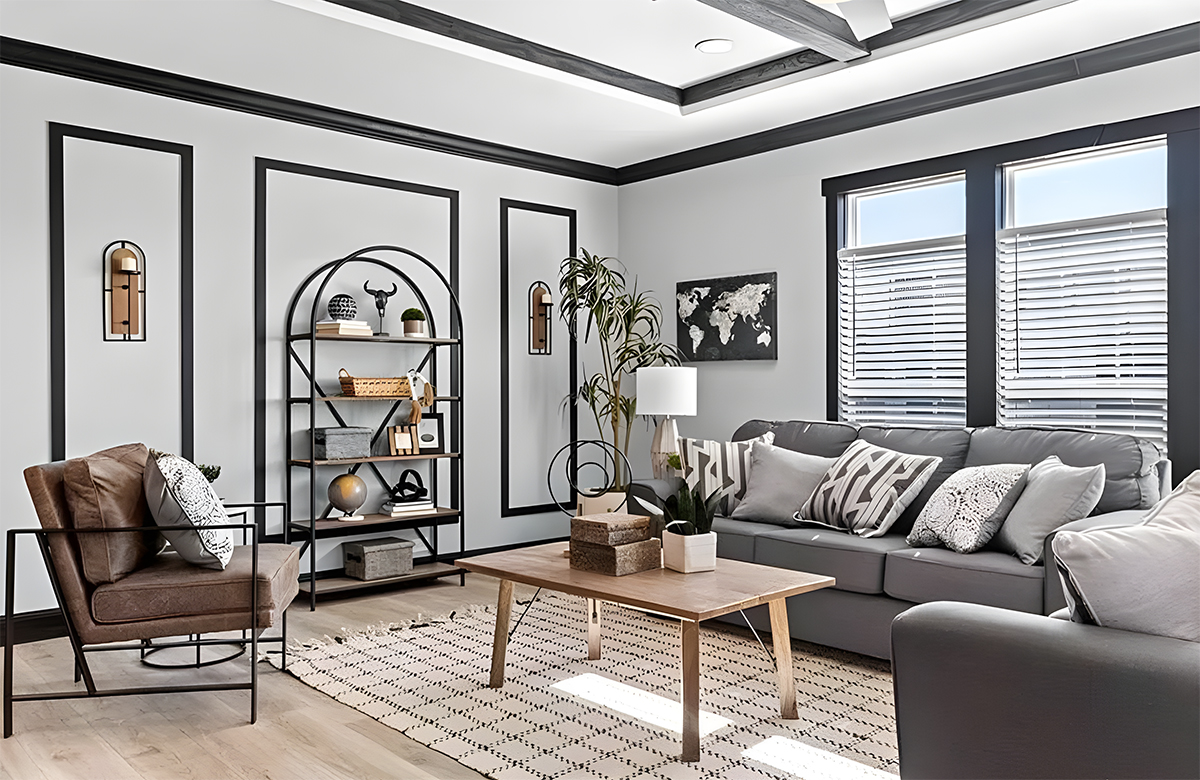
Crown molding adds sophistication and charm, transforming even the simplest spaces into something special. And guess what? You don’t need a traditional house to have it. Yes, even your mobile home can get in on this style upgrade. But can you put crown molding in a mobile home? Absolutely, and we’re about to dive into all the details, taking your mobile home from ‘standard’ to ‘statement.’
Factors to Consider
Let’s break down the must-know details for those eager to give their mobile home a crown molding facelift. Here’s the nitty-gritty.
- Ceiling Height
First, let’s chat about ceiling height. Mobile homes often come with ceilings that are a bit cozier than your standard house. That’s not a problem, but it is something to consider when picking out crown molding. You don’t want a chunky, overbearing piece that will make your room feel even smaller. Keep it proportional; the suitable molding will enhance your space, not overpower it.
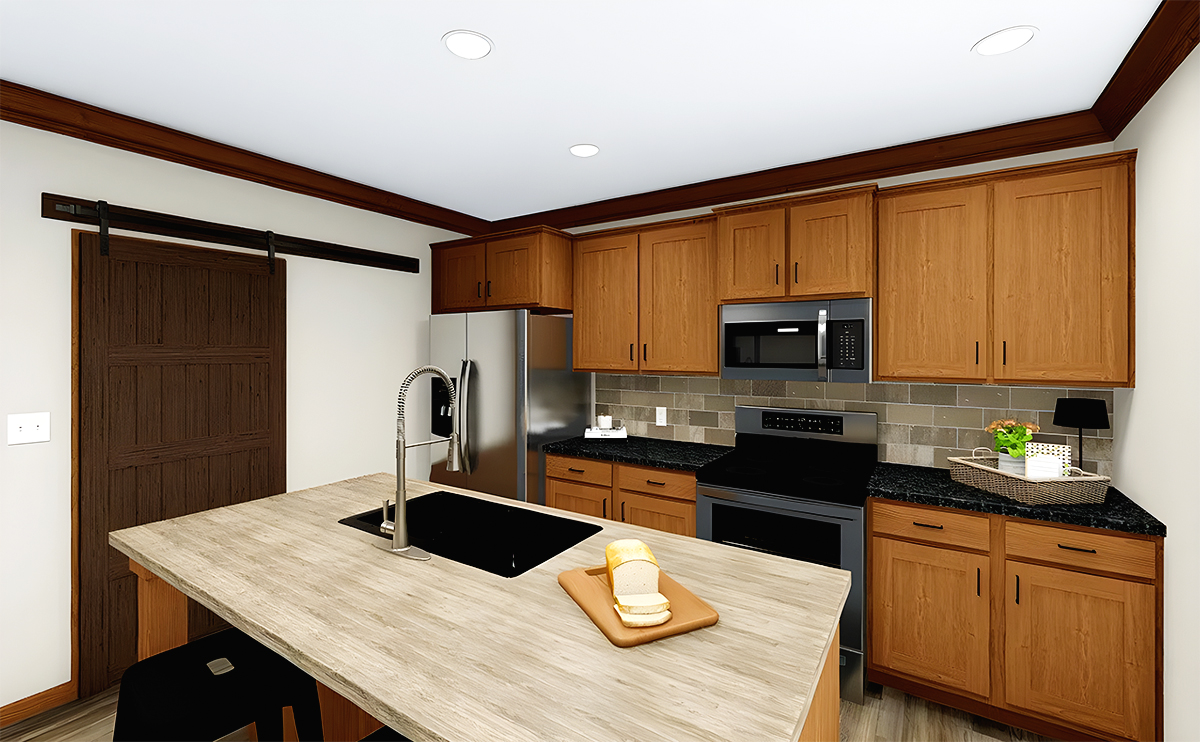
- Wall and Ceiling Materials
Secondly, what’s your mobile home made of? Traditional drywall? Vinyl-covered wallboards? It’s essential to know your materials. It can impact both the type of molding you choose and the installation method you’ll need to use. Drywall can handle nails and screws, but the adhesive may be your best friend if you work with vinyl. Do some homework on your walls and ceiling – trust us, it will pay off.
- Crown Molding Materials
Crown molding comes in different materials, like wood, MDF, polyurethane, and even polystyrene. Each has its pros and cons. Wood is classic and sturdy but can be a bit pricier. MDF is affordable and easy to work with but might not have the same longevity. Polyurethane and polystyrene are lightweight – perfect for mobile homes – and resistant to damage. Plus, they come in a variety of styles. So take your pick based on your budget, DIY comfort level, and the look you’re going for.
- Crown Molding Size
Now, let’s move on to size. The rule of thumb here is balance. You want your molding to make an impact without overwhelming your space. For mobile homes, where ceilings tend to be lower, consider choosing molding between 2.5 to 4 inches wide. It keeps things proportional and adds that special touch without feeling overbearing.
- Weight Concerns
And last but not least, let’s talk weight. Crown molding isn’t usually super heavy, but every little bit adds up, especially in a mobile home where weight can impact stability and transportability. It’s an uncommon issue, but it’s always better to be safe than sorry. Choose lighter materials like polystyrene or PVC over solid wood or plaster. They still look great but won’t add unnecessary weight to your home.
Knowing Your Ceiling Types
Not all mobile home ceilings are the same, and it’s essential to know which type you have before you start your crown molding journey.
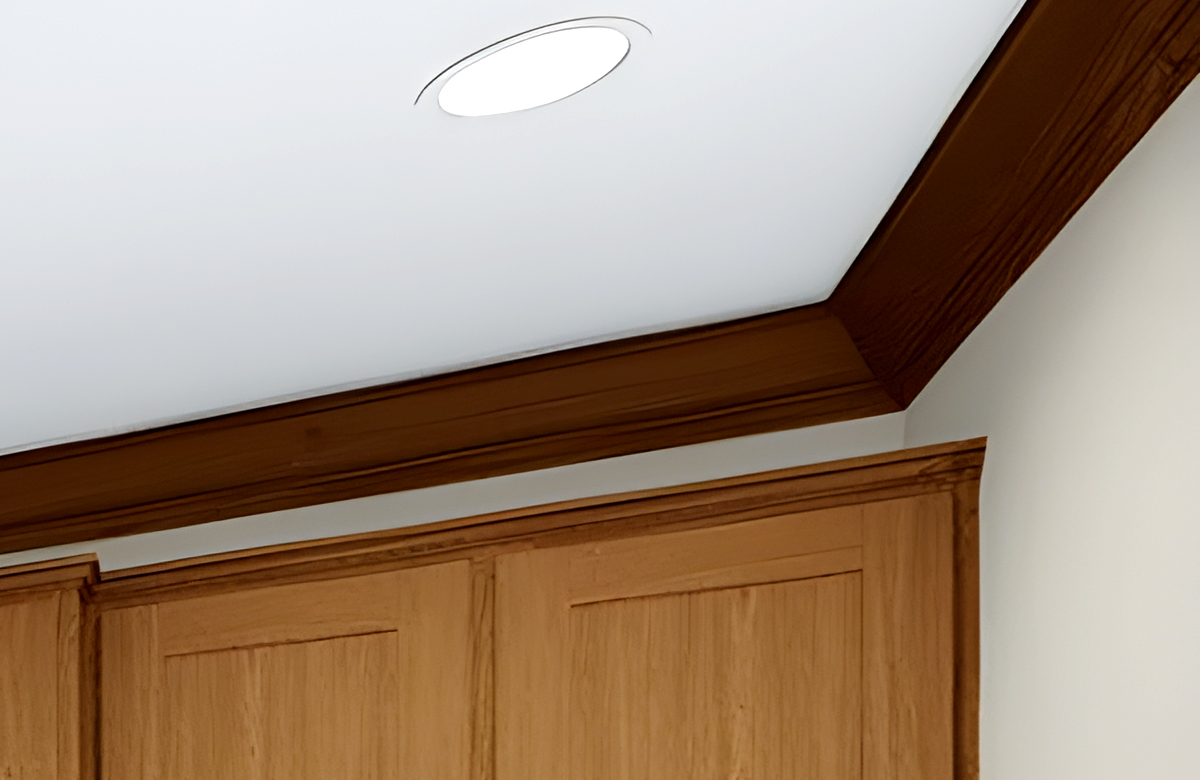
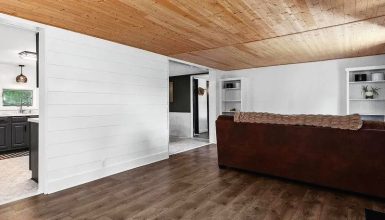
- Flat Ceilings
First up, we’ve got the simplest: flat ceilings. Just like they sound, these are nice and level from wall to wall, with no slopes or paneling to contend with. It’s the easiest kind of ceiling for installing crown molding. A smooth surface and no unexpected angles? Perfect for crown-molding rookies!
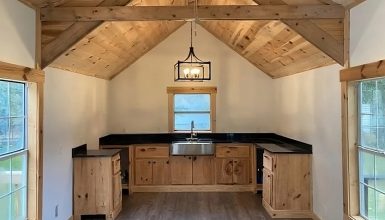
- Vaulted Ceilings
Next, we have vaulted ceilings. These beauties give a sense of height and space with their unique angles. They’re a stunning feature with a higher peak in the middle, but they can make installing crown molding a bit more complex. You’ll need to pay special attention to your measurements and cuts, especially where the molding meets at the top. But don’t worry. With some care, your molding will look fantastic against the high sweep of a vaulted ceiling.
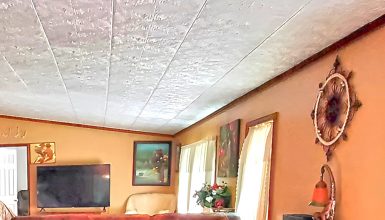
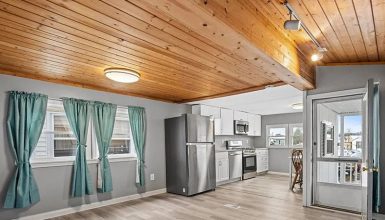
- Paneled Ceilings
Lastly, we’ve got paneled ceilings. These are often seen in older mobile homes. Think flat ceiling, but with a series of strips or battens covering the joints between panels. It can add extra work to your molding project, as you may need to remove these battens for a cleaner look. But with that extra effort, you’ll achieve a smooth, seamless finish.
Understanding Crown Molding Angles
Let’s tackle the next big thing in your crown molding project: angles. Sounds daunting? Don’t worry. It’s simpler than you think.
- 90-Degree Angles
Let’s start with the basics, the 90-degree angles. It is the standard angle for most walls meeting the ceiling – a straightforward right angle. When dealing with these, cutting your crown molding is a cinch. Just line up your saw, make your cut, and voila – a perfect fit for your walls and ceiling.
- Outside Corners
Now, things get a bit more interesting with outside corners. Imagine the corner of a picture frame. That’s an outside corner. The molding pieces need to meet at a point, which means cutting each piece at an angle. A little tricky, but nothing a miter saw or a bit of patience can’t handle.
- Inside Corners
Next, we’ve got inside corners. It is where two walls meet at an inward point. Here, you’ll be cutting your molding so one piece fits against the full profile of the other – like puzzle pieces fitting together. It might take a little practice, but it’s smooth sailing once you nail it (pun intended).
- Vaulted Ceiling Angles
Finally, we come to those vaulted ceiling angles. It is where the drama happens. Each cut depends on the pitch of your ceiling. Adjustable miter saws or special crown molding jigs will be your best friend. Take your time, measure twice, and cut once; you’ll have a professional-looking finish.
Step-by-step Guide on Installing Crown Molding
Are you ready to give your mobile home a style boost? Excellent! Let’s walk through the steps of installing crown molding:
Tools and Materials
Start on the right foot. You’ll need your crown molding, a saw for cutting, adhesive (or nails), a measuring tape, a pencil, a level, and potentially a ladder. Gather everything beforehand to make your project smooth sailing.
Step 1: Pre-installation prep
Measure the walls where you’ll install the molding. Use that pencil to mark where the bottom of the molding will sit. It helps keep things straight during installation. Grab your level to double-check your marks.
Step 2: Measure and Cut
Now it’s time to cut your molding. Remember, it’s all about the angles here. Double-check each measurement before you cut. No one likes wasting an excellent piece of molding on a bad cut!
Step 3: Secure the Molding
Time to attach your crown molding to your walls. If you’re using adhesive, apply it to the back of your molding and firmly press it. If you’re nailing it, start from one end and work to the other, securing as you go.
Step 4: Finishing Touches
Once the molding is up, check for any gaps. These can be filled with caulk for a seamless finish. And there you have it, crown molding installed!
Conclusion
Installing crown molding in your mobile home is a fantastic way to amp up your space. But remember to consider your ceiling type and height, choose the right size and type of molding, and tackle those angles with confidence. Thank you for reading!