
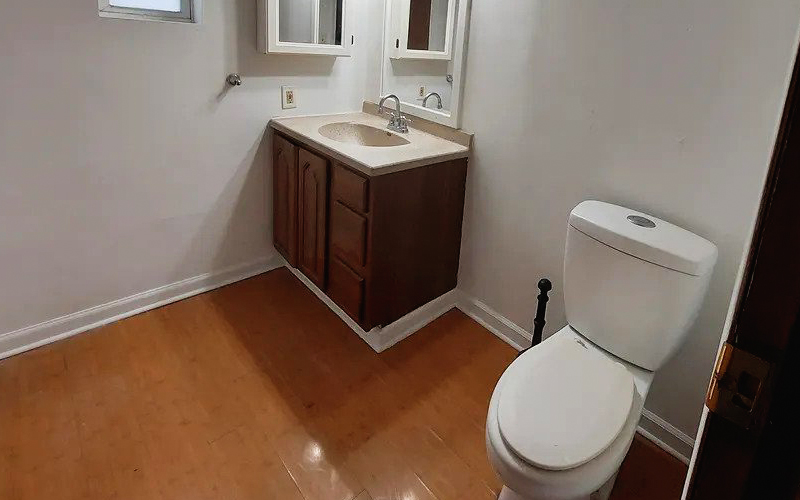
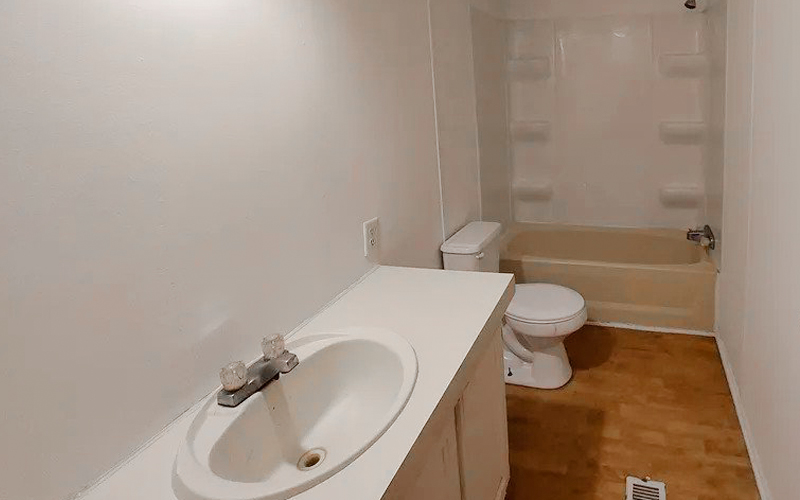
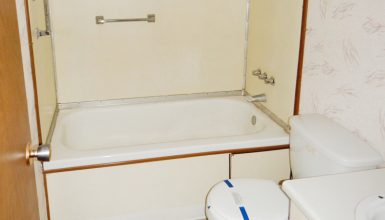
Your bathroom floor is one of the essential components of the room. Also, it provides a durable and attractive surface to walk on, protects the subfloor, and helps keep the bathroom clean and hygienic. If your mobile home bathroom floor is old, damaged, or rotted, it’s time to replace it with new flooring. In this guide, you’ll discover the step-by-step process for replacing a bathroom floor in a mobile home, from preparation to installation to cleanup. So, let’s get started!
Causes of Mobile Home Bathroom Floor Damage
Bathrooms are a hot spot for damage due to their high moisture levels. But what exactly is causing all the trouble? Below, we’ll dive into the most common causes and what you can do to prevent them.
- Moisture and Water Damage
Moisture and water damage are the biggest culprits when damaging your bathroom floor. Excess water can wreak havoc on your flooring from spills, leaks, or high humidity levels. Moreover, warping, buckling, and rotting are a few issues that can arise.
To avoid moisture and water damage is essential to keep the bathroom well-ventilated and dry. Fix any leaks as soon as they occur, and regularly mop up spills. If you have a bathtub, use a bath mat to catch any excess water. Also, you can install a fan or dehumidifier to help dry the air.
- Age and Wear and Tear
Age and wear and tear can take a toll on your bathroom floor. Over time, the flooring material can become worn and damaged due to foot traffic, heavy furniture, and general use. It can cause cracks, chips, and discoloration in the flooring, leading to the need for repairs or replacement.
To minimize the impact of age and wear and tear is essential to maintain your flooring by cleaning it regularly and avoiding heavy objects or furniture on the surface. Additionally, it’s a good idea to periodically inspect the floor for any signs of damage and make repairs as needed.
- Poor Ventilation
Poor ventilation in a mobile home bathroom can lead to excess moisture buildup, causing damage to the flooring. It can occur when your bathroom doesn’t have proper ventilation, such as a window or exhaust fan, to circulate air and remove excess moisture. Moreover, water buildup can cause warping, buckling, and even rotting of the flooring.
It’s crucial to ensure that your mobile home bathroom has adequate ventilation to prevent this damage. Installing an exhaust fan or opening a window during showers can help reduce moisture buildup and protect your bathroom flooring.
- Improper Installation
Improper installation is a significant factor that can cause bathroom floor damage in mobile homes. It refers to installing the flooring or subflooring in a way that doesn’t meet the recommended standards or best practices. It can result in issues like loose tiles, gaps in the grout, or buckling and warping the flooring material.
Improper installation can cause by factors such as using low-quality materials, lack of proper tools and equipment, or not following the manufacturer’s instructions correctly.
To ensure your bathroom floor is installed correctly, working with an experienced contractor is essential. Or DIY using high-quality materials and following instructions carefully. It will help avoid issues and ensure a long-lasting, attractive, and functional bathroom floor.
- Incorrect Cleaning and Maintenance
Cleaning and maintenance are essential to keep your bathroom floor in good condition, but sometimes even the best intentions can cause damage.
Incorrect cleaning practices can cause scratches and wear down the finish of your flooring, making it more susceptible to damage from moisture and water. Additionally, using harsh chemicals or abrasive scrubbers can weaken the structure of the flooring material and contribute to deterioration over time.
To keep your bathroom floor in top shape, using gentle, non-abrasive cleaning products is essential. Regularly sweeping and mopping the floor can help prevent dirt and debris from scratching the surface. Also, using a sealer can protect your floor from moisture damage.
Best Flooring for a Mobile Home Bathroom
The best flooring for a mobile home bathroom depends on a few factors: durability, moisture resistance, ease of installation, and appearance. Some popular options include:
- Vinyl Flooring
Vinyl flooring is a popular choice for mobile home bathrooms due to its durability and water resistance. It is made from a synthetic material that can withstand moisture, making it a practical option for high-traffic and moisture-prone areas like the bathroom.
This flooring comes in various styles, designs, and colors, allowing you to choose a look that fits your style and decor. It is also easy to install and maintain, making it a cost-effective option for homeowners. Moreover, it is flexible, so it can be installed over subfloor imperfections, making it an excellent choice for older mobile homes.
- Ceramic Tile
Ceramic tile is another popular option for mobile home bathrooms due to its durability, water resistance, and easy maintenance. The tile is made of clay fired at high temperatures, making them extremely hard and resistant to water damage.
It comes in various colors, sizes, and designs, so you can easily choose the style that best fits your bathroom’s décor. In addition, a tile is a low-maintenance option that only requires occasional cleaning to maintain its appearance.
With proper installation and sealing, ceramic or porcelain tile can last for many years, making it an excellent long-term investment for your mobile home bathroom.
- Laminate Flooring
One of the advantages of laminate flooring is its ability to withstand moisture and humidity. Also, it has a waterproof or water-resistant layer that helps to protect the core from damage. It makes it a suitable choice for a mobile home bathroom, where moisture and humidity are a common concern.
Laminate flooring is also relatively easy to install, with most options featuring a floating installation method that does not require adhesives or nails. It makes it a good choice for a do-it-yourself project.
Additionally, laminate flooring is available in a wide range of styles, colors, and finishes, allowing you to choose the look that best fits your taste and bathroom design. It is also affordable, making it a budget-friendly mobile home bathroom flooring option.
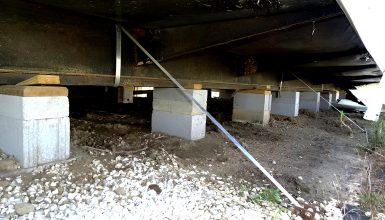
Replacing Floor in a Mobile Home Bathroom
Okay, you already know the cause of the bathroom floor damage and the floor options as a replacement. What is next? It’s time to replace the rotted floor.
1. Preparation
Preparing your bathroom for a floor replacement project is the first and most crucial step. Moreover, proper preparation will make the rest of the process go smoothly and help you achieve the best possible results. Before you start, ensure you have all the necessary materials and tools for the job. You’ll need items like:
- Underlayment
- Flooring material 3/4″ AC plywood and vinyl
- Tape measure
- Utility knife
- Straight edge
- Chalk line
- Adhesive
- Notched trowel
- Rollers
Next, you’ll need to remove all furniture and fixtures in the bathroom. It includes the toilet, sink, vanity, and shower or bathtub. You may need to disconnect the plumbing and remove electrical components, so turning off the water and electricity to the bathroom first is essential. It will prevent accidents and damage to your fixtures, furniture, and electrical components.
2. Removing the Old Flooring
Removing the old flooring material is crucial in the bathroom floor replacement process. It’s also one of the job’s messiest and most time-consuming parts. Here’s what you need to do:
- Use a drill or hammer to remove the screws or nails that hold the old flooring in place. If you’re having trouble finding the fasteners, use a pry bar or putty knife to lift the edges of the flooring to see what’s holding it down.
- Once the screws or nails are removed, you can lift the old flooring material. Be careful not to damage the subfloor as you work. If the flooring is glued down, use a putty knife to separate the glue from the subfloor.
- Depending on the flooring material, you may be able to remove it in large pieces, or it may need to be cut into smaller sections. Use a saw if necessary to cut the flooring into manageable chunks.
- Once the old flooring is removed, inspect the subfloor to ensure it’s in good condition. If there’s any damage, repair it before you proceed. The subfloor should be flat, level, and free of debris.
With these steps, you’ll be able to remove the old flooring material from your bathroom and be ready to start installing the underlayment.
3. Installing Underlayment
Installing underlayment is an essential step in the bathroom floor replacement process. Also, it provides a smooth surface for your new flooring and helps to protect it from moisture and damage. Here’s what you need to do:
- Clean and level the subfloor before you begin installing the underlayment. Make sure the subfloor is free of debris and any old adhesive.
- Measure the area you need to cover and cut the underlayment to size. Leave a small gap around the room’s edges to allow for expansion.
- Place the underlayment on the subfloor, ensuring it’s centered and straight. You can use a staple gun, nails, or adhesive to secure the underlayment.
- If your underlayment comes in multiple pieces, overlap the seams and secure them with tape.
By following these steps, you’ll be able to install the underlayment in your bathroom and get ready to install your new flooring.
4. Installing the AC Plywood
Installing the new flooring material is the final step in your bathroom floor replacement project. With 3/4″ AC plywood, you’ll get a durable, long-lasting surface that looks great and stands up to moisture. Here’s what you need to do:
- Measure the area you need to cover and cut the plywood to size. Make sure you allow for a small gap around the room’s edges to allow for expansion.
- Place the plywood in the room and make sure it fits properly. You may need to make some adjustments to ensure it’s centered and straight.
- Apply a generous amount of adhesive to the subfloor and spread it evenly. Start at one corner of the room and work your way toward the other.
- Place the plywood on the adhesive, ensuring it’s centered and straight. Use a roller to press down on the plywood and provide good contact with the glue.
- Use a nail gun or screws to secure the plywood to the subfloor. Make sure you space the nails or screws evenly, about 6-8 inches apart.
- If your plywood comes in multiple pieces, overlap the seams and secure them with wood glue.
5. Laying the Vinyl Flooring
Finishing the project means adding the final touches to your brand-new bathroom floor. With vinyl flooring, you’ll have a stylish and low-maintenance surface that will make your bathroom look great for years to come. Here’s what you need to do:
- Measure the area you need to cover and cut the vinyl to size. Make sure you allow for a small gap around the room’s edges to allow for expansion.
- Place the vinyl in the room and make sure it fits properly. You may need to make some adjustments to ensure it’s centered and straight.
- Remove the backing paper from the vinyl and apply it to the subfloor, starting at one corner of the room and working toward the other. Make sure you press down firmly to ensure good contact with the adhesive.
- Use a sharp knife to trim the vinyl along the room’s edges. Cut carefully and slowly so you don’t damage the vinyl.
- If your vinyl comes in multiple pieces, overlap the seams and use a vinyl seam sealer to ensure a watertight seal.
- Walk around the room and inspect the floor to ensure everything is level and secure.
- If you removed any fixtures during the project, reinstall them now. Make sure they’re secure and level.
Congratulations, you’ve just completed a bathroom floor replacement project! Your new floor is sure to add a touch of style and functionality to your mobile home bathroom. You’ve saved time and money by following these step-by-step instructions and learning a new skill.
Conclusion
Replacing your bathroom floor can seem daunting, but it’s a doable task with the right tools, materials, and guidance. You should feel proud of yourself for taking on this challenge and seeing it through.

