
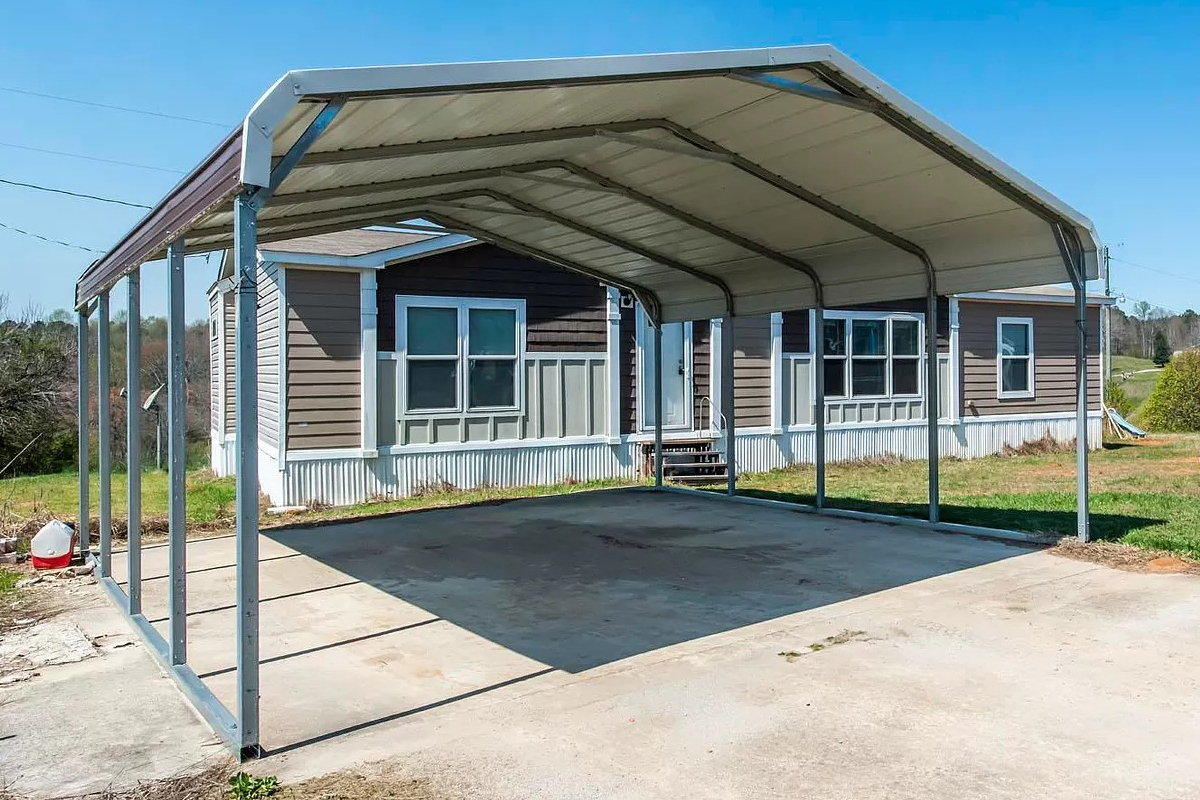
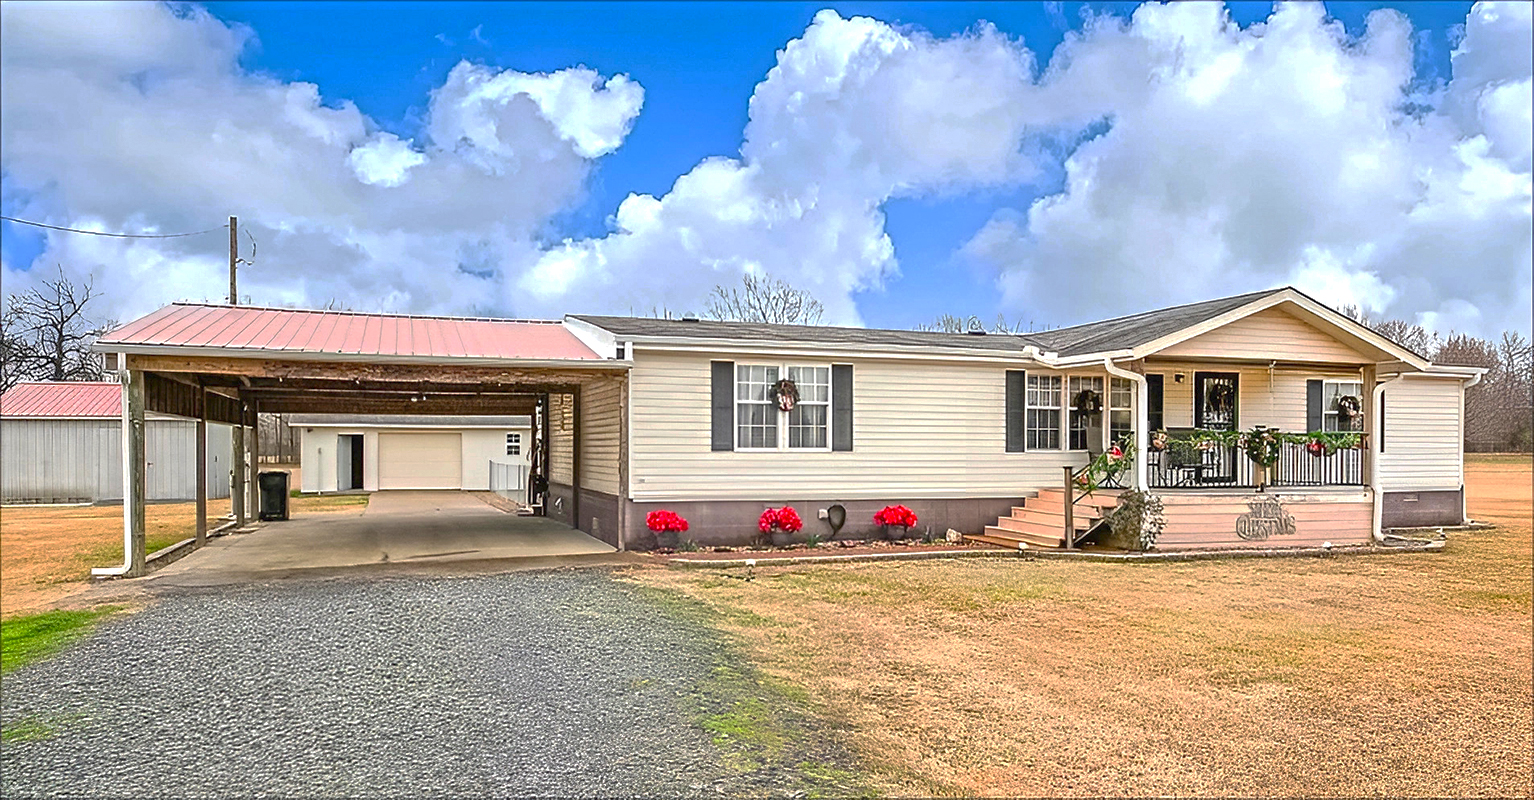
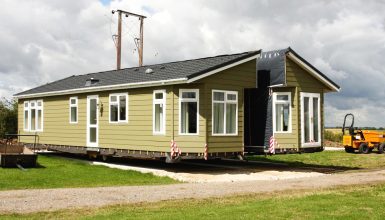
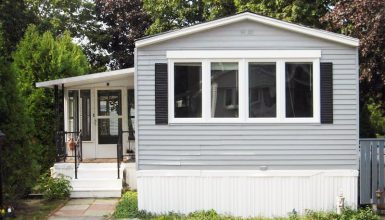
Carports are vital for protecting your vehicle from the weather. But, like any part of your home, they need regular checks and fixes. Keeping your carport in good shape saves you money in the long run and keeps you and your vehicle safe.
Now, early spotting wear and tear is key. Look for things like peeling paint, rusty spots, or leaks. These are signs your carport needs some care. Regular checks help catch these issues before they become big, costly problems. So, let’s dive into essential mobile home carport repairs.
1. Roof Repairs
Your carport roof is constantly up against the elements. Typical troubles include leaks, loose panels, or worn-out shingles. Are you seeing daylight through the roof or finding water stains? These are clear signs it’s time for a fix.
Here’s how to tackle basic roof repairs:
- Check for damaged areas after a storm or regularly.
- You’ll need a ladder, sealant, replacement materials, and basic tools.
- Apply sealant to small holes or cracks.
- Swap out broken shingles or panels with new ones.
- Make sure there are no gaps and everything is secure.
2. Support Post Maintenance
The posts holding up your carport are crucial. Rust, cracks, or leaning posts are bad news. It’s time to act if you see these signs.
Replacing or reinforcing posts goes like this:
- Look for damage or changes in the post’s condition.
- You might need new posts, concrete, or braces.
- If they’re damaged beyond repair, take them out carefully.
- Put in new posts securely and check they’re straight.
- For extra strength, add braces or supports.
3. Gutter Care and Maintenance
Gutters are key to directing rainwater away. Clogged or damaged gutters can lead to water damage. Keeping them clean and in good shape is essential.
Here’s how to care for your carport gutters:
- Remove leaves and debris to prevent blockages.
- Look for cracks, holes, or loose sections.
- Use a sealant for small holes or replace sections if they’re too damaged.
- Water should flow freely without pooling in any spot.
4. Repainting Your Carport
Giving your carport a fresh coat of paint makes it look new and protects it from the elements. The key? Picking the right paint and tools. For outdoor structures, weather-resistant paint is a must. It keeps rust and wear at bay. Don’t forget a primer for better adhesion. As for tools, brushes and rollers are your go-to. For larger areas, a sprayer saves time.
For a lasting finish:
- Remove dirt and rust for a smooth start.
- Prime the Surface: This step is crucial for durability.
- Paint Evenly: Apply in consistent strokes or sprays.
- Let It Dry: Patience here pays off in quality.
- Add a Second Coat: It boosts protection and looks.
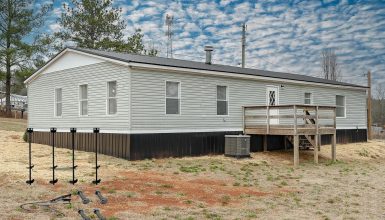
5. Structural Reinforcement
Your carport might need extra strength to handle heavy snow or strong winds. Signs like bending or cracking mean it’s time to reinforce. This can be a DIY project. Adding braces or struts at key points boosts stability. Reinforcing the frame where it meets the posts is a smart move for roofs. Using stronger materials like steel can also help.
DIY reinforcement steps:
- Inspect the Structure: Find weak spots or potential stress points.
- Gather Materials: Strong, weather-resistant materials are best.
- Add Supports: Place braces or struts where needed.
- Secure Everything: Make sure all new additions are tightly fixed.
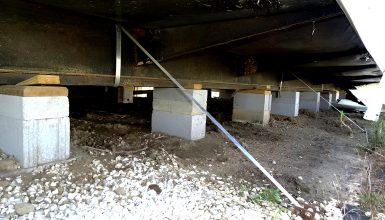
6. Foundation Repairs
A solid foundation is critical for your carport’s stability. Cracks or unevenness signal trouble. To fix these:
- Check for Cracks or Sinking: These are common issues.
- Level the Ground: If the foundation is uneven, leveling it is a start.
- Fill Cracks: Use concrete filler for smaller cracks.
- Consider Professional Help: Bigger problems might need expert attention.
7. Improving Drainage
Good drainage is crucial for your carport. It stops water from pooling up, which can lead to rust or weaken the structure. First, make sure the ground slopes away from the carport. This simple trick directs water away. Next, consider adding gutters or drains if you don’t have them. They’re great for guiding water to a safer spot.
Here are some easy drainage fixes:
- Clear Blockages: Keep gutters and drains free of leaves and debris.
- Install French Drains: These are trenches filled with gravel that redirect water.
- Use Downspout Extensions: They help carry water further away from the structure.
8. Lighting and Electrical Safety
Good lighting in your carport is not just about seeing better. It’s a safety must-have. If lights flicker or don’t turn on, it’s often a simple bulb change. But, if the issue persists, it might be a wiring problem. In that case, calling in a pro is the safest bet.
To boost lighting and safety:
- Upgrade to LED Lights: They’re brighter and last longer.
- Add Motion Sensors: For convenience and security.
- Regularly Check Wiring: Stay on top of any electrical issues.
- Consider Solar Options: They’re energy-efficient and easy to install.
9. Trim and Siding Fixes
Trim and siding are like the carport’s shield. They face wind, rain, and sun every day. Over time, they can get dinged, cracked, or loose. To fix them, first, clean the area. Then, for small cracks, a bit of caulk works well. If there’s a bigger damaged piece, you might need to replace it. Use materials that match your carport for a seamless look.
For lasting repairs:
- Choose the Right Material: Weather-resistant options are best.
- Prep the Area: Clean and sand the surface for a good bond.
- Apply Caulk or Adhesive: Use these for smaller fixes.
- Secure New Pieces: Nail or screw in new trim or siding firmly.
10. Weatherproofing Techniques
Weatherproofing your carport means less worry about rain, wind, or cold. Sealants are key. They fill gaps and keep moisture out. Insulation is another smart move, especially in colder areas. It helps keep the inside of your carport dry and warm.
Here’s how to weatherproof your carport:
- Inspect for Gaps: Look around doors, windows, and where the roof meets walls.
- Apply Sealant: Use a good-quality outdoor sealant for any cracks or gaps.
- Add Insulation: Consider foam boards or batt insulation for walls and ceiling.
- Check Doors and Windows: Make sure they close tightly, and add weather stripping if needed.

