
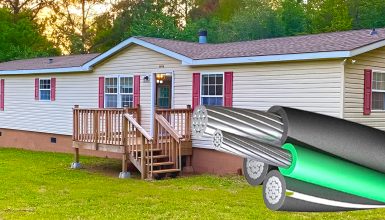
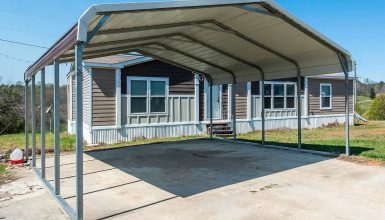
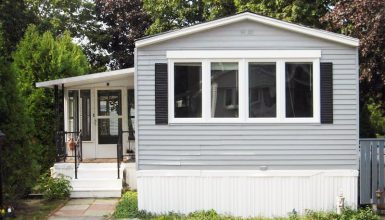
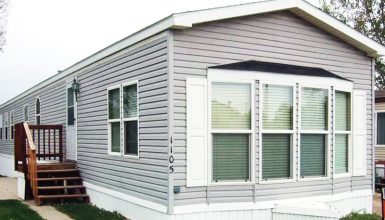
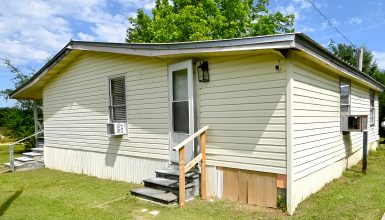
We understand how crucial it is to have a level mobile home – a game-changer for doors that won’t close, squeaky floors, and even your peace of mind! But before you contact professional services, let’s discuss a hands-on, wallet-friendly approach using something as straightforward as a water level. That’s right, with a bit of time, patience, and your DIY spirit, you can level your mobile home and gain the stability you’ve been seeking. So, let’s dive in, shall we?
What is Water Level
Ever wondered how the ancient Egyptians built the pyramids so precisely? They likely used a primitive version of what we call a water level! You’re not making a pyramid, but this tool will be your best friend while leveling your mobile home.
Picture a long, transparent, flexible tube filled with water. That’s your water level in its simplest form. But here’s the cool part – no matter how you twist or turn that tube, the water inside always seeks its level. It’s like magic, but it’s just plain old physics.
Imagine you’re holding both ends of the tube, and one end is higher than the other. The water will rush down from the high end, right? But it won’t stop until both ends are at an equal height. That’s how we know what’s level.
So, how does this help with your mobile home? You’ll use it to compare the heights of different points under your home. The water level acts as a common reference point, telling you exactly which parts need a lift and which are just fine. It’s simple, it’s effective, and it’s all thanks to the law of gravity!
Pre-Leveling Procedures
Before we start the leveling dance, there’s a bit of prep work to do. Consider it the warm-up to the main event. But trust me; this warm-up is just as important.
- Inspection
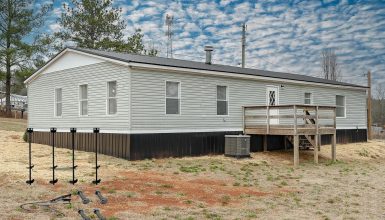
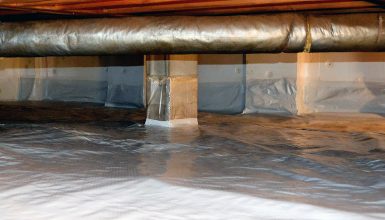
First up, inspect your mobile home like a detective. Look for cracks, bowing walls, tilting, or other signs of stress. These could be clues pointing to the areas that are out of level. Calling a professional if you spot severe structural damage is best.
- Clear your workspace
Next, clear your workspace. Remove any obstacles that might be in the way of your home’s piers or jacks. You’ll need all the space you can get to move around comfortably.
- Check the current level
Now, let’s check the current level of your mobile home. You can use a carpenter’s level or a laser level for this. Check the level at several points throughout your home. Note where the bubble sits on the level. Is it smack in the middle? Or is it leaning to one side? Mark these high and low spots with chalk or marking paint.
You’ve got your detective hat on; your workspace is clear. And you’ve got a good idea of your home’s current level, and well done, my DIY friend. We’re ready to bring that water level and start the leveling magic.
How to Make a Water Level for a Mobile Home
Creating a water level at home is simple, cost-effective, and a handy tool for your leveling needs. Here’s how you can make one:
Materials:
- Clear plastic tubing (approximately 25 feet should be more than enough for most mobile homes)
- Water
- Food coloring (optional)
Steps:
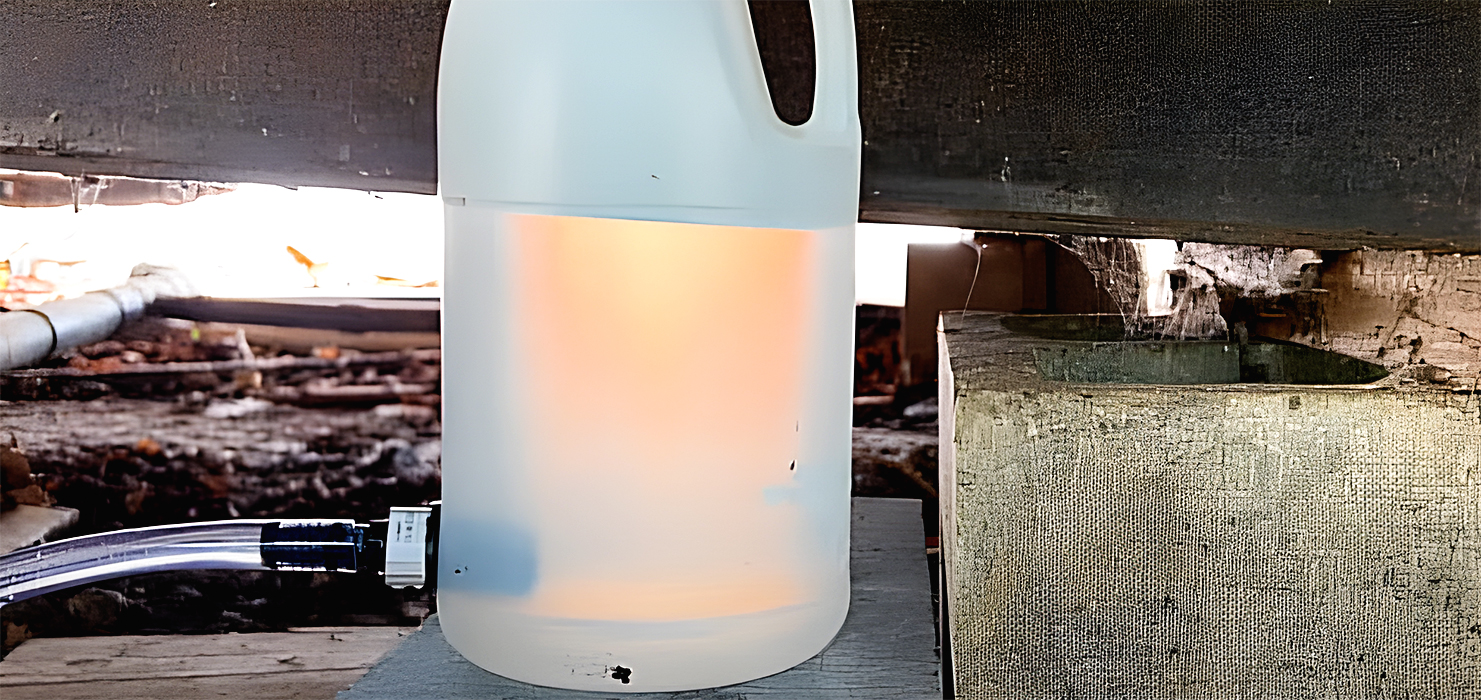
- Purchase the Tubing: You can buy clear plastic tubing from your local hardware store or online. A diameter of about 1/2 inch should be ideal for this purpose.
- Fill the Tubing: Once you have your tubing, it’s time to fill it with water. You can do this by simply placing one end of the tube into a bucket of water and sucking on the other (like you would with a straw) until the water reaches your end. Be careful not to swallow any water. Release your end back into the bucket before the water gets too close to your mouth.
- Add Food Coloring: This step is optional but recommended as it makes the water line easier to see. Add a few drops of food coloring to the water before filling the tubing.
- Remove Air Bubbles: Ensure that there are no air bubbles in the tube, as these can affect the accuracy of the level. If you spot any, lift the tube upright and allow the bubbles to rise to the top. You can then add more water if needed.
- Seal the Ends: Ensure both ends are sealed when filling the tube. If available, you can do this temporarily with your thumbs or use small clamps.
And there you have it! A homemade water level ready for use.
List of Other Required Materials and Tools
So, you’ve got your water level ready to go. But that’s just one piece of the puzzle. We’ll need a few more things before we can start this leveling operation.
- Adjustable wrench or jack handle: You’ll use this to tweak the leveling jacks underneath your mobile home.
- Carpenter’s level: This isn’t just a backup. You’ll use this trusty tool to double-check your work.
- Safety glasses: No, they’re not a fashion statement. When you’re working under your home, they’ll keep your eyes safe from dust and debris.
- Gloves: Opt for heavy-duty gloves. They’ll keep your hands safe from any splinters or sharp edges.
- Hard hat: This might seem overkill, but remember, safety first! You’ll be glad you have it when you’re under your mobile home.
- Chalk or marking paint: You’ll use this to mark the high and low spots under your home.
- Flashlight or headlamp: Light is your best friend when working underneath your mobile home.
And speaking of safety, let’s not forget a few golden rules. Always make sure to have a buddy system when you’re working under a mobile home. It is not a one-person job. Don’t forget to turn off the utilities like water, gas, and electricity before you start. And take breaks! You don’t want to get fatigued and make a mistake.
Setting Up the Water Level
Let’s get that water level set up and ready for action. If you’ve never used one before, don’t sweat it. It’s simpler than making a cup of coffee; we’re here to guide you through it.
Your water level could be a commercial or DIY version using clear water-filled tubing. Either way, the principle is the same.
First, fill the tube with water. Avoid any air bubbles – they could throw off your measurements. Got a full tube? Great! Hold both ends up. The water should settle at the same height on both ends. That’s the level line, my friends.
Now, how do we use this to measure under the mobile home? Here’s where it gets cool. Hold one end of the water level at the first pier. Then, take the other end to the next pier. The water line in both ends of the tube should line up perfectly if the piers are level.
Easy, right? You’re all set up and ready to work some DIY magic on your mobile home. Just remember to keep the tube steady when you’re taking measurements. We wouldn’t want any water spilling out. So, let’s get to it and start leveling that mobile home!
Step-by-Step Leveling a Mobile Home with a Water Level
Leveling your mobile home with a water level might sound like a science experiment. Still, we promise it’s more like a friendly game of connecting the dots. So, let’s get started!
Step 1: Start at the highest point
Remember that detective work we did earlier? It comes in handy now. Start at the highest point under your mobile home. It becomes your reference point.
Step 2: Make your mark
Hold one end of your water level at this reference point and mark the water line. This mark is the height we want all other points to match.
Step 3: Visit each pier
With the other end of your water level, make a little journey to each pier under your mobile home. Remember to keep the tube steady.
Step 4: Compare and adjust
At each pier, compare the water line to the mark on your reference point. If they don’t match, adjust the jack. Raise it if it’s too low, and lower it if it’s too high.
Step 5: Double-check your work
After adjusting, use your carpenter’s level to ensure the pier is level. This step is like your safety net, catching small mistakes before they become significant issues.
Step 6: Repeat, repeat, repeat
Keep moving from pier to pier, adjusting as needed. This process might need a few rounds, so don’t rush.
And there you have it, your step-by-step guide to leveling a mobile home with a water level.
How to Verify the Mobile Home is Level
Well, you’ve done the hard work, but how do you know your mobile home is now level? It’s like baking a cake – you don’t just take it out of the oven and hope for the best, right? You do the toothpick test. And in our case, we have a couple of tests to ensure our leveling work is top-notch.
First, let’s bring back that trusty carpenter’s level. Go inside your mobile home and check multiple points across the floor. That little bubble should be right in the center if everything’s level. Check in different rooms and various spots to be thorough. You can also check the alignment of doors and windows. If they’re closing smoothly, that’s a good sign.
But we won’t stop there. Take your water level for another tour under your home. Hold one end of the water level at your reference pier and check the water line at each other pier. They should all line up with your initial mark. If both of these tests pass, congratulations! You’ve leveled your mobile home like a pro.
Troubleshooting Common Issues
Let’s face it, even the best DIY heroes run into a hiccup. But don’t fret. We’ve got your back with some quick troubleshooting tips for the most common issues in mobile home leveling.
1. Doors and Windows Still Won’t Close
Those pesky doors and windows sometimes refuse to close smoothly despite our best efforts. If this happens, double-check your level. It might require another round of adjustments to get things just right.
2. Unstable Piers
Suppose you’ve got a pier that just won’t stay put. In that case, you may need to reposition it on more stable ground or add a concrete pad for additional stability.
3. Air Bubbles in Your Water Level
If you’re seeing bubbles, your level readings could be off. Make sure to remove these pesky intruders before taking measurements.
4. Your Mobile Home Still Feels Unlevel
If things still don’t feel right, you may have structural issues beyond simple leveling. In that case, it’s time to call in the professionals.
Conclusion
Leveling your mobile home is a vital part of its maintenance. Regular checks and adjustments will keep it in top-notch shape for years. While it may seem daunting initially, with patience and the right tools, it can be as simple as tying your shoelaces.

