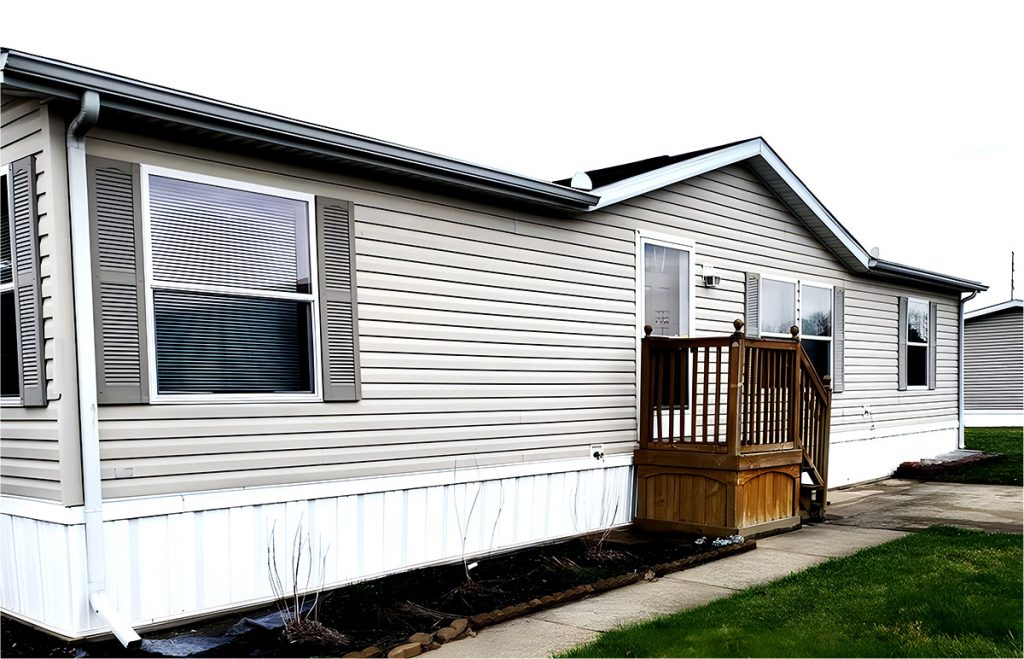
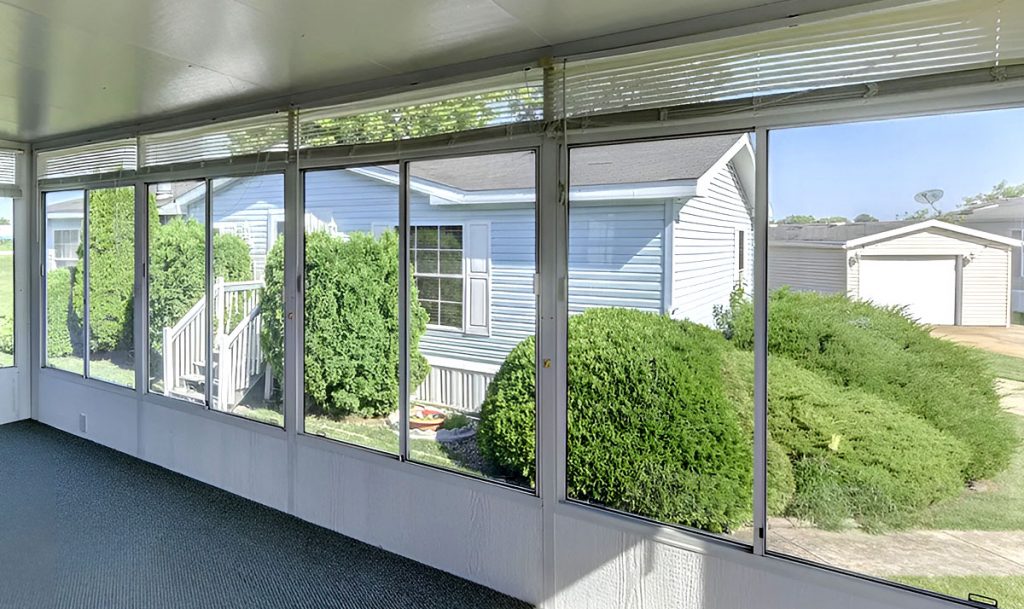
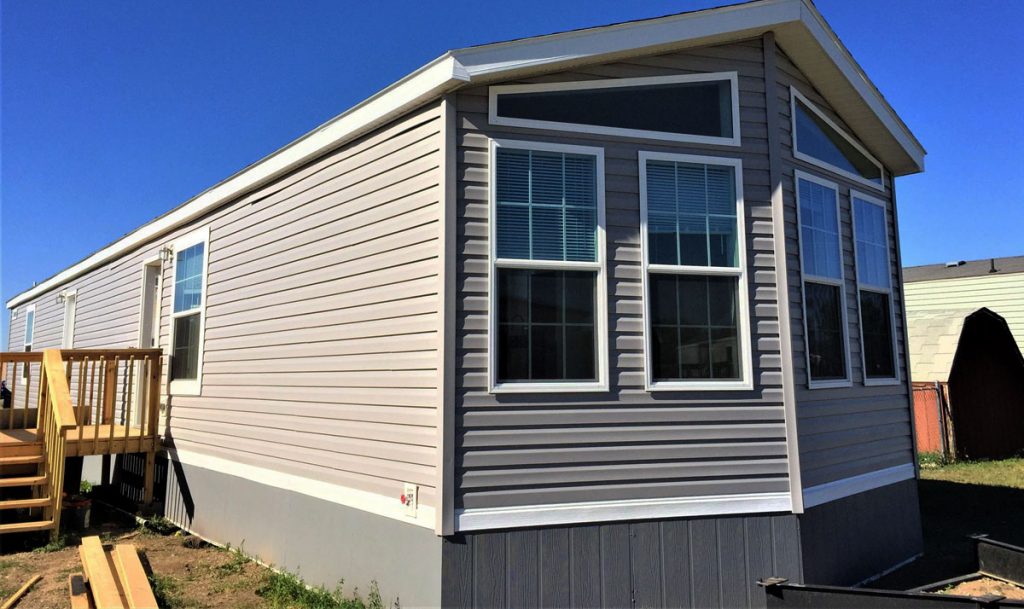
Windows are critical to your mobile home’s structural integrity. They’re like the linchpins of a building – holding and keeping everything in its place. And when windows go wrong, lots of things can follow suit. Imagine a water leak in your window. It doesn’t sound like a huge deal, right? But over time, that small trickle of water can lead to mold, damaged walls, and even structural issues.
How to Repair Leaky Windows
Ever found a tiny puddle on your window sill after a good rain? That’s a leaky window. The culprit? Often it’s a worn-out sealant or a damaged frame. Sure, a little water might not seem like a big deal, but remember our chat about how minor problems can lead to significant issues? Leaks can cause damage over time, affecting not just your window but your walls and overall structure.
Let’s roll up our sleeves and get to business with those pesky leaky windows. First, let’s gather our tools and materials. You’ll need:
- A flashlight – for detecting the leak.
- A utility knife or scraper – to remove the old sealant.
- A cloth – for cleaning.
- Waterproof sealant or caulk – to seal the leak.
- A caulk gun – to apply the sealant.
- Use a putty knife or your finger – to smooth the sealant.
- Some patience – can’t buy this, but it’s essential!
Now that we have everything ready let’s get to work.
Step 1: Locate the Leak
Grab your flashlight and inspect the window. Look for any signs of water damage or spots where the sealant might be worn or damaged. The leak might be tiny, but remember, we’re looking for any sign of moisture.
Step 2: Remove the Old Sealant
Using your utility knife or scraper, gently scrape away the old sealant around the leaky area. Be careful not to damage the frame or glass.
Step 3: Clean and Dry the Area
Clean the area with your cloth. Make sure it’s free from any old sealant or debris. Then let it dry thoroughly.
Step 4: Apply the Sealant
Load your caulk gun with waterproof sealant. Hold the gun at a 45-degree angle and apply the sealant where you removed the old one. A steady hand is vital here.
Step 5: Smooth the Sealant
Using your putty knife or even your finger, smooth out the sealant. Make sure it covers the area thoroughly and evenly. You want to seal the leak, not add too much sealant.
Step 6: Let it Dry
Now comes the patience part. Let the sealant dry as per the instructions on the tube.
Step 7: Test the Repair
Once the sealant is dry, it’s time for the water test. Use a spray bottle to mimic rain on your window. If no water seeps through, congrats! You’ve repaired a leaky window!
How to Repair Stuck Windows
Nothing ruins a pleasant day quicker than a window that won’t open when you want to let the breeze in. Or worse, a window that won’t close when it starts pouring outside. Paint, dirt, warped frames – these are common culprits. A stuck window is more than a nuisance; it’s a safety concern too. In case of emergencies, every exit route should be easy to open.
How to repair those stubbornly stuck windows? Let’s gather our tools and materials. Here’s what we’ll need:
- A soft brush or old toothbrush – to clean the tracks.
- A cloth – for wiping clean.
- A utility knife or putty knife – to scrape away old paint.
- A rubber mallet – for gentle nudging.
- Silicone-based lubricant – to make things slide.
- A can-do attitude – because you’re about to conquer this!
With our tools in hand, let’s walk through the steps.
Step 1: Clean the Window and Tracks
Get in there with your soft brush or old toothbrush. Scrub away the dirt and grime. Then, wipe it clean with your cloth.
Step 2: Scrape Away Old Paint
If cleaning doesn’t do the trick, use your utility knife or putty knife to carefully scrape away the excess paint that may be causing the stick.
Step 3: Check for Warping
If the window is still stuck, it might be due to a warped frame. This is where your rubber mallet comes in. Gently tap the frame back into place. Remember, you’re nudging it back, not forcing it.
Step 4: Lubricate the Tracks
Still no luck? Time to bring out the big guns – the silicone-based lubricant. Apply it to the tracks and the parts of the window that move. Then, open and close the window a few times to spread the lubricant.
Step 5: Test the Window
Give your window a test run. Open and close it several times to check if it’s moving smoothly. If it is, celebrate! You’ve just repaired a stuck window.
How to Repair Foggy Windows
A foggy window may seem like adding a touch of mystery to your home, but let’s face it, it’s not great for your view or your window’s insulation performance. So, let’s clear things up!
The bad news? This is a slightly more complex issue. The good news? It’s still something you can tackle. So, let’s arm you with the knowledge and tools you need to get that clear view back.
First, let’s talk about why this happens. Double-paned windows have a seal that sometimes fails, allowing moisture to sneak in between the panes. Once there, it cools, and voilà – condensation. It’s a bit like your window’s got its weather system.
To tackle this, you’ll need a few tools:
- A drill with a glass drill bit
- Cleaning solution (distilled vinegar and water work great)
- Two-way adhesive tape
- A clear defogging valve
- An outdoor, UV-resistant sealant
Now, onto the steps. It is a bit more complex, but remember, every journey starts with a single step.
Step 1
Start by drilling a small hole in the corner of the window on the outside pane. We’re talking about a tiny hole, barely noticeable. This is your way of letting the trapped moisture escape.
Step 2
Then, spray your cleaning solution into the hole. Let it sit briefly, then rinse it with distilled water. Give it a moment to air dry.
Step 3
Next, stick your two-way adhesive tape around the hole you drilled. This will provide a surface for the defogging valve to stick.
Step 4
Now, attach your defogging valve to the tape. It acts like a vent, allowing the moisture to escape but not letting any more water in.
Step 5
Finally, seal the valve with the outdoor, UV-resistant sealant to ensure it stays in place and withstands the elements.
Give your window some time. It may take a few days for all the moisture to evaporate. But with some patience, you should start to see your window clear up.
How to Repair Drafty Windows
Ever sat by a window and felt an unexpected chill? That’s a draft. It’s often due to gaps in your window’s sealant or frame. Apart from turning you into an involuntary icicle, drafty windows can also make your heating or cooling system work overtime. So, let’s warm things up and get to fixing those drafty windows! To start, you’ll need a few simple tools and materials:
- A candle or incense stick – to detect drafts.
- Weatherstripping or rope caulk – to seal gaps.
- A pair of scissors – to cut the weatherstripping.
- A hairdryer – to help install plastic window insulation if needed.
- Plastic window insulation kit – to add an extra layer of protection.
Have you got everything? Awesome. Now let’s make that draft a thing of the past.
Step 1: Detect the Draft
Hold your candle or incense stick near the window’s edges. You’ve found a draft if the smoke flickers or the flame wavers.
Step 2: Seal the Gaps
Time to use that weatherstripping or rope caulk. Measure the area you need to seal, cut a piece to fit, and stick it on. Ensure it fits snugly, covering the gaps but allowing the window to operate.
Step 3: Check Your Work
Take your candle or incense stick and check for drafts again. You’ve successfully sealed the window if the smoke or flame remains steady. Great job!
Step 4: Install Plastic Insulation (Optional)
If your window is still drafty, it might need some extra help. That’s where the plastic window insulation kit comes in. Follow the kit’s instructions, use the hairdryer to shrink the plastic for a tight fit, and voila! Extra insulation against the chill.
And just like that, you’ve kicked that draft to the curb. No more shivers, just a cozy, warm home.
How to Repair Cracked Glass Windows
Oh no! Cracked glass on your windows? That’s not ideal. But don’t worry. We’ve got this covered. Together, we’ll patch that window in no time, restoring your view and peace of mind. Before we start, here’s what we’ll need:
- A pair of heavy-duty gloves – safety first!
- Protective eyewear – because those eyes are precious.
- A utility knife – to remove the old glazing and points.
- A chisel or putty knife – to clean the frame.
- A measuring tape – for precise measurements.
- A new piece of glass – to replace the broken one.
- Glazier’s points – to secure the new glass.
- Window glazing compound – to seal everything in.
Ready? Okay, let’s tackle this!
Step 1: Safety Up
Put on your gloves and protective eyewear. Handling broken glass is no joke, so let’s keep it safe.
Step 2: Remove the Broken Glass
Using your utility knife, carefully remove the old glazing and points. Then, gently remove the broken glass from the frame.
Step 3: Clean the Frame
Use your chisel or putty knife to remove leftover glazing or glass shards. You want a clean, smooth surface for the new glass.
Step 4: Measure and Cut
Measure the window frame and subtract about 1/8 inch. This is the size of the new glass you’ll need. Most hardware stores can cut glass to your specified size.
Step 5: Install the New Glass
Place the new glass into the frame. Secure it using Glazier’s points.
Step 6: Apply Glazing Compound
Lastly, apply the window glazing compound around the glass. This will seal it in place and prevent water or air leaks.
Step 7: Clean Up and Inspect
Remove your gloves, clean up, and take a step back. Look at that! You’ve just replaced a window pane.
Tips for Maintaining Mobile Home Windows
Now that we’ve tackled repairs, how about we keep those windows in tip-top shape to avoid future headaches? Sound good? Here are some handy tips and suggestions for maintaining your mobile home windows.
1. Regular Clean-up
Keeping your windows clean is about more than just sparkling glass. It’s about removing dirt and grime that can cause wear and tear. So, make window cleaning a part of your routine.
2. Inspection Time
Remember, the best offense is a good defense. Regularly inspect your windows for signs of damage or wear. Look for drafts, leaks, and cracks. By catching problems early, you can save yourself bigger headaches down the line.
3. Lubricate Moving Parts
Keep your windows moving smoothly by regularly applying a silicone-based lubricant to the tracks and moving parts. This can prevent them from getting stuck and wearing out.
4. Weatherproofing is Key
Remember that weatherstripping we talked about? It’s not just for fixing drafts. Adding weatherstripping to your windows can help keep your home cozy and energy-efficient.
5. Be Gentle
Windows can be sensitive. Avoid slamming them or using force when they’re stuck. Gentle, consistent movement can help keep your windows functioning well and prevent damage.
6. When in Doubt, Call a Pro
Some jobs might be more significant than your DIY skills, and that’s okay. When in doubt, don’t hesitate to call a professional. It’s better to get help than risk further damage.
Conclusion
There you have it, folks! With these repair guides and maintenance tips, you can keep your windows looking great and working well. After all, good maintenance is the secret to a happy home. You’ve got this, home hero!

