
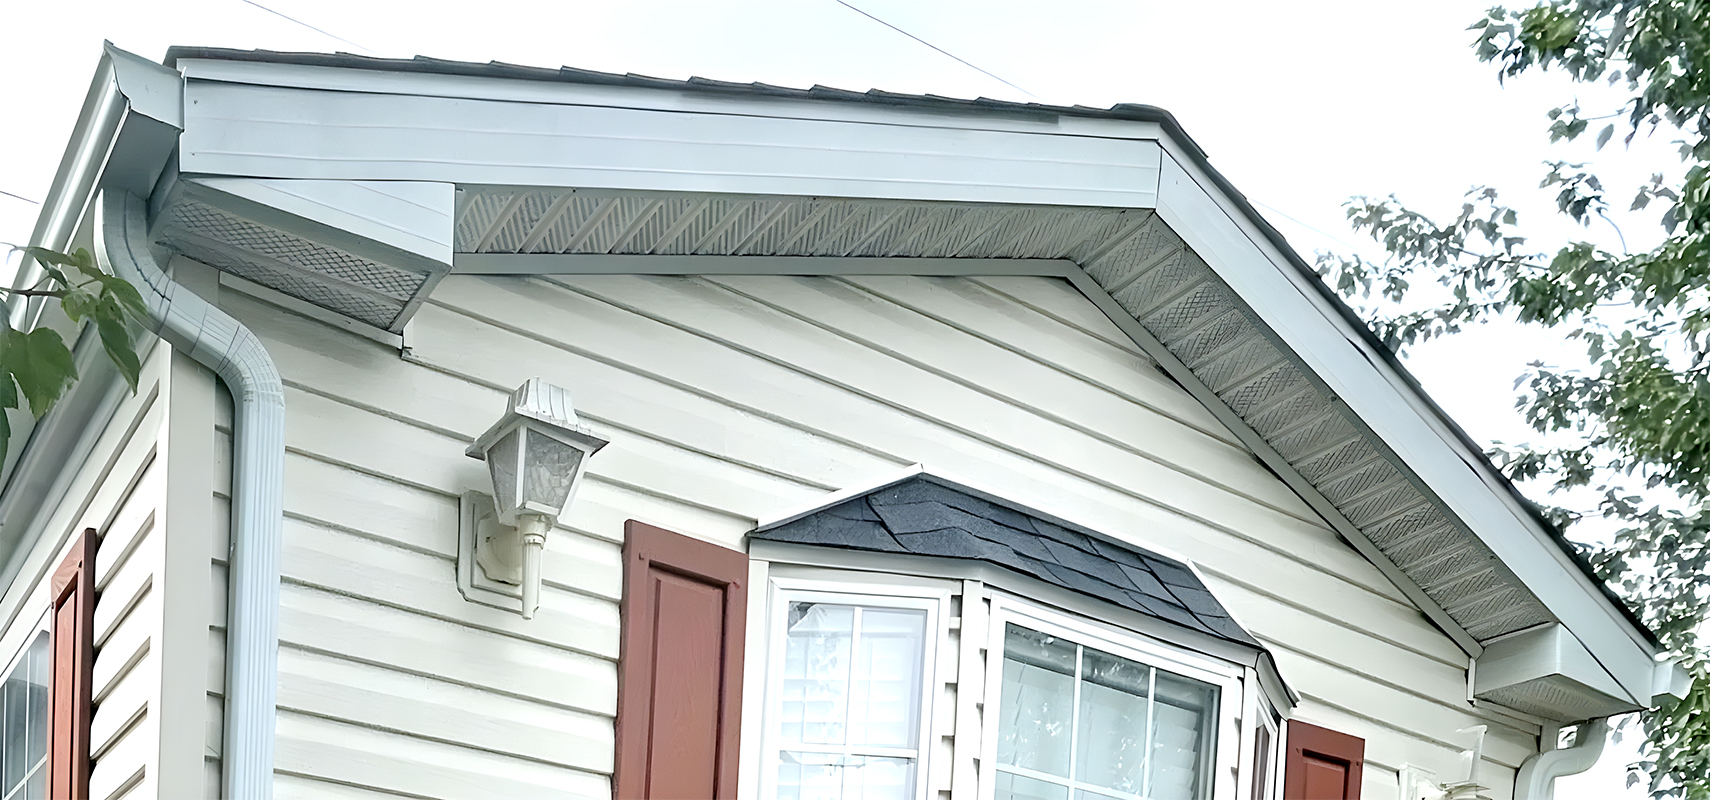
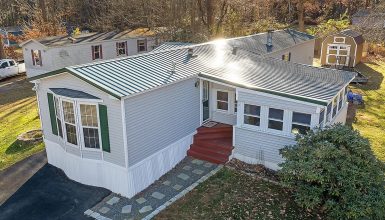
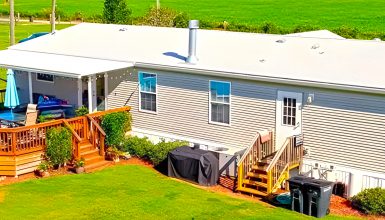
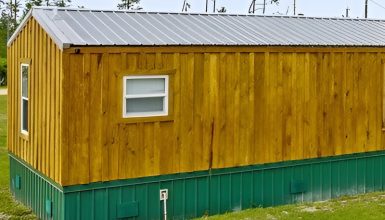
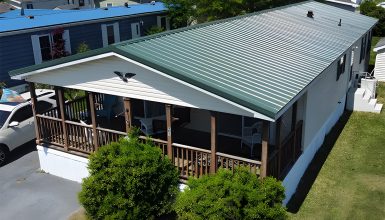
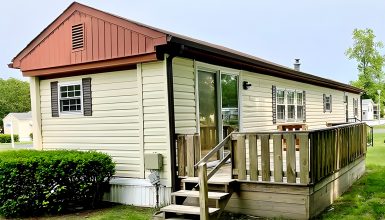
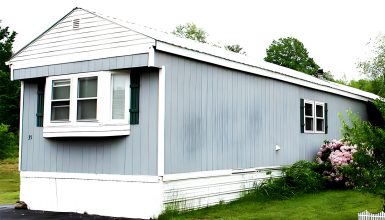
The fascia board is that straight, long board that runs along the edge of your roof. Its job is important – it protects your home from the elements and adds a polished look. Over time, it can show signs of wear and tear, and that’s when you know it’s time for a replacement. In this guide, we’ll walk you through the whole process step-by-step. Let’s dive in!
Necessary Tools and Materials
Before we dive into the nitty-gritty of replacing that fascia board, let’s talk about tools and materials. You wouldn’t start a cake without the right ingredients, would you? The same applies to this DIY project.
Tools:
- Ladder
- Pry bar
- Circular saw
- Drill
- Galvanized nails
Materials
Now, let’s talk about the star of the show – the new fascia board itself. It can come in several different sizes depending on the specific design of your mobile home. However, a typical size for a fascia board is around 6 inches to 8 inches wide. The thickness of the panel usually falls around 1 inch.
Choose a board resistant to the elements, maybe a treated wood or a hardy vinyl board. Remember, this board will be braving all kinds of weather, so choose wisely.
Step 1: Assessing the Damage
Alright, the tools and materials are ready. So, what’s next on our DIY agenda? It’s time to play detective. That’s right; we will assess the damage to your current fascia board.
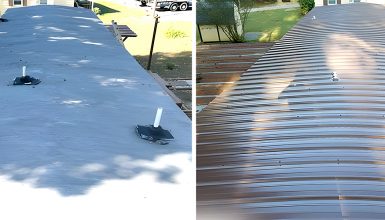
Take your ladder and get up close and personal with your fascia board. What you’re looking for here are signs of damage. It could be rot, cracks, or warping. Even peeling paint can indicate that your board is crying out for a makeover.
Here’s the tricky part: Deciding if you can repair it or need to replace it. Think of it like a bruised apple. A small bruise? No biggie, you cut around it. But if most of the apple is bruised, it’s time to toss it out. The same thing with your fascia board, a small area of damage might be a quick fix. But replacement is the way to go if the damage is more widespread or rots deep inside.
Also, check the areas around your fascia. If there’s damage on the soffit (the underside part of your roof overhang) or the gutters, you’ll want to fix those too. After all, your fascia is part of a team, and that team works best when everyone is in top shape.
So, put on your detective hat, and do a thorough check. Once you know what you’re dealing with, you’ll be ready to move on to the fun part: Out with the old and in with the new!
Step 2: Removing the Old Fascia Board
Ready to roll up your sleeves and get down to business? Excellent! It’s time to bid farewell to your old fascia board. Just remember, this is a delicate job. We want to avoid damaging your roof, gutters, or the soffit.
Grab that trusty pry bar of yours. This tool is about to be your best friend. Start at one end of the fascia board, gently inserting the pry bar under the edge. A gentle persuasion is all it takes to start loosening the board. Remember, this isn’t a speed race. Take your time.
As you work your way down, the board will start to detach. This is where a buddy can come in handy. They can hold the loosened part of the board, preventing it from suddenly falling or causing damage. No buddy around? No problem. Just be mindful of the loosening board as you go along.
It’s time for the final act once you’ve loosened the entire board. Carefully remove the old fascia board from your mobile home. It might put up a bit of a fight, but remember, you’re in charge here.
If there are any nails left behind, remove them with your pry bar or a claw hammer. The last thing we want is an old nail causing a hiccup in our installation.
And just like that, you’ve removed your old fascia board. Take a moment to admire your work because you’re halfway there! Now, let’s get that new board ready for its debut.
Step 3: Preparing the New Fascia Board
It’s time to bring out that shiny, new fascia board. This is like a dress rehearsal before the main event. But instead of sequins and stage lights, we’ve got a tape measure and circular saw.
Remember those measurements you took earlier? It’s time to put them to good use. Measure out the length you need on the new fascia board and mark it. Trust me, double-check those measurements. It’s like that old saying, ‘Measure twice, cut once.’ Wise words, indeed.
Time to fire up your circular saw. Now, I want you to take a deep breath and make that cut. Keep your hands steady and your mind focused. You’ve tailored your fascia board to the perfect size in just a few moments.
Some fascia boards come pre-primed or pre-painted, but now’s the time to do it if yours didn’t. Give it a good coat of primer and let it dry. Then follow up with exterior paint in your chosen color. We’re not just aiming for sturdy here; we’re going for downright good-looking too.
While the paint is drying, this is a perfect moment to clean up any sawdust or debris. A clean work area is safe; we want you to stay safe throughout this DIY adventure. Once your board is dry, it’s showtime! It’s time to install your new fascia board, elevating your mobile home’s exterior to a new level. So, let’s get to it!
Step 4: Installing the New Fascia Board
We will install it now that it’s all measured, cut, and prepped. Yes, this is the moment we’ve been building towards! Let’s start at one end of your roofline. Hold the new board up against the edge. Having a friend to help with this part can be a real game-changer. After all, even future star fascia boards can be a bit unwieldy.
Grab your drill and one of those shiny galvanized nails. Position the nail at the top of your new fascia board, aiming at the roof’s edge. A bit nervous? That’s alright. This is the thrilling part. Take a deep breath and drill that nail in, securing your new board to your mobile home.
Continue down the length of the board, placing nails every 16 inches or so. That’s about the length of a standard ruler, plus a few inches. We want this board to be secure, not going anywhere but staying where it should be, protecting your home from the elements.
Remember to keep things level. We’re going for straight and secure, with no dips or bumps. A level can be a great help here. Your fascia board doesn’t just have to be functional; it must also look good.
Step 5: Post-Installation
Congratulations, you’ve installed your new fascia board! But hold on, don’t hang up your tool belt just yet. We have a few post-installation steps to ensure your fascia board isn’t just installed but shining bright.
Did you paint or prime your board before installing it? If not, or if it needs a second coat, now’s the time. Choose an exterior paint that matches your home or a pop of color. Remember, your fascia board is also an accessory to your home’s exterior, so let it make a statement!
Make sure to give the paint enough time to dry before moving on to the next step. Rushing now would be like tripping at the finish line, and we’ve come too far for that!
Once the paint is dry, check all the nails you’ve used. Are they all flush with the board? If not, now’s the time to give them a final tap with your hammer. We don’t want any loose nails causing problems down the line.
Take a step back and inspect your work. Does the fascia board look level and secure? Great! If it’s not, don’t worry. Just loosen the nails, adjust the board, and secure it back into place. This is about getting it right, not getting it done fast.
Finally, clean up your workspace. Pick up any leftover materials and put your tools away. Celebrate your job well done with a well-deserved rest or a celebratory treat.
And just like that, you’re all done! You’ve replaced your fascia board and given your mobile home a little sparkle.
Conclusion
You made it! From assessment to installation, you’ve navigated the entire journey of replacing a fascia board on your mobile home. But this is more than just a successful DIY project. You’ve given your sanctuary, your home, a facelift that combines functionality and aesthetics. That’s no small feat!

