
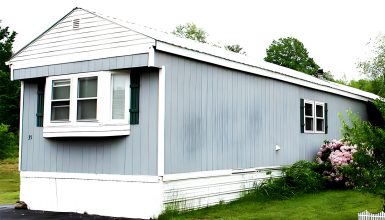
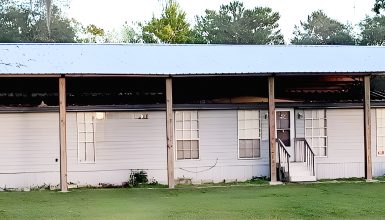
Here’s the straight talk—nobody enjoys a leaky roof. Those irritating drips and the unsightly water stains don’t just mar your home’s aesthetic—they’re a clarion call warning you of potential damage. See, the roof of your mobile home is more than just a shelter overhead—it’s a vital part of your home’s defense system.
It’s there, braving the elements day in, day out. It battles harsh sunrays, resists relentless rains, and stands firm against winter’s icy onslaught. A little TLC for your roof isn’t just a good idea—it’s essential.
But you’re not alone in this. We’ve compiled this comprehensive guide to give you the knowledge to fix those pesky leaks, protect your home, and get peace of mind. Ready to get started? Let’s dive right in.
Mobile Home Roof Structure
A solid grasp of what’s above your head is critical to understanding why leaks happen and how to fix them.
Think of your mobile home roof as a layered cake. Sounds tasty, right? Well, while you wouldn’t want to eat this one, understanding its layers is just as satisfying.
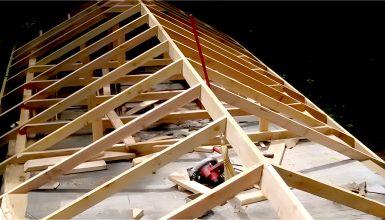
- Roof decking
First up, we have the roof decking. This is the base layer of the roof—the skeleton, if you will—that provides the overall structure. It’s typically made of large panels of plywood or OSB (oriented strand board).
- Underlayment
On top of the decking is the underlayment. This acts like a protective blanket for your roof, providing an additional barrier against water and wind. Usually, it’s a sturdy sheet of felt or synthetic material.
- Shingles
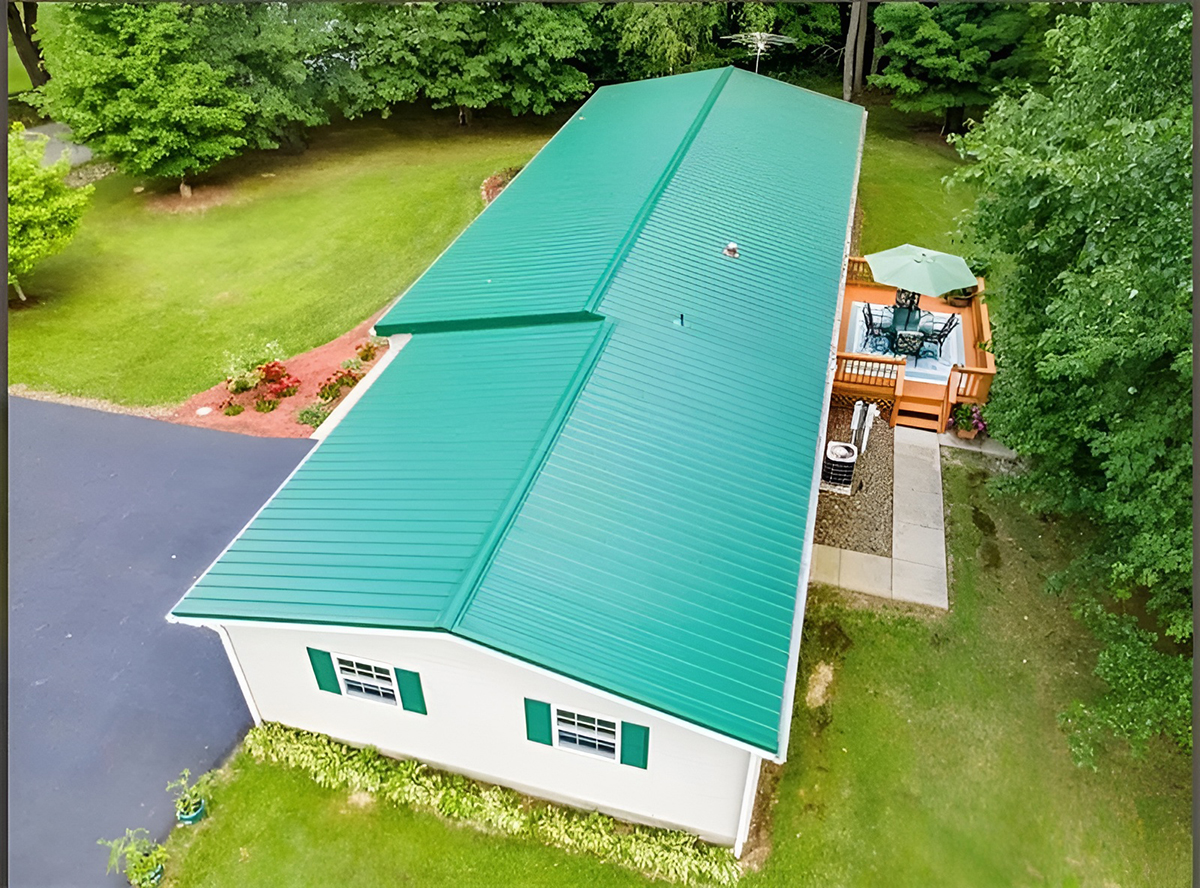
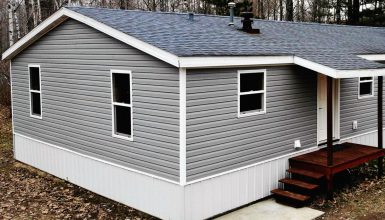
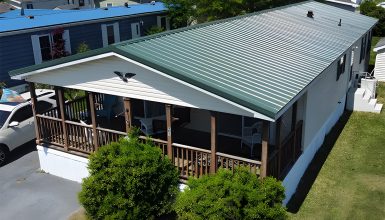
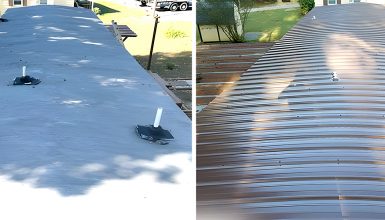
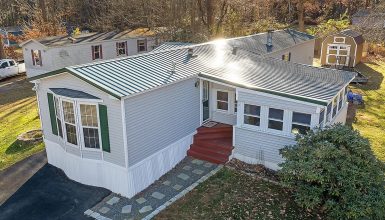
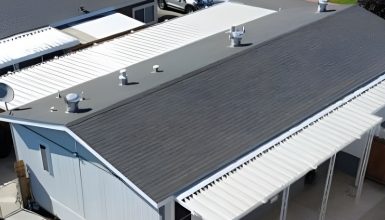
Next comes the fun part—the shingles or roofing material. This is the outermost layer of your roof, and it’s what you see when you look up from the outside. It could be metal, asphalt shingles, or even rubber, depending on your mobile home type.
- Fixtures
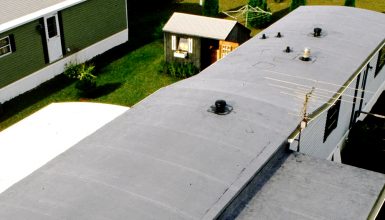
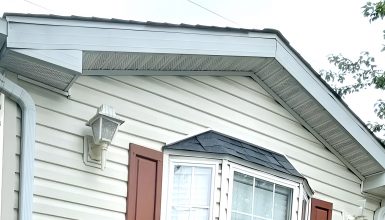
Then there are the fixtures—think vents, skylights, or any other protrusions that pop out from your roof. These guys are sealed with special materials to prevent water from sneaking in around the edges.
- Gutters
And we have the gutters. They’re the unsung heroes of the roof structure, channeling water away from your home and helping to prevent leaks.
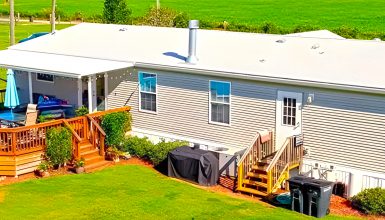
- Type of roofs
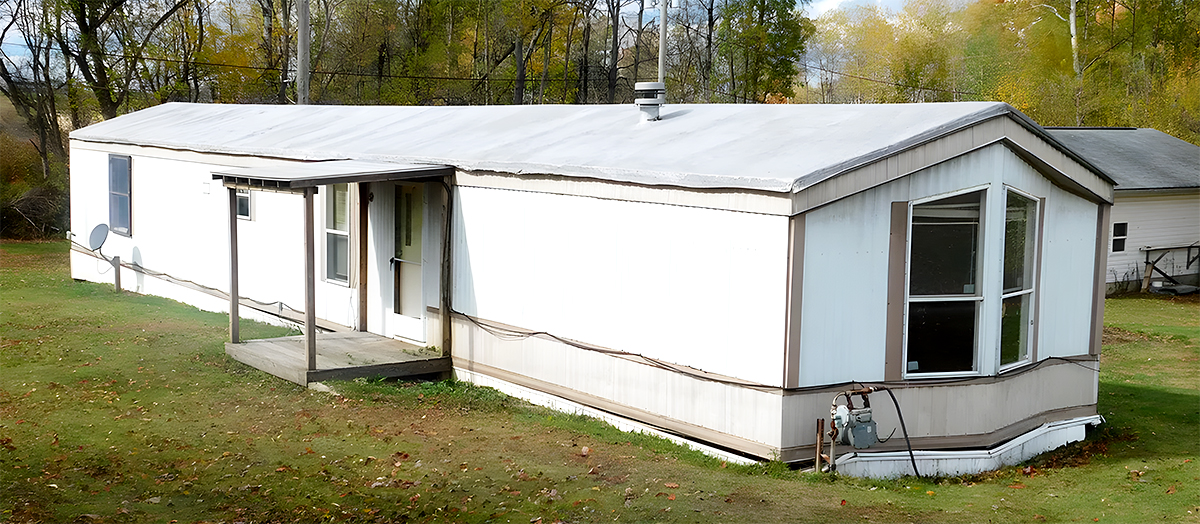
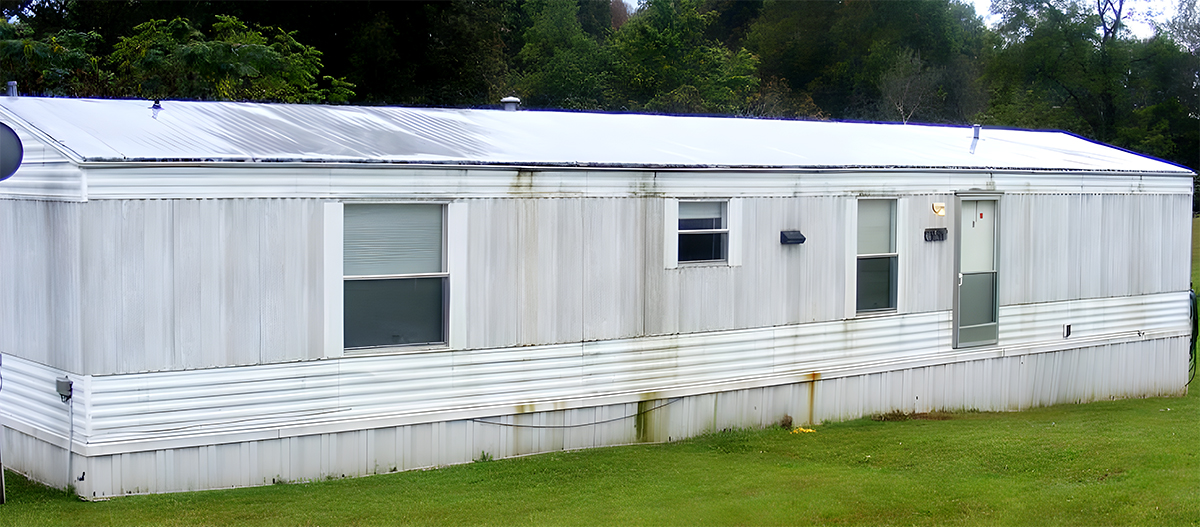
Lastly, the type of roof on your mobile home can help you better diagnose issues and plan for repairs. Is it flat, pitched, bowstring, dome, and gable roof? Each type has its own set of strengths and weaknesses, so knowing which one shelters you is the first step in becoming a leak-fixing champion.
Understanding your mobile home roof structure isn’t just informative but empowering. It gives you an edge in detecting leaks and understanding why they happen.
Identifying the Signs of a Leaky Roof
Let’s tackle this head-on, identifying signs of a leaky roof. No, it’s not always as clear-cut as water dripping onto your favorite armchair. But with a keen eye and some know-how, you’ll be able to spot those tell-tale signs before things get out of hand.
- Water stains
Let’s start with the indoors. Stains are your first clue. Do you notice any water spots on your ceiling? Any mysterious brown or yellow rings that weren’t there before? Those could be water stains from a leaking roof. They might not always be right under the leak, either. Water is tricky—it can travel along roof panels or beams before it drips down.
- Peeling paint
Peeling wallpaper or bubbling paint is another red flag. Water seeping into your walls can cause these issues. Don’t ignore this. It’s a classic sign of a leaky roof.
- Light fixtures
Also, check out your light fixtures. Are they dripping water? That’s not a new feature by the manufacturer. Your roof might be letting in more than just light.
- Cracked roof
Now, step outside for a minute. Look up at your roof. Are there any curled, cracked, or missing shingles? These can let in water, leading to leaks.
- Moss
And then, there’s moss. It might look quaint on a cottage in the countryside but on your mobile home roof? That’s a no-go. Moss traps moisture, which can damage your roof over time.
- Clogged gutters
Last but not least, check your gutters. Are they clogged with shingle granules? Your shingles might wear out, making your roof more susceptible to leaks.
Armed with these pointers, you can play detective and spot a leaky roof before it becomes a full-fledged home headache. Remember, early detection is key!
Tools and Materials Required for Fixing Roof Leaks
Okay, let’s talk about tools and materials. To fix a leaky roof, you will need the right gear. Think of it as going into battle. You wouldn’t charge in without the proper armor, would you?
- Tools
First, you’re going to need a ladder. No, not that wobbly one that’s been collecting cobwebs in the corner of your shed. Make sure it’s sturdy, stable, and tall enough to reach your roof safely. Your safety is a priority, numero uno!
Next up: protective gloves. Roof repair is a hands-on job, and it can get rough. So, don your gloves before you dive in.
Now, let’s get to the more specific gear. You’re going to need a pry bar. It’s handy for removing old roofing material. Then there’s a roofing knife, perfect for fitting new shingles.
Next on your list should be a roofing hammer. Also known as a hatchet, this tool is ideal for removing nails and installing roofing materials. It’s your roof repair BFF!
To round up your toolkit, grab a chalk line for marking and a tape measure for, well, measuring.
But tools are just part of the equation. You’re going to need materials, too.
- Materials
Roofing cement is a must—it helps seal areas around the leak. Also, stock up on roofing nails for securing your shingles. And, of course, you’ll need replacement shingles that match your current roof.
And then there’s the underlayment. It acts like a secondary barrier, protecting your roof from water. It’s usually made of felt and comes in rolls.
One more thing is roof coating and sealant. It’s your final line of defense against leaks and gives your roof a neat finish.
That’s your toolkit and material list in a nutshell. Equipped with the right stuff, you’re ready to get that roof leak-free quickly!
Fixing a Leaky Mobile Home Roof
Alright, it’s showtime! You’ve got your tools, your materials, and your can-do attitude. Now, let’s get down to fixing that leaky mobile home roof. Ready to roll up your sleeves? Let’s dive in!
Step 1: Locate the Leak
Remember those water stains we talked about earlier? They’re your starting point. Follow their trail upwards and try to spot the leak’s origin on the roof. Be methodical and patient—it’s a game of hide-and-seek with that elusive leak.
Step 2: Prep the Area
Once you’ve zeroed in on the problem spot, it’s time to prepare the area. Clear any debris around the leak, like twigs, leaves, or moss. You need a clean, clear workspace to repair.
Step 3: Remove Damaged Material
Got your pry bar and roofing knife handy? It’s their time to shine. Carefully remove the damaged shingles or roofing material around the leak. Make sure not to damage the good shingles around them!
Step 4: Install the Underlayment
Now, let’s bring out the underlayment. Cut a piece larger than the exposed area, then secure it with your roofing nails. It’s an extra line of defense against leaks.
Step 5: Replace the Shingles
Cut your new shingles to match the old ones you removed. Position them carefully and nail them down securely. Make sure they align with the existing shingles.
Step 6: Apply Roofing Cement
With your new shingles, it’s time for the roofing cement. Apply it around the edges of your new shingles and any areas you think might be vulnerable to leaks.
Step 7: Seal it Off
Finally, it’s time for the sealant. Apply it over the repaired area and let it dry. It not only makes your repair weatherproof, but it also gives your roof a neat finish.
Step 8: Test Your Work
Last but not least, it’s time to test your handiwork. Use a garden hose to mimic rainfall and check for leaks. If your repair stays dry, pat yourself on the back—you’ve nailed it!
Maintenance Tips for Preventing Future Leaks
Let’s look ahead. You’ve just fixed your leaky roof—kudos to you! But the work doesn’t stop there. Prevention is always better than cure, right? Here are some maintenance tips to keep future leaks at bay.
1. Regular Inspections
Regularly inspect your roof for any signs of damage. Do a thorough check after a heavy storm or windy weather. The trick is to catch any potential issue before it becomes a big, leaky problem.
2. Keep It Clean
A clean roof is a happy roof! Clear any debris like leaves, twigs, or moss that can trap moisture and cause damage over time. Use a long-handled broom or a leaf blower to make the task easier.
3. Gutter Maintenance
Remember those shingle granules in the gutter we talked about? A clogged gutter can cause water to back up, damaging your roof. Clean your gutters regularly and check for any granules that might indicate your shingles are wearing out.
4. Check the Seals
Pay special attention to the seals around your roof fixtures like vents, skylights, and chimneys. These are common areas for leaks. If you notice any cracked or damaged sealant, it’s time for a touch-up.
5. Regular Repairs
Don’t put off minor repairs. Those little cracks or loose shingles might seem insignificant now, but they can become a significant headache if neglected. A stitch in time saves nine!
6. Professional Inspection
Consider getting a professional roof inspection every few years. A professional roofer can spot missed issues and advise you on maintaining your roof.
Peel and Seal
Peel and Seal is a self-sticking, waterproofing membrane that offers a quick, easy, and effective solution for roof leaks. It’s made from aluminum, which gives it durability and longevity, and it’s backed with a layer of adhesive, which sticks to your roof once you peel off the protective layer.
Why should you consider Peel and Seal? Well, for starters, it’s incredibly user-friendly. There’s no need for a complicated toolset. You unroll it, cut it to size, peel off the backing, and apply it to your roof. Voila!
Another big perk is that it instantly waterproofs the applied area. It means you can quickly patch leaks, even in the middle of a rainstorm. Plus, it’s designed to conform to irregular surfaces and around objects, which makes it a versatile tool for sealing around things like vents and skylights.
The aluminum surface reflects heat, which can help reduce cooling costs during the hot months. It’s a bit of a double whammy – fixing leaks and improving energy efficiency simultaneously!
In short, Peel and Seal is a fantastic addition to your mobile home roof repair arsenal. It’s simple, effective, and handy for addressing those pesky leaks before they become significant issues. However, it does not work on a rubber roof.
