
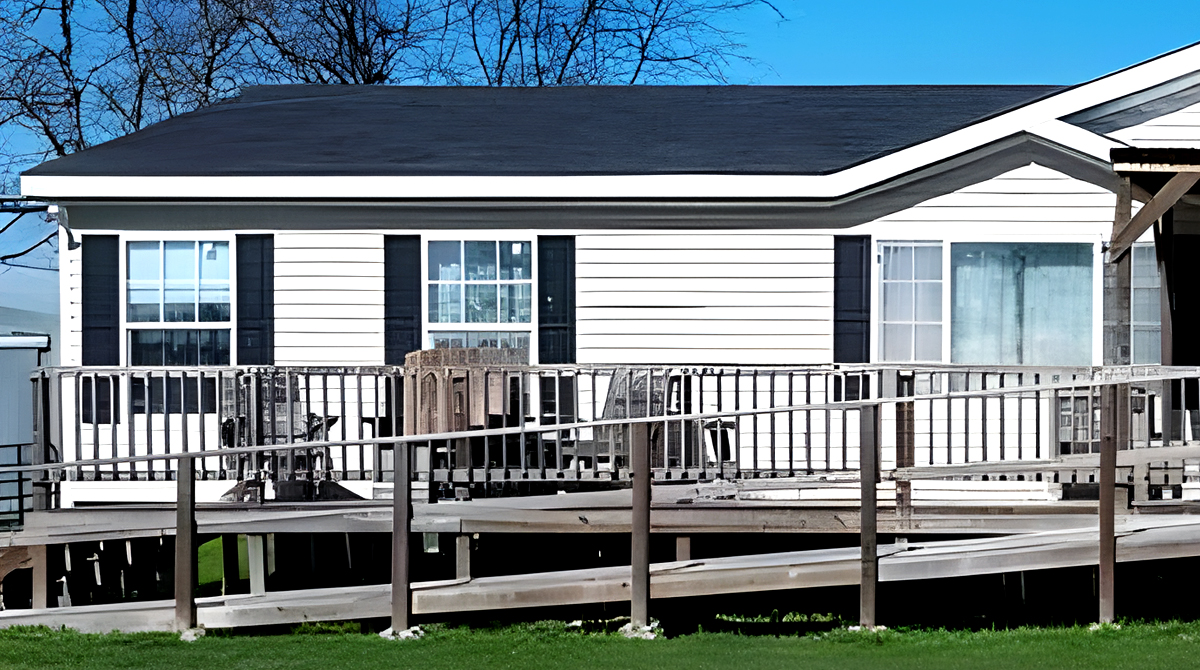
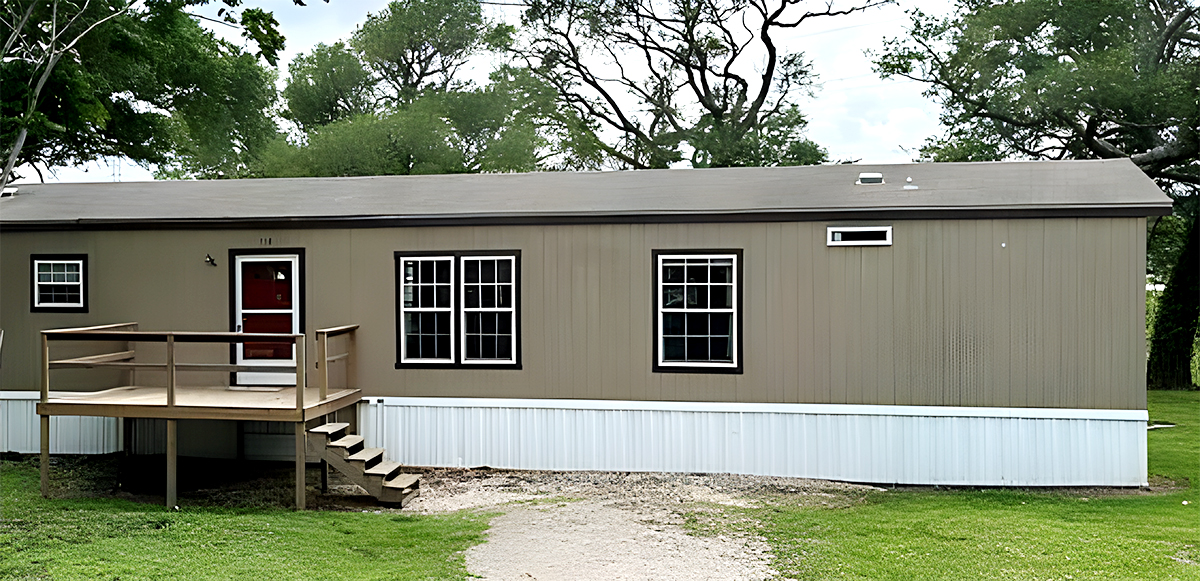
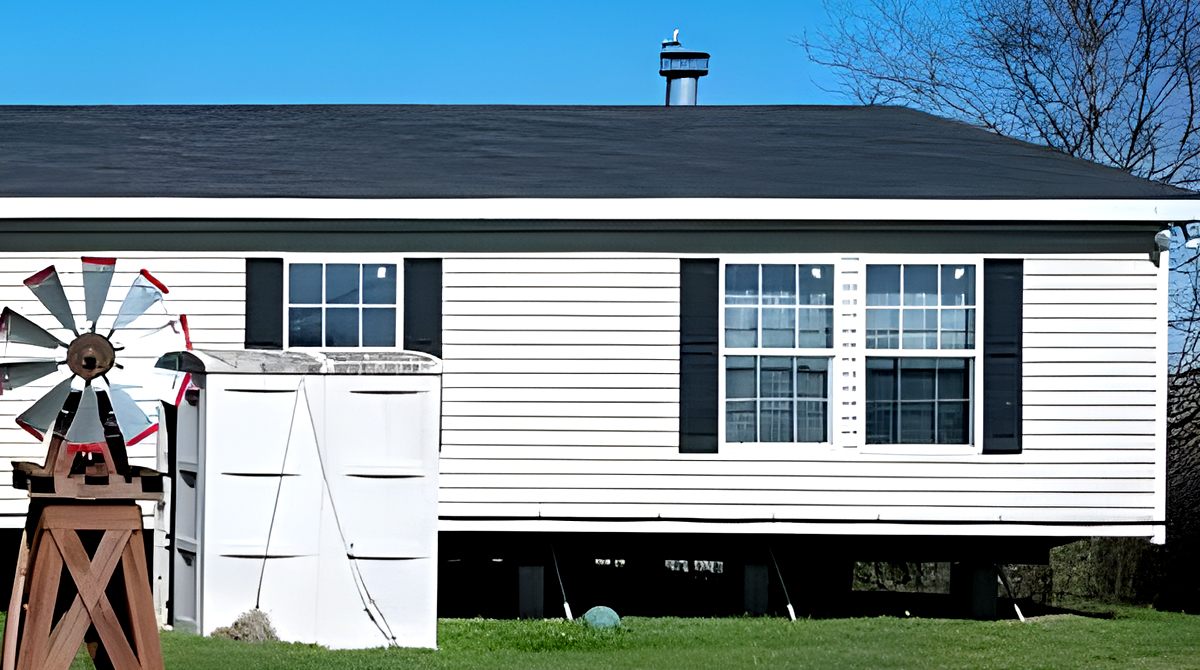
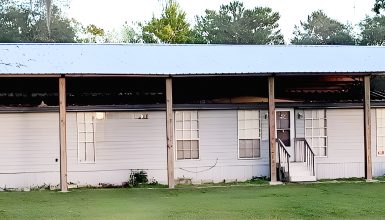
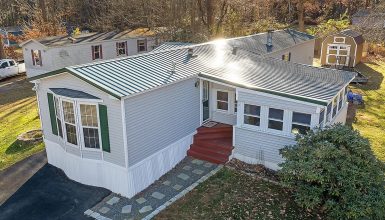
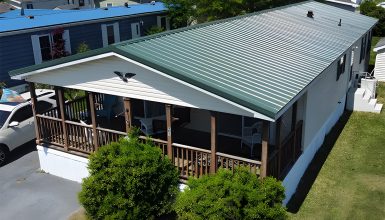
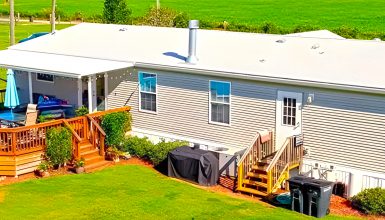
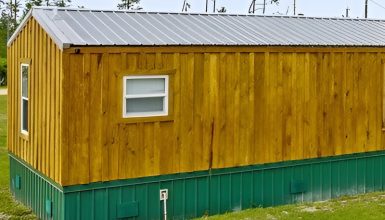
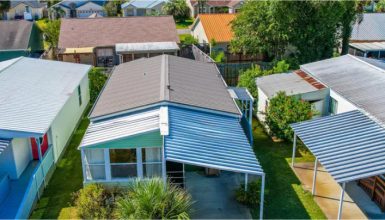
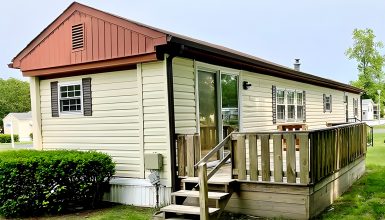
Ah, rubber roofing! Now that’s a term that’s been popping up in the home renovation sphere often. But what exactly is it? Let’s peel back the layers and get a good look. Think about your usual rubber—it’s flexible, waterproof, and tough as nails, right? That’s exactly what makes it such a hit in the roofing world. Now, imagine a sheet of this rubber, typically made from EPDM (ethylene propylene diene monomer), all set to take the brunt of the elements right on top of your mobile home. That, my friends, is the essence of rubber roofing.
Types of Rubber Roofing
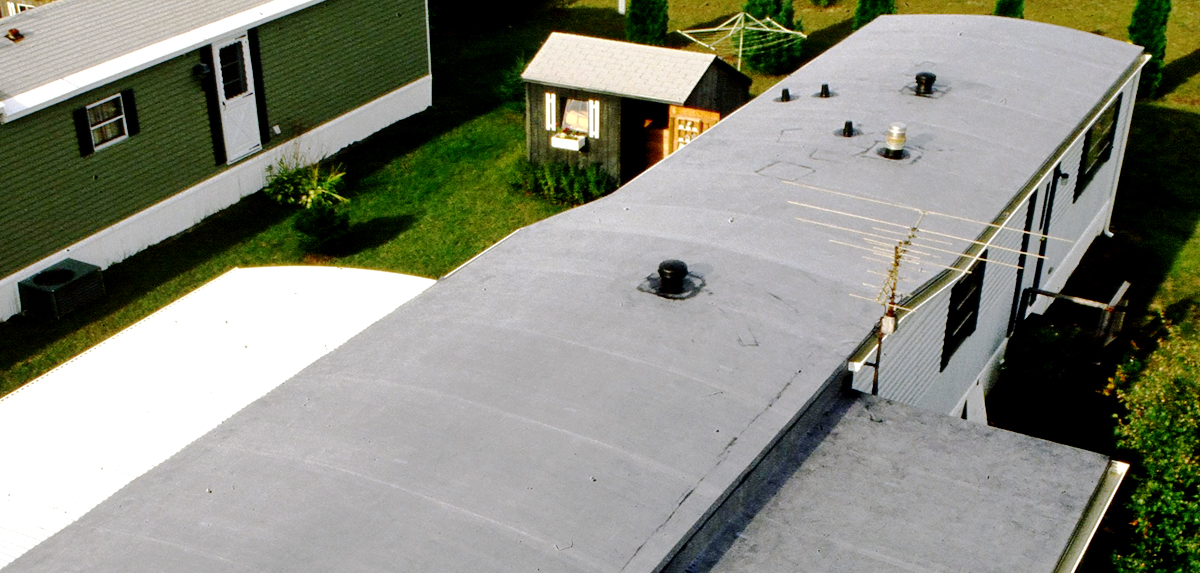
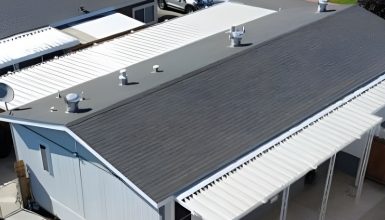
Rubber roofing comes in two types: whole-roof and shingles.
1. Whole-Roof Rubber
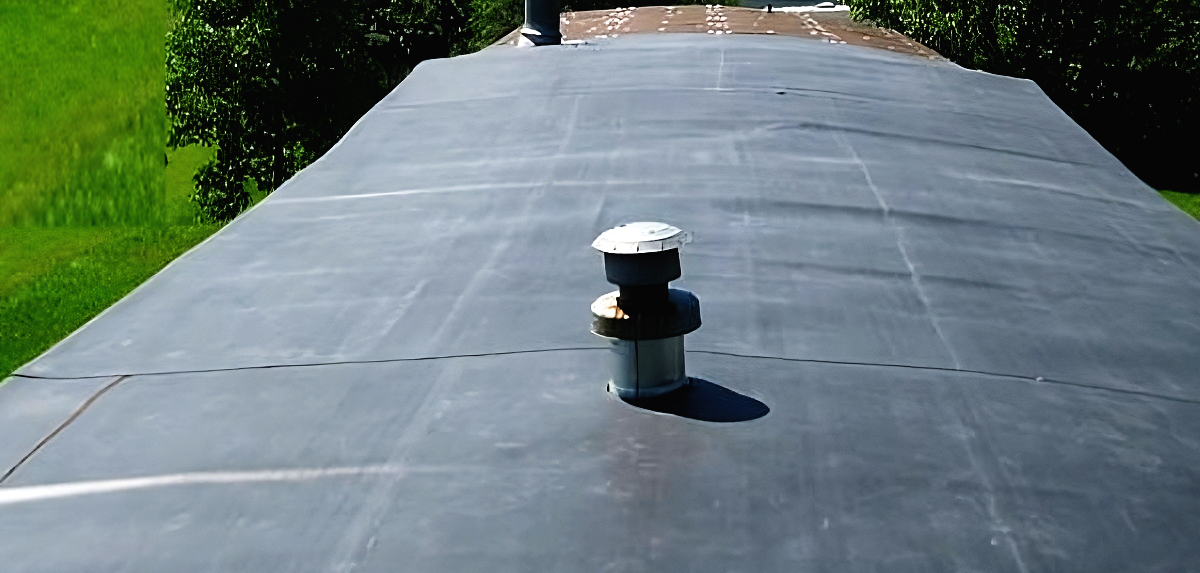
First, we have the whole-roof style, also known as “membrane” roofing. Imagine a giant, sturdy rubber blanket that covers your entire roof in one piece. This method is excellent for providing a seamless, watertight covering. It’s a single sheet of durable EPDM rubber, and its simplicity means there are fewer spots where leaks could potentially start. One of the big perks here is the minimal maintenance required. It’s also popular for larger roofs, as installing can be more efficient.
2. Rubber Shingles
Next, we’ve got rubber shingles. It could be for you if you’re after a roofing solution with a bit more traditional flair. Rubber shingles are smaller, individual rubber pieces installed like conventional shingles. They can come in various styles and colors and even mimic roofing materials like slate or wood shakes. It is a great option if you want the benefits of rubber roofing but still desire that classic shingled look.
In essence, rubber roofing is a bit like having a superhero shield for your mobile home—resilient, protective, and designed to last. It’s like getting a custom suit of armor for your roof.
Benefits of Rubber Roofing for Mobile Homes
Alright, now we’re getting to the good stuff—the benefits of rubber roofing for your mobile home.
- Durability
First, let’s talk about durability. We all know that rubber’s tough. But when it comes to roofing, it’s practically a superhero. These roofs can easily last 30 to 50 years with proper care. That’s longevity you can count on. And believe me; it’s a pretty nice feeling knowing your roof isn’t going to call it quits any time soon.
- Weather Resistance
Next up: weather resistance. Rain, snow, hail, blazing sun—you name it, rubber roofing can handle it. Its waterproof nature makes it an absolute champ in the face of a storm. And it’s resistant to UV light, so the hot summer sun doesn’t stand a chance. In short, rubber roofing laughs in the face of harsh weather.
- Energy efficiency
But there’s more! Let’s talk about energy efficiency. Rubber roofs do a fantastic job of reflecting heat. It means your mobile home stays cooler in the summer without your air conditioning working overtime. And less AC means—you guessed it—lower energy bills. That’s what we call a win-win situation.
- Easy to install
Installation and repair? Easy peasy. Whether you go for the whole roof or shingle style, rubber roofing is typically simpler and quicker to install than other materials. And if a repair is needed, it’s usually a straightforward fix.
To sum it all up, rubber roofing offers durability, weather resistance, energy efficiency, and easy installation. It’s no wonder many mobile home owners are jumping on the rubber roofing bandwagon.
Rubber Roofing Costs
Let’s break down some potential costs for rubber roofing. Remember, these are just examples; actual prices can vary depending on the size of your mobile home, location, and labor costs. And the specific type of rubber roofing you choose.
Let’s consider a standard, single-wide mobile home typically has around 1,000 square feet of roofing area.
For rubber roofing materials:
- Whole-roof EPDM membrane: The cost can range anywhere from $1.00 to $2.00 per square foot. So, for a 1,000-square-foot roof, you’re looking at a material cost of about $1,000 to $2,000.
- Rubber shingles: These might cost a bit more, ranging from $2.50 to $5.00 per square foot. For the same 1,000-square-foot roof, that’s $2,500 to $5,000.
Next, there’s the installation cost. If hiring a professional, you might pay anywhere from $1.50 to $3.00 per square foot for labor. So, for our example, that’s another $1,500 to $3,000.
So, if you opt for the whole-roof style, you might expect a total cost between $2,500 and $5,000. For rubber shingles, the total could be between $4,000 and $8,000.
While that might seem like a chunk of change upfront, remember the long-term benefits. With rubber roofing’s durability, you won’t face replacement costs for decades. And the potential energy savings can also help offset the initial investment over time.
One more thing to remember is that financial incentives or grants are sometimes available for environmentally friendly choices like rubber roofing. It’s always worth checking whether local or national programs could help offset the cost.
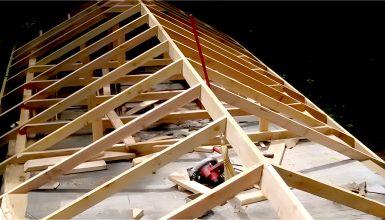
Step-by-Step Guide to Installing a Rubber Roof
Strap on your tool belt because we’re about to take a step-by-step journey through installing a whole-roof rubber membrane on your mobile home. It’s a bit of a process, but with some patience and precision, it’s a project you can tackle. Ready? Let’s get started!
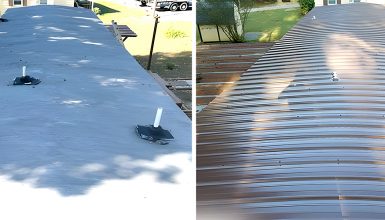
Step 1: Clean the Deck
First off, your roof needs to be clean and dry. Remove any old roofing material, debris, or protruding nails. You’re looking for a nice, smooth surface.
Step 2: Measure and Cut the Membrane:
Next, roll out your rubber membrane on the roof and cut it to size. Remember to leave extra for edges and corners.
Step 3: Roll it Back
Now, carefully roll the membrane back up without disturbing your measurements. This is to prepare it for the adhesive.
Step 4: Apply the Adhesive
Time to bust out the adhesive. Using a roller, apply it to your roof surface. Follow the manufacturer’s instructions —you want a robust and secure bond.
Step 5: Roll out the Membrane
Here comes the fun part. Slowly roll the membrane back out onto the adhesive-covered roof. As you go, press it down to stick. The aim here is to avoid wrinkles and bubbles.
Step 6: Secure the Edges
The edges of your roof need some love, too. Ensure the membrane wraps over them, then secure them with more adhesive. A good seal here is vital to keep water out.
Step 7: Seal Seams and Protrusions
If your roof has features like vents or skylights, trim the membrane and use a special rubber roofing sealant to ensure a watertight fit.
Step 8: Final Check
Once everything is secure and sealed, do a final check over your work. Look for any areas that might need a bit more adhesive or sealant. And that’s it—you’ve installed a rubber roof!
Maintenance and Care for Your Rubber Roof
Okay, your rubber roof is installed—congratulations! But the journey doesn’t stop there. Just like anything valuable in your home, your roof needs a little TLC to keep it in top shape. Luckily, one of the perks of rubber roofing is its low-maintenance nature. Let’s go over a few simple steps to keep your roof looking and performing its best.
- Regular Cleaning
The number one rule for rubber roof maintenance? Keep it clean! Over time, dirt, leaves, and other debris can accumulate on your roof. A good rinse with a hose a few times a year will help keep things in check. If you need a deeper clean, a mild detergent and a soft brush will do the trick. Remember: never use harsh chemicals or abrasive brushes, as they can damage the rubber.
- Check the Seams
Every now and then, give your roof seams a once-over. Ensure the seams are still tight and the sealant is in good shape. You might need to reapply some sealant if you see any cracks or peeling.
- Trim Overhanging Branches
Got any trees hanging over your mobile home? It’s a good idea to keep those branches trimmed back. Falling branches can damage your roof, and overhanging trees can lead to excess debris and moss growth.
- Watch for Punctures
Though rubber roofs are tough, sharp objects can still puncture them. If you notice any holes or tears, you’ll want to patch those up quickly to avoid leaks.
- Regular Inspections
Finally, consider a professional inspection every few years. A roofing pro can spot potential issues early and keep your roof in top-notch condition.
Conclusion
So, there you have it, folks! Your crash course in the world of rubber roofing for mobile homes. From its durable nature, weather-fighting abilities, and energy efficiency to straightforward installation and maintenance. Rubber roofing is a true game changer in the mobile home scene. Lastly, the most important thing to remember is that your roof is more than just a covering—it’s an investment in your home’s comfort, efficiency, and longevity. And when it comes to making a solid investment, rubber roofing holds a pretty convincing resume. Thank you for reading!
FAQs
Absolutely! Rubber roofing is versatile and can be used on both flat and pitched roofs. It’s an excellent choice for a pitched roof because of its water-resisting properties and durability. Whether you opt for a whole-roof rubber membrane or rubber shingles, both options should work well on a pitched roof. Just remember, installing rubber roofing on a pitched roof may be a bit more challenging than on a flat roof.
With proper installation and maintenance, a rubber roof can last anywhere from 30 to 50 years! It’s a durable choice built to withstand the elements and the test of time.
Absolutely! Rubber roofing does a great job of reflecting heat, which can help keep your mobile home cooler in the summer and reduce your air conditioning costs.
While rubber roofing is durable, it’s generally best to avoid walking on it unless necessary to prevent potential damage. If you need to walk on it for inspections or maintenance, try to step lightly and wear soft-soled shoes.
While black is the most common color for rubber roofing, it’s also possible to find it in other colors like white or grey. Some manufacturers might even offer custom colors.
If your rubber roof gets a small hole or tear, it can usually be repaired with a patch kit or some extra sealant. For more significant issues, it’s best to call in a professional. The key is quickly addressing any damage to prevent leaks and further problems.
