
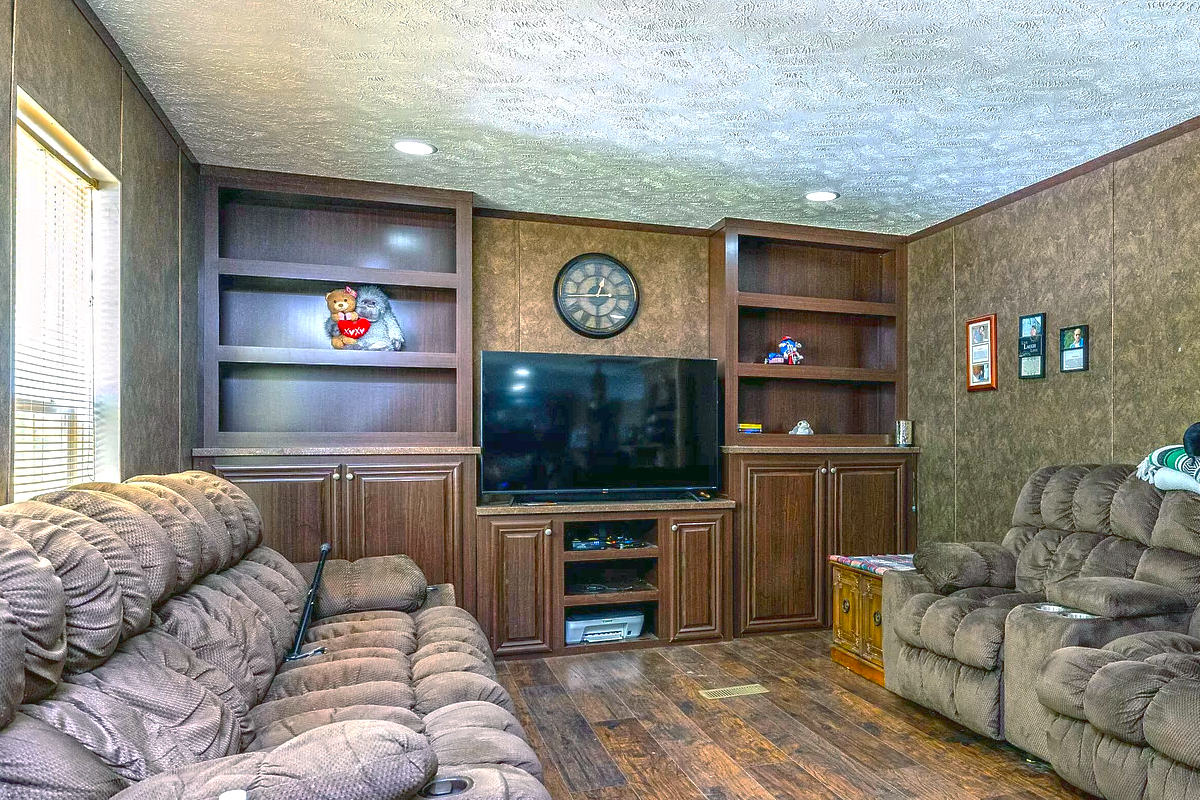
Starting a DIY project in your home can be exciting, especially when it involves updating your living space. Removing a built-in TV cabinet in a mobile home is one such task. It not only refreshes the look of your living room but also gives you the chance to rethink your space. This task, while straightforward, calls for a thoughtful approach. So, let’s dive in!
1. Preparation
First things first, you need to make space. Move furniture and other items away from the cabinet. This gives you room to work and keeps your belongings safe. Don’t forget about your floor. Lay down a drop cloth or old sheets to protect it from scratches and debris. This simple step can save you a lot of hassle later.
Next, think about your safety. Put on sturdy gloves to protect your hands from sharp edges and splinters. Safety goggles are a must, too. They’ll protect your eyes from dust and small particles as you work. Remember, being safe is as important as the project itself.
2. Disconnecting Electronics
Now, focus on the electronics. Before you start dismantling the cabinet, unplug everything. TVs, game consoles, DVD players – ensure they’re all turned off and unplugged. Once that’s done, carefully remove them from the cabinet. Store them in a safe place where they won’t get damaged. This step prevents accidents and protects your electronics.
3. Inspecting and Removing Attachments
The cabinet is likely attached to the wall with screws or nails. These can be hidden under paint or behind the cabinet’s trim. Look closely and feel around for any bumps that indicate a screw or nail head. Sometimes, a flashlight can help spot these hidden fasteners.
Once you find the attachments, it’s time to gather your tools. A screwdriver is essential. If the screws are tight or there are many, consider using a power drill. It makes the job quicker and easier. For nails, a pry bar or claw hammer will do. Choose tools you’re comfortable handling. This makes the task smoother and safer.
4. Removing Trim or Molding
Trim and molding can be tricky. Use a putty knife or a flat pry bar to avoid wall damage. Slide it gently under the trim and slowly pry it away. Work your way along, loosening a little at a time. Patience is key here. Rushing can crack the trim or mark the wall. If the trim is stubborn, apply heat with a hair dryer to loosen the paint or adhesive.
5. Unscrewing and Removing the Cabinet
Now, focus on the screws and nails. Start by unscrewing the top screws. This prevents the cabinet from tipping as you work. Use the right screwdriver head to avoid stripping the screws. For nails, wedge a claw hammer or pry bar under the head and gently pull. Keep a steady hand to ensure everything comes out cleanly.
Once loose, the cabinet needs careful handling. It’s often heavier than it looks. Get help to lift it. Make sure you both lift with your legs, not your back, to avoid injury. Move slowly and communicate as you maneuver it out of its space. Safety first!
6. Checking for Hidden Wiring or Plumbing
Before you patch the wall, check for wiring or plumbing. Feel around inside the wall cavity. Look for wires, pipes, or anything unusual. Use a flashlight for better visibility. If you find wiring or pipes, be extra cautious. Don’t drill or nail into them. If you’re unsure, it’s best to consult a professional.
7. Post-Removal Process
Finally, it’s time to patch and paint. Fill any holes with spackle and let it dry. Sand the area smooth. Then, repaint the wall for a fresh look. If the paint doesn’t match, consider repainting the whole wall. This will give your room a clean, cohesive appearance. Voila! Your space is transformed.


