
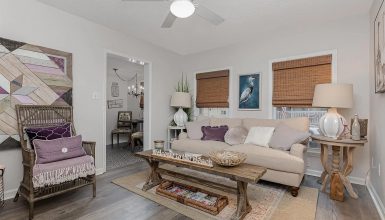
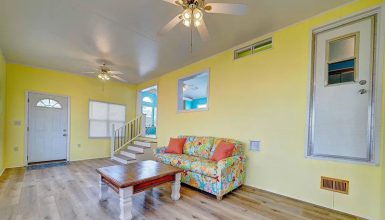
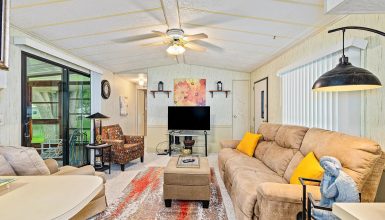
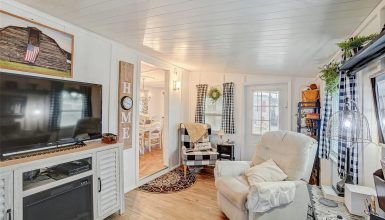
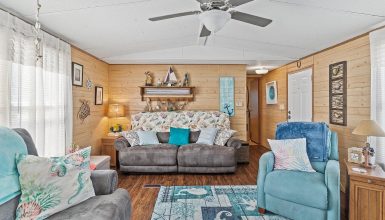
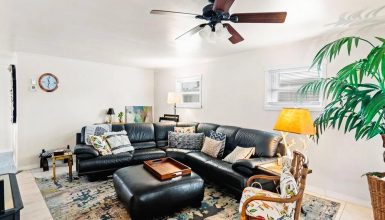
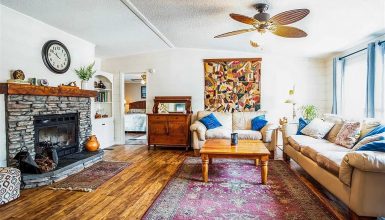
Adding shelves to your mobile home living room isn’t just about extra storage. It’s a great way to show off your style, keep things organized, and make your space feel larger. But in a mobile home, hanging shelves is a bit different. The walls might be thinner or made of materials like drywall or paneling. This means you must consider how to do it safely so your shelves stay up and look good. In this guide, we’ll walk through everything you need to know. So, let’s dive in!
1. Choosing the Right Shelves
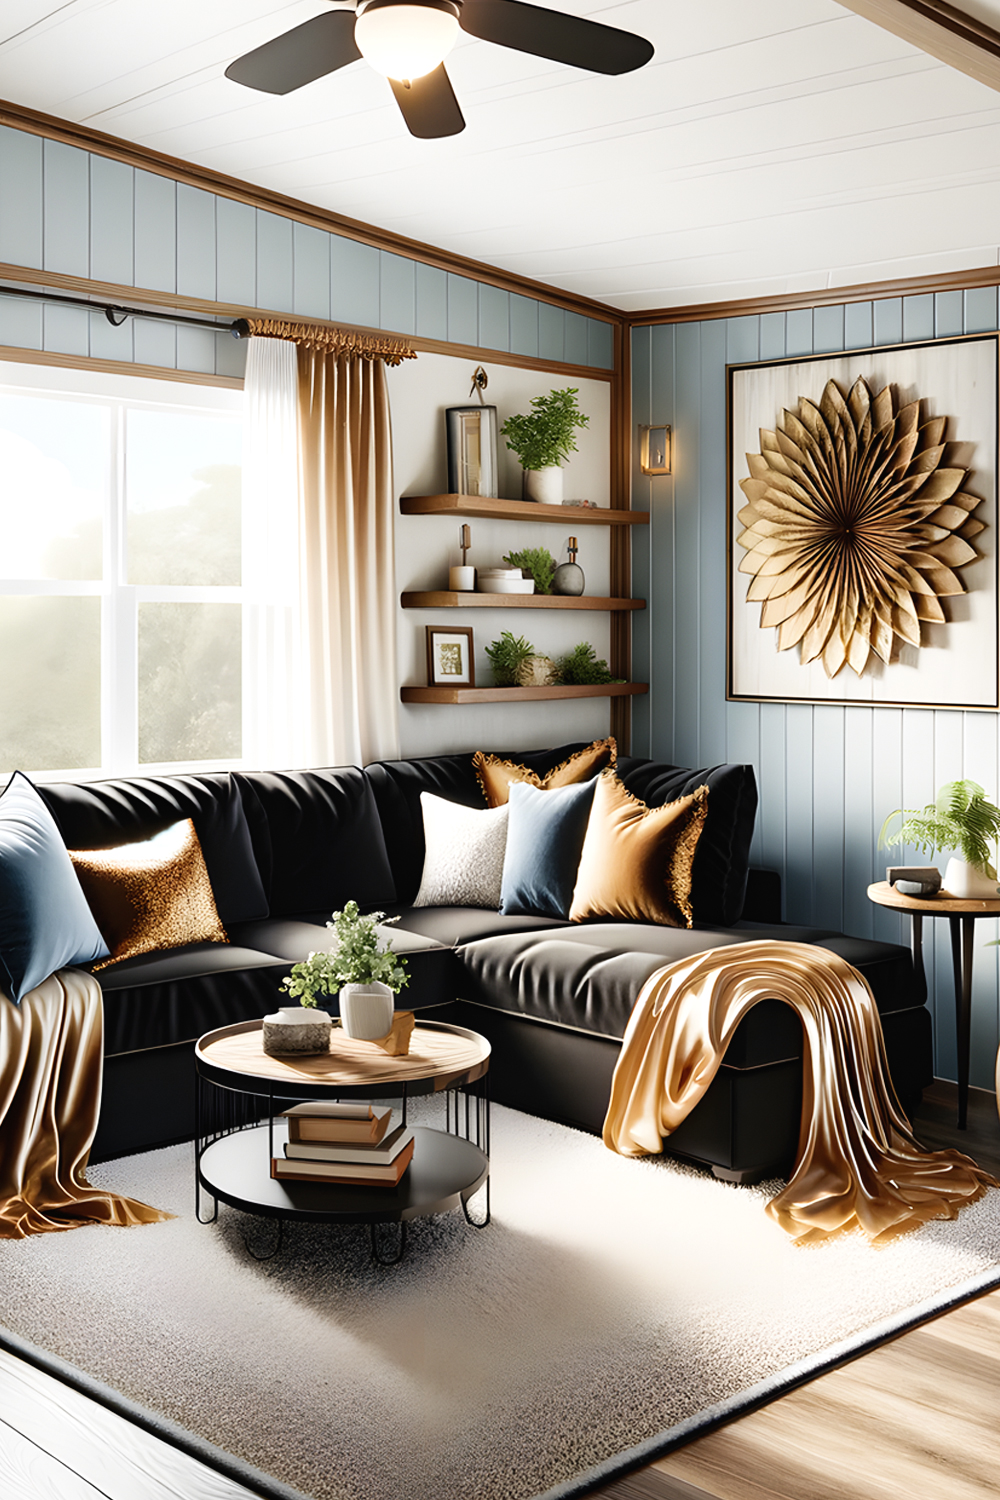
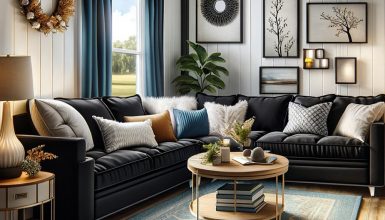
Picking shelves for your living room is fun. You want them to look good and be practical. Consider the style of your room. Are you going for modern, rustic, or something else? Your shelves should match this look. Also, think about what you’ll put on them. Books, photos, plants, decorations? This decides how sturdy your shelves need to be. And here’s an important tip: Keep an eye on the weight and size of the shelves. Your mobile home walls have a limit to how much weight they can hold. Choose lighter shelves to ensure they can be safely mounted.
2. Necessary Tools and Materials
Ready to put up those shelves? Make sure you have the right tools. You’ll need a drill, a level, a stud finder, screws, and anchors. Each tool has a special job. The drill makes holes for screws. The level ensures your shelves are perfectly horizontal (no slanted shelves here!). The stud finder is a big help. It locates the studs in your walls, which are the best places to secure your shelves. As for screws and anchors, they keep your shelves attached to the wall. Now, about shelving brackets and hardware. Choose ones that are right for mobile home walls. They should be firm but not too heavy. With these tools and materials, you can create a lovely and functional space in your living room.
3. Locating Studs and Preparing for Installation
Finding studs in your mobile home walls is key before drilling for shelves. Here’s how to do it:
A. Using a Stud Finder
Grab your stud finder and turn it on. Slowly move it across the wall. When it beeps or lights up, that’s a stud. Mark this spot with a pencil. It’s the strong part of your wall, perfect for holding up shelves.
B. Marking Shelf Placement
Now, decide where you want your shelves. Hold them against the wall to see how they’ll look. Once you’re happy with the spot, use a pencil to mark where the shelf ends. Then, measure the distance between the shelf supports or brackets and mark those spots on the wall. This ensures your shelves will be where you want them.
4. Installing Shelves on Studs
Once you’ve found the studs and marked your spots, it’s time to install:
Step 1: Secure the Brackets
Line up the shelf brackets with your marks over the studs. Use your drill to screw them into the wall. Screws should go into the studs for maximum support.
Step 2: Check for Level
Before you fully tighten the screws, place a level on top of the brackets. Adjust until the bubble is in the center, then tighten the screws. This makes sure your shelves won’t be tilted.
Step 3: Attach the Shelf
Now, set your shelf on the brackets. Depending on your shelf type, you might need to screw it onto the brackets.
Remember, when shelves are installed on studs, they’re much more stable. You can trust them with your favorite books, plants, or photo frames. Taking the time to install shelves this way means you won’t have to worry about them later. They’ll be a sturdy, level part of your living room decor.
5. Installing Shelves without Studs
Not finding studs where you want your shelves? No worries. You can still hang them safely. Here’s how:
A. Using Anchors and Wall Mounts
These are your go-to for hanging shelves without studs. Drywall anchors spread the weight across the wall. First, drill a hole where you marked for your shelf. Then, push the anchor in and screw your bracket into it. Wall mounts are similar. Just follow the instructions on the package for the best hold.
B. Weight Distribution
This part is crucial. Since there’s no stud support, be mindful of how much weight you put on these shelves. Spread out heavier items and mix them with lighter ones. This helps keep your shelves stable and safe.
6. Finishing Touches
Your shelves are up! Now for the fun part:
A. Aligning and Leveling
Take a step back and look at your shelves. Are they even? Use a level to check. Adjust if needed. It’s all about making sure they look just right.
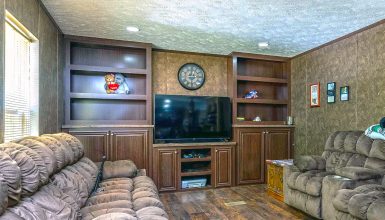
B. Decorating Your Shelves
This is where you make them your own. Start with larger items like books or big plants. Then, add smaller things like photos or trinkets. Play with heights and colors. Create little groups of items that look good together. Remember, your shelves are more than storage; they display what you love.
Hanging shelves without studs can work great, especially with the proper anchors and some care in loading them. And once they’re decorated, they’ll bring your living room to life. It’s incredible how a few well-placed shelves can transform a space!