
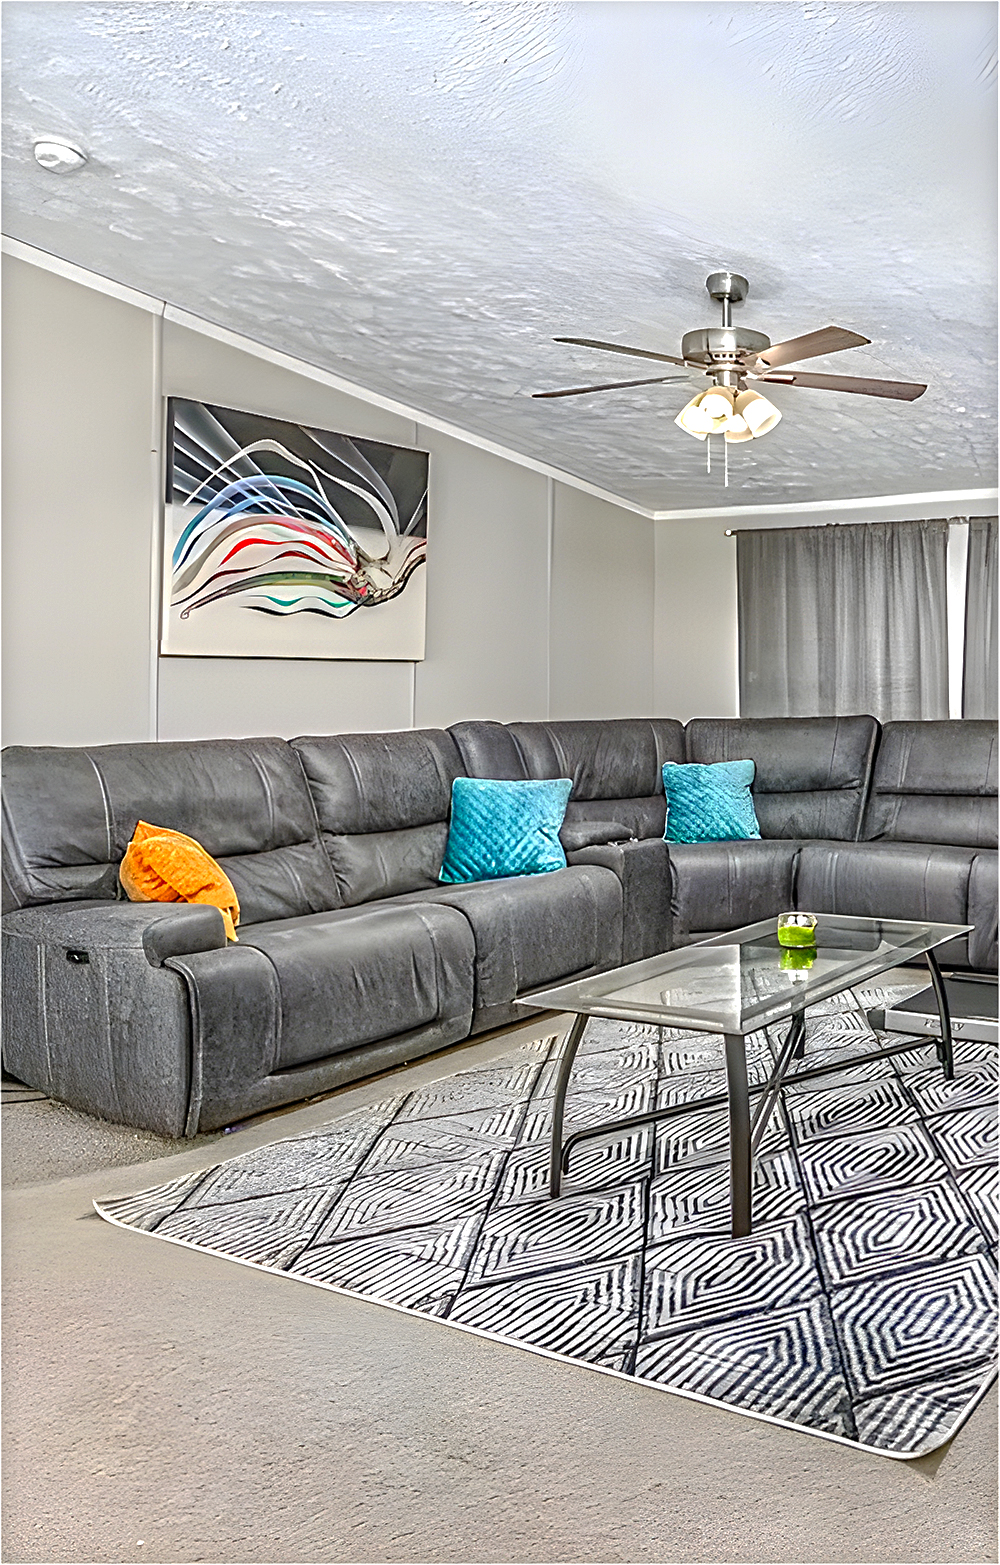
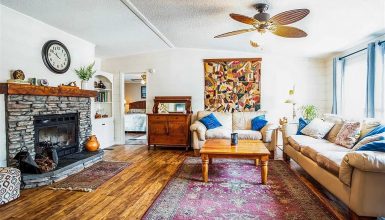
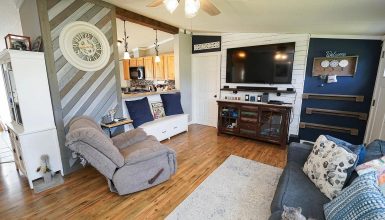
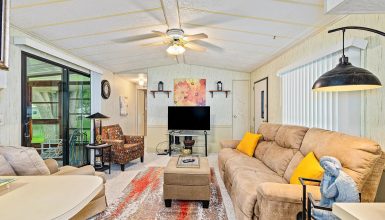
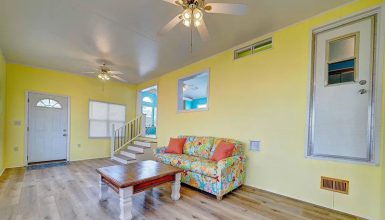
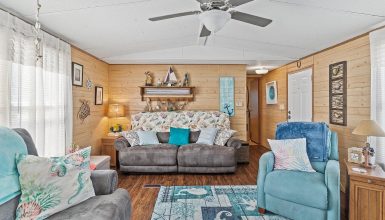
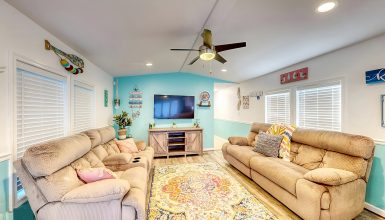
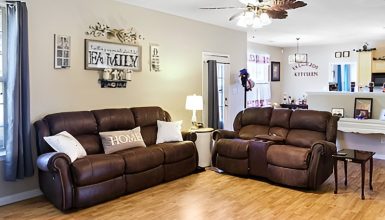
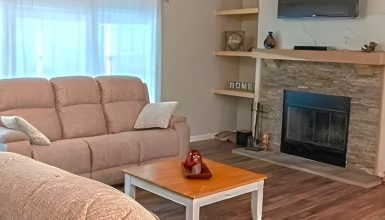
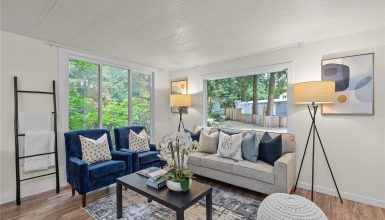
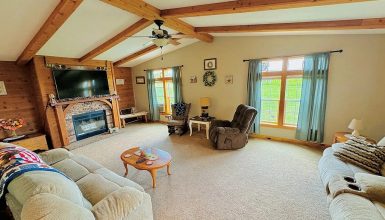
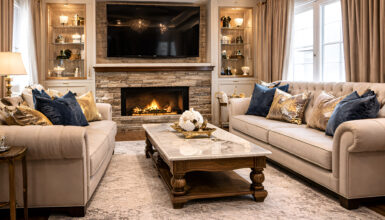
Decorating your mobile home living room is exciting. It’s where you relax and welcome friends. One great way to add charm is with pictures. But hanging pictures in a mobile home can be different. Why? Because the walls aren’t the same as in traditional houses. They might be thinner or made of different materials. So, it’s vital to hang your pictures the right way. This means doing it safely so nothing falls down. It also means making it look good. You want your living room to feel like it’s truly yours. Let’s dive into how you can hang pictures in your mobile home living room, both safely and stylishly.
1. Knowing Your Walls
Mobile homes often have walls made of drywall or paneling. Drywall is a smooth material, usually painted or wallpapered. On the other hand, paneling can give a wood-like appearance with various patterns. These materials differ from what you might find in a traditional brick-and-mortar house. They’re usually thinner and lighter. This is important to remember when hanging pictures. The wall type tells you how much weight it can hold and helps you choose the right hanging method. You wouldn’t want your favorite picture falling off the wall!
2. Selecting the Right Pictures and Frames
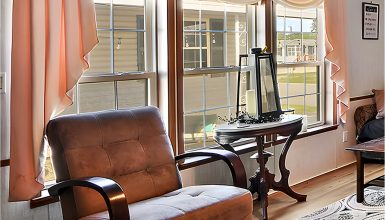
Choosing the right pictures for your living room is like picking the perfect outfit. You want something that shows your style and fits just right. Think about colors and themes that match your living room. Cozy family photos? Bright landscapes? Abstract art? It’s all about what makes you smile. Now, for the frames. It’s not just about looks; size and weight matter too. In a mobile home, it’s best to go for lighter frames. They’re easier to hang and less risky for thinner walls. Remember, a beautiful picture in the right frame can transform your space!
3. Tools and Materials Needed
Before you start hanging pictures, gather your tools. You’ll need a hammer, nails, a stud finder, and a level. Each tool has a job. The hammer and nails are for securing the picture. The stud finder is super helpful. It finds the sturdy parts of your wall. These are the best spots for hanging heavier frames. And the level? It makes sure your pictures hang straight. No one likes a crooked picture! Now, about hanging hardware. Picture hooks and anchors are your friends here. They help distribute the weight and keep your pictures secure. Choosing the proper hardware can make all the difference in keeping your walls and pictures safe.
4. Locating Studs in the Wall
Finding studs in your wall is like finding the strong bones in it. These are the best spots to hang heavy pictures. First, grab your stud finder. Turn it on and slide it slowly across the wall. When it beeps or lights up, you’ve found a stud. Mark this spot with a pencil. It’s a good idea to move the stud finder around a bit to get the edges of the stud, too.
Don’t have a stud finder? No problem. Try the tapping method. Tap on the wall with your knuckle. You’ll hear a hollow sound until you hit a stud. It sounds more solid. Again, mark this spot. Remember, studs are usually spaced 16 or 24 inches apart. So, once you find one, you can measure from there to find others.
5. Preparing to Hang Pictures
Now it’s time to get your pictures up. First, decide where you want them. Hold them against the wall to get a feel for their appearance. When you’re happy with the spot, take a pencil and mark where the top of the frame will be. Then, check the back of your picture. Where does the hook sit? Measure this distance from the top of the frame and mark it on the wall. This is where your nail or hook will go.
For a great look, think about spacing and layout. Want a gallery wall? Keep the spacing between pictures consistent. About 2 to 3 inches apart works well. For a large picture, make it the center of attention. Smaller ones can go around it. Mixing sizes and shapes can add interest but keep a balance. You don’t want one side of the wall to be too heavy with pictures. It’s all about creating a look that feels good to you. After all, it’s your space!
6. Hanging Pictures on Studs
You’re ready to hang your picture once you’ve found a stud on your wall. Here’s how:
- Place Your Nail or Screw: Where you marked the stud, drive a nail or screw into the wall. If it’s a heavy picture, a screw gives more support.
- Hang Your Picture: Hook the picture onto the nail or screw.
- Level It Out: Use your level to check the picture is straight. Adjust it until the bubble in your level is right in the middle.
Keeping multiple pictures level and evenly spaced when hanging them is important. If they’re part of a group, treat them as one big piece. Use the level to keep the tops or bottoms aligned. Measure the space between pictures to keep it consistent. This gives your wall a neat, organized look.
7. Hanging Pictures without Studs
Not all pictures need to hang on studs. For lighter ones, here’s what you can do:
- Use Wall Anchors: These are great for drywall. They spread the weight across a larger area. Drill a small hole, push the anchor in, and then screw it into the anchor.
- Try Adhesive Hooks: These are perfect for very light frames. Just stick them on the wall where you want your picture. Make sure to follow the instructions on the package for the best hold.
When using these methods, remember to check the weight limits. You want to ensure your picture isn’t too heavy for the anchor or hook. And as always, use a level to ensure your photos are straight. This way, even without studs, the photos stay up securely and look great on your walls.

