
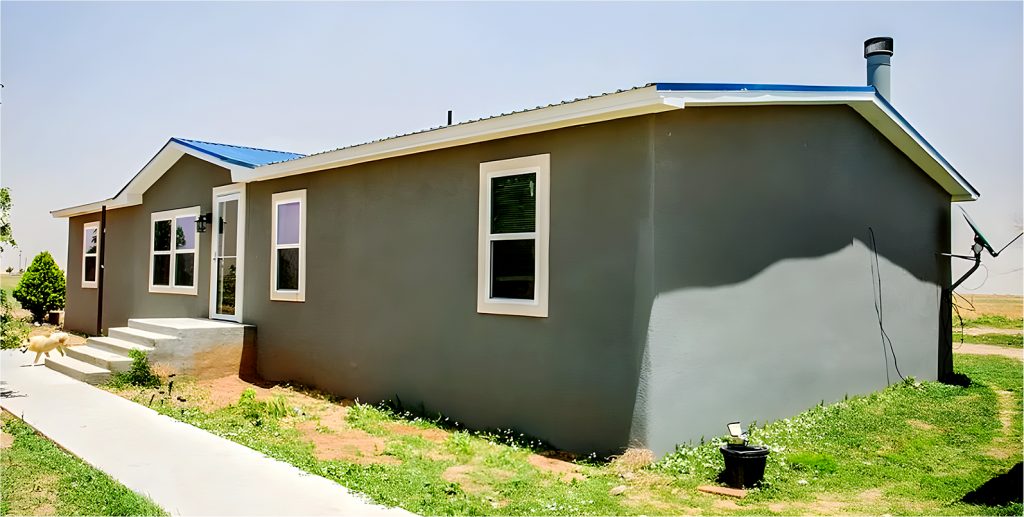
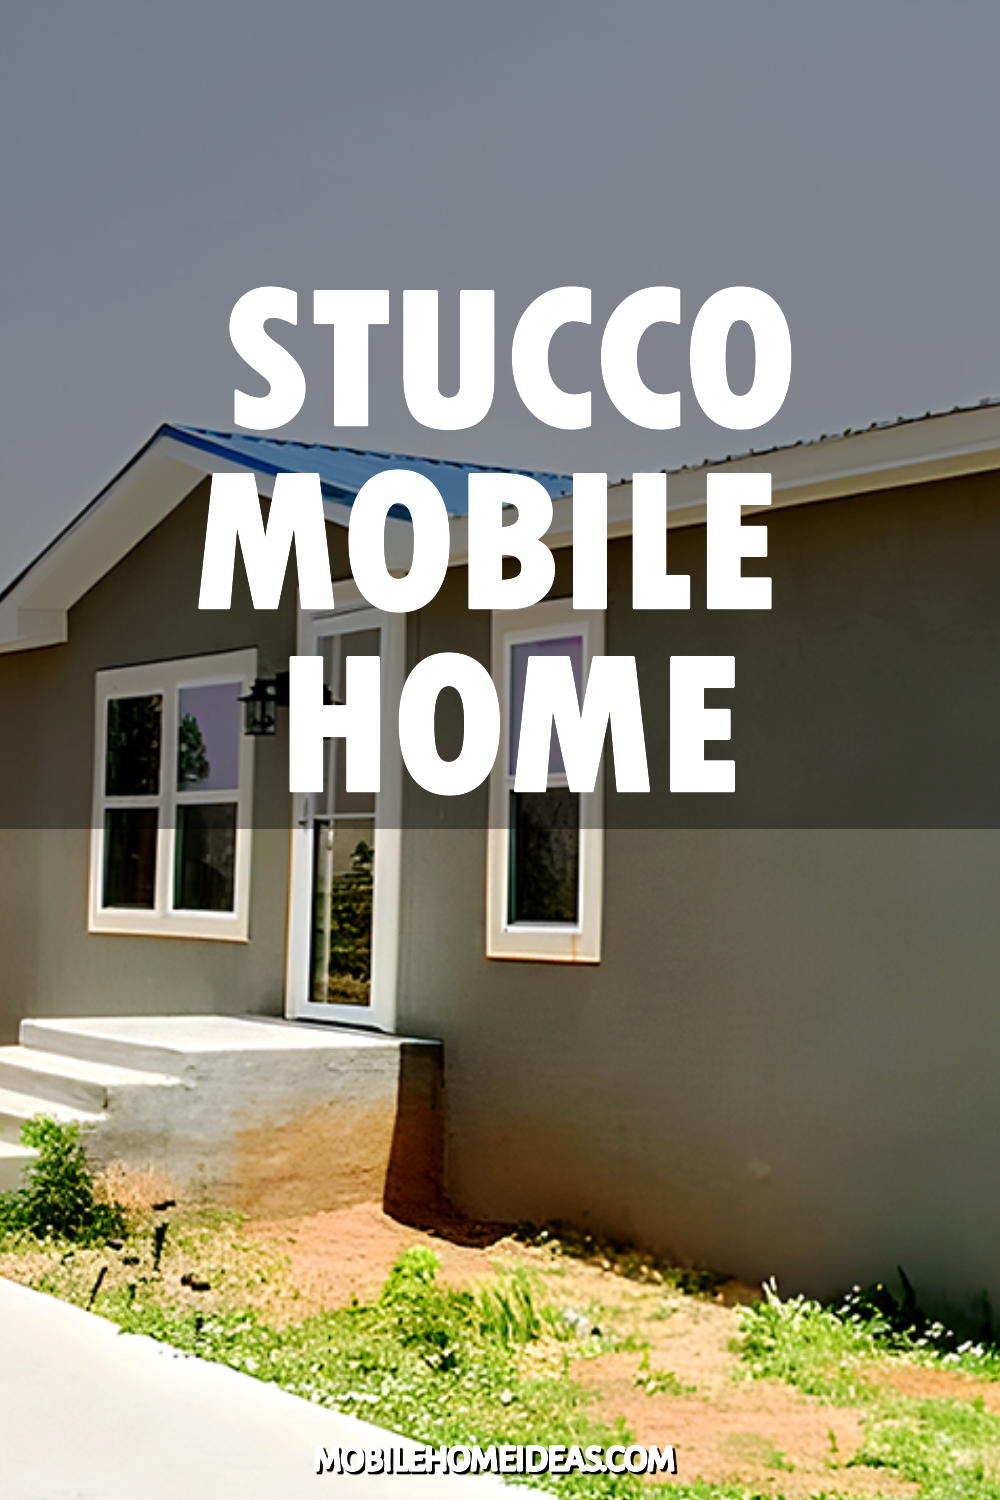
Yes, you can stucco a mobile home. Stucco is a versatile plaster that can be applied to various surfaces, including the exterior of mobile homes. Before applying stucco, your mobile home’s surface needs to be prepared. This usually involves installing a moisture barrier and a metal lath (wire mesh) over the existing siding. The stucco is then applied over this lath in layers. It typically consists of a base coat and one or more finish coats. Let’s dine into how to apply stucco to your mobile home.
What is Stucco
In simple terms, stucco is like the multitasking superhero of home exteriors. It’s a blend of cement, sand, and water. Sometimes, lime is thrown into the mix. So, why are folks raving about stucco? Let’s break it down.
Pros
First up durability. Stucco is like that trusty old umbrella that refuses to flip inside out, no matter how windy it gets. Rain, shine, or blizzard, stucco stands strong.
Then there’s the look. Ah, the sheer beauty of it! It’s like giving your home a swanky new outfit that turns heads. You can paint, texture, or let it rock naturally.
And don’t get me started on energy efficiency. Want to keep the cold out during winter and the heat at bay in summer? Stucco’s got your back. It’s like a cozy blanket for your home, helping you save some green on those energy bills.
Cons
However, it can be pricey upfront. While it’s tempting to take on as a weekend project, stucco application is an art. Getting it wrong can cost more in the long run. Also, moisture can sneak in if not applied correctly; nobody wants that. Ensure you’ve got a top-notch moisture barrier in place. Lastly, patching it up isn’t always straightforward if it cracks or gets damaged. It’s like trying to fix a smudged masterpiece.
Can You Put Stucco Over Existing Siding
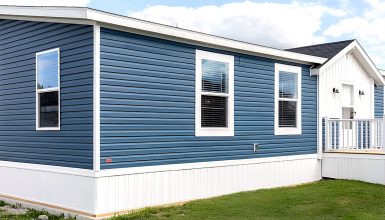
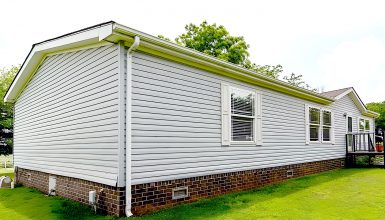
So you’re itching to give your mobile home that sleek stucco finish. But there’s a tiny hiccup: what about that existing siding? Can stucco cozy up to metal or vinyl?
First up, metal. Metal sidings can be a bit slippery for stucco. But with the proper prep—think lathing and a suitable bonding agent—it can become the perfect canvas. With a little effort, the metal’s ready for its stucco moment.
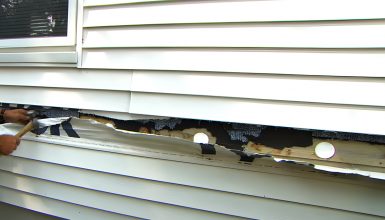
Next, vinyl siding. Here’s the deal: vinyl is flexible, while stucco is not so much. The flex of vinyl can cause the plaster to crack over time. But don’t despair! Remove the vinyl, prep the surface underneath, and you’re back in the stucco game.
Other sidings? Most can be stuccoed over with the proper prep work. The golden rule? Always ensure a robust and stable foundation for your stucco to grip. Without it, well, you’re setting up for some stucco heartbreak.
Bottom line? While some sidings might need extra love (or even removal) before stucco application, almost any surface can sport that gorgeous stucco look with the right steps.
How to Stucco a Mobile Home
Ready to give your mobile home rock that stucco look? Let’s get our hands dirty and dive right into how to do it step-by-step.
Step 1: Picking the Right Stucco
Let’s kick things off at square one: Choosing your stucco. Think of it like picking the right outfit for a big event. It fits just right, matches the occasion, and makes you feel on top of the world.
Traditional vs. Synthetic
First up, we have the age-old debate: traditional versus synthetic stucco.
Traditional: Made of sand, cement, lime, and water. It’s like that classic black dress – timeless and reliable. This one’s heavy-duty and has stood the test of time.
Synthetic: The modern twist. It’s a blend of acrylic resins and sand. Picture it as the trendy jumpsuit that’s overtaken the fashion world. It’s lighter, flexible, and has many vibrant colors.
Your Climate Matters
Now, where do you live? Sunny California or perhaps rainy Seattle? Your local weather plays a part in your pick. Synthetic might be your pal in wetter climes since it’s more moisture-resistant.
Budget
Let’s face it: we all have a budget. Traditional tends to be easier on the pocket, but synthetic can save in the long run with fewer repairs.
Final Thoughts
Before diving in, maybe grab a few samples. Test them out. See how they feel, dry, and look against your mobile home’s exterior.
And just like that, you’re on your way! Picking the right stucco is half the fun, setting the stage for the transformation magic. So, whether you go classic or contemporary, remember: It’s all about what feels suitable for you and your home sweet home. Onward!
Step 2: Prepping the Surface
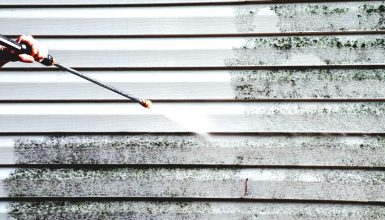
Next up, let’s get things sparkling! Stucco demands a spotless start like you wouldn’t paint over a muddy car. Here’s the lowdown on getting that surface pristine.
Scrub-a-Dub-Dub
First, grab that hose and give your mobile home a good rinse. This isn’t a splash-and-dash job; consider it a spa day for your home.
Spot the Stubborn Spots
Found any mold, mildew, or pesky paint flaking off? It’s time to tackle them. A soft-bristle brush and some mild detergent should do the trick. Gently scrub away. No harsh chemicals, please; we’re keeping things kind.
Repair Time
See any cracks or dents? Here’s where you patch things up. A bit of patching compound will seal those gaps. Smooth it out, let it dry, and then light sand. It’s like erasing little boo-boos from the past.
A Final Once-Over
After your repairs, hose down one more time. You’re aiming for a surface that’s as smooth and clean as a porcelain plate. Let it dry completely before the stucco magic begins.
And voilà! With a gleaming, prepped surface, you’ve set the stage for stucco success. Think of it as rolling out the red carpet, preparing for the star of the show: that fabulous stucco finish you’re about to apply. Ready, set, prep!
Step 3: Moisture Barrier
Alright, gang, here’s where we play defense! Picture your home gearing up with an invisible shield. Moisture? Not today!
Why the Barrier Buzz?
Let’s get it straight. Stucco and moisture? They’re like cats and water – not the best of pals. Water can be a sneaky invader, finding its way into the tiniest nooks and crannies. Overtime? This spells trouble for stucco. Enter the moisture barrier!
Roll it Out!
Imagine unrolling a giant cling film, but it’s way tougher. Your moisture barrier is a heavy-duty sheet that wraps around your mobile home. Start from the bottom, working your way up, making sure to overlap each row a bit. It’s like wrapping a present, but you’re sealing it with special tape or staples instead of a bow.
Seal Those Edges
Are any windows or doors in the way? Trim around them but leave a generous overlap. Then, seal it up tight. Think of this step as tucking in the corners of a bedsheet – neat and snug.
It might not be the most glamorous step, but it’s a game-changer. With this barrier in place, your stucco shines without moisture worries. It’s like gifting your mobile home a sleek, waterproof jacket.
So, there we have it! A well-clad home, ready to face whatever Mother Nature throws its way.
Step 4: Lath it Up
It’s time to get gritty! Imagine prepping a stage where stucco can strut its stuff. Lathing is precisely that – the unsung hero setting up the grand performance.
Why Lath?
Imagine trying to climb a smooth wall. Tricky, right? Stucco feels the same about slippery surfaces. Lath provides that necessary grip – it’s like the sandpaper of the stucco world.
On the Roll
Kick-off by rolling out your lath across your mobile home, similar to a red carpet. Start from the bottom, aiming for the sky. Make sure every inch is snug and tight against the house.
Staple or Nail?
This lath isn’t going anywhere. With a staple gun or hammer and nails, secure that lath like it’s the star of the show. Think of each fastener as an anchor, ensuring the stage remains steady for the main event.
All About the Fit
Got windows? Maybe a door or two? No stress! Simply trim and fit the lath to your space. It’s adaptable and eager to fit into every nook and cranny.
Once done, glance at your work. While it might seem like just a mesh right now, remember, it’s the backbone for your soon-to-be stunning stucco exterior.
There we go! With a firmly set lath, we’re all set for stucco to steal the spotlight. Curtain’s up for the next step!
Step 5: Mixing and Applying
Ready to dive into the action? This is where the magic happens! We’re taking that stucco from the bag to the wall, transforming your home one coat at a time.
The Perfect Mix
Think of stucco mixing as making the ultimate cake batter. You want it smooth, lump-free, and oh-so-spreadable. Mix water and stucco in a large bucket, stirring until you’ve got that creamy, dreamy texture. Too thick? Add a splash of more water. Too runny? A pinch more stucco.
First Up: The Scratch Coat
With your trusty trowel, spread a thin layer of stucco over the lath. It’s called a scratch coat for a reason! Once it’s applied, take a comb and, you guessed it, scratch the surface. This creates grooves for the next layer to grip onto. Clever, right?
Next, the Brown Coat
After letting your scratch coat set a bit, it’s time for round two. Slap on that brown coat, slightly thicker this time. It’s like adding the perfect layer of icing to your cake. Smooth and even is the name of the game here.
Finish with Flair
Last but not least, the finish coat! This is your moment to shine, adding that final touch that makes everything pop. Want it smooth? Go for it. Fancy some texture? Swirl that trowel and make it happen!
The Waiting Game
Okay, here’s the secret sauce: patience. Each layer needs its beauty rest before the next one joins the party. A little wait now means a flawless finish later.
And voila! With each layer lovingly laid, your mobile home just got a jaw-dropping makeover. Stand back, admire, and maybe even snap a pic or two. You’ve earned it!
Step 6: Texture Time
Alright, DIY dynamos, this is where things get exciting! Think of your mobile home as a canvas, and you? Well, you’re the artist ready to create a masterpiece.
Swirl or Smooth?
First things first, what’s your vibe? Dreaming of whimsical swirls dancing across your walls? Grab that trowel and give it a gentle twist as you apply. If sleek modern lines are more your jam, glide that trowel smoothly, pressing lightly for that polished look.
The Power of the Trowel
Never underestimate the might of a trowel. It’s not just a tool; it’s your wand to wave in the world of textures. From creating ripples reminiscent of a serene lake to stippling for that rustic charm, the possibilities? Endless.
A Few Tricks Up Your Sleeve
Are you feeling adventurous? Dip a sponge in water, dab it over your fresh stucco, and witness a fun, bubbly texture emerge. Or, sweep a broom gently for linear elegance. There’s no right or wrong – only what feels right for your space.
In the end, it’s all about letting your personality pop. Your mobile home, your rules. So dive in, and let’s make those walls sing!
Step 7: Curing and Caring
The hard part’s done, and the walls look fab! But hold on a second before you kick back and relax; there’s just a little more to do. Let’s seal the deal and ensure your handiwork stands the test of time.
Let It Breathe, Let It Be
First off, let that beauty set. Think of it as letting a cake cool: too soon, and it’s a mess, just right, and it’s perfection. But here’s the twist – while it’s setting, you want to keep your stucco slightly damp. Why, you ask? It helps it cure to perfection, getting hard and sturdy, ready to brave the elements.
Misting Magic
Here’s a nifty trick: use a light spray bottle or garden hose set on mist and give it a gentle sprinkle a few times a day. It’s like pampering your wall, ensuring it dries evenly and reduces the risk of cracks.
Easy-Peasy Maintenance
Now, once everything’s set and solid, upkeep is a breeze. Just a soft brush or wash repeatedly sweeps away dirt and keeps it gleaming. And if you spot a little mark or scuff? A dab of water and a gentle scrub will do the trick.
And there you have it! With some patience and TLC, your stucco stays in tip-top shape, making your mobile home the talk of the town.
How Much Does It Cost to Stucco a Mobile Home?
Let’s talk numbers. Stucco: It’s chic, it’s durable, and oh boy, does it elevate the look of your mobile home. Let’s get real about the dollars and cents.
Starting with the Basics
First thing’s first – size matters! The bigger your single or double-wide mobile home, the more stucco you’ll need. So, grab a measuring tape, note down those dimensions, and you’re off to a solid start.
Materials Make the Difference
Now, onto the stucco itself. You’ve got options! Traditional or synthetic, each has its price point. Think of it like shopping for shoes: you can go high-end designer or snag a solid pair on sale. Both work, but your choice might depend on the look you’re going for and your budget.
Don’t Forget the Extras
Ah, the add-ons. Lath, moisture barriers, nails, tools – these little extras can add up. Picture it like toppings on a pizza: the base is essential, but those extra sprinkles of cheese and pepperoni make it perfect.
DIY or Pro?
Big decision here! Going the DIY route? You’ll save on labor but invest more time. Hiring a pro? It might cost more upfront, but you’re paying for expertise and a potentially smoother finish.
Ballpark Figures
Now, to get down to brass tacks. Stucco application could range from $6 to $9 per square foot, but prices can fluctuate based on your location and choices. Always get a few quotes, compare, and ensure you get the best bang for your buck.


