
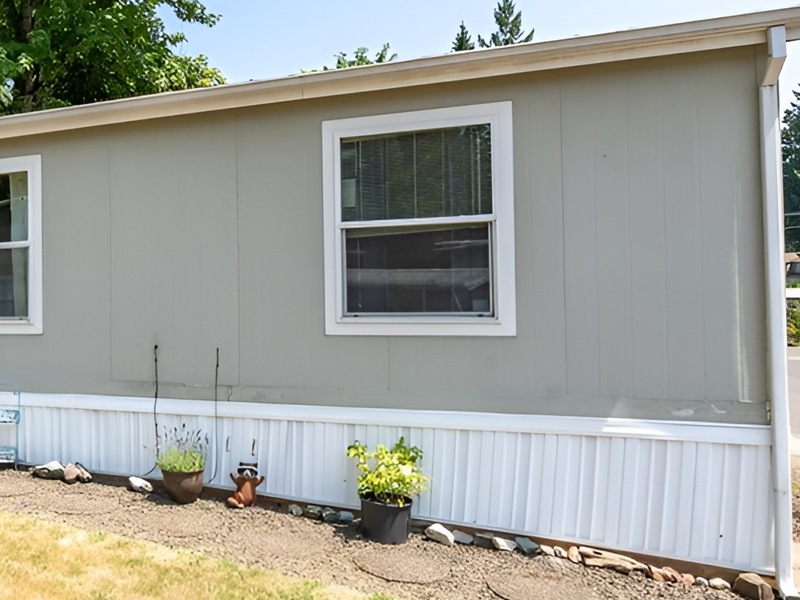
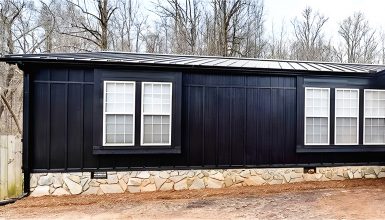
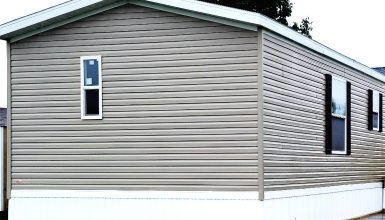
Metal siding is popular for mobile homes thanks to its durability, low maintenance, and stylish appeal. But even the sturdiest materials can suffer from wear and tear over time. That’s where this guide comes in! It is your go-to resource for replacing damaged siding on your mobile home. Let’s dive in and get started!
Tools and Materials Needed
Before jumping into the nitty-gritty of metal siding repair, gathering all the necessary tools and materials is essential to make the process a breeze. Here’s a handy list of items you’ll need for a successful DIY siding replacement project:
- Replacement siding piece: Find a piece that matches your existing metal siding in material and style. You want your repair to blend seamlessly with the rest of your home’s exterior.
- Pry bar or siding removal tool: These tools will be your best friends when removing the damaged siding piece. They’re designed to help gently lift and detach the siding without causing further damage.
- Hammer: A trusty hammer is a must-have for securing the new siding piece in place with nails.
- Nails or screws: You’ll need fasteners that are compatible with your siding material to ensure a secure installation. Check the manufacturer’s recommendations for the best type to use.
- Tape measure: Accurate measurements are crucial when fitting the replacement piece. A reliable tape measure will ensure you get it just right.
- Utility knife or tin snips: For cutting metal siding, you’ll need sharp tools to make precise cuts. A utility knife works well for some materials, while tin snips are better suited for thicker metals.
- Safety goggles and gloves: Safety first! Protect your eyes and hands from flying debris or sharp edges by wearing goggles and gloves throughout the project.
- Ladder: When using a ladder, be sure to follow safety precautions: position it on a stable, level surface, and maintain three points of contact (two feet and one hand, or two hands and one foot) while climbing or working on the ladder. It will help ensure your safety while working on your siding replacement project.
Step-by-Step Replacing A Piece of Mobile Home Metal Siding
With these tools and materials, you can tackle your metal siding repair. Let’s move on to removing, measuring, cutting, and installing your new siding piece.
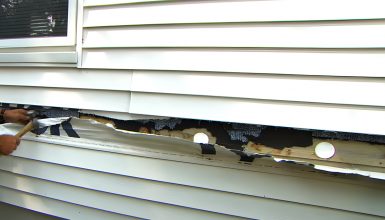
Step 1: Removing the Damaged Siding Piece
Now that you’re all set with your tools and safety gear, it’s time to dive into the action and remove that pesky damaged siding piece. These simple steps to make the process a breeze:
- Identify the damaged piece
Start by locating the exact part of the siding that needs replacing. Take a moment to examine the surrounding area and plan your approach for removal.
- Set up your ladder
Position your ladder on a stable, level surface if the damaged piece is high. Remember those safety tips—always maintain three contact points while climbing or working on the ladder.
- Unlock the siding
Grab your pry bar or siding removal tool and gently lift the bottom edge of the siding piece directly above the damaged one. It will unlock the overlapping seam and expose the fasteners holding the damaged piece in place.
- Remove fasteners
With the fasteners exposed, carefully remove the nails or screws using the pry bar, hammer, or screwdriver if necessary. Be patient and take your time to avoid causing any additional damage to the surrounding siding.
- Slide out the damaged piece.
With the fasteners removed, gently slide the damaged piece of siding downward and out from its position. You may need to wiggle it a bit to disengage it from the adjacent pieces fully.
And voilà! The damaged siding piece is out, and you’re ready to move on to measuring and cutting the replacement piece.
Step 2: Measuring and Cutting the Replacement Piece
Great job on removing the damaged siding piece! Now, let’s get that replacement piece measured and cut to perfection. Follow these steps to ensure a precise fit and seamless appearance:
- Measure the length
Using your trusty tape measure, take note of the exact length of the damaged siding piece you removed. This measurement will guide you in cutting the new siding piece to the correct size.
- Mark the cut line
Use a pencil or marker on your replacement siding piece to draw a straight line where you’ll cut. Double-check your measurement before making any cuts—remember, measure twice, cut once!
- Cut the siding
Time to put those cutting tools to use! A utility knife might do the trick if you’re working with thin metal siding. For thicker metals, tin snips are your best bet. Follow the manufacturer’s guidelines for cutting the siding material to ensure a clean, precise cut.
- Check the fit
Before moving on to installation, hold the cut siding piece up to the area where you will install it. Ensure it aligns correctly with the surrounding siding pieces and the length is spot on. If needed, make any adjustments to achieve a perfect fit.
With your replacement piece measured and cut, you’re one step closer to completing your siding repair project. Let’s move on to the exciting part—installing the new siding piece.
Step 3: Installing the New Siding Piece
You’re doing fantastic! With the damaged piece removed and the replacement piece measured and cut. It’s time to install the new siding and give your mobile home a fresh, polished look. Let’s walk through the installation process step by step:
- Position the siding
Carefully slide the new siding piece into place, ensuring it aligns with the surrounding pieces. Be gentle to avoid scratching or damaging the new or adjacent siding.
- Lock it in
Once the replacement piece is in position, gently push the bottom edge up and into the piece above it, ensuring the seams lock together. You’ll know it’s secure when the seam is smooth and even.
- Fasten the siding
Grab your hammer and nails (or screws, depending on your siding material), and fasten the new siding piece to your mobile home. Follow the manufacturer’s recommendations for the spacing and placement of the fasteners. Ensure not to drive the nails or screws too tightly—leave a little wiggle room for expansion and contraction.
- Double-check your work
Take a step back and examine the newly installed piece. Make sure it’s secure, properly aligned, and locked in place with the surrounding siding.
Step 4: Inspecting and Finishing the Project
You’ve made it this far, and your metal siding repair project is almost complete! Before you break out the celebratory snacks, let’s take a few final steps to inspect your work and finish up the project like a pro:
- Inspect the installation
Take a close look at your newly installed siding piece. Check for gaps, uneven seams, or misalignments that need adjusting. If you spot anything amiss, now’s the time to make those minor tweaks for a flawless finish.
- Test for security
Gently press on the siding piece to ensure it’s securely fastened and locked in place with the adjacent pieces. Double-check your fasteners and make any necessary adjustments if you notice any loose areas.
- Clean the work area.
With your top-notch installation, it’s time to clean up your work area. Safely dispose of debris, like leftover siding scraps or removed fasteners, and store your tools for future projects.
Now that your project is complete, you can bask in the satisfaction of a job well done. And remember, proper maintenance and regular inspections will help keep your mobile home’s exterior in tip-top shape for years to come.
Conclusion
Following these steps, you can successfully replace a damaged piece of mobile home siding and restore your home’s exterior to its original beauty. Remember always to follow the manufacturer’s recommendations for siding installation and maintenance. It ensures the longevity and performance of your siding.


