
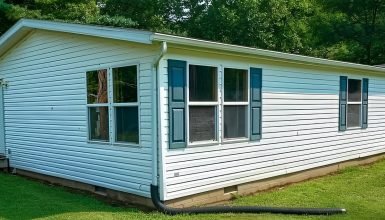
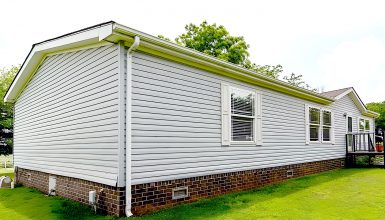
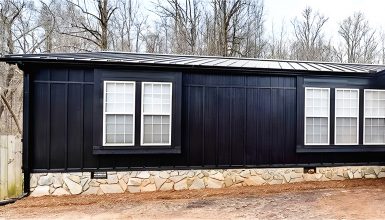
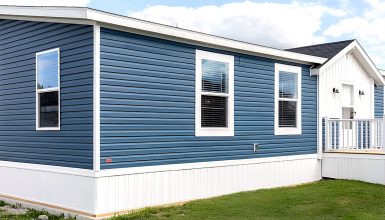
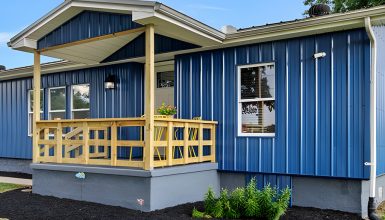
Maintaining your mobile home’s sleek, clean look isn’t just about curb appeal. It’s about protecting your home from the elements. Vinyl siding is like a superhero shield for your mobile home. It fends off wind, rain, and even those pesky insects. But like any superhero, the siding can take a hit.
That’s where the importance of replacing damaged vinyl siding comes in. Ignoring it won’t make it go away. On the contrary, it could invite moisture, leading to mold or structural damage. Not to mention, it could drive your energy bills through the roof!
Replacing damaged vinyl siding might sound like a chore, but trust me; it’s a DIY project that will pay off in spades. You’ll keep your home looking fresh, protect it from potential harm, and save money. So, let’s dive into this guide.
Tools and Materials Needed
Let’s get down to the fun stuff: tools and materials. Like any superhero, you’ll need your gear to tackle this project.
- Zip tool
First off, you’ll need a zip tool. This handy gadget will help remove the damaged siding without causing a scene. It’s like a secret agent slipping in and out without anyone noticing.
- Tape measure
Next up, a tape measure. Precision is key here. You want your new siding to fit just right, like the perfect pair of jeans. So, grab a tape measure that’s easy to read and handle.
- Utility knife
Now, let’s talk about a utility knife. It will be your go-to tool for cutting the new siding. But remember, it’s sharp! Always cut away from yourself for safety.
- Level
You’ll also need a level. Your siding should be straight, not leaning like the Tower of Pisa. A good level will help keep everything… well, on the level.
- Tin snips
The tin snips are another must-have. They’re like scissors but for metal. They’ll help you precisely cut your siding, especially around corners and windows.
- Safety gear
Don’t forget your safety gear. Gloves to protect your hands, safety glasses for your eyes, and sturdy shoes are essential. After all, your safety is the most important thing.
- Replacement vinyl siding
And, of course, you’ll need replacement vinyl siding. Make sure it matches your existing siding. It’s like finding the right shade of lipstick – you want it to blend in seamlessly.
And lastly, grab a hammer. It’s time to nail this project (literally)!
Step-by-Step Replacing Damaged Vinyl Siding
Source: familyhandyman
So, gather your tools, and let’s get started. You’ll be a siding superhero with the right gear in no time!
Step 1: Identifying Damaged Vinyl Siding
Ready to play detective? Great, because it’s time to inspect your siding for any signs of damage. You need to know what you’re dealing with before you dive into any repairs.
Start by taking a good, long look at your siding. You’re not just admiring your home (although it does look great!); you’re searching for any signs of trouble. Look out for cracks, chips, or pieces wholly broken off. These are the most obvious signs of damage.
Don’t forget to check for warping or bulging too. It’s like when your favorite shirt doesn’t fit quite right anymore. It’s a sure sign that something’s not right.
Next, check for any discoloration or fading. If it looks like your siding has lost its tan, it might be a sign of damage. Remember, your siding should always look its best!
Lastly, keep an eye out for any loose pieces. They’re like puzzle pieces that don’t quite fit. It might be time for a replacement if your siding isn’t snug against your home.
Remember, it’s all about spotting the signs before they become more significant problems. Like catching a small leak before it becomes a flood. So, put on your detective hat, and give your siding a good once-over. You’ve got this!
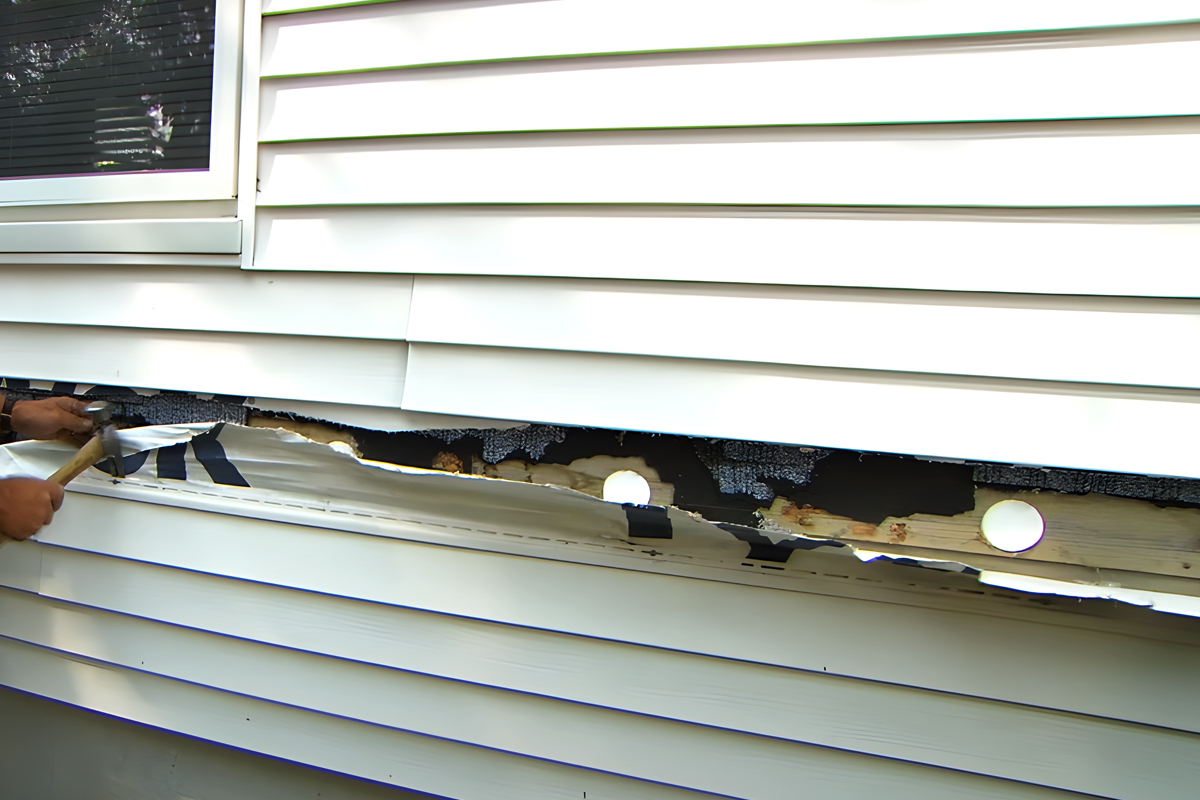
Step 2: Removing the Damaged Siding
Now that we’ve spotted the problem, it’s time to roll up our sleeves and get to work. We’re going to remove that damaged siding. Think of it as giving your home a little facelift!
Safety first, folks. Put on those gloves and safety glasses. And remember those sturdy shoes I mentioned? Now’s the time to lace them up.
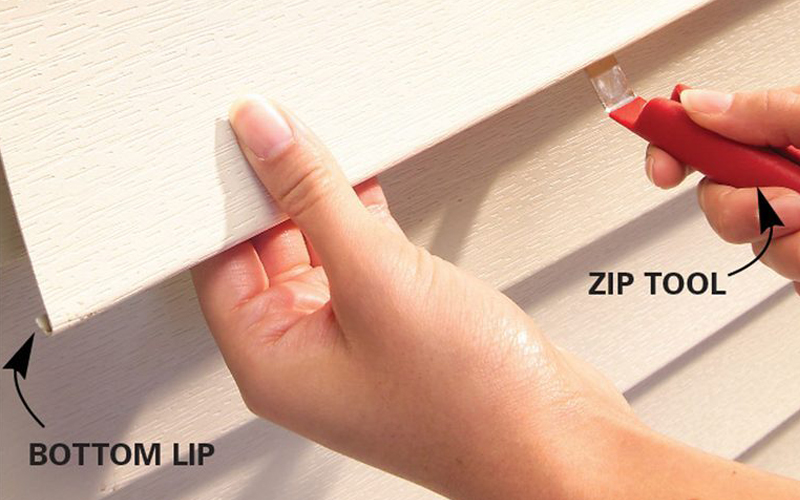
Grab that zip tool I talked about. Remember, it’s like a secret agent. Slide it under the bottom edge of the siding above the damaged piece. You’re going to unhook it from the selection below. Easy, does it? We don’t want to harm any of the good sidings.
Now, once you’ve unzipped the siding, it should be loose. Gently pull it up and away from the wall. It’s like peeling off a band-aid. You might have to use a little elbow grease, but remember to be careful.
You’ll see nails holding the damaged piece in place. Time to take your hammer and pry those out. But be gentle! You don’t want to damage the wall underneath.
Okay, you’re doing great! Once you remove all the nails, the damaged siding should come off easily. It’s like taking off a jacket. You’ve officially removed the damaged siding!
Step 3: Measuring and Cutting New Siding
Great job on removing the damaged siding! Now, it’s time to measure and cut your new piece. It’s a little like working on a fun craft project, but instead of making a cute DIY decoration, you’re making your home look fabulous!
First things first, grab your trusty tape measure. You will measure the gap length where the old siding used to be. Think of it like measuring for a new pair of curtains. You want the perfect fit, right? So, take your time and measure twice, just to be sure.
Got your measurement? Awesome! Now, head over to your new siding. You’re going to mark the length you just measured on it. Use a pencil or marker – something that won’t rub off.
Now, it’s time to cut! Remember that utility knife I mentioned earlier? This is its time to shine. Draw the knife along the mark you made, pressing firmly. Make sure to cut away from yourself. We don’t want any accidents.
But wait, we’re not done yet! You’ll need your tin snips if your new piece needs to fit around a window or a door. They’re like scissors but even more powerful. Just mark where you need to cut and go for it.
Step 4: Installing the New Vinyl Siding
Now, here comes the exciting part – installing your new vinyl siding. It’s like hanging a picture in your living room. You’ve done all the prep work; now you can see it all come together. Ready? Let’s do this!
Start by positioning your new siding in the gap where the old piece used to be. It should slide right into place, like fitting a piece into a puzzle. Make sure it aligns with the pieces on either side. Remember the level? This is a great time to use it. We want that siding straight!
Next up, nails. Grab your hammer and some siding nails. You’re going to secure the new piece in place. But listen, we don’t want to hammer the nails in too tightly. It should be just enough to hold the siding but still loose enough to allow for some movement. Think of it like buttoning a shirt – not too tight or loose.
Start at one end and work your way to the other, nailing in the center of the nail slots. Space the nails about every 16 inches. It’s like laying bricks in a wall. We’re building it up, piece by piece.
Now, remember that zip tool? It’s time to bring it back. Use it to lock the new siding onto the piece below it. Slide it along the seam, pulling upwards as you go. It’s like zipping up a jacket.
Step 5: Finishing Touches and Cleanup
Congratulations! You’ve installed your new siding. But before we break out the celebratory snacks, there are a few finishing touches and cleanup tasks to handle. It’s like tidying up after a fun DIY project.
First things first, let’s double-check your work. Ensure the new siding is secure and lines up nicely with the rest. Give it a good look-over to ensure no gaps or loose edges. It’s like proofreading an essay – you want it to be just right.
Next, gather up any scraps of siding and the nails you removed. We don’t want any tripping hazards or sharp objects lying around. Think of it as cleaning up after a picnic – leave no trace!
If you have any leftover new siding, find a good place to store it. You never know when it might come in handy for future repairs. It’s like keeping spare buttons for your favorite shirt.
And finally, take a step back and admire your work. You’ve replaced a piece of vinyl siding! Your mobile home is looking great, and you did it all yourself.
Preventing Future Damage
Now, you’ve done a fantastic job replacing that damaged siding, but how about we try to avoid future repairs? It’s like eating healthy to prevent getting sick. A little effort now can save a lot of work later.
First, let’s talk about your lawn sprinklers. Make sure they’re not spraying water on your siding. Water can sneak behind the siding and cause all sorts of problems. It’s like leaving a window open during a rainstorm.
Next, watch out for those pesky insects and critters. Make sure no food or shelter might attract them near your siding. It’s like not leaving a picnic basket at a campsite – you don’t want to invite unwanted guests!
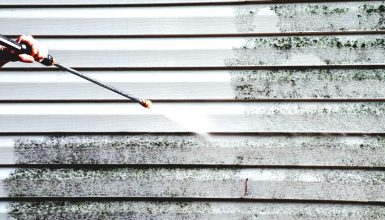
Third, be mindful of the sun. If your siding is constantly in direct sunlight, it might start to fade over time. Consider planting a tree or installing shade to protect it. Think of it as putting on sunscreen to protect your skin.
And lastly, perform regular inspections. It’s like going to the dentist for regular check-ups. The sooner you catch a problem, the easier it is to fix.
By taking these steps, you’ll help ensure that your new siding lasts for years. And remember, the best way to prevent damage is to take good care of what you have. So here’s to a future with fewer repairs and more relaxing weekends enjoying your beautiful mobile home!
Conclusion
And just like that, you’ve journeyed from spotting damaged siding to replacing it like a pro. But this isn’t just about home repair. It’s about taking pride in your space and protecting your mobile home, one DIY project at a time. Remember, maintenance is the secret ingredient to a long-lasting home. Keep an eye on your siding, and don’t be afraid to tackle other DIY projects. You’ve shown you’ve got what it takes! Thank you for reading!


