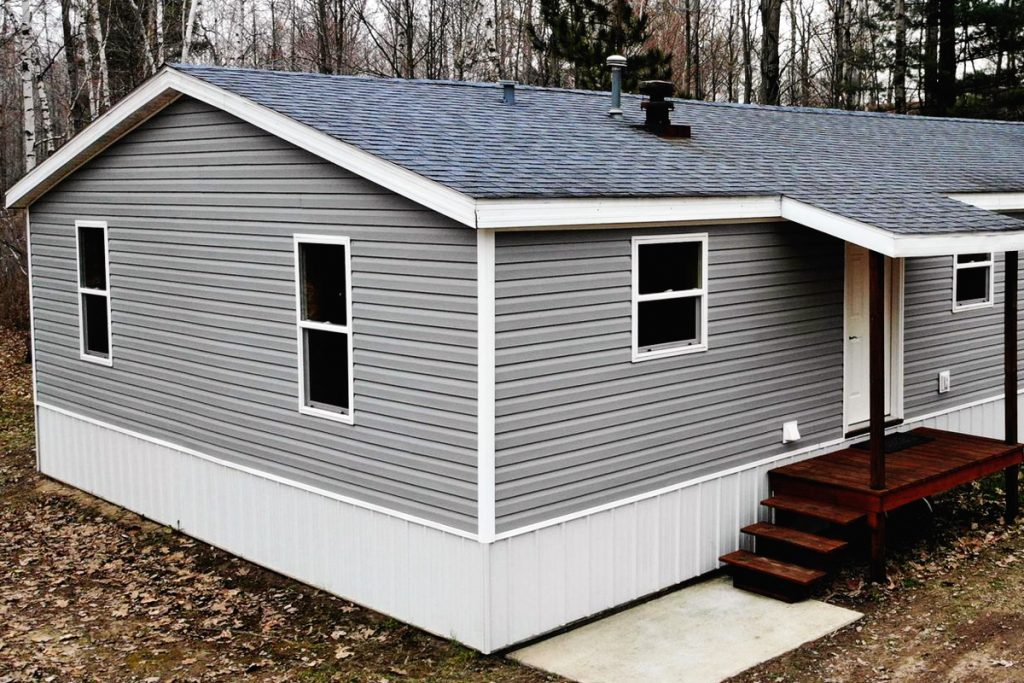
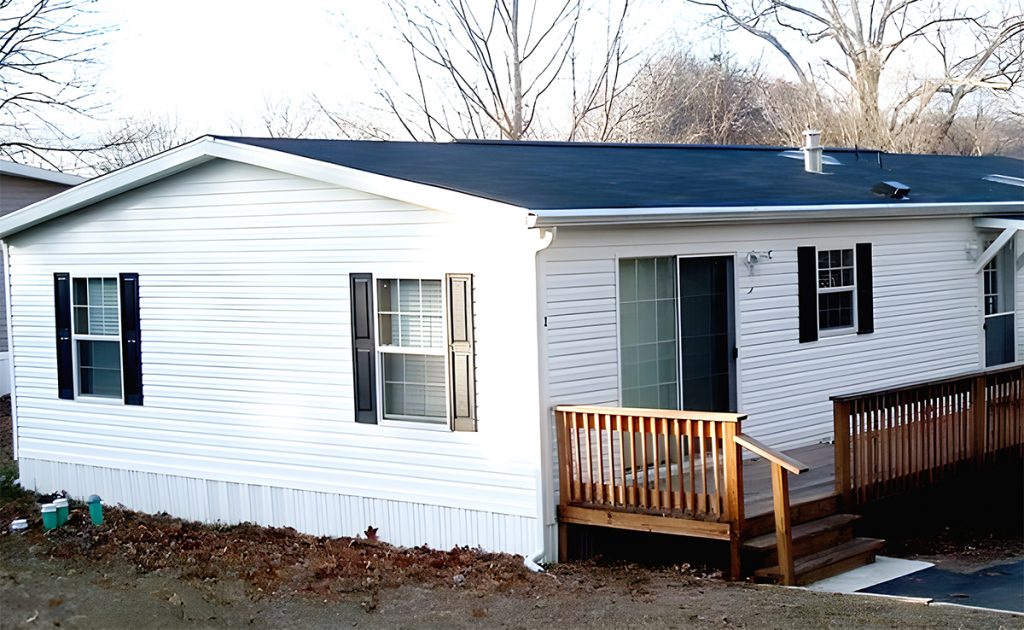
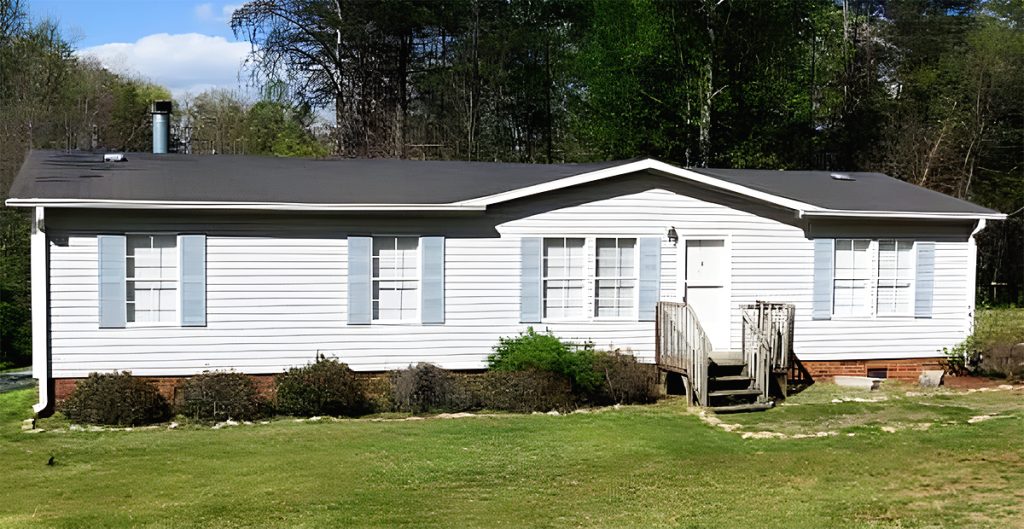
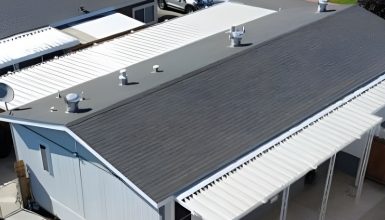
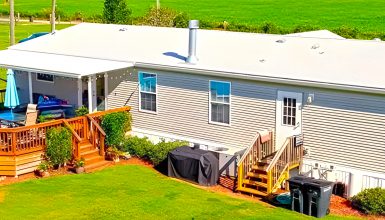
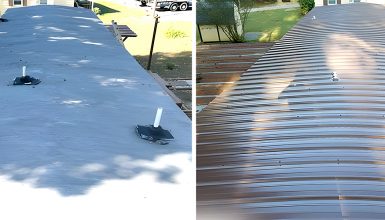
Do you know that feeling of stepping into a fresh, well-ventilated home? That’s the magic of roof vents working behind the scenes. And when it comes to mobile homes, roof vents are the unsung heroes, the secret stars of comfortable living. They’re like invisible household helpers, constantly working to keep your air clean and your home cool.
In this guide, we’re shedding light on these household heroes. From their vital roles to the nitty-gritty of selecting the perfect one, we’ve got you covered. So, get comfy and buckle up – you’re about to become a roof vent pro!
Roof Vent Basics
Ready to dive into the world of roof vents? Great! Let’s start with the basics.
Imagine roof vents as your home’s set of lungs. They allow your home to breathe, bringing in fresh air while expelling warm, stale air. Just like us, homes need a steady airflow to maintain a healthy environment.
So, what exactly is a roof vent? Picture a small structure, often a cap or cover, installed on the roof of your house. It has one simple yet crucial job: to manage the airflow in and out of your home. This tiny hero helps regulate temperature, prevents moisture buildup, and maintains good air quality.
But not all roof vents are created equal! There are several types, each with its unique design and function. Some of the most common ones are ridge vents, box vents, and turbine vents, but we’ll get into those later.
One thing’s for sure: no matter the type, all roof vents are vital components of your mobile home. Without them, your home could become a summer sauna and a winter freezer. Let’s not even get started on the potential moisture issues!
So next time you walk into a cool, fresh home, remember to thank the little roof vent working overtime on your roof. Stay tuned as we dive deeper into why these little guys are so essential to your mobile home!
Why Roof Vents are Essential in Mobile Homes
Now that you’ve got a grip on roof vents let’s explore why they’re so vital for your mobile home. It’s not just about letting your house breathe – though that’s a big part!
- Temperature control
Have you ever noticed how your mobile home can feel like an oven during the summer? That’s where roof vents come in. They help regulate temperature by expelling hot air trapped in your attic. In other words, they boot out the unwanted heat, keeping your home nice and cool.
But they’re not just seasonal workers. Come winter; roof vents work hard to maintain a balanced temperature and prevent the formation of ice dams on your roof. Without them, you could be dealing with some icy severe buildup!
- Moisture control
Next up: moisture control. If you’ve ever encountered mold or mildew in a home, you’ll know how pesky it can be. Moisture in your attic can lead to these unwanted guests. Luckily, roof vents are on the case! They usher out excess moisture, reducing the chance of any unwanted fungi calling your attic home.
- Air quality
Air quality is another area where roof vents shine. Allowing fresh air to circulate, they help reduce allergens and pollutants lurking in stale air. It is like a breath of fresh air for anyone with allergies or respiratory issues.
- Extend the roof lifespan.
Last but certainly not least, roof vents can extend the lifespan of your roof. By keeping temperature and moisture in check, they help prevent your roof from warping, peeling, or succumbing to mold.
In short, roof vents are like the silent superheroes of your mobile home, keeping you cool, dry, and breathing easy. They are certainly worth understanding and maintaining – your comfort depends on it!
Types of Roof Vents for Mobile Homes
Now that you know why roof vents are crucial for your mobile home, let’s get into the fun stuff: the types of roof vents! Brace yourself; you’re about to be an expert on roof vents.
1. Ridge Vents
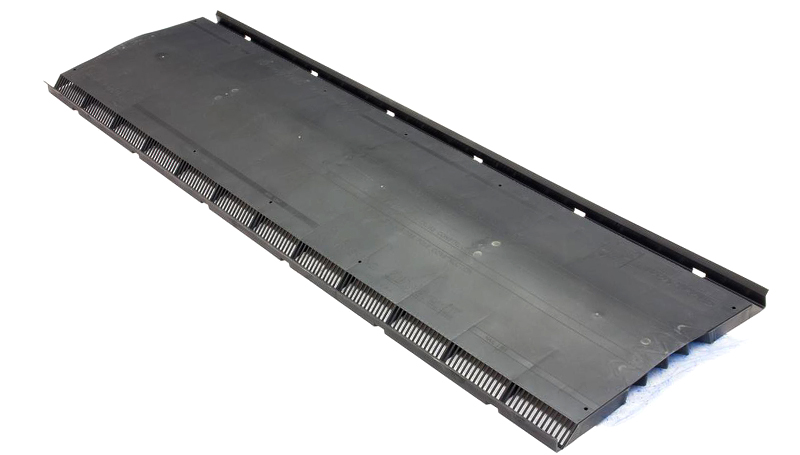
First off, we’ve got ridge vents. Picture a vent that runs along the peak of your roof. The dimensions vary widely, but a typical ridge vent might be 10 to 12 inches wide and in sections 8 to 12 feet long. It’s subtle, blends in well, and provides ventilation along the entire roof. As the hot air rises, it escapes through the ridge vent, creating a natural airflow. Smart, right?
2. Box Vents
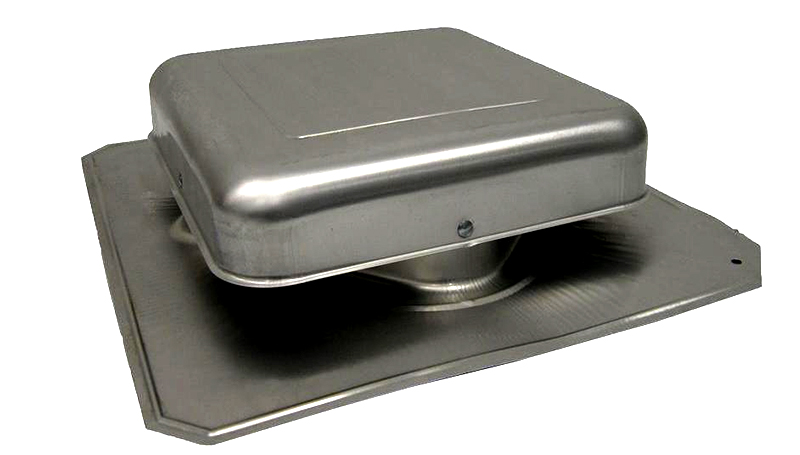
Next up, box vents. These are just what they sound like – box-shaped vents installed on the roof. Measure around 12 to 18 inches on each side. They rely on natural convection to work. As warm air rises, it flows out of these vents, letting cool air take its place. Simple, effective, and a classic choice for many mobile homeowners.
3. Turbine Vents
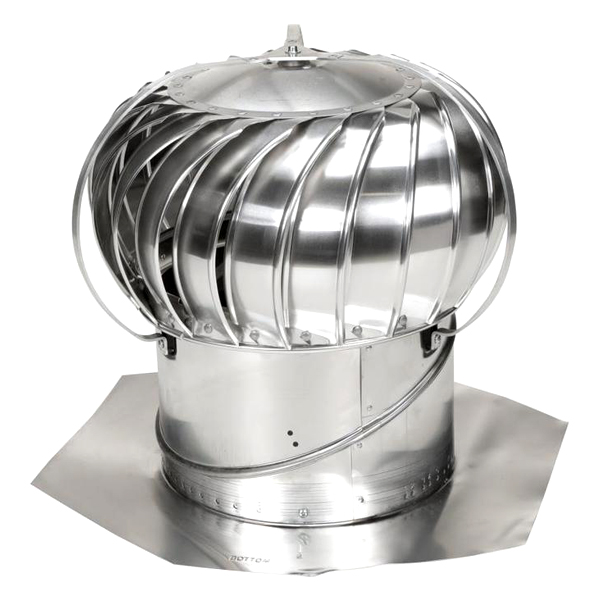
Then, we have turbine vents. Have you ever seen those spinning objects on roofs? That’s them! They’re wind-powered, which means they use the power of the breeze to suck out warm air. They can be super effective, especially in windy areas. These round vents often have diameters of 12 to 14 inches.
4. Solar Vents
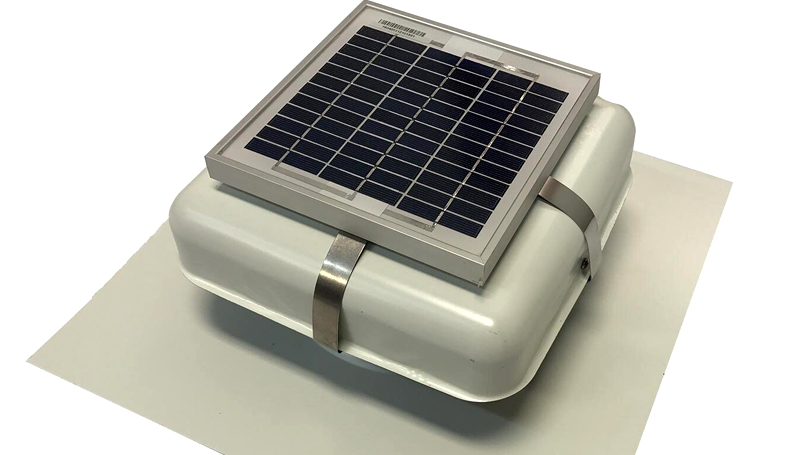
And last but not least, we have solar vents. These are the eco-friendly superheroes of roof vents. Powered by the sun, these vents work to expel hot air from your home, all while keeping your energy consumption in check. They’re a great way to keep your home cool and reduce carbon footprint. These tend to be similar to box vents, around 12 to 18 inches square.
So there you have it, an overview of the common roof vents for your mobile home. Each type has its unique features and advantages. Your job is to choose the one that fits your home’s needs and preferences. Don’t worry. We’ve got more info to help you make the best choice!
Choosing the Best Roof Vent for Your Mobile Home
Choosing the right roof vent for your mobile home is like solving a puzzle. You’ve got to find the piece that fits just right. But don’t worry. We’re here to help you find the perfect match. Here are a few factors you should consider.
- Size
First off, consider the size of your home. Larger homes may require more or larger vents to ensure adequate airflow. Generally, the number and size of your roof vents depend on your attic space. A common rule of thumb is to have 1 square foot of vent for every 150 square feet of attic space.
Let’s say, for example, your mobile home’s attic measures 600 square feet. You’d divide 600 by 150, which equals 4 square feet of venting needed. It could be split into two 2-square-foot vents or four 1-square-foot vents. It all depends on the specific type of vent you choose.
- Climate
Next, let’s talk about your local weather. Is it usually sunny or windy? Or perhaps you live in a location that sees all four seasons? The climate can influence your choice of the roof vent. For instance, solar vents might be an excellent option for sunny areas, while turbine vents can work great in windy locales.
- Roof Design
The design of your roof is another consideration. Some vents may be more suitable for certain roof styles or slopes. Your roof’s structure can also affect the placement and number of vents required.
- Aesthetics
Let’s not forget about aesthetics. While functionality is key, you probably want your vents to blend seamlessly with your home’s overall design. Many vents come in different styles and colors, so you can choose one that suits your taste and your home’s look.
- Budget
Lastly, consider your budget. Prices can vary widely among roof vents. While investing in a quality product is essential, pick a vent that fits your budget. Remember, sometimes, spending a bit more upfront can lead to savings in the long run, especially regarding energy costs and roof maintenance.
So there you have it! With these factors in mind, you’re on your way to finding the perfect roof vent for your mobile home. Happy hunting!
Installation of Roof Vents in Mobile Homes
Ready to install your new roof vents? Before you grab your tools and get started, it’s crucial to have a clear idea of the installation process. It isn’t a quick DIY task. It needs some planning and the right tools. But don’t fret! We’re here to help break it down.
Tools
Make sure you have everything you need before starting. That includes a sturdy ladder, a saw, a hammer or drill, screws or nails, caulk, and safety gear like gloves and eye protection.
Step-by-Step Installation
Here’s a detailed step-by-step guide to walk you through the process:
Step 1: Choose Your Spot
Determine where you want to install your vent. Remember, it should ideally be near the peak of your roof for exhaust vents or lower down for intake vents.
Step 2: Mark It Out
Use a marker to outline where the vent will go. Make sure you measure carefully to ensure the vent will fit snugly.
Step 3: Cut It Out
Time to cut your hole. Go slowly and steadily, making sure to follow your marks. Take care not to cut through any underlying structures.
Step 4: Install Your Vent
Now, fit your vent into the hole. If you’ve measured and cut it correctly, it should fit perfectly.
Step 5: Secure It
Secure the vent with nails or screws using your hammer or drill, following the manufacturer’s instructions.
Step 6: Seal It
Apply a generous amount of caulk around the edges of the vent to ensure it’s watertight. This step is crucial to prevent any leaks!
Step 7: Check Your Work
Take a moment to check your work, ensuring the vent is secure, sealed, and looks good.
While installing a roof vent can be a great DIY project, it’s not for everyone. If you’re uncomfortable working on your roof or have doubts about doing the job correctly, don’t hesitate to call a professional. Better safe than sorry!
How Much Do Mobile Home Roof Vents Cost?
Ready to talk numbers? Let’s dive into the cost of roof vents for your mobile home. If you expect one straightforward answer, I’m afraid it’s a bit more complex. The cost of roof vents can vary widely, depending on several factors.
Let’s start with the type of vent. Box vents, for example, are usually the most budget-friendly, often costing around $15 to $25 each. Ridge vents, on the other hand, typically come in sections and can range from $25 to $50 per section, depending on the material and design. Turbine vents are generally pricier, costing anywhere from $50 to $100 each. And if you’re going green with solar vents, expect to pay more, anywhere from $100 to $400 or more per vent.
Next, consider the size of the vent. Larger vents usually cost more, but depending on your attic’s size, you might need fewer.
Don’t forget about installation costs if you’re hiring a professional. It can vary widely depending on your area and the job’s complexity. But expect to pay between $75 to $200 per vent for professional installation.
Lastly, remember to factor in the cost of additional materials like nails, screws, and caulk. These costs are generally minimal but worth considering.
So, while there isn’t a one-size-fits-all answer, this should give you a ballpark idea of the costs of purchasing and installing roof vents in your mobile home.
Conclusion
Choosing the right vent for your mobile home, installing it correctly, and understanding how it contributes to your home’s overall comfort, energy efficiency, and longevity is a big deal. Roof vents aren’t just about letting the hot air out; they’re an investment in your home’s health and comfort. Whether you plan to DIY the installation or bring in the pros, remember that every vent you install is a step towards a happier, healthier home. Thank you for reading!

