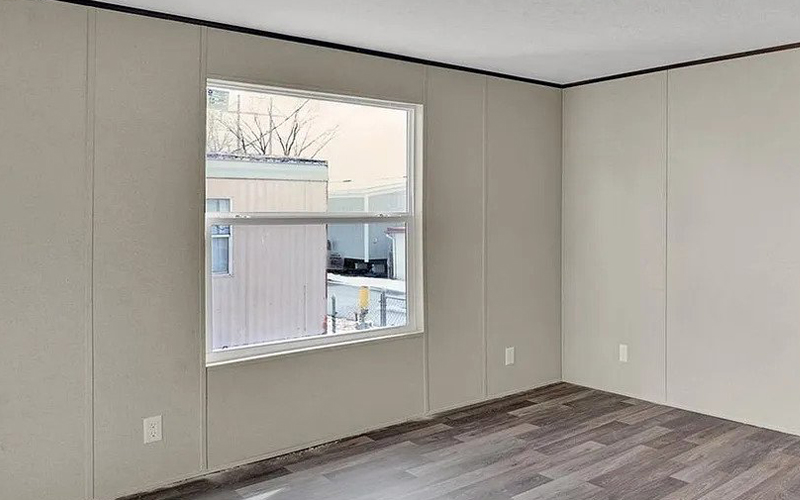
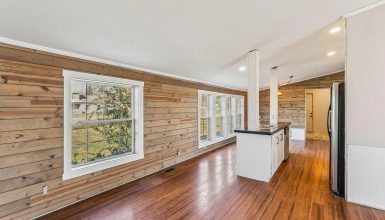
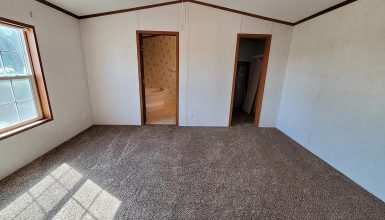
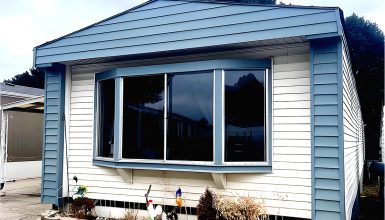
Installing a new window where there was none can be a game-changer for creating a more welcoming and comfortable living space. Not only can it help bring in natural light and improve ventilation, but it can also enhance your home’s overall aesthetics. Let’s face it, no one wants to live in a dreary, dimly-lit mobile home! Luckily, adding a window is a DIY project that’s relatively easy and can be done with a few essential tools. This guide will walk you through adding a window to your mobile home.
Materials
You’ll need a few materials to add a window to your mobile home. Let’s break it down!
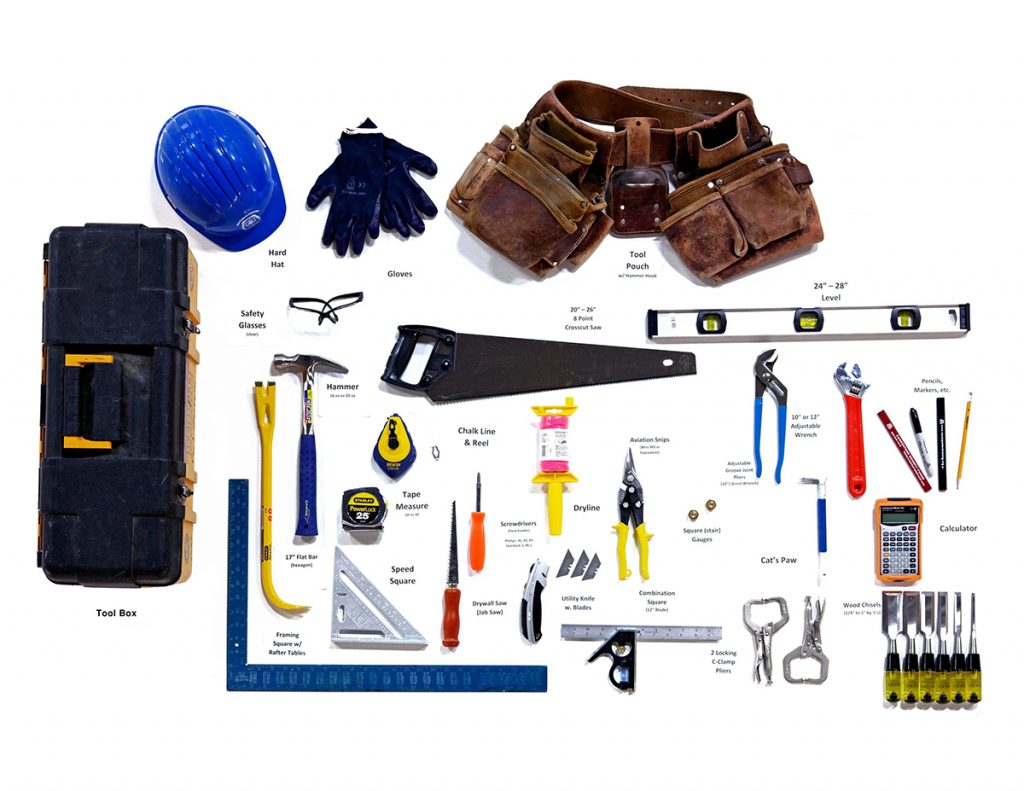
First, you’ll need a measuring tape to determine the window size you want to install. Accurately measuring the space is vital to ensure the window fits perfectly.
Next, you’ll need a saw or jigsaw to cut an opening in the wall where the window will be installed. This step can be intimidating, but you can make clean and precise cuts with the right tools.
You’ll also need a drill to securely attach the window frame to the wall. Make sure to have screws on hand that fit the window frame properly.
The most important part of the window kit is the frame, glass, and sealant. These are the components that make up the actual window. The frame provides structure and stability, while the glass allows natural light to flow into your home. The sealant ensures that the window is weather-resistant and helps prevent air and water leaks.
If you’re looking to improve your mobile home’s energy efficiency, you may want to consider insulation material. Insulating the window can help prevent heat loss in the winter and keep your home cool in the summer.
Lastly, safety goggles and gloves are a must-have for this project. Glass can be sharp and dangerous, so protect yourself from any potential cuts.
Step 1: Choosing the Location
Choosing the location of your new window is an essential step in the process. You want to ensure that the window is in a functional and aesthetically pleasing spot.
Consider the natural light in the area and think about the view you want. Do you want to see your garden, a beautiful landscape? Or do you want to have a window in a spot where the sun hits more directly? Be mindful of the direction the sun hits, as a window facing south will let in more sunlight and heat, while a window facing north will let in less.
Once you’ve chosen the location, measure the space where the window will be installed. This will help ensure you select the correct size window for the room.
It’s also important to consider any potential obstacles interfering with the installation process, such as electrical wires or plumbing. Make sure to locate them and plan accordingly.
Step 2: Cutting an Opening
Cutting an opening for the window is a crucial step in the installation process. It may seem daunting, but it can be a breeze with the right tools and careful planning!
First, mark the outline of the window frame on the wall where you want to install the window. Make sure to measure and double-check your measurements before drawing anything on the wall.
Next, carefully cut along the marked lines using a saw or jigsaw to create an opening in the wall. It’s essential to take time during this step to ensure a clean and precise cut. Wear safety goggles and gloves to protect yourself from any potential accidents.
Once you’ve cut the opening, ensure it’s the correct size and shape for the window frame. If not, use a saw to trim the opening until it’s the right size.
After the opening is the correct size, cleaning up any debris or dust that may have accumulated is essential. This will ensure that the window frame can be installed smoothly.
Tips for cutting an opening for the window
Here are some tips for cutting a space for the window based on siding materials:
- Vinyl Siding
If your mobile home has vinyl siding, use a vinyl siding removal tool to remove the siding around the area where you want to cut the opening. This will allow you to make a clean cut without damaging the siding. Be sure to cut the opening to the size of the window frame and replace the vinyl siding when you’re done.
- Metal Siding
For metal siding, use a metal-cutting blade on a reciprocating saw or angle grinder to cut through the siding. Be sure to wear safety goggles and gloves and cut the opening to the size of the window frame.
- Wood Siding
If your mobile home has wood siding, use a circular saw or jigsaw to cut through the wood. Be sure to make precise cuts to avoid damaging the wood siding.
No matter what type of siding material your mobile home has, it’s important to take your time and be careful when cutting the opening.
Step 3: Installing the Window Frame
Now that you’ve cut the opening for the window, it’s time to install the window frame. This step is crucial to ensure that your window is stable and secure.
First, place the window frame into the opening and check to make sure it’s level. If not, use shims to adjust the structure until it’s level.
Next, secure the window frame to the wall using screws and a drill. Be sure to use screws that are the appropriate length for it to securely hold the frame in place.
Once the frame is secured, check to ensure it’s level again. If it’s not, adjust the shims until it’s level.
Installing the window frame may seem simple, but it’s essential to take time and ensure it’s installed correctly. An adequately installed frame will stabilize the window and prevent air and water from leaking.
Step 4: Installing the Glass
Now that you’ve installed the window frame, it’s time to install the glass. This step is essential to allow natural light to enter your home and to protect your home from the elements.
First, carefully insert the glass into the window frame. Be sure to handle the glass carefully to avoid any cracks or breaks.
Next, use the provided screws to secure the glass to the window frame. Be sure to use screws that are appropriate for the frame to securely hold the glass in place.
Once the glass is installed, ensure it’s level and flush with the frame. If it’s not, adjust the screws until it’s level.
Remember to wear gloves to avoid getting cut by the glass, and take your time to ensure that the glass is installed correctly. An adequately installed glass will provide a clear view and prevent air and water from entering your home.
Step 5: Sealing the Window
After installing the window, it must be sealed to prevent air and water leaks. Sealing the window is a crucial step in the installation process to protect your mobile home from the elements.
First, apply a generous amount of sealant around the edges of the window frame. Use a caulking gun to apply the sealant, and get a good seal around the entire perimeter of the window.
Next, use a sealant smoothing tool or your finger to smooth out the sealant and ensure it’s evenly applied. Be sure to wipe away any excess sealant to create a clean finish.
Using a sealant appropriate for your climate and weather conditions is essential. Check with your local hardware store to find a suitable sealant for your area.
Sealing the window prevents air and water from entering your home. Correctly doing this step will ensure your mobile home is protected and energy efficient.
Step 6: Insulating the Window (Optional)
If you’re looking to improve your mobile home’s energy efficiency, you may want to consider insulating the window. This step is optional, but it can help prevent heat loss in the winter and keep your home cool in the summer.
To insulate the window, use a foam insulation material or weatherstripping around the edges of the window frame. This will help fill any gaps and prevent air from leaking in or out.
If you’re using foam insulation, carefully insert the foam into the gaps between the window frame and the wall. Be sure to cut the foam to the appropriate size before inserting it.
If you’re using weatherstripping, apply the weatherstripping around the edges of the window frame, ensuring a good seal.
Insulating the window is a great way to improve your home’s energy efficiency and save money on energy bills. It’s an optional step that can make a big difference in your home’s comfort level.
FAQs
Yes, depending on where you live, you may need permission to add a window to your mobile home. Local building codes and zoning laws may require a permit before making any structural changes to your mobile home. Contact your local building department or zoning board to determine if you need permission. They can inform you about your area’s regulations and guide you through the permitting process.
The best windows to use on a mobile home are those designed for mobile homes. These windows are typically made from lightweight, durable, and energy-efficient materials.
Vinyl windows are a popular choice for mobile homes because they are affordable, low-maintenance, and energy-efficient. They also come in various styles and colors, making finding a window that fits your mobile home’s aesthetic easy.
Another option is aluminum windows, which are lightweight and durable. They are also resistant to corrosion and rust, making them ideal for mobile homes in areas with high humidity or near the coast.
You can add a window to any location in your mobile home if it’s structurally sound and no electrical wires or plumbing could interfere with the installation process.
The cost of adding new windows to a mobile home can vary depending on several factors, such as the type and size of the window, the materials used, and the labor cost. On average, adding new windows to a mobile home can range from $200 to $800 per window, including the cost of the window itself and the installation.
The cost can be higher if you choose higher-end windows or hire a professional to install the windows for you. Similarly, the price can be lower if you opt for more affordable windows or decide to install the windows yourself as a DIY project.
Conclusion
Congratulations, you’ve successfully added a window to your mobile home! Adding a window can completely transform the look and feel of your home, making it brighter, more welcoming, and more comfortable.

