
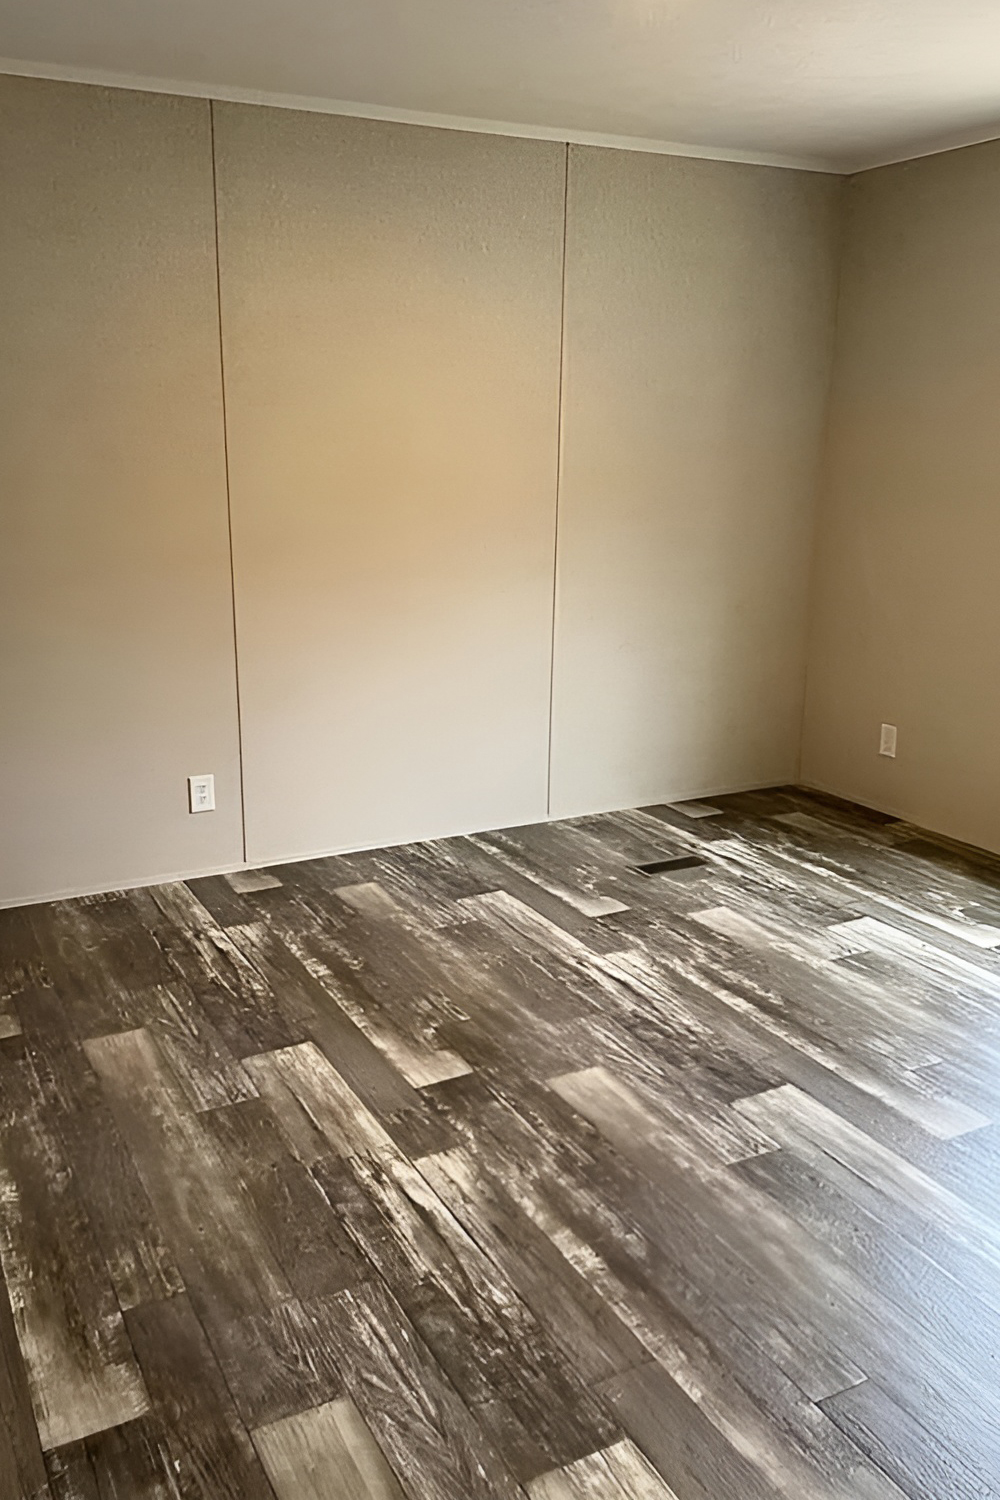
Removing wall strips isn’t just a cosmetic change. It’s a game-changer for your mobile home’s interior. These strips often cover the seams between panels. By removing them, you’re setting the stage for a new look. It’s like removing a barrier that keeps your home stuck in the past. Here are some tips to make this task easier and more effective:
1. Gather Your Tools
Before diving into your project, ensure you have the right tools. It’s like prepping for a cooking recipe. You’ll need a putty knife – your go-to tool for prying off those strips. Spackle comes next. It’s like the wall’s healing ointment, filling any scars or gaps. Don’t forget the sandpaper. It smooths everything out, like ironing a wrinkled shirt. And lastly, pick your paint or wallpaper. This is where you add your personal touch, turning the wall into your canvas.
2. Start Slow
Now, it’s showtime, but remember, it’s not a race. Use the putty knife and gently start prying off the strips. It’s a bit like fishing; you must be patient and gentle. You don’t want to harm those wall panels. It’s all about the finesse. Carefully work the knife under the strips and ease them off. Think of it as peeling a sticker off a glass; slow and steady wins the race.
3. Check for Nails
Here’s where you turn into a bit of a detective. Sometimes, those strips are nailed in. So, keep an eye out for those sneaky nails. Got some? No problem. Grab the back of your hammer or a nail puller. It’s like using the right key for a lock. Use them to remove the nails carefully. This step is crucial. It’s all about making sure your wall doesn’t get damaged in the process. Removing nails might seem like a small step, but it’s important to ensure your wall stays in good shape.
4. Repair the Wall
Alright, so you’ve got the strips off. What’s next? You might see some gaps or holes where the strips were. No stress! This is where spackle comes to the rescue. Think of it like patching up a favorite pair of jeans. Spread the spackle over the gaps and holes. It’s kind of like frosting a cake but for your wall. Make sure it’s nice and even. Then, give it time to dry. Patience is key here. Let the spackle work its magic and heal those wall wounds.
5. Sand Smooth
Once your spackle has dried, it’s time to sand. Why sand? Well, it’s like smoothing out the edges of a carved sculpture. You want your wall to be as smooth as a pebble. Take your sandpaper and gently go over the spackled areas. It’s a bit of an arm workout, but it’s totally worth it. Your goal is to make the wall feel as smooth as possible. This step is super important for the next part of your project – painting or wallpapering.
6. Clean the Wall
Now, let’s get that wall clean. After sanding, there’s going to be dust. And just like you wouldn’t paint over a dusty canvas, you don’t want to paint or wallpaper over a dusty wall. Grab a damp cloth and gently wipe down the wall. It’s like giving your wall a mini spa treatment. Make sure you get all that sanding dust off. A clean wall is the perfect blank slate for your next step, whether it’s painting or putting up that beautiful wallpaper you picked out. Remember, a clean surface is the secret to a flawless finish.
7. Prime and Paint or Wallpaper
So, you’ve prepped your wall, and it’s looking good. Now it’s time for the fun part – painting or wallpapering. If you’re going with paint, start with a primer. Think of primer as a base coat for your nails. It helps the paint stick better and last longer. Plus, it makes the color pop! After the primer dries, bring out your chosen paint. This is where you get to transform your room. If wallpaper is more your style, then it’s time to roll it out and get to work. Whether painting or wallpapering, it’s all about adding your personal touch to the space.


Did you have vinyl covered gypsum wall boards- doing repair you suggested with spackle or compound and sanding til smooth will create a smooth look against tge embossed pattern on your boards. Do you address tgat in any of your posts?