
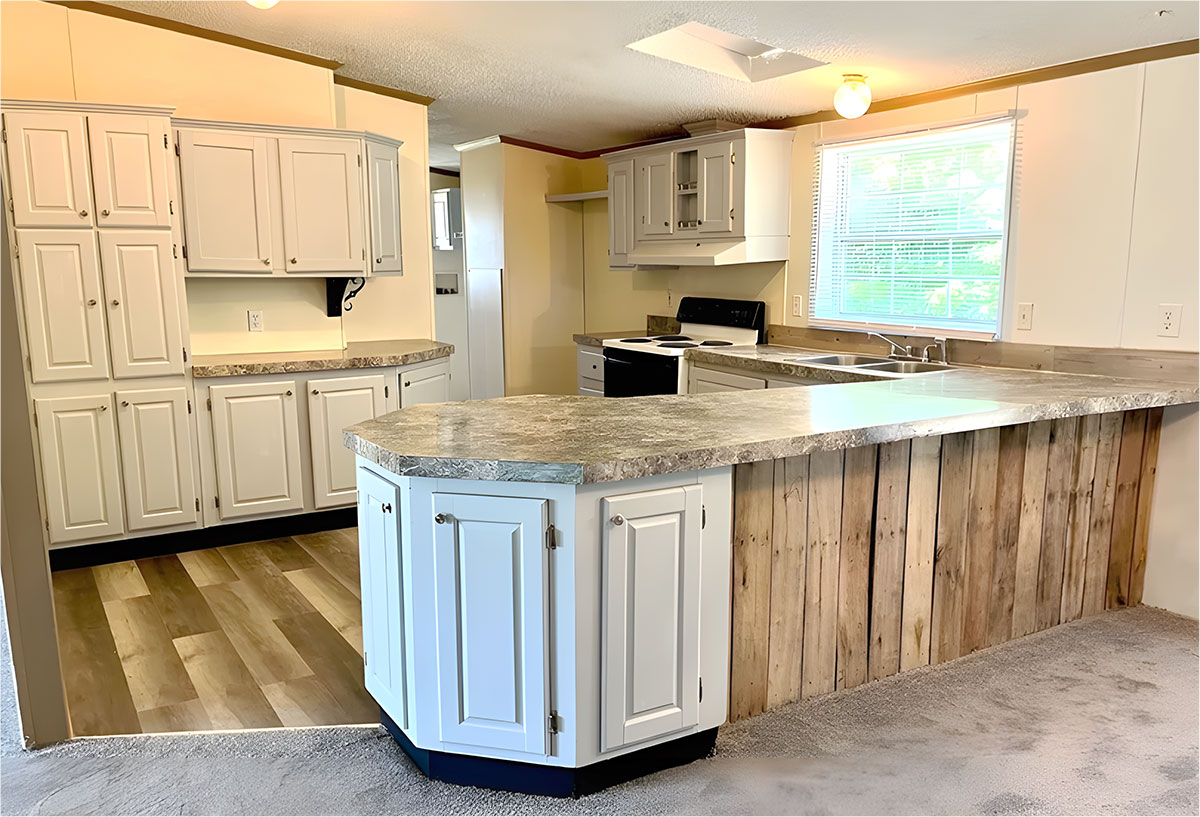
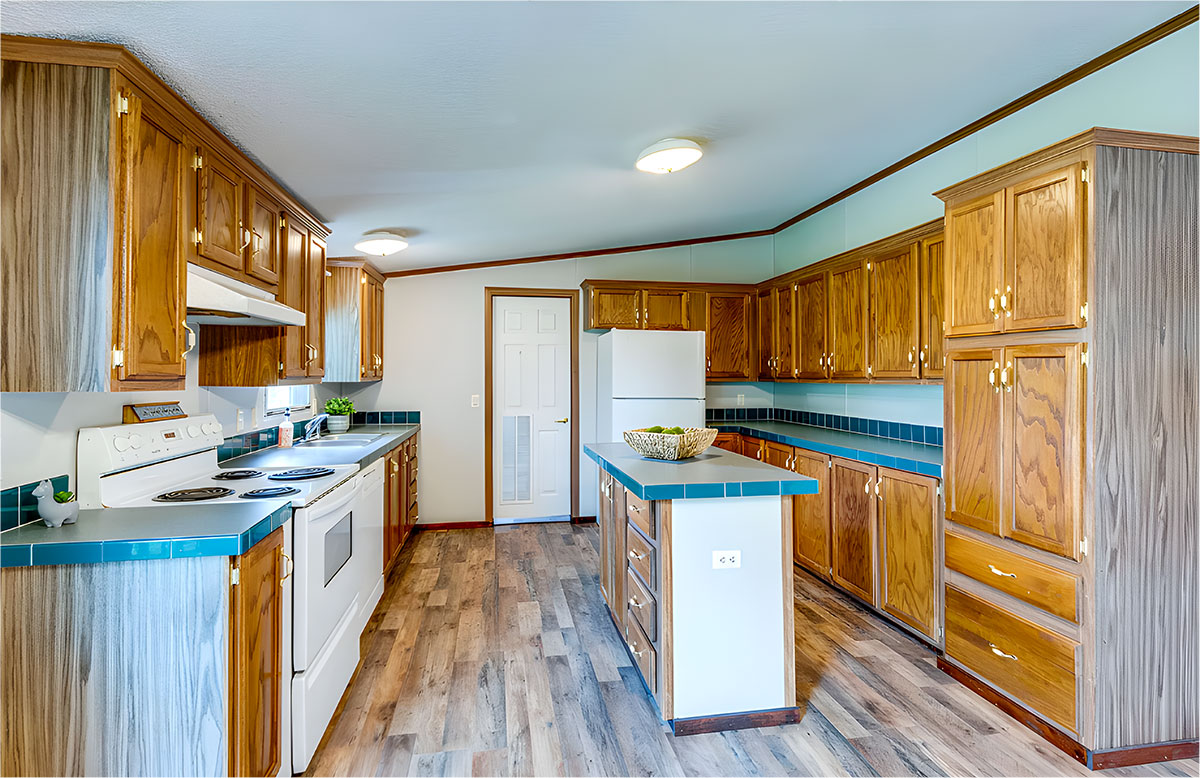
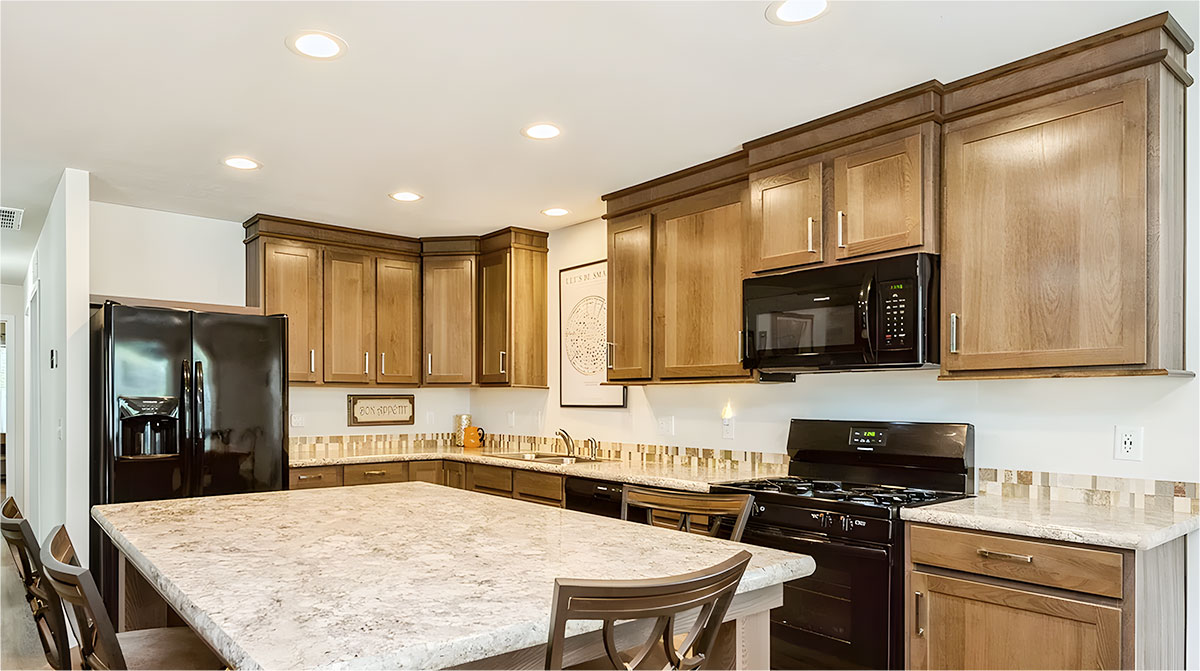
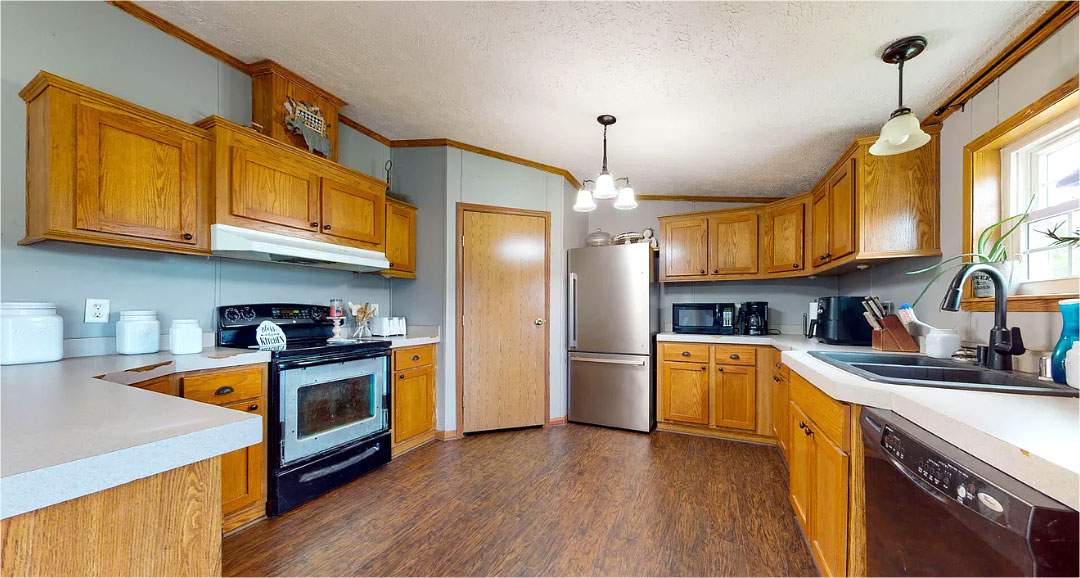
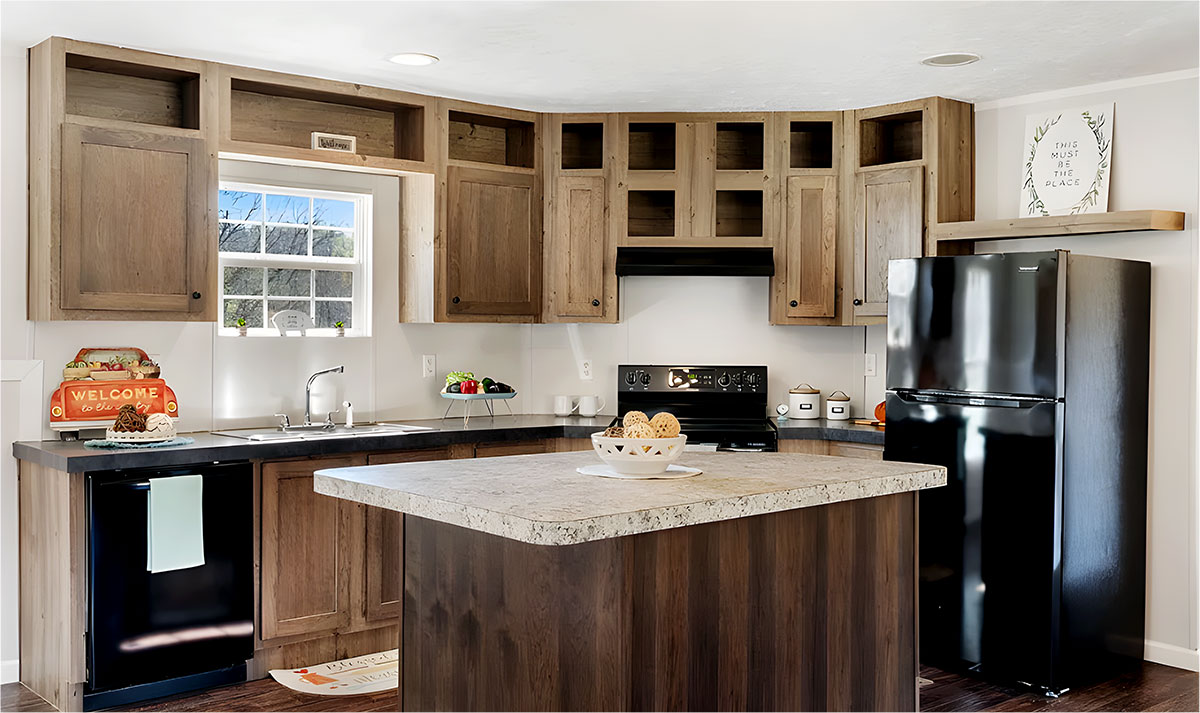
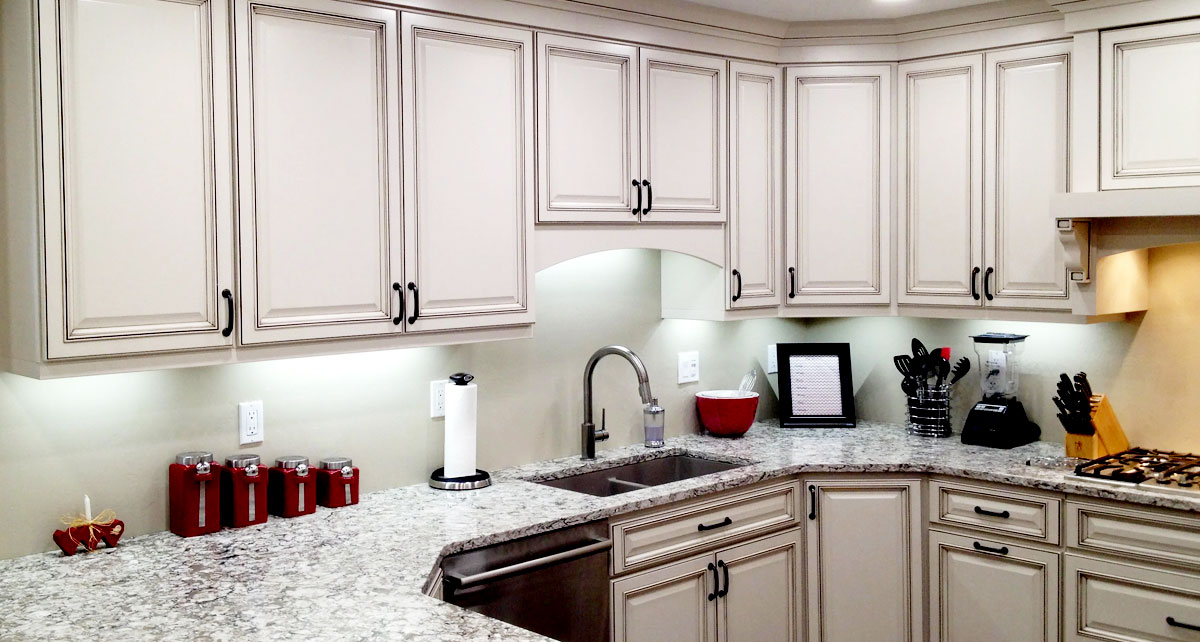
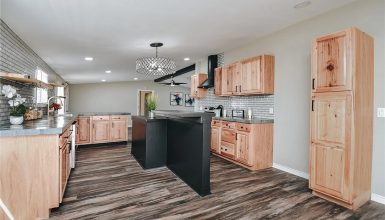
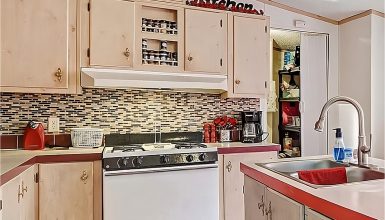
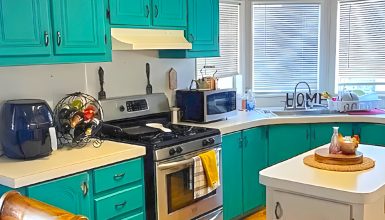
Ready for a kitchen cabinet makeover? I bet you are! There’s something irresistible about a freshly updated kitchen, especially when it’s done on a budget. Now, let’s talk about those kitchen cabinets in your mobile home. They’ve served you well over the years, but maybe they’re looking a little tired. Maybe they’re screaming for a change. The good news? There are many affordable ways to breathe new life into your old cabinets. We’ve got paint ideas, hardware swaps, and clever DIY projects that won’t break the bank. Let’s dive in!
Kitchen Cabinet Update | Benefits | Estimated Cost |
Fresh look, color change | $200 - $600 | |
Improved function and style | $50 - $200 | |
Adds elegance and value | $100 - $300 | |
New look without full replacement | $1,000 - $3,000 | |
Modern look, easier access | $200 - $500 | |
Easy update with various design options | $50 - $200 | |
Improved visibility, ambiance | $60 - $400 | |
Unique design, texture addition | $50 - $100 | |
Custom design, personal touch | $100 - $200 | |
Wall protection, design enhancement | $200 - $1,000 |
Please note that these are rough estimates and the actual cost can vary greatly depending on the size of your kitchen, the materials you choose, whether you hire a professional, and other factors.
1. Painting the Cabinets
Fresh paint can turn drab cabinets into fab cabinets faster than you can say “kitchen makeover.” But where to start?
First up, color. This is where you let your personality shine. Want to keep it classic? Go with a crisp white or cool gray. Looking for something more daring? How about a vibrant blue or a sunny yellow? There’s a rainbow of colors waiting for you. Just remember to consider the rest of your kitchen’s color palette.
Next, let’s move on to the actual painting process. It’s not just about slapping on a coat of paint. Oh no, we want this job done right.
Step 1: Prep. This is crucial, folks. Start by removing the cabinet doors and hardware. Next, clean the cabinets to get rid of any grease or grime. Follow that up with a light sanding to ensure the paint sticks.
Step 2: Paint. Now it’s time for the fun part! Choose a high-quality paint that will withstand the rigors of the kitchen. Apply the paint with a brush or roller, following the grain of the wood. Don’t rush this part. You’re not in a race. Apply a first coat, let it dry, then apply a second coat.
Step 3: Finishing. Once your final coat of paint is dry, it’s time to reattach the doors and hardware. Stand back and admire your work. You’ve just transformed your kitchen cabinets!
Now, let’s talk tips and tricks for a smooth finish. A primer can be your best friend. It provides an excellent base for your paint and helps hide any stains on your cabinets. Also, consider a semi-gloss finish. It’s durable, easy to clean, and gives your cabinets a lovely sheen.
Painting your cabinets can be a game-changer. So pick up that paintbrush, and start creating the kitchen of your dreams!
2. Updating Hardware
Let’s shift gears and talk hardware. Think of your cabinet hardware as the jewelry of your kitchen. It’s a small detail that makes a big impact.
First, let’s talk about style. Hardware has many designs, like a candy store for home decor lovers! You might love the sleek look of modern handles or the charm of vintage knobs. Perhaps you prefer the rustic vibe of hammered iron or the elegance of crystal. The choice is all yours. Just remember, your hardware should complement the style of your kitchen.
Next, let’s talk about materials. Stainless steel, brass, bronze, ceramic, glass – the list goes on. Each material has its unique look and feel. Stainless steel is durable and easy to clean, perfect for a busy kitchen. Brass and bronze add a touch of warmth and sophistication. Ceramic and glass knobs can add a pop of color or a touch of whimsy.
Now, let’s get down to business: replacing the hardware. Don’t worry; it’s easier than you might think.
Step 1: Remove the old hardware. A screwdriver is usually all you need. Take this opportunity to clean any grime that’s hiding behind the hardware.
Step 2: Install the new hardware. If your new hardware fits the existing holes, great! If not, you might need to fill the old holes with wood filler and drill new holes.
Step 3: Tighten the screws. Ensure the hardware is secure but don’t over-tighten. You don’t want to damage your new beauty.
Voila! You’ve just given your cabinets a mini-makeover with new hardware. It’s a small change that can make a big difference. So, go ahead, and give your kitchen a bit of sparkle with new cabinet hardware!
3. Adding Crown Molding
Adding crown molding to your kitchen cabinets is like putting the icing on a cake. It adds an extra layer of style and sophistication to make your kitchen pop. But why crown molding?
Firstly, it’s all about creating that high-end, custom cabinetry look. Crown molding bridges the gap between your cabinets and ceiling, making your kitchen feel more luxurious and cohesive. Plus, it’s a clever way to hide any uneven lines or gaps that can sometimes happen in mobile homes.
Now, let’s talk about picking the right crown molding. There are many designs, from simple and sleek to intricate and ornate. The key here is to consider your kitchen style. A minimalist kitchen might benefit from simple, clean-lined molding. At the same time, a more traditional kitchen could handle something more elaborate. Just remember to consider the scale of your kitchen, too – you don’t want your molding to overpower your cabinets.
Let’s move on to installing the crown molding. Don’t panic; it’s doable, even for a DIY newbie!
Step 1: Measure. You want to know precisely how much molding you need, so measure the top of your cabinets carefully.
Step 2: Cut. Using a miter saw, cut the molding at a 45-degree angle. This might take a little practice, so maybe buy some extra molding, just in case.
Step 3: Attach. Attach the molding to the top of your cabinets using a nail gun. Be careful not to split the molding or damage your cabinets.
Step 4: Finish. Fill any nail holes with wood filler, then paint or stain the molding to match your cabinets.
Voila! You’ve just elevated your kitchen cabinets with crown molding. It’s an affordable upgrade that adds a touch of class to any kitchen. So why not give it a try? Your kitchen will thank you!
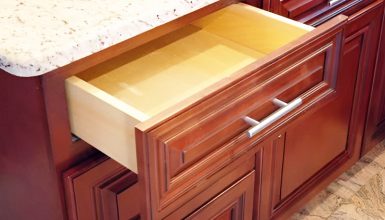
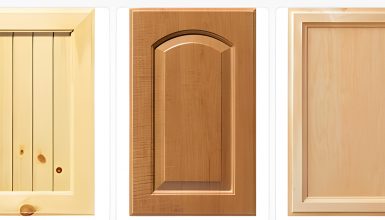
4. Refacing the Cabinets
Ever heard of cabinet refacing? It’s one of those magic tricks of kitchen makeovers that’s like a facelift for your cabinets. Sounds interesting, right? Let’s delve in!
So, what is cabinet refacing? Well, it’s exactly what it sounds like – giving your cabinets a new face. Instead of replacing the entire cabinet, you replace just the doors and drawer fronts. Then, you cover the exposed frames with a thin veneer to match your new doors. Sounds like a dream, right?
Now, how do you actually reface cabinets? Let’s break it down.
Step 1: Out with the old. Remove the existing doors and drawer fronts.
Step 2: Smooth it out. Sand down the cabinet boxes to create a smooth surface for the veneer.
Step 3: Stick it on. Apply the veneer to the cabinet boxes. Make sure it’s aligned properly before you stick it down.
Step 4: In with the new. Attach your new doors and drawer fronts.
There you go! You’ve got a fresh, new look without the price tag of new cabinets.
Of course, like anything, there are pros and cons. On the pro side, refacing is less expensive than replacing. It’s also faster and less disruptive – no need to rip out entire cabinets. Plus, you can keep your existing layout, which is great if you’re already happy.
On the flip side, refacing won’t fix a lousy kitchen layout. It also won’t help if your cabinets are falling apart. And while it’s cheaper than new cabinets, it’s still more expensive than painting.
So, is cabinet refacing the right choice for you? If your cabinets are in good shape and you love your current layout, it might be just the facelift your kitchen needs!
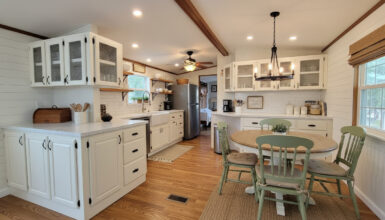
5. Converting to Open Shelving
Open shelving – you’ve seen it in all the stylish kitchens on TV and magazines. But have you ever thought about trying it in your mobile home kitchen? It’s easier than you might think, and the benefits are plenty.
First, the benefits of open shelves give your kitchen a light, airy feel. They create an illusion of more space, which can be a game changer in a mobile home kitchen. Plus, they let you show off your beautiful dishes, glasses, and kitchen gadgets.
So how do you make the switch to open shelving?
Step 1: Remove the doors. Start by unscrewing the cabinet doors. This instantly creates open shelves. Easy, right?
Step 2: Prep and paint. Clean the shelves thoroughly. Then paint the inside of your cabinets to match or contrast with your kitchen. This adds a pop of color and helps your dishes stand out.
Step 3: Organize. Now comes the fun part: putting your dishes and glasses on display. Arrange your items so they’re both practical and pretty.
Now, let’s talk about styling those open shelves. Less is more here. Don’t crowd your shelves; give your items room to breathe. Mix and match shapes and sizes to create interest. And don’t be afraid to display non-kitchen items, like plants or artwork.
Keep in mind, though; open shelves require a bit more maintenance. You’ll need to keep your dishes tidy and dust the shelves regularly. But the extra effort can be worth it for that open, airy, and super stylish look.
So why not give open shelving a try? It’s an easy, affordable update that can transform your kitchen!
6. Using Wallpaper or Contact Paper
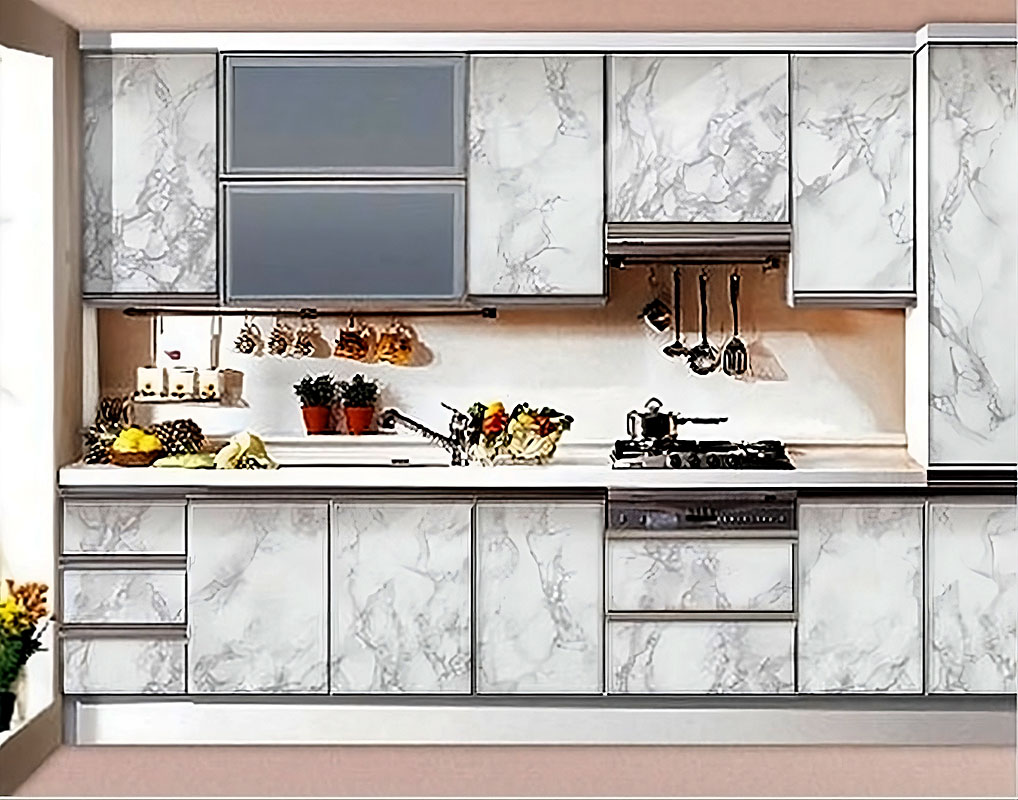
Kitchen cabinet with marble contact paper.
Have you ever considered dressing up your kitchen cabinets with wallpaper or contact paper? It’s a fun, creative, and budget-friendly way to make a big style statement. Let’s explore how it works!
First, let’s chat about designs. Wallpaper and contact paper come in a plethora of patterns and colors. Want to add a farmhouse vibe? Try a beadboard print. Going for retro? How about a fun geometric pattern? The sky’s the limit, so choose something that speaks to you.
Now, let’s talk about the application process.
Step 1: Measure. Measure the surface of your cabinets, then cut your paper to size.
Step 2: Prep. Clean your cabinets thoroughly. You want a smooth, clean surface for the paper to stick.
Step 3: Apply. Peel off the backing and carefully apply the paper. Use a smoothing tool to get rid of any bubbles or wrinkles.
Voila! You’ve just given your cabinets a whole new look.
Now, for some maintenance tips. The great thing about wallpaper and contact paper is that they’re low maintenance. To clean, just wipe down with a damp cloth. Avoid harsh chemicals that could damage the print. And if you get tired of the look, you can peel it off and try something new.
So add some personality to your kitchen cabinets with wallpaper or contact paper. It’s an easy, affordable way to inject fun into your kitchen decor!
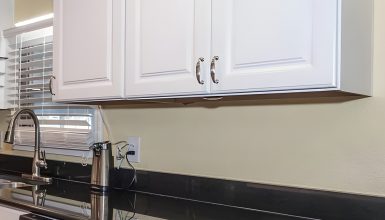
7. Installing Under-Cabinet Lighting
Ever tried chopping veggies or reading a recipe in a poorly lit kitchen? It’s not fun, is it? That’s where under-cabinet lighting comes in. It’s the superhero of the kitchen, swooping in to banish shadows and make your kitchen tasks easier.
First, let’s talk about choosing the right lighting. You’ve got plenty of options, from puck lights to strip lights or even light bars. LED lights are popular due to their energy efficiency and long lifespan. Also, consider whether you want dimmable lights or lights with a motion sensor. It’s all about finding what works best for you and your kitchen.
Ready to install? Here’s how you do it.
Step 1: Plan. Decide where you want your lights and where you’ll place the power source.
Step 2: Attach. Most under-cabinet lights come with adhesive backing, making them easy to install. Just peel and stick!
Step 3: Connect. Connect your lights to the power source. Some lights plug into an outlet, while others may require hard-wiring.
And there you have it. A well-lit workspace that makes your kitchen tasks a breeze!
Now, let’s talk about the benefits. Under-cabinet lighting, of course, provides practical task lighting. But it also adds ambiance and highlights your backsplash. Plus, it can make your kitchen look more spacious and inviting.
So go ahead, and shed some light on your kitchen tasks with under-cabinet lighting. It’s a minor update that can make a big difference in your kitchen’s functionality and style!
8. Using Fabric for Cabinet Doors
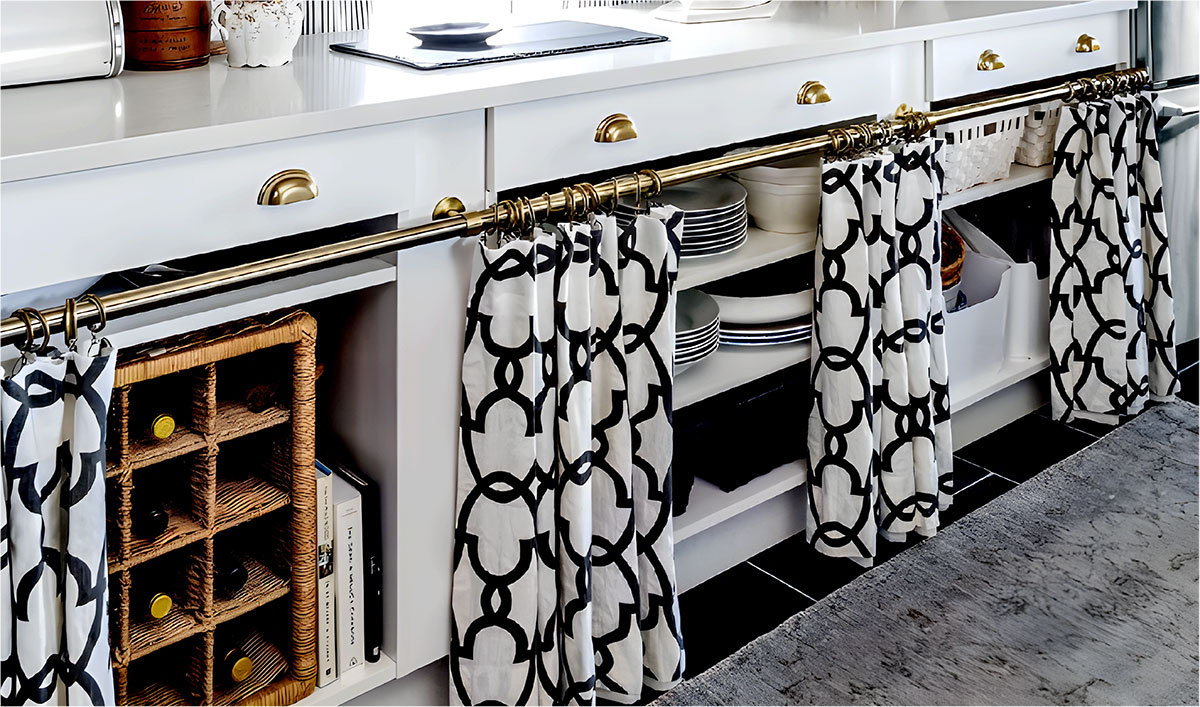
Imagine transforming your kitchen cabinets with just a piece of fabric. Sounds far-fetched? It’s not. Using fabric for cabinet doors is a fantastic way to inject texture, color, and personality into your kitchen. Let’s see how it’s done!
First, let’s talk about fabric. You want a fabric that’s sturdy and easy to clean. Think along the lines of outdoor fabrics or cotton blends. As for design, the world is your oyster! A bold pattern can make a statement, while a solid color can provide a subtle update. Don’t forget to consider your kitchen’s color scheme and style when choosing.
Ready to get started? Here’s the process:
Step 1: Measure. You’ll need to know the size of your cabinet doors to cut your fabric to size.
Step 2: Attach. Remove the cabinet doors and stretch the fabric over them. Staple the fabric to the back of the doors, ensuring it’s tight and smooth.
Step 3: Reattach. Screw the doors back onto the cabinets. And just like that, you’ve given your kitchen a unique twist!
But what about maintenance? Fortunately, it’s pretty simple. For spills, wipe with a damp cloth. A quick once-over with a vacuum should do the trick if the fabric gets dusty. If you’ve chosen a washable fabric, you can even remove it, wash it, and staple it back on.
So why not try something different and dress your cabinet doors in fabric? It’s a fun, affordable update that will make your kitchen stand out!
9. DIY Door Styles
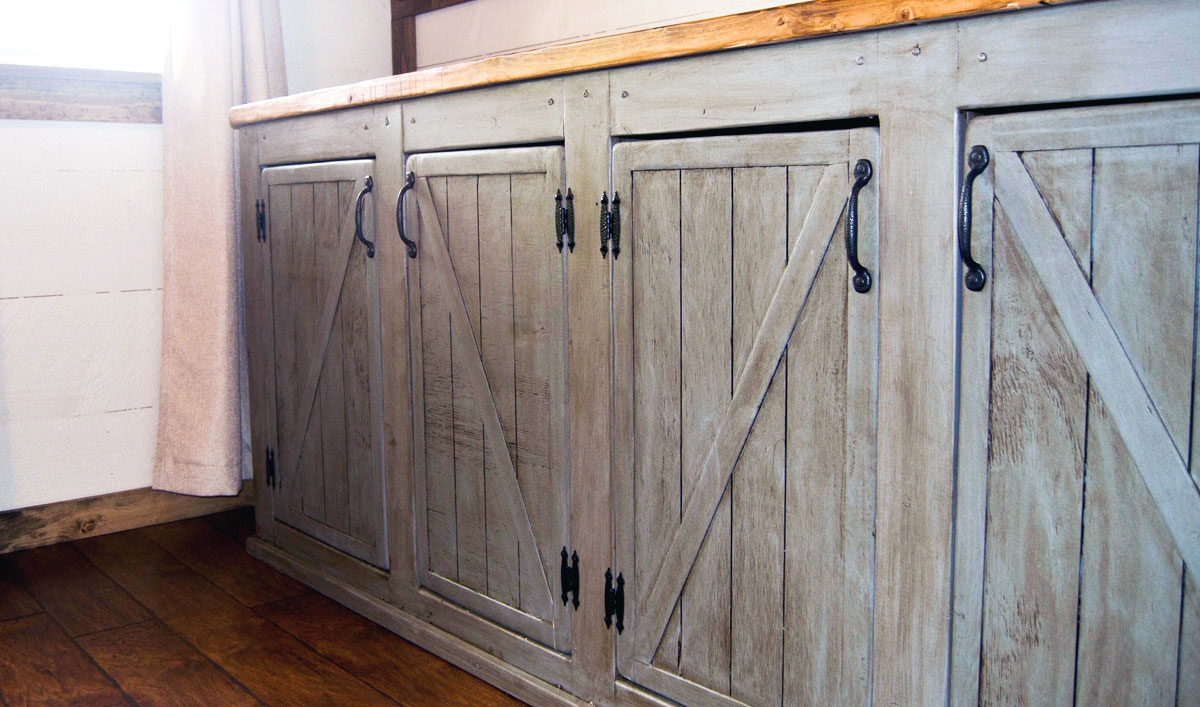
Are you feeling crafty? Good, because we’re about to dive into the world of DIY door styles! Creating your door style is an excellent way to personalize your kitchen and make it yours.
So, what kind of door styles can you create? Picture a shaker-style door made with simple trim or a panel door style created with moldings. Or how about using thin strips of wood to create a geometric pattern? It’s your kitchen, so let your imagination run wild!
Now, let’s look at the process of applying moldings or trims:
Step 1: Measure. Start by measuring your cabinet doors to determine the size of your trim or moldings.
Step 2: Cut and attach. Cut your trim or moldings to size. Then, using wood glue and a few small nails, attach it to your cabinet doors.
Step 3: Fill and sand. Use wood filler to fill in any nail holes. Once it’s dry, sand it down so it’s smooth.
Now let’s talk finishing techniques. A coat of paint can bring your door style to life, whether you choose a bold color or a subtle neutral. For a rustic look, consider a distressed finish. You could also try a glazed or antiqued finish for an old-world feel.
Remember, the best part about DIY is that you’re in charge. You get to create something that’s uniquely you. So roll up your sleeves and transform your cabinet doors into a work of art!
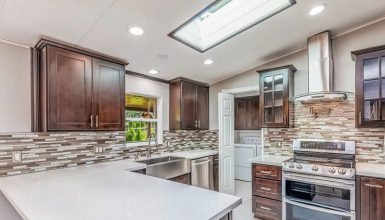
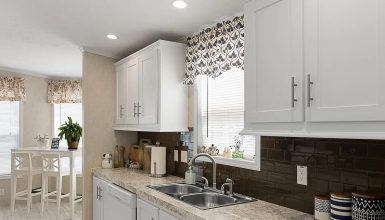
10. Adding a Backsplash

Let’s paint a picture. You’ve updated your kitchen cabinets, and they’re looking fabulous. But you still feel like something’s missing. What could it be? Aha, a backsplash! It’s the perfect accessory to complement your newly refreshed cabinets.
Let’s start by choosing the right materials and styles. Subway tiles for a classic look, and mosaic tiles for a touch of artistry. Or maybe even a stainless steel backsplash for a sleek, modern vibe. The options are endless, and each one tells a different story. So, choose a backsplash that reflects your kitchen style and tastes.
Next, the installation process:
Step 1: Prep. Start by cleaning your wall and marking your layout.
Step 2: Apply adhesive. Use a notched trowel to spread tile adhesive on a small wall section.
Step 3: Install tiles. Press your tiles into the adhesive. Use tile spacers to keep your lines straight.
Step 4: Grout. After the adhesive dries, apply grout with a grout float and wipe off the excess.
Step 5: Seal. Once the grout is dry, seal it to prevent staining and moisture damage.
And there you have it – a gorgeous backsplash that brings your kitchen to life!
But how does a backsplash complement your cabinets, you ask? In so many ways! It can add a pop of color to contrast with your cabinets. Or it can blend in for a subtle, streamlined look. A backsplash can also draw attention to your cabinets, making them a focal point in your kitchen. And let’s not forget, it’s also practical, protecting your walls from spills and splashes.
Conclusion
Well, aren’t you brimming with ideas now? With some planning, a touch of elbow grease, and creativity. You can transform your old mobile home kitchen cabinets into something truly spectacular. Whether going all in with a complete refacing or adding a little oomph with new hardware, under-cabinet lighting, or a backsplash, remember that this is your kitchen, your canvas.

