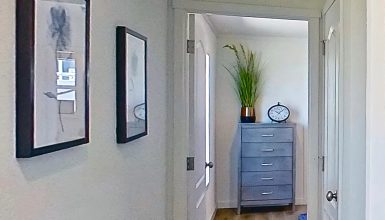
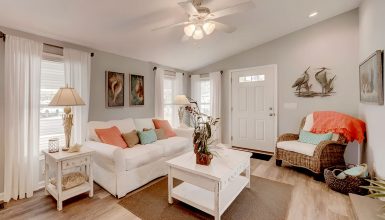
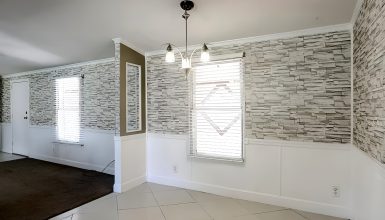
Decorating the walls in a mobile home does more than brighten up a room. It turns a simple space into something special. Think of your walls as a blank canvas. With creativity, you can make every room reflect your style and personality. Here are ten creative ideas to transform your walls.
1. Peel and Stick Wallpaper
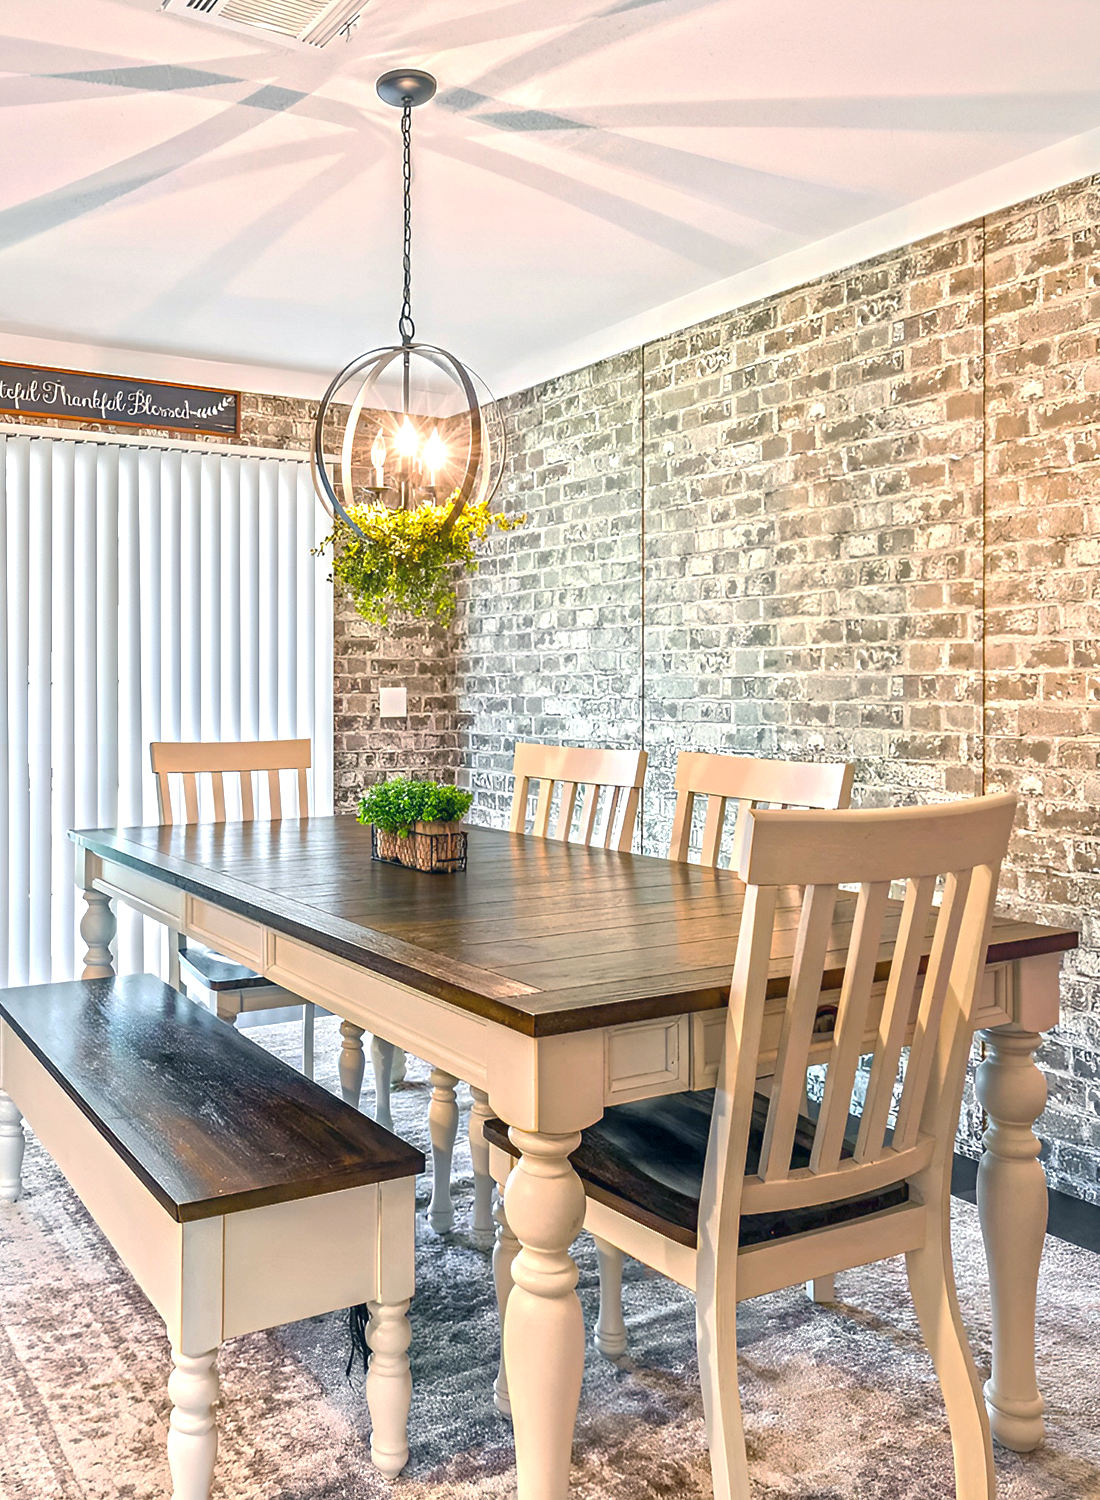
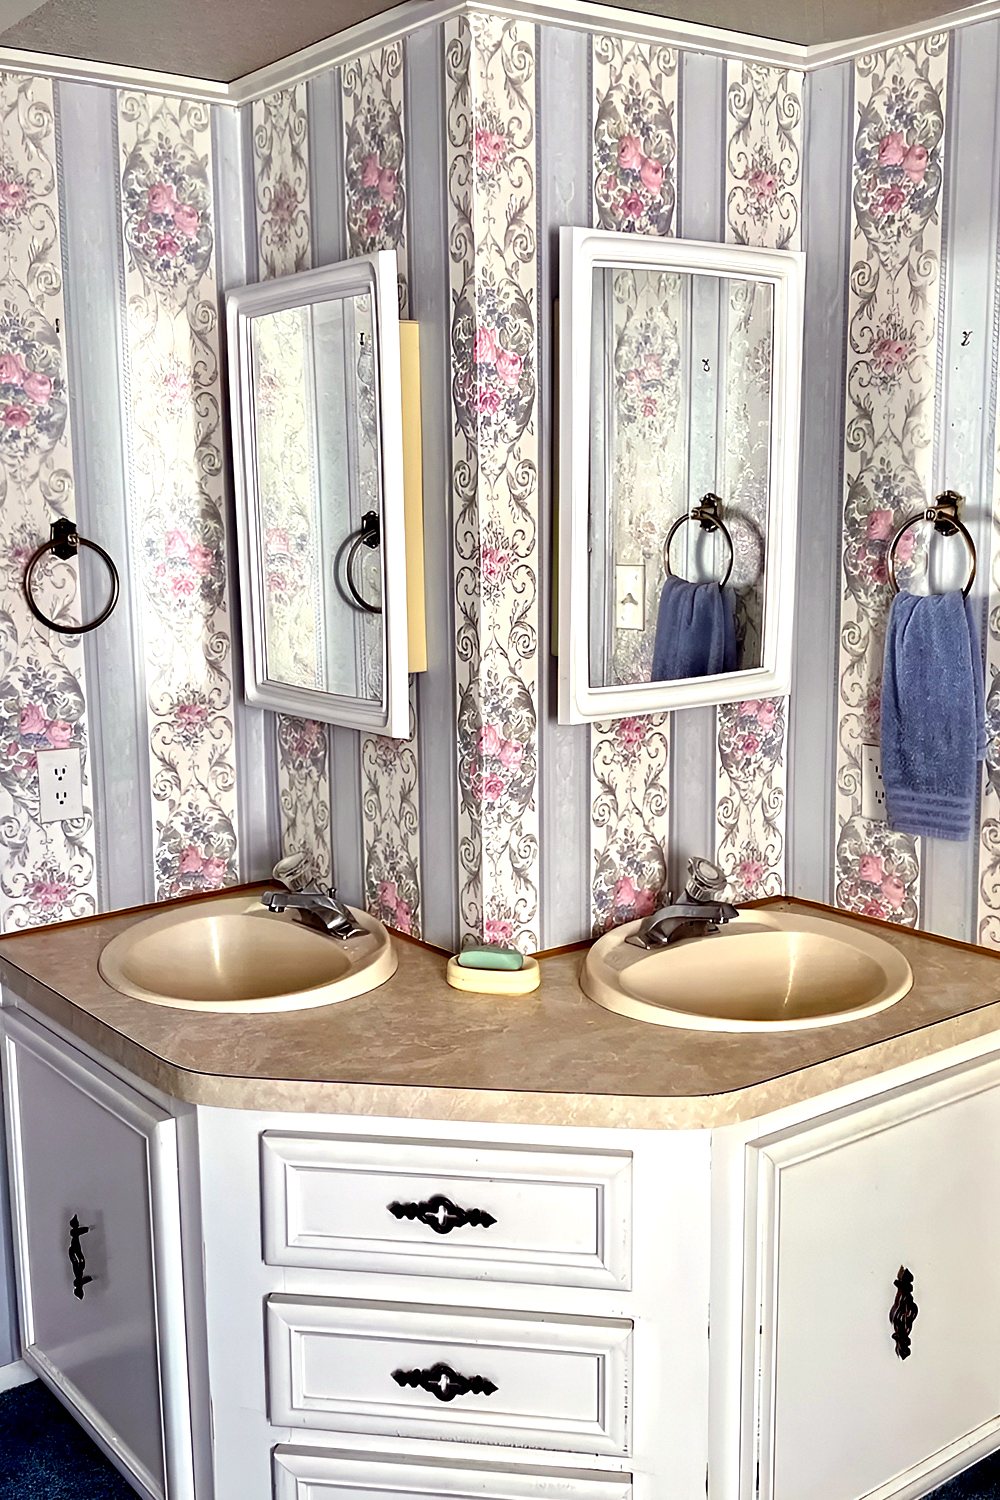
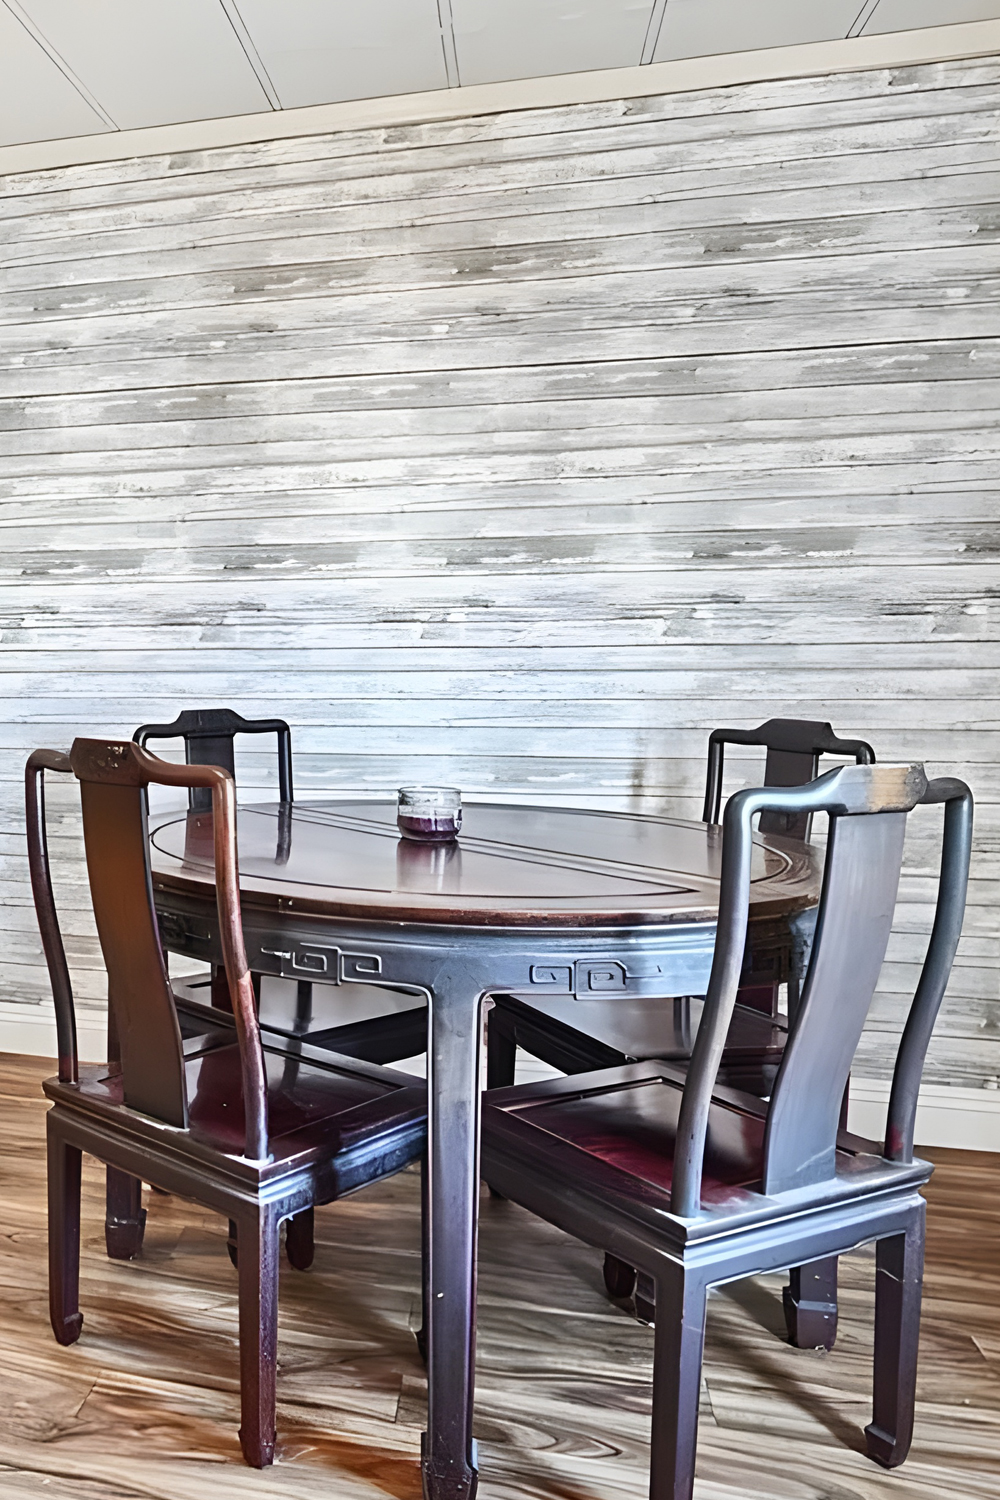
Peel and stick wallpaper is like a magic trick for your walls. It comes in rolls, just like traditional wallpaper, but there’s no need for glue or paste. You simply peel off the backing and stick it to your wall. If you change your mind or want a new look, it comes off easily without leaving a mess. This wallpaper is perfect for giving your mobile home a quick and stunning makeover. It’s available in countless designs, from bold patterns to subtle textures, allowing you to create the perfect backdrop for your space.
When choosing peel-and-stick wallpaper, think about the mood you want to create. Light colors and simple patterns can make a small room feel bigger, while darker hues add coziness to a larger space. Before applying, make sure your walls are clean and smooth. A quick wipe-down can significantly affect how well the wallpaper sticks. Start from the top, gently smoothing out bubbles as you go. And don’t worry if it could be better on the first try; you can peel it off and reposition it until it’s just right.
2. Vinyl Wall Decals
Vinyl wall decals are a dream for anyone who loves to personalize their space without the commitment of paint or wallpaper. These decals come in all shapes and sizes, from inspirational quotes to intricate designs. They’re a breeze to apply: peel, stick, and smooth out any air bubbles. The best part? They’re just as easy to remove, so you can switch them up as often without damaging your walls.
Their versatility makes vinyl decals a great choice for every room. You can add a touch of whimsy to a child’s bedroom, some sophistication to your living room, or even a motivational quote in your home office. When selecting decals, consider the wall space and room decor to ensure they complement your overall theme. Applying them is straightforward, but it helps to have an extra pair of hands for larger designs to ensure everything lines up perfectly.
3. Floating Shelves
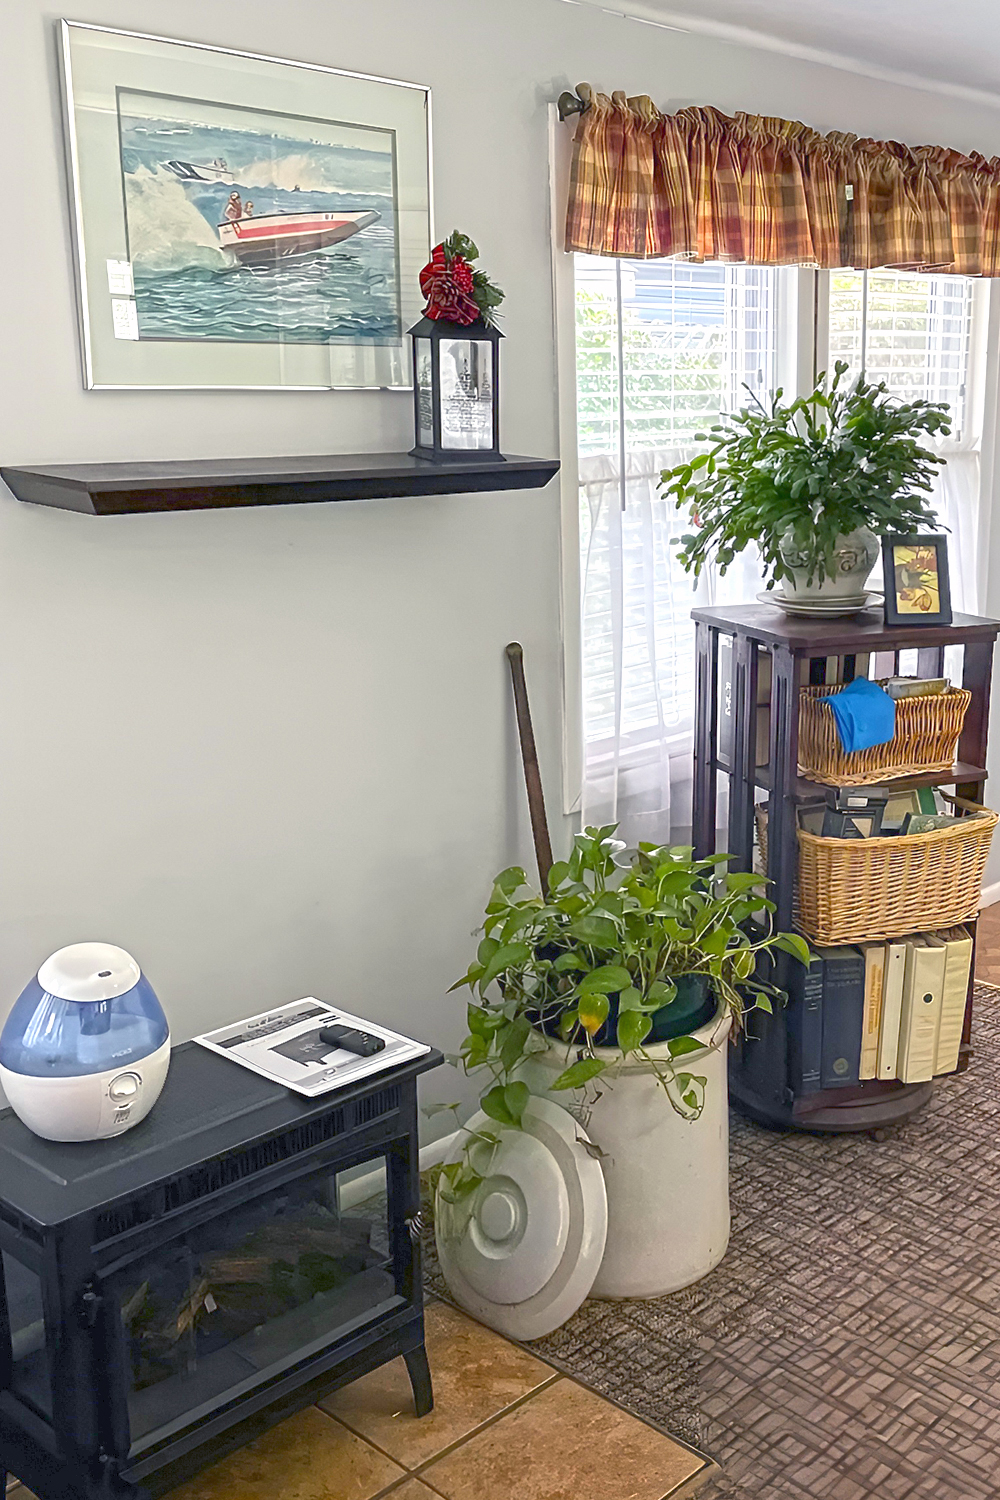
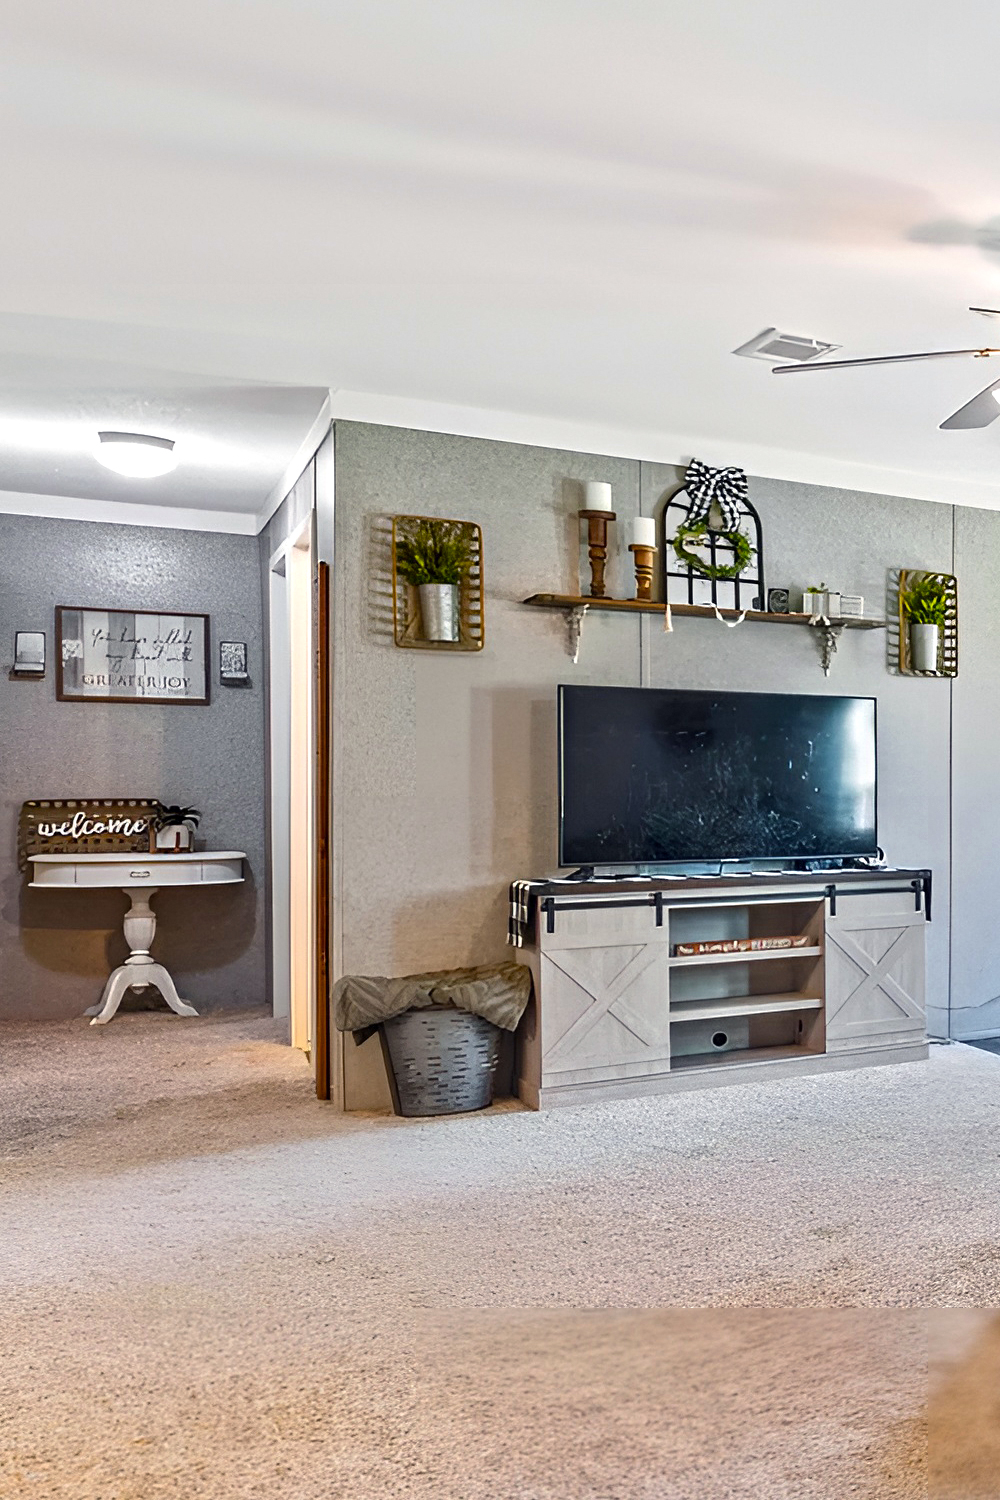
Floating shelves serve double duty: they’re practical and add a touch of elegance to your walls. Unlike traditional shelves, they attach to the wall with hidden brackets, giving the illusion that they’re floating. This sleek design is stylish and saves valuable floor space, making them ideal for the cozy confines of a mobile home.
These shelves offer endless display options. You can showcase your book collection, feature your favorite photos, or create a mini indoor garden with potted plants. When it comes to installation, finding the right spot is key. Look for a space that needs a little extra something, but make sure it’s accessible if you’re planning to use the shelves for everyday items. Most floating shelves have all the necessary hardware and can be installed with essential tools. For a cohesive look, consider the material and color of the shelves to ensure they complement your current decor.
4. Gallery Wall
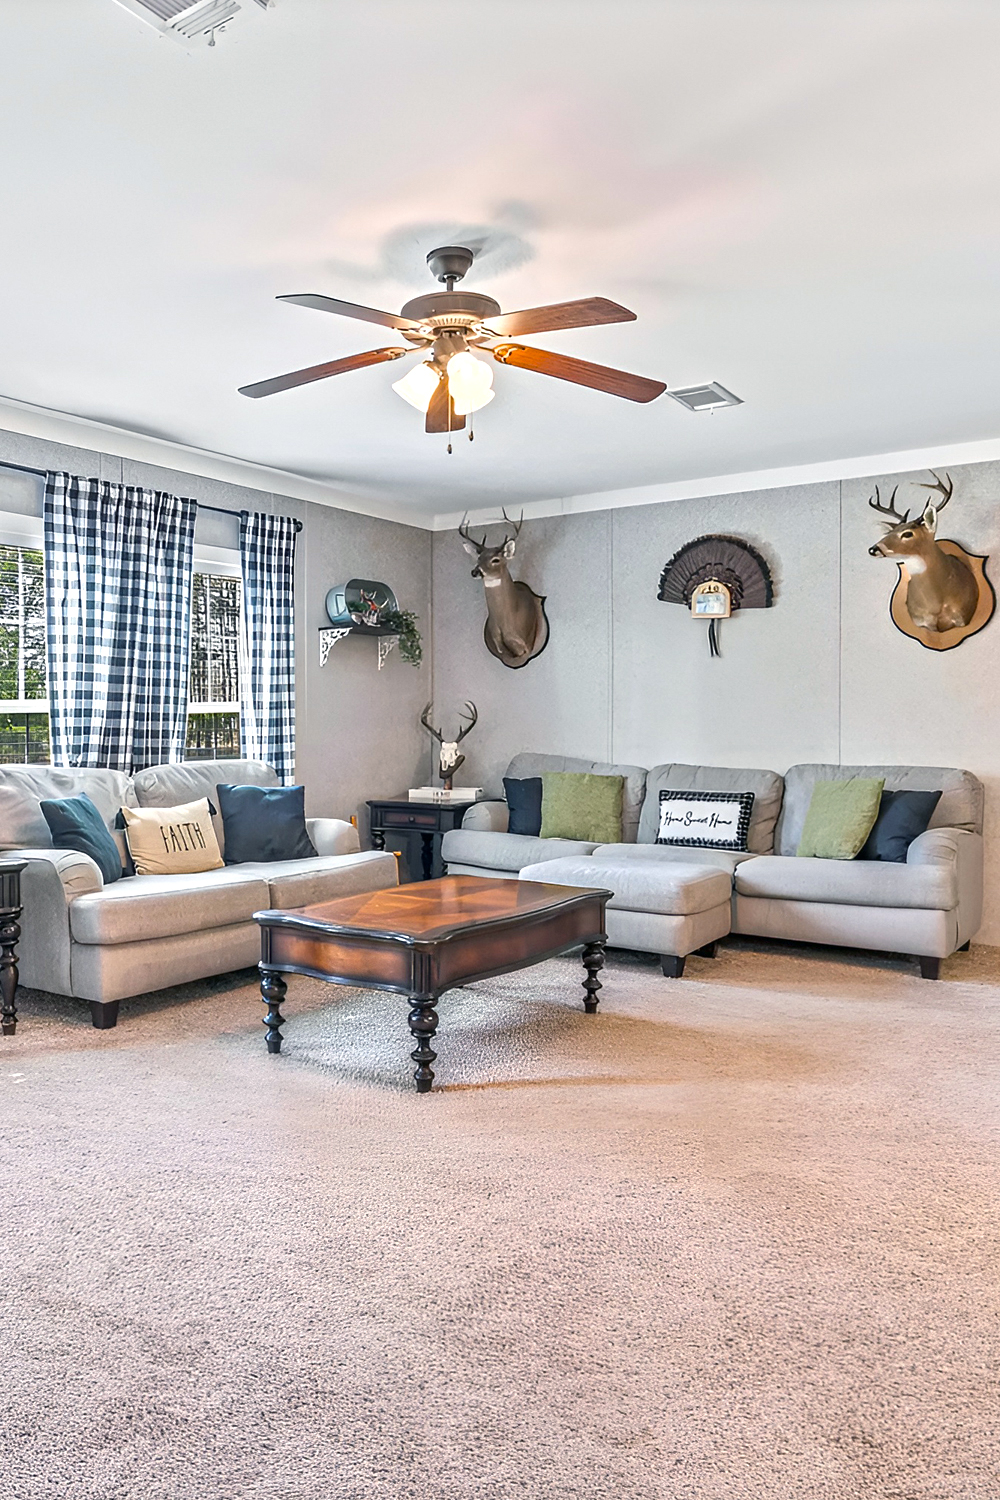
A gallery wall is a perfect way to display a collection of art, photos, or treasures that mean something special to you. It turns a plain wall into a vibrant display of your interests and memories. Planning is key to creating a gallery wall that looks intentional and harmonious. Start by selecting a mix of items in different sizes and shapes. Lay them out on the floor to experiment with arrangements until you find a proper layout. Remember, balance is important. Mix larger pieces with smaller ones to create an engaging rhythm.
Feel free to mix and match different frame styles and colors for an added impact. This variety adds depth and interest to your gallery wall. You can stick to a color scheme or theme, but mixing it up often gives your wall a more dynamic feel. When it’s time to hang your pieces, make sure to measure and space them evenly for a clean look. Using paper templates can help you visualize the arrangement on the wall before making any holes.
5. Fabric Wall Hangings
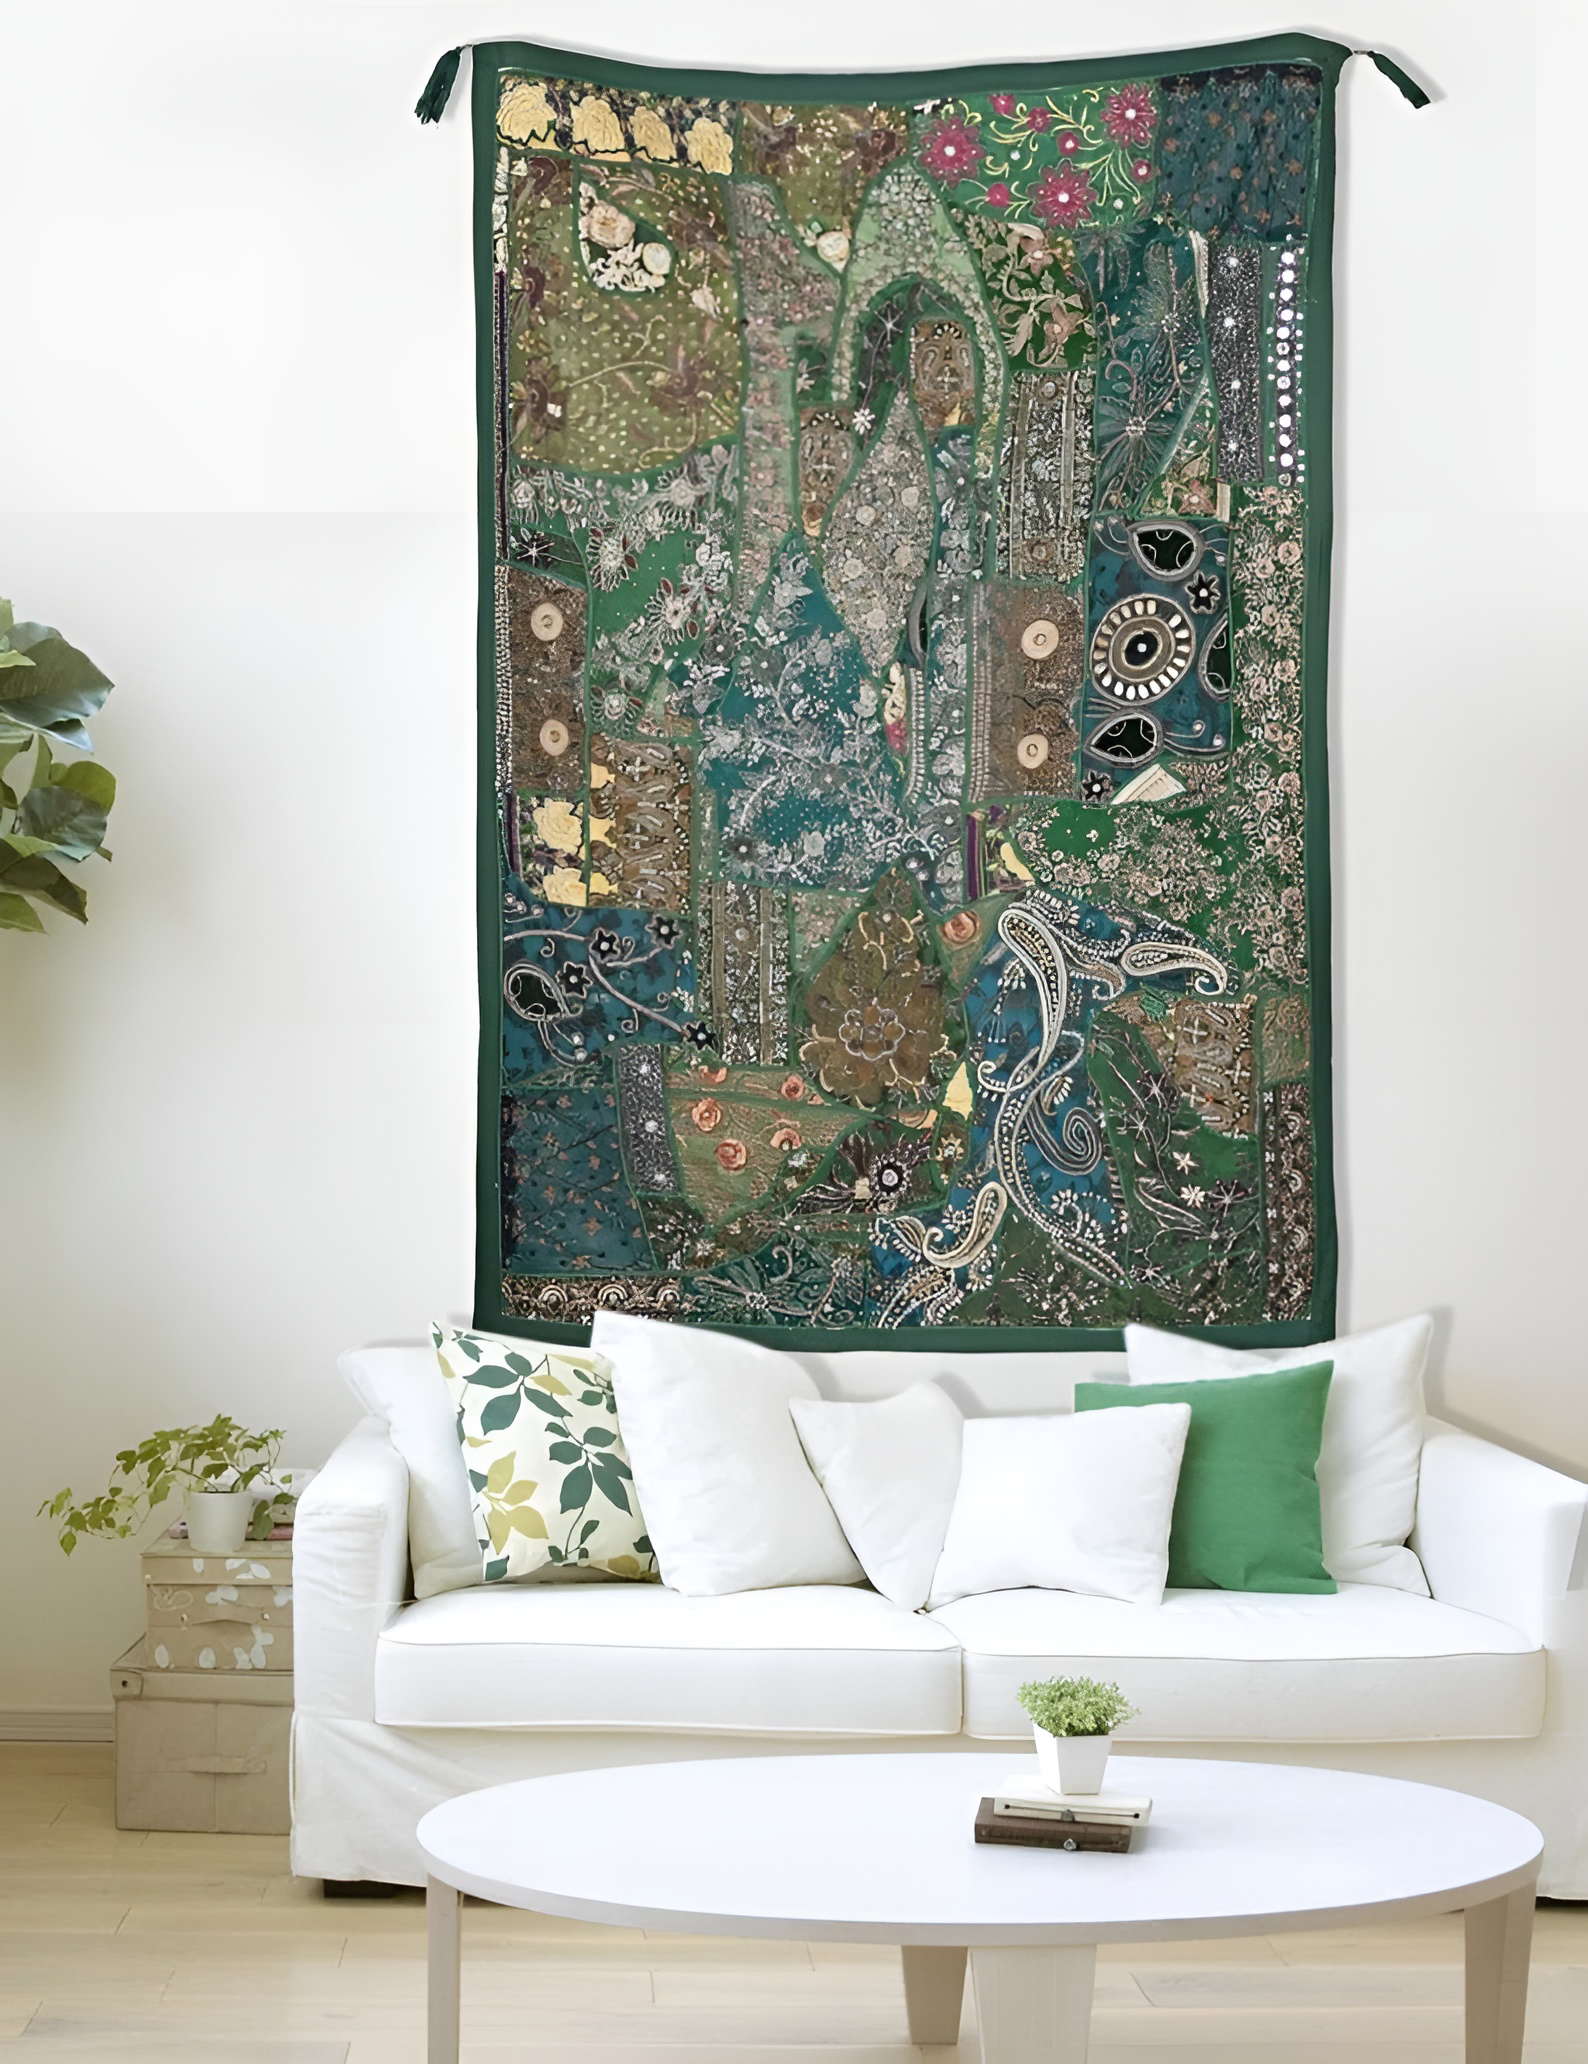
Fabric wall hangings bring warmth and texture to any room, making your space more inviting. They can range from intricate tapestries to simple, vibrant pieces of fabric that add a splash of color. When choosing a fabric, consider the mood you want to create. Soft, flowing materials can bring a sense of calm, while bold patterns can make a statement.
Hanging fabric art is simple and can be done in various ways. Wooden dowels or curtain rods work well for heavier pieces, allowing you to hang them like a traditional tapestry. You can even use push pins or small nails to attach lighter fabrics directly to the wall for a casual look. Explore local fabric stores, online marketplaces, or thrift shops to source materials for unique finds. Sometimes, the best pieces come from unexpected places!
6. Mirror Collage
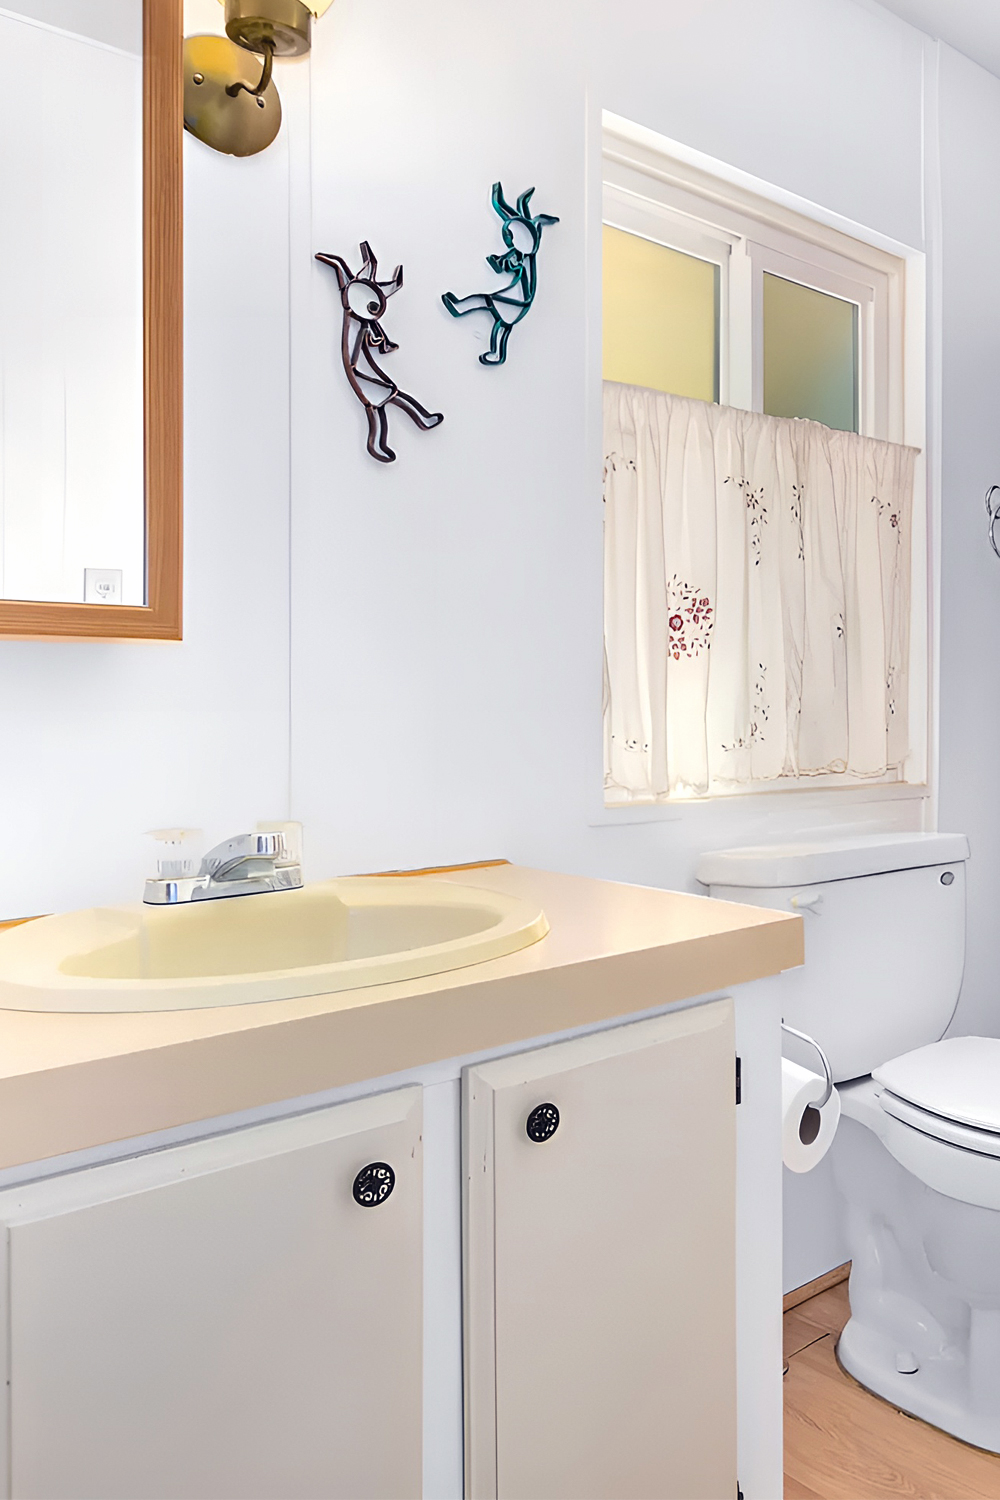
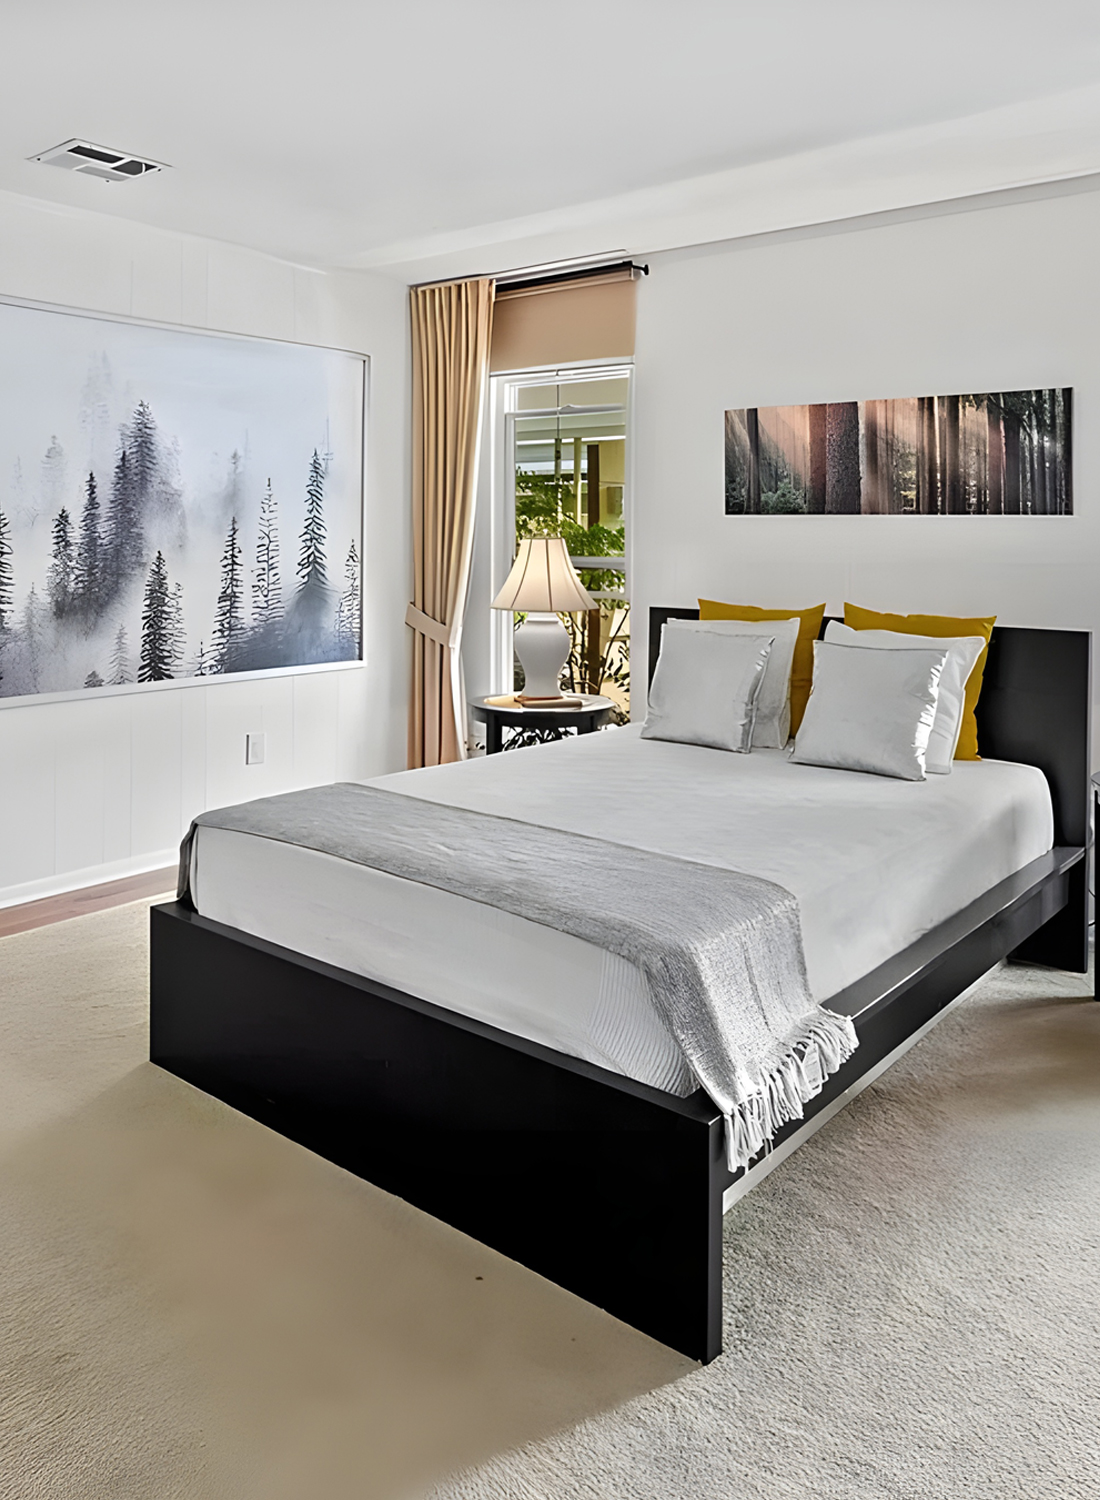
A mirror collage adds style to a room, enhancing its brightness and sense of space. By reflecting light, mirrors can make small areas feel larger and more open. Consider using mirrors of various sizes and shapes when creating a mirror collage. This diversity adds visual interest and allows you to play with light differently.
For a stylish arrangement, space your mirrors out evenly, but don’t be afraid to overlap smaller mirrors in front of larger ones for a layered effect. Consider the reflections each mirror will capture, too, and position them to highlight other decor elements or beautiful views from windows. Installing mirrors at different heights can also create a more dynamic look, drawing the eye across the entire collage. With creativity, a mirror collage can transform a room, making it feel brighter, larger, and more inviting.
7. Paint Techniques
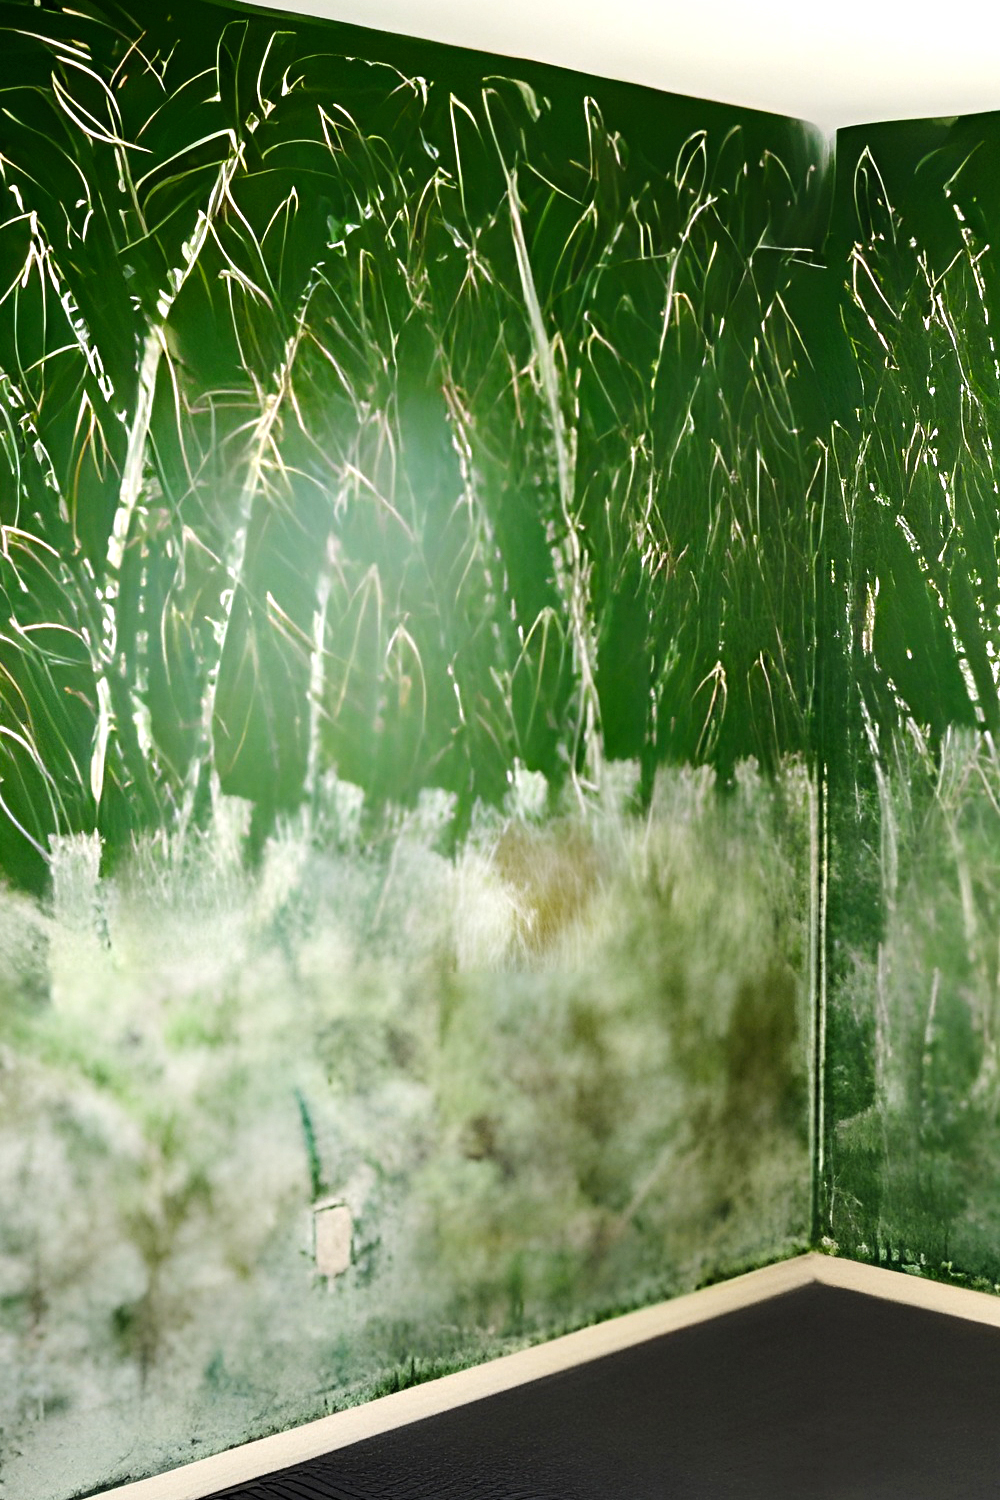
Sponge painting and stenciling are two paint techniques that can add texture and patterns to your walls without much fuss. Sponge painting involves dabbing a sponge onto the wall to create a textured look. It’s great for adding depth and interest to your space. On the other hand, stenciling uses cut-out designs to apply patterns to the wall. It’s perfect for adding detailed designs or motifs.
For beginners, here’s a quick guide. Start with sponge painting by choosing two paint colors that complement each other—one for the base coat and another for the sponge application. Apply the base coat and let it dry completely. Then, lightly dip your sponge into the second color and dab off any excess before gently pressing it onto the wall. With stenciling, secure your stencil onto the wall with painter’s tape. Use a small brush or roller to apply paint over the stencil, then carefully remove it to reveal the design. Practice on cardboard first to get the hang of it!
8. Wall-mounted Planters
Wall-mounted planters bring the beauty of nature indoors and add a fresh, lively vibe to your home. They’re not just decorative; indoor plants can also purify the air and boost your mood. When choosing plants, look for varieties that thrive indoors, like succulents, ferns, or pothos. These plants are low-maintenance and can adapt well to indoor conditions.
Installing wall-mounted planters is straightforward. First, choose a spot that gets adequate light for your chosen plants. Then, use a drill or strong adhesive hooks (depending on the planter’s weight and wall type) to hang your planters securely. Arrange them in patterns or clusters to create a green focal point in your room. Remember, the key is to enjoy bringing the outdoors in.
9. Chalkboard Paint
Chalkboard paint is both functional and fun, turning any wall into a writable surface. It’s perfect for kitchen grocery lists, children’s playrooms, or even as a creative space in your home office. To apply chalkboard paint, start with a smooth, clean wall. Apply a primer if you’re working with a dark or uneven surface. Then, using a roller, apply the chalkboard paint in even coats, letting it dry thoroughly between them. Usually, two coats are enough, but follow the manufacturer’s instructions for the best results.
Once your chalkboard wall is ready, season it by rubbing the side of a piece of chalk over the entire surface and then erasing it. This step ensures your first writings don’t leave permanent marks. Now, you’re set to draw, write, and erase as you please. This dynamic surface can evolve with your ideas and needs, making it a versatile addition to any room.
10. DIY Art
Creating your own art is a powerful way to express yourself and add a personal touch to your home. It’s not about perfection but enjoying the process and making something uniquely yours. Start with simple projects, like abstract canvas painting. Grab some acrylic paints and a canvas, and let your imagination take the lead. Use brushes, sponges, or even your fingers to apply paint in whatever patterns or strokes feel right.
Another fun project is creating a photo collage. Gather your favorite photos, arrange them on a large piece of paper or board, and secure them with glue or mod podge. Not only is this a great way to showcase memories, but it also makes for a meaningful piece of art. The key is to have fun and experiment. Your creations will add personality and warmth to your home, making it your own.

