
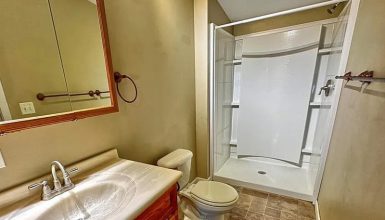
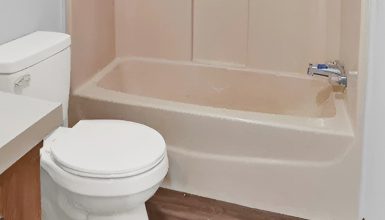
Are you ready to transform your mobile home bathroom from outdated to modern and functional? One of the best ways to do this is by replacing your old bathtub with a sleek and stylish shower pan. Not only does a shower pan save space, but it also provides a more accessible and safer option for those with mobility issues. You can easily find the perfect shower pan with many designs and sizes to fit your unique bathroom layout. In this step-by-step guide, we’ll show you how to replace your old bathtub with a new shower pan and create the bathroom of your dreams. So, let’s get started!
Tools
You’ll need a power drill (preferably cordless), drill bits, a caulking gun, silicone bath caulk, a tape measure, framing square, carpenter’s level, Phillips and flathead screwdrivers, a hammer, adjustable pliers, screws and washers, wooden shims, and masking tape.
Preparing for Installation
Before installing your new shower pan, you’ll need time to prepare the area. Here’s what you need to do:
- Measuring
First, you need to measure the space where your bathtub used to be. Measure all the walls that will touch the sides of the shower pan and write down these dimensions. You’ll need them when you purchase your new shower pan.
Next, you’ll want to select a shower pan that fits your bathroom and your style. Mobile home shower pans are typically acrylic, ABS, or fiberglass. However, you’ll still have a range of designs and sizes. Whether you’re looking for a standard 32″ x 32″ shower pan or a larger 54″ x 42″ one, you’ll find plenty of options.
- Removing the Old Bathtub
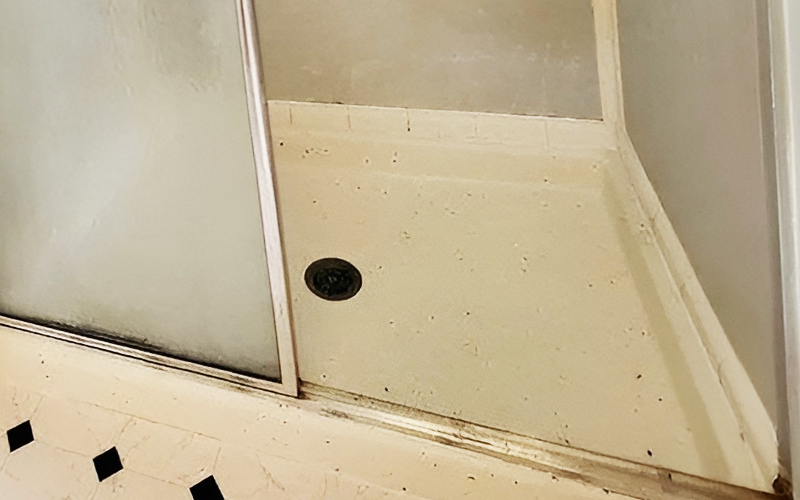
Once you have your new shower pan, it’s time to remove the old bathtub. It can be messy and time-consuming, so be prepared to add some elbow grease. Start by clearing out any items and disconnecting the plumbing. Then, carefully remove the bathtub from the surrounding walls using a pry bar and hammer.
After the bathtub is out, preparing the area for the new shower pan is essential. It means removing any dirt, broken debris, and old glue. You can use a broom or vacuum to clean up the area and a putty knife to scrape off the old putty and caulk.
- Applying a Water Sealer
Once the area is cleaned up, applying a layer of water sealer to where the shower pan will go is a good idea. It helps prevent moisture from seeping through the floor and causing long-term damage. Follow the manufacturer’s instructions and let the sealer dry completely before moving on to the next step.
Dry Run and Test Fit
Now that you’ve prepared the installation site, it’s time to do a dry run of the installation and test-fit the shower pan. This step is vital to ensure that everything fits appropriately. You must address no issues before permanently installing the shower pan.
- Testing the Shower Pan
Start by placing the shower pan where you will install it. It’s important not to install it permanently, as this is just a test run. Check to ensure that the shower pan fits correctly and that there are no issues with the placement.
- Adjusting the Placement
If the shower pan doesn’t fit quite right, you may need to make some adjustments. It’s important not to force the shower pan into place, as this can cause damage to the pan and the surrounding walls. Instead, try adjusting the placement or using wooden shims to level the pan.
- Checking for Standing Water
Before moving on to the next step, ensure no standing water is in the area. If any water goes under the shower pan, it can cause problems with mold and mildew and cause your caulk to seal around the edges improperly.
- Testing for Proper Fit and Alignment
Once the shower pan is in the right place and there’s no standing water, test it for proper fit and alignment. You don’t want the shower pan to be too loose, as this can cause leaks, but you also don’t want it to be too tight, which can stress and buckle the pan over time.
If everything looks good and the shower pan fits appropriately, you can proceed to installation.
Step-by-Step Installing a Shower Pan
Now that you’ve done a dry run and test fit of the shower pan, it’s time to install it permanently. Follow these steps to ensure a successful installation:
Step 1: Attaching the Drain
The first step is to attach the drain to the existing plumbing. Ensure to line up the drain cutout with the plumbing underneath and follow the manufacturer’s instructions for coupling the drain. There are various types of couplings, so refer to your specific shower pan’s instructions.
Step 2: Level the Shower Pan
Next, use a carpenter’s level and wooden shims to ensure the shower pan is level. The pan should always remain in contact with the base, and you should only need a small amount of shimming. Be careful not to add too much shimming, which can cause the pan to “float” above the base.
Step 3: Securing the Shower Pan
Once the pan is level, mark the edges on the studs in case it slips. Then, use screws or nails to secure the lip of the shower pan to the shower studs. Make sure to drill pilot holes in the lip before driving the screws or nails through them. Be careful not to over-tighten the screws, which can cause cracks in the shower pan.
Step 4: Sealing the Shower Pan
The final step is to seal the shower pan with silicone bath caulk. Apply a skinny layer of caulk where the lip contacts the studs, making sure not to let it ooze out from under the lip. Then, run a bead of caulk along the edge of the mobile home shower pan where it meets the floor.
Step 5: Checking the Seals for Leaks
Once the caulk is dry, check every seal and look for leaks. If you find any leaks, make any necessary repairs. It’s essential to check for leaks before using the shower to prevent water damage.
Conclusion
Congratulations, you’ve successfully replaced your mobile home bathtub with a sleek and stylish shower pan! Following these step-by-step instructions, you’ve created a more accessible and functional bathroom that you’ll love for years. Remember, taking the time to measure, prepare, and install your shower pan properly is crucial for a successful outcome.


