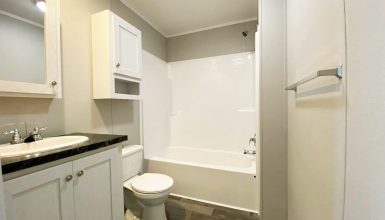
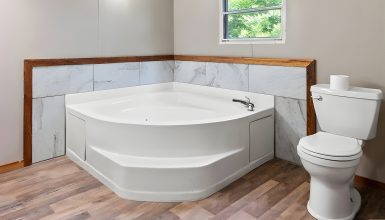
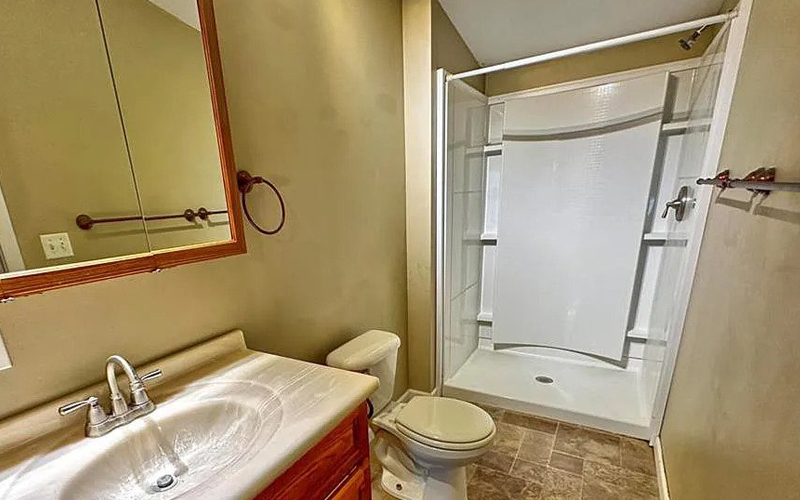
Ready for a fabulous bathroom makeover? Imagine stepping into a sleek, modern walk-in shower instead of climbing over that old, bulky garden tub. Sounds impressive, right? Upgrading your mobile home bathroom is stylish and can increase your space’s value. In this step-by-step guide, we’ll show you how to swap your garden tub for a walk-in shower that’s both functional and fabulous.
Step 1: Assessing Your Current Bathroom Layout
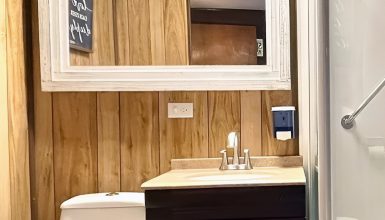
Before we start turning your bathroom into a stunning sanctuary, let’s take a good look at your current layout. Assessing your space ensures your new walk-in shower fits like a glove and functions like a dream. So, grab a tape measure, a notepad, and a pen, and let’s get to work!
- Measure the area
First, measure the area where your garden tub sits. Jot down the dimensions, including length, width, and height. It will help you determine the size of the walk-in shower you can install. Remember that although walk-in showers are space savers, you’ll still need enough room to move around comfortably.
- Plumbing situation
Next, scope out your plumbing situation. Locate the water supply lines and drain pipes for your current tub. It will give you an idea of any adjustments you might need to make when installing your walk-in shower. If you’re not super confident in your plumbing skills, don’t worry! A professional plumber can lend a hand when needed.
- Electrical system
While you’re at it, check out your bathroom’s electrical system. Are any outlets, switches, or wiring close to the tub area? Note these, as you may need to relocate them for safety reasons. Again, if you’re not an electrical whiz, call in a pro to help.
Finally, consider your accessibility needs. Do you require grab bars, a shower seat, or a lower showerhead? These features will make your walk-in shower beautiful and tailored to your needs.
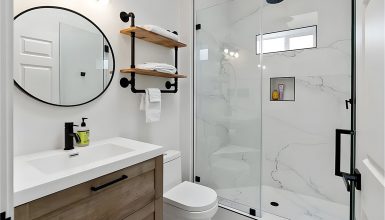
Step 2: Planning and Designing Your New Walk-In Shower
Alright, now comes the fun part! With your bathroom layout all figured out, and it’s time to unleash your inner designer and plan your dream walk-in shower.
- Shower base
First things first, the shower base. It is the foundation of your walk-in shower, so it’s crucial to pick the right one. Consider the size and shape that will work best for your space. Popular options include square, rectangular, and neo-angle bases. Materials matter, too. Acrylic and fiberglass are lightweight and affordable, while tile and stone offer a high-end look.
- Shower enclosure
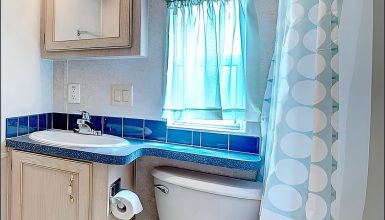
Next up: the shower enclosure. It is what keeps water contained in your shower area. Glass panels are a sleek and modern choice that lets light flow freely, making your bathroom look more spacious. Shower curtains offer a budget-friendly and easily customizable option. Whichever you choose, make sure it complements your overall design.
- Showerheads and fixtures
Now let’s talk showerheads and fixtures. You’ll want something that looks fantastic and functions flawlessly. Rainfall showerheads provide a luxurious, spa-like experience, while handheld showerheads offer flexibility and convenience. Don’t forget to pick matching fixtures for a cohesive look.
Last but not least, consider accessibility and safety features. Grab bars provide extra support and stability, while non-slip surfaces prevent slips and fall. A bench seat can be an excellent addition for comfort and convenience.
Step 3: Preparing for the Garden Tub Removal
Alright, DIY superstar, it’s time to roll up your sleeves and get ready for the big garden tub removal! But first, we need to prep the area and gather our trusty tools. Don’t worry; we’ve got your back with all the details you need to make this process smooth and stress-free.
- Tools and materials
Start by assembling the tools and materials you’ll need. A few must-haves include a utility knife, screwdriver, wrench, pry bar, and a bucket or container to catch water. It’s always better to have everything within reach before diving in.
- Turn off the water supply.
Next, safety first! Turn off the water supply to your bathroom, usually found under the sink or behind an access panel. Shutting off the electricity is also crucial, especially if you have outlets or switches near the tub. Better safe than sorry, right?
- Remove fixtures and hardware.
Now it’s time to remove fixtures and hardware. Unscrew or unfasten any faucets, handles, and spouts connected to your garden tub. Keep a container handy to store these pieces so they don’t go missing in the chaos.
Last but not least, disconnect the plumbing connections. It may involve loosening and removing the drain and overflow pipes. Be prepared for some water to spill, so have a bucket or towel ready to catch any drips.
Step 4: Removing the Garden Tub
Alright, it’s showtime! With everything prepped and ready, let’s remove that garden tub to make way for your stunning new walk-in shower. Grab your tools, take a deep breath, and let’s get to work!
First, you’ll want to cut and remove any caulk or sealant around the edges of your tub. Using a utility knife, carefully slice through the caulk where the tub meets the floor and walls. It will help release the tub from its snug position.
Now, it’s time for some teamwork. Garden tubs can be heavy and unwieldy, so grab a friend or family member to lend a helping hand. Together, lift the tub up and out of its spot. Be sure to communicate and move slowly to avoid injuries or damage to your bathroom.
Once the tub is out, take a moment to assess the subfloor underneath. If there is any damage, such as water stains or mold, now’s the perfect time to repair it. Patch up any holes or replace damaged sections to ensure a solid foundation for your walk-in shower.
And there you have it! Your garden tub is officially history, and you’re one step closer to enjoying the walk-in shower of your dreams.
Step 5: Installing the Walk-In Shower Base
Great job on removing the garden tub! Let’s start building your dream walk-in shower by installing the base. This part sets the stage for the rest of your shower construction, so let’s ensure it’s done right!
- Prepare the area
First, prepare the area where your shower base will sit. Make sure the subfloor is clean, level, and free of debris. If needed, you can lay down a layer of cement backer board to create a solid, moisture-resistant foundation for your shower base.
- Place the shower base.
Next, place the shower base in the designated spot. Take a step back and check if it fits perfectly within the space. Make adjustments to ensure the base sits snugly in its new home.
- Level and secure the base
Now it’s time to level and secure the base. Using a level, check that the shower base is even and make any necessary adjustments. Some shower bases have adjustable feet, while others may require shims to achieve the right balance. Once everything’s level, secure the base to the wall studs or floor with the appropriate screws or fasteners.
- Connect the shower drain.
With the base in place, let’s move on to the drain. Following the manufacturer’s instructions, connect the shower drain to the existing plumbing. Make sure everything is tightly sealed to prevent any leaks down the line.
There you have it – your walk-in shower base is all set! With this solid foundation, you can move on to the next steps.
Step 6: Installing the Shower Walls and Enclosure
With your shower base in place, it’s time to tackle the walls and enclosure. It is where your design vision truly comes to life, so let’s make it happen!
- Prep the walls
First, let’s prep those walls. Remove any old adhesive, caulk, or debris from the wall surfaces surrounding the shower base. If you’re working with drywall, replacing it with cement backer board for added moisture protection is a good idea.
- Attach wall panels
Now, let’s dress up those walls! If you’ve chosen wall panels, follow the manufacturer’s instructions to attach them securely to the walls. If you’re using tile, apply a layer of thin-set mortar and press the tiles into place, using spacers to maintain even gaps for grout. Don’t forget to let everything dry and set according to the recommended times.
- Seal the joints
Once your walls look fabulous, it’s time to seal the joints. Apply a waterproof sealant or caulk to the seams between the wall panels, tiles, and shower base. It will prevent water from sneaking behind the walls and causing damage.
- Shower enclosure
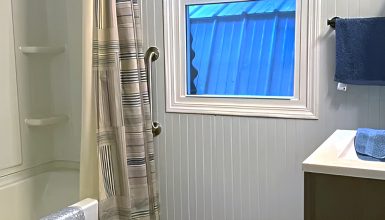
Alright, now for the grand finale: the shower enclosure! If you’ve opted for glass panels, follow the manufacturer’s instructions to install them securely. It might involve attaching brackets to the walls and floor, then sliding the glass panels into place. If you use a shower curtain, simply install a tension or wall-mounted curtain rod at the desired height.
And voilà! Your shower walls and enclosure are complete, and your walk-in shower is starting to take shape.
Step 7: Installing Shower Fixtures and Accessories
We’re in the home stretch now! With your walls and enclosure looking fabulous, it’s time to bring your walk-in shower to life with stylish fixtures and accessories. Let’s add those final touches and make your shower truly shine!
- Install the showerhead and faucet.
First up, let’s install the showerhead and faucet. If you’re working with existing plumbing, simply attach the new fixtures following the manufacturer’s instructions. Make sure everything is tightened securely to prevent leaks. If you need to modify the plumbing or run new lines, consider calling a professional plumber to ensure everything is done correctly.
- Add grab bars
Next, let’s add those handy grab bars. Grab bars provide extra support and safety, especially in a wet environment. Measure and mark your grab bars’ desired height and location. Then drill holes and secure them to the wall studs with the appropriate hardware. Double-check that they’re sturdy and can handle the weight.
- Shower accessories
Now, let’s bring in shower accessories. A shower caddy, soap dish, or built-in niche can help keep your bathing essentials organized and within reach. Follow the manufacturer’s instructions to install these items securely so they stay put even when wet.
- Shower curtain or door
Lastly, don’t forget the shower curtain or door (if you’re using one). Hang your shower curtain on the rod, or install the door following the manufacturer’s guidelines. This final touch will keep water contained and add a polished look to your new walk-in shower.
And that’s it! Your dream walk-in shower is complete, and your mobile home bathroom has been transformed into a stylish, modern sanctuary. So step into your new shower and enjoy the refreshing, spa-like experience you’ve created. You’ve earned it!
Costs
The cost of converting a garden tub to a walk-in shower in a mobile home can vary widely depending on several factors: the materials you choose, the complexity of the project, and whether you do it yourself or hire a professional. On average, you can expect to spend between $1,500 to $5,000 or more for this type of conversion.
Some factors that can impact the cost include:
- Shower base: Depending on the material, size, and style, shower bases can range from $100 to over $1,000.
- Wall materials: Wall panels, tiles, or other wall coverings can vary in price. Tiles can range from $2 to $20 or more per square foot, while acrylic or fiberglass wall panels can cost between $100 and $1,000, depending on the quality and design.
- Shower enclosure: Glass panels or doors can range from $300 to $1,500 or more, while a simple shower curtain and rod setup can cost under $100.
- Fixtures and accessories: Showerheads, faucets, grab bars, and other fixtures can range from budget-friendly options under $100 to high-end designs that cost several hundred dollars.
- Labor: If you hire a professional contractor or plumber, expect to pay for their labor, ranging from $50 to $100 per hour or more.
- Additional costs: Depending on the condition of your bathroom and the scope of the project, you may need to account for the costs of repairing or upgrading plumbing, electrical work, or subfloor repairs.
Keep in mind that these are just rough estimates, and actual costs can vary based on your location, the specific materials you choose, and other factors.
Conclusion
And there you have it – a complete step-by-step guide to transforming your mobile home bathroom by replacing your garden tub with a stunning walk-in shower. You’ve put in the hard work, unleashed your creativity, and upgraded your bathroom into a luxurious sanctuary that’s stylish but also functional and accessible.