
So, you’re thinking about adding a bathroom to your mobile home? Good call! A mobile home can be a fantastic living option, but it’s no secret that it can come with certain limitations. Whether you’ve recently moved in or been living in your mobile home for a while, adding a bathroom can make a difference in comfort, convenience, and value.
Or maybe you’ve been dreaming of adding a second bathroom but aren’t sure where to start? Don’t worry. We’ve got you covered! In this step-by-step guide, we’ll walk you through everything you need to know to add a bathroom to your mobile home, from planning and preparation to the final finishing touches.
Step 1: Obtain the necessary permits
Before adding a bathroom to your mobile home, getting the proper permits is essential. These permits are issued by your local government and ensure that your project meets safety and building codes.
Permits vary depending on your location, so you’ll need to contact your local building department to find out what permits you’ll need. This department will also be able to provide you with information on any zoning restrictions or building codes that you’ll need to follow.
Obtaining the necessary permits might involve paperwork, but ensuring everything is legal and above board is essential. If you skip this step, you might run into problems when you try to sell your home or get it inspected.
Getting permits might also require a fee, but this is a small price to pay to ensure that your project is safe and up to code. You’ll also want to make sure that you have any necessary inspections done before you start using your new bathroom.
So, before adding a bathroom to your mobile home, ensure you get the proper permits. This will help ensure your project is legal, safe, and up to code.
Step 2: Choose a location
Choosing the right location is crucial when adding a bathroom to your mobile home. You want to ensure that the bath is in a convenient location and that it won’t require a lot of costly modifications to your home’s plumbing and electrical systems.
The location you choose will depend on a few factors, such as the existing layout of your home and your personal preferences. Some people choose to add a bathroom near the primary bedroom for convenience. While others opt for a bathroom closer to the main living area.
When choosing a location, you’ll also want to consider your home’s existing plumbing and electrical connections. The closer your new bathroom is to these connections, the easier and less expensive it will be to install the necessary pipes and wiring.
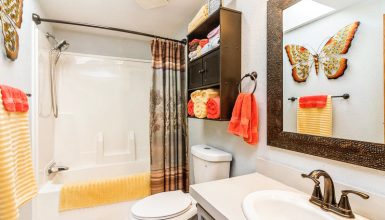
Step 3: Plan the layout
Once you’ve decided on the location for your new bathroom, it’s time to plan the layout. This will involve determining what fixtures you want in the bathroom and how they will be arranged.
Start by measuring the space where you plan to put the bathroom. This will help you determine what size fixtures will fit comfortably and leave enough room for movement. Consider what features you want in the bathroom, such as a sink, toilet, shower, or bathtub. If you have limited space, you might have to prioritize which fixtures are most important to you.
When planning the layout, it’s crucial to consider aesthetics and functionality. You want the bathroom to look good, but you also want it to be easy to use and practical. Ensure the fixtures are arranged in a way that makes sense and is easy to navigate.
Step 4: Prepare the site
Now that you have a plan for your new bathroom, it’s time to prepare the site where it will be located. This involves clearing out the space and making any necessary modifications to the existing structure.
Start by removing any furniture or fixtures that are in the way. You might need to remove a wall or part of a wall to create the space you need for your new bathroom.
If you need to cut into the walls or floors to install plumbing or electrical connections, take proper precautions to avoid damaging any existing wiring or pipes. This could cause severe damage to your home and be expensive to repair.
Once the site is cleared and any necessary modifications are made, you’re ready to move on to the installation phase of the project. This will involve running new plumbing and electrical lines to the location of the new bathroom and installing the fixtures.
Step 4: Install plumbing and electrical
Installing the plumbing and electrical connections for your new bathroom is an essential step in the process. This will involve running new pipes and wires to the location of the new bathroom and connecting them to the existing systems in your mobile home.
When installing the plumbing, you must determine the best route for the pipes and ensure they are correctly sized and installed. You’ll also need to ensure that the lines are properly connected to the existing plumbing system in your home.
The electrical connections must also be installed properly to ensure safety and compliance with building codes. You’ll need to run new wiring to the new bathroom’s location and ensure it’s properly grounded and connected to the existing electrical system in your home.
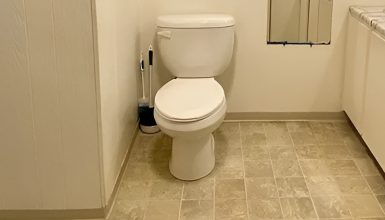
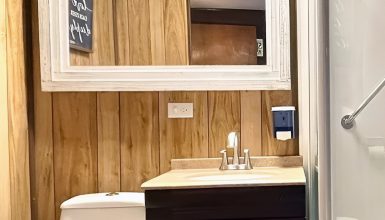
Step 6: Install the fixtures
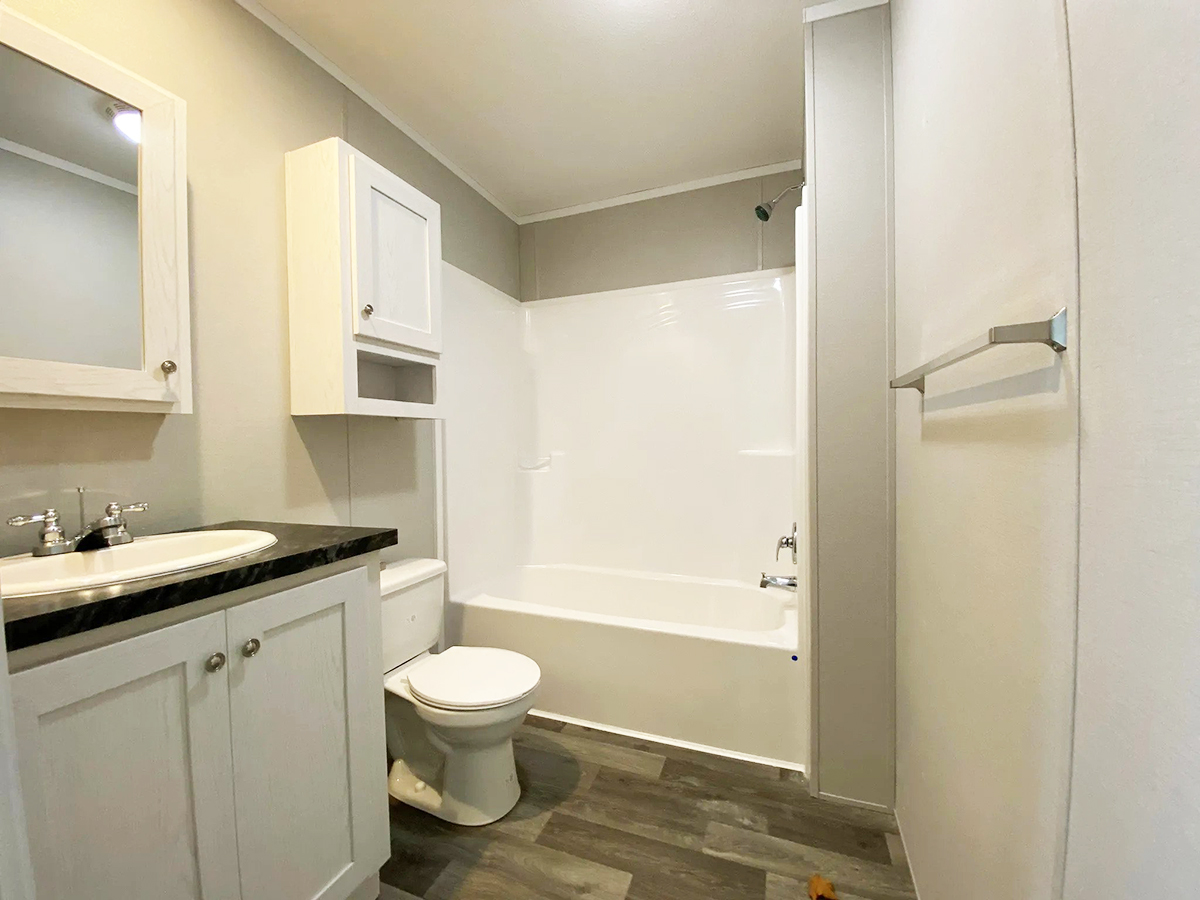
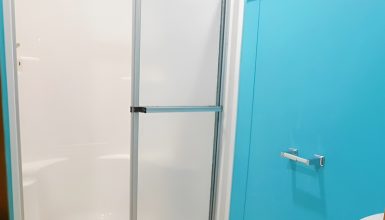
Once the plumbing and electrical connections are installed, it’s time to install the fixtures for your new bathroom. This will involve putting a sink, toilet, shower, or bathtub, depending on the layout and design of your new bathroom.
The first step is to install the shower or bathtub. You’ll need to follow the manufacturer’s instructions, which typically involve assembling the shower or bathtub unit, attaching the drain and overflow, and connecting the hot and cold water supply lines. Ensuring it is level and properly secured to the framing is essential.
Next, it’s time to install the toilet. This process involves assembling the tank and bowl, installing the wax ring, and attaching the tank and bowl to the floor with bolts. Use a level to ensure the toilet is straight and properly sealed to the waste pipe.
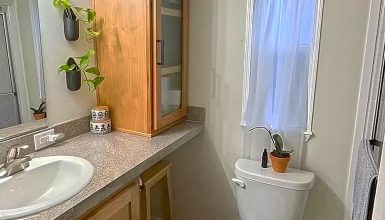
The sink installation is typically the last fixture to be installed. This process involves attaching the sink to the countertop or vanity, installing the faucet and drain, and connecting the hot and cold water supply lines. Check for leaks and adjust the sink to ensure it is level. Once installed, you’ll have a functional sink that provides a convenient place to wash your hands and brush your teeth.
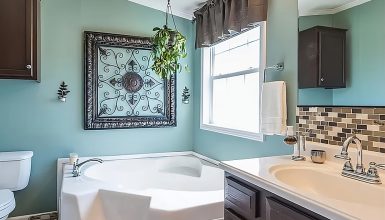
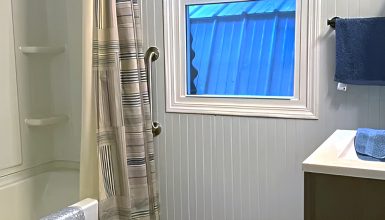
Step 7: Finish the walls and floor
Now that the fixtures are installed, it’s time to finish the walls and floor of your new bathroom. This will involve installing drywall or other wall coverings and flooring suitable for bathroom use.
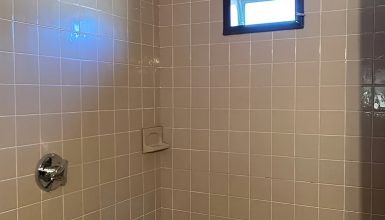
When choosing materials for the walls, consider factors such as moisture resistance, durability, and aesthetics. You might decide to install tiles, beadboard, or another type of wall covering designed for use in a bathroom. Ensure the wall covering is installed correctly and sealed around the edges to prevent moisture from falling behind the walls.
For flooring, choose a slip-resistant material suitable for use in a bathroom. Ceramic tiles, vinyl flooring, and laminate flooring are all popular choices. Ensure the flooring is installed correctly and sealed to prevent moisture from falling under the floor.
You might consider adding finishing touches such as paint, trim, or accessories when finishing the walls and floor. Choose colors and materials that complement the overall design of your new bathroom and make it feel cohesive.
Step 8: Test everything
The final step in adding a bathroom to your mobile home is to test everything to ensure it functions properly. This includes checking leaks, testing electrical connections, and ensuring all fixtures work correctly.
To test for leaks:
- Turn on the water and check all pipes and connections for any signs of moisture.
- Check around the toilet base, under the sink, and around the shower or bathtub.
- If you notice any leaks, turn off the water and address the problem before using the bathroom.
To test electrical connections, turn on all lights and outlets in the bathroom and make sure they’re working correctly.
Finally, test all fixtures to make sure they’re working properly. Check that the toilet flushes correctly, the sink drains properly, and the shower or bathtub has good water pressure and temperature control.
