
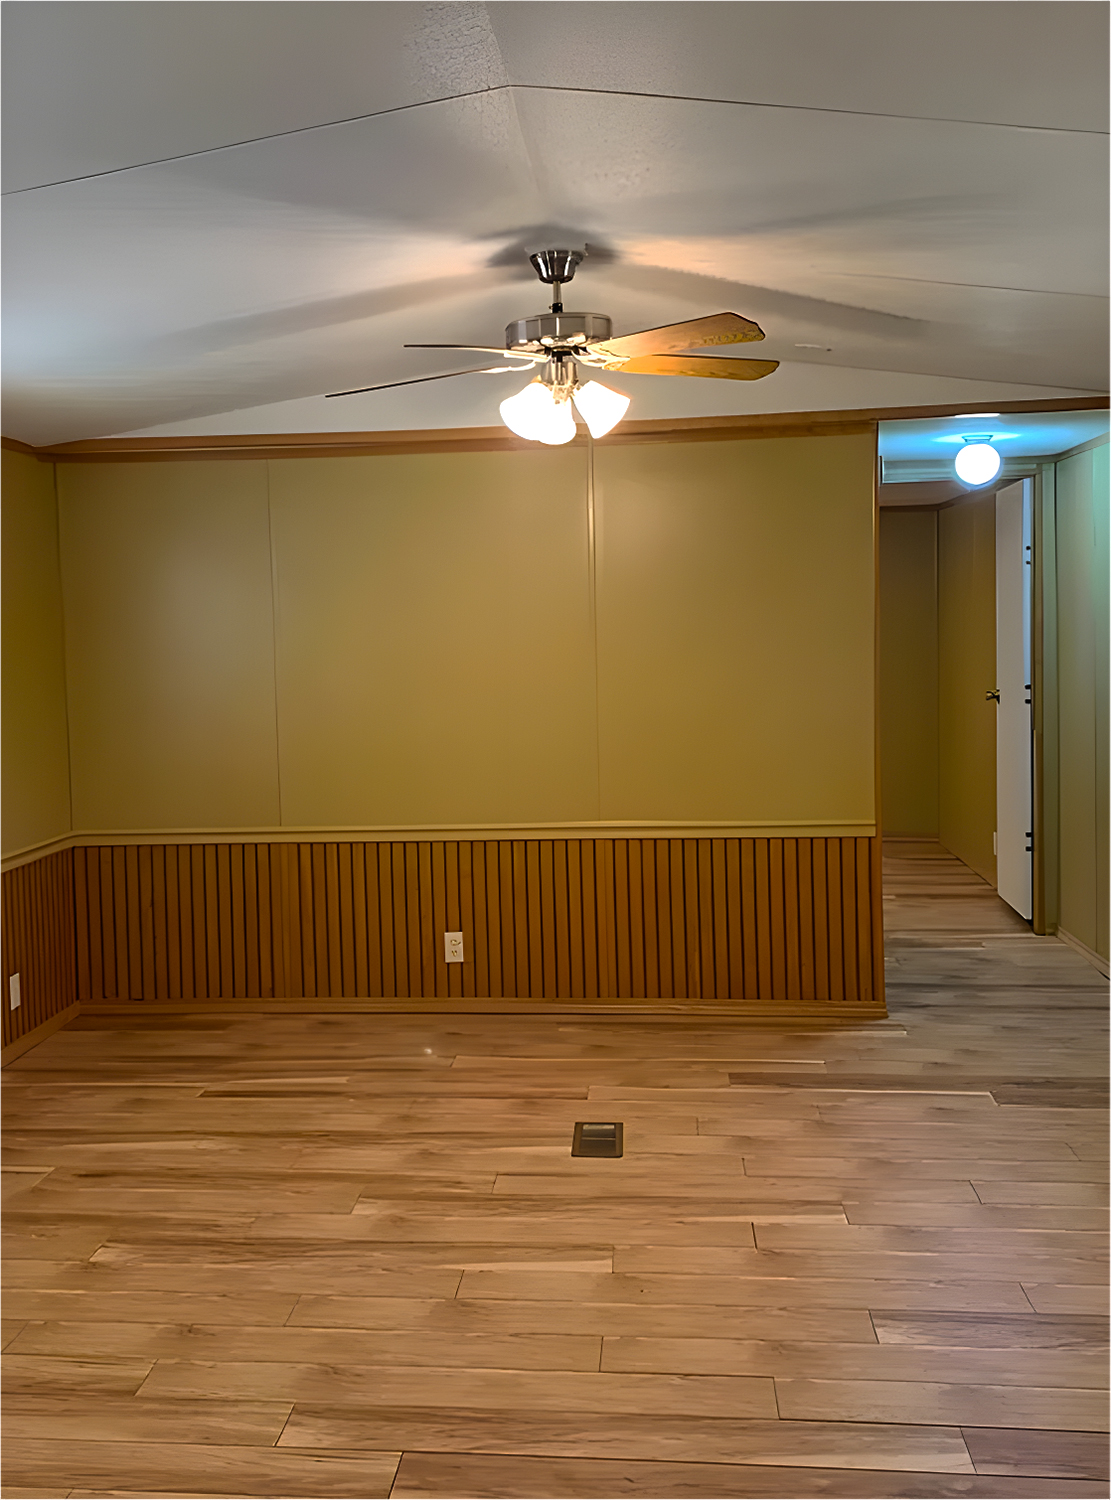
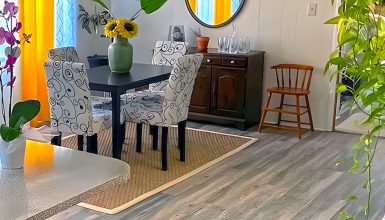
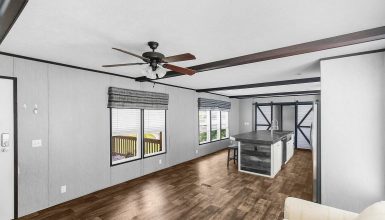
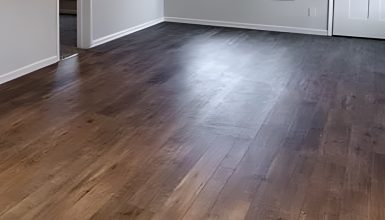
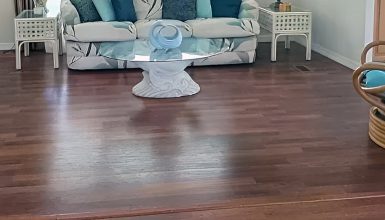
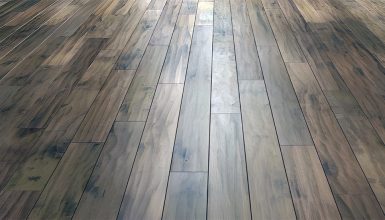
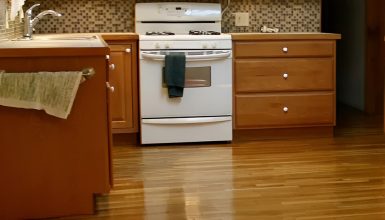
Are you thinking about giving your mobile home a fresh, new look? Hardwood floors might be just what you need. They add warmth, elegance, and a touch of nature. Not just that, hardwood floors can also boost your home’s value.
But installing hardwood floors in a mobile home is a bit different. It’s not just about picking the prettiest wood. You’ve got to think about your home’s unique needs. Mobile homes move a bit. They also react to weather changes differently than traditional homes. This means you need floors that can take these changes in stride. This article will show you how to choose the best wood, prepare for the job, and lay those floors down like a pro. Ready to transform your space? Let’s dive in!
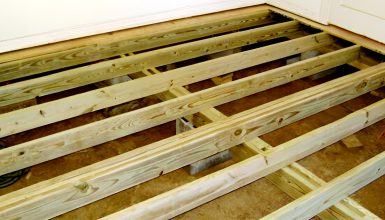
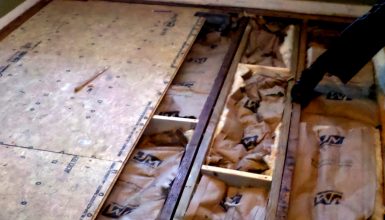
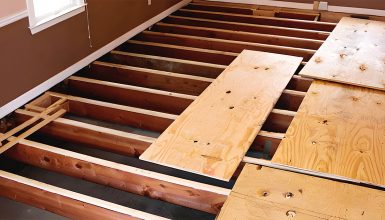
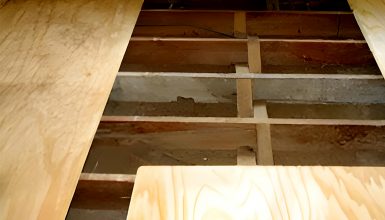
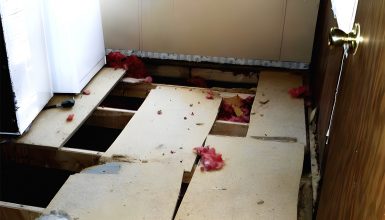
1. Assess the Subfloor
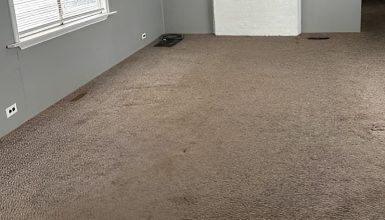
The first step in replacing mobile home flooring is checking the subfloor. Think of it as the foundation for your new hardwood floors. It’s crucial that this base is solid, flat, and dry. Why does this matter? Well, an uneven or damaged subfloor can lead to problems with your new floor. It can cause creaks, cracks, or even make the wood warp over time. So, take a good look. If you spot any issues, like rot or big cracks, fix these first. It’s all about creating the perfect base for your beautiful new floors.
2. Choose the Right Wood
Next up, pick the right hardwood. Mobile homes are a bit different from traditional houses. They can see more shifts in temperature and might have more movement. So, you need a wood type that can handle this. Engineered hardwood is a fantastic choice. It’s made with layers that give it strength and make it less likely to change shape with temperature swings. Plus, it looks just as gorgeous as traditional hardwood. You get a stylish and tough floor for mobile home life.
3. Acclimate the Wood
Now, don’t rush to lay down those planks just yet! Hardwood needs to get used to your home first. This process is called acclimation. Simply, it means letting the wood sit in the room where you’ll install it for a few days. This step is super important. It lets the wood adjust to the temperature and humidity in your home. Skipping this could lead to trouble later, like gaps between the planks or even warping. So, patience is key. Let the wood chill for a bit, and it will thank you with a smoother, more stable installation.
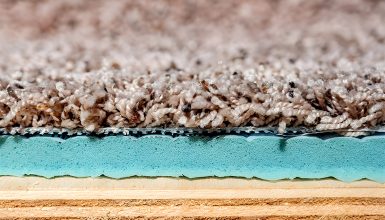
4. Proper Underlayment
Underlayment is a bit like a secret superhero for your floors. It’s a layer you put under your hardwood and does some essential things. First, it acts like a shield against moisture. This is a big deal because too much dampness can ruin your lovely hardwood. Next, it helps keep things quiet. That means less noise when you walk around. It’s also about comfort. With good underlayment, your floors feel softer underfoot. So, don’t skip this step. A good underlayment means your floors look better, last longer, and feel great.
5. Leave Expansion Gaps
Wood is a natural material, so it likes to move a bit. It expands when it’s warm and humid and shrinks when it’s cool and dry. That’s why leaving small gaps around the edges of your room is super smart. These gaps give the wood room to do its thing without causing trouble. The wood might push against itself and buckle if you don’t leave these gaps. That’s when your floor starts to look wavy and uneven. Just a little space – about the width of a nickel – can keep your floors looking smooth and flat.
6. Stagger the Planks
Staggering the planks is all about making your floor solid and pretty. When you lay the planks, don’t line up the seams. Instead, mix them up. This does two things. First, it makes your floor look more natural. It’s like a pattern that’s easy on the eyes. Second, it makes the floor more stable. When the seams aren’t lined up, it helps hold everything in place better. Think of it like building a brick wall. The staggered pattern is key for strength. It’s a simple trick, but it dramatically affects how your floor looks and lasts.
7. Secure the Planks
Getting your planks fixed in place is critical. You’ve got a few ways to do this; the best method depends on the hardwood you choose. Some floors need nailing down. It’s a sturdy way to keep things in place. Others use glue. It’s neat and does a great job, especially on concrete subfloors. Then there’s the click-together kind. These don’t need nails or glue. They just snap together and ‘float’ over the subfloor. Whatever type you’ve got, make sure to follow what the manufacturer says. They know their stuff, which will help you avoid installation oopsies.
8. Trim and Thresholds
Now, for the cherry on top! Trims and thresholds give your floor a polished, complete look. Trims go around the edges of your room. They cover those expansion gaps we talked about and make everything look neat. Thresholds are the strips where your hardwood meets other types of flooring. They create a smooth transition, so there’s no awkward bump or gap. It’s like framing a picture. It just looks better when it’s done right.
9. Seal and Protect
Think of sealant as an invisible shield for your floors. If the manufacturer recommends it, definitely use it. It protects your wood from moisture, which is a big enemy of hardwood. It also helps guard against everyday wear and tear. This step can help your floors look new for longer. It’s like putting sunscreen on. You might not see it, but it’s working hard to keep things safe.
10. Regular Maintenance
Last but not least, let’s keep those floors looking fabulous. Regular cleaning is the way to go. But be gentle. Avoid using too much water – hardwood doesn’t like to get soaked. And steer clear of harsh cleaners. They can strip away finishes and damage the wood. A soft mop and a gentle, wood-friendly cleaner will do the trick. A little care goes a long way in keeping your floors gorgeous for years.