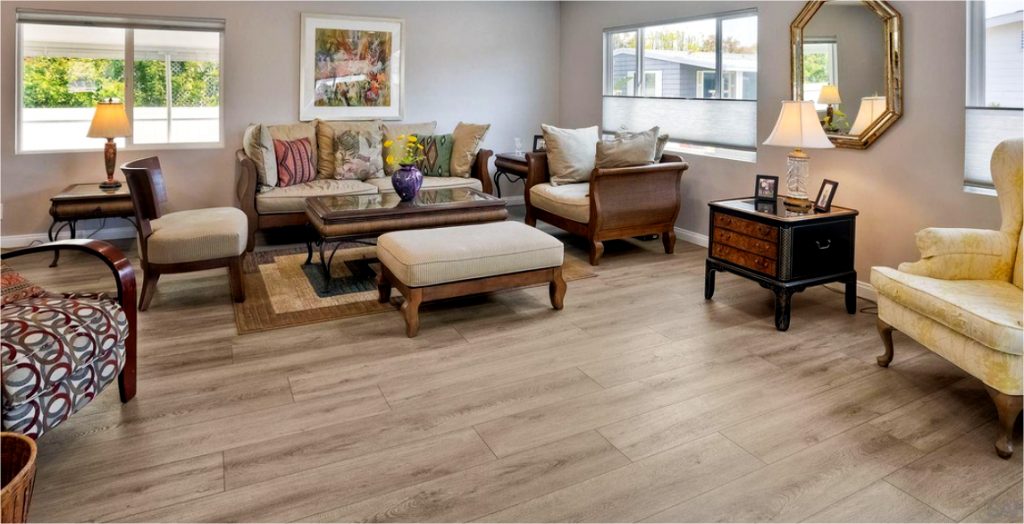
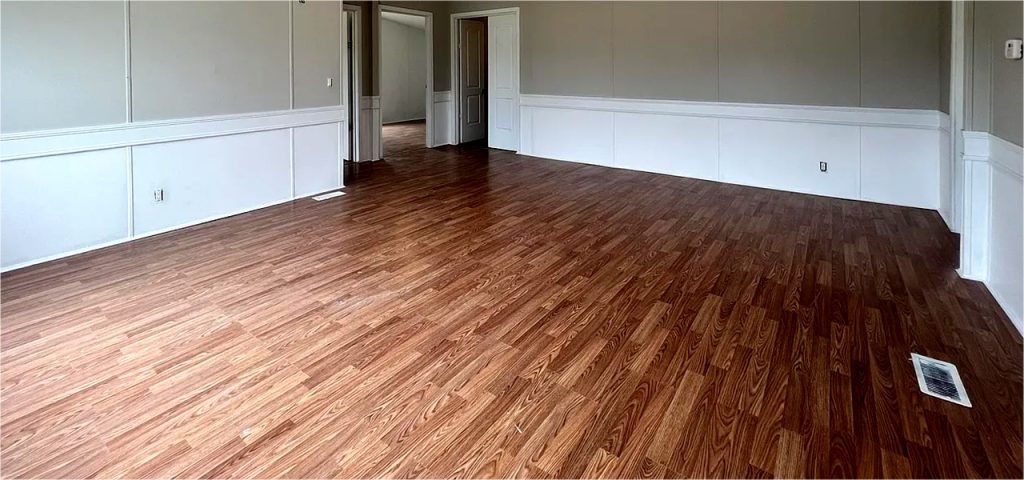
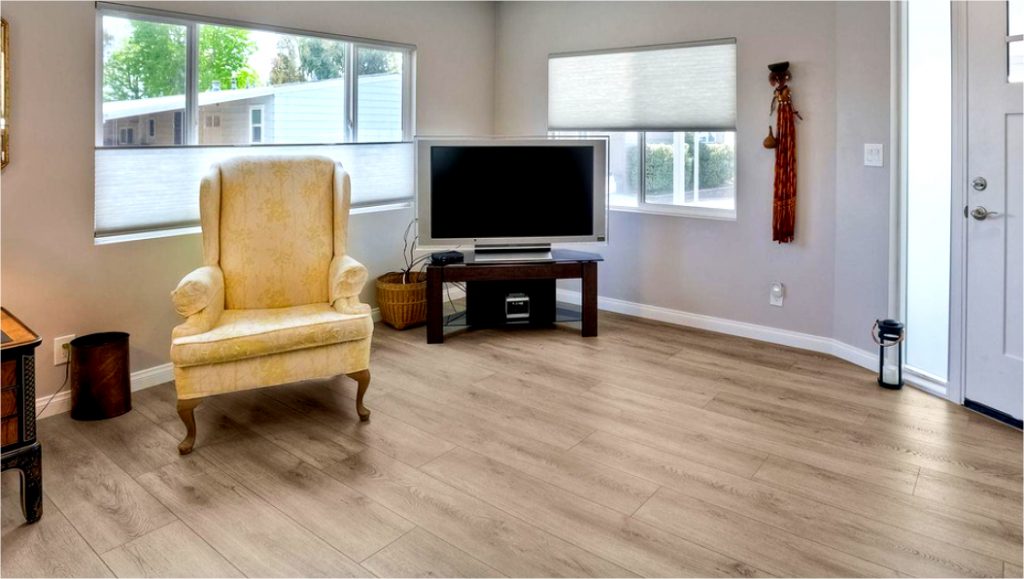
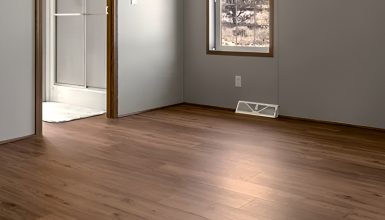
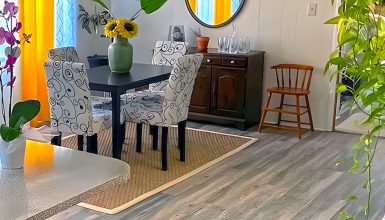
The right floor can make your home feel cozy, inviting, and spacious. And when it comes to mobile homes, every little detail matters. So, why not make a choice that delivers both style and functionality? That’s where laminate flooring struts into the spotlight.
Are you ready to explore how laminate flooring can turn your mobile home from ordinary to ‘Oh wow’? Stick with us. We’re diving into the ins and outs, the benefits, and even the how-tos of laminate flooring for your mobile home.
What Is Laminate Flooring?
Let’s break it down. Laminate flooring is a bit of a marvel. You know those multi-talented folks who can sing, dance, and act? Well, laminate flooring is the triple threat of the flooring world.
First, laminate flooring isn’t wood, even though it does a great impression of it. It’s made up of multiple layers. The top layer is a hard, clear piece that resists damage. Then comes the design layer, complete with high-resolution photos to mimic any style you like, from a chic farmhouse to a sleek city loft.
Underneath that is the core layer. It’s the unsung hero of laminate flooring. Made from high-density fiberboard, it provides stability and prevents moisture from sneaking in. And finally, at the bottom, there’s a backing layer that keeps everything balanced and fights against warping.
So, what does this all mean? Laminate flooring is like the chameleon of the flooring world. It can mimic the look of hardwood, stone, or even tile. Plus, it’s durable. Those layers we just talked about? They’re designed to resist wear and tear like a champ.
Reasons to Choose Laminate Flooring for Mobile Homes
You might wonder, “Why laminate flooring for my mobile home?” We get it; there are a lot of flooring options out there. But here’s the scoop on why laminate might just be your flooring soulmate.
- Adaptability
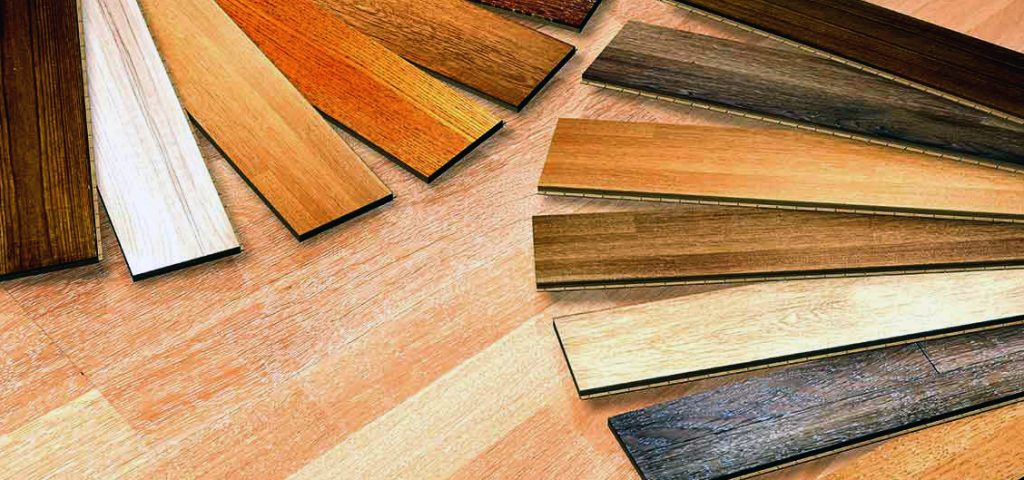
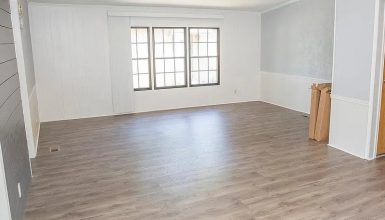
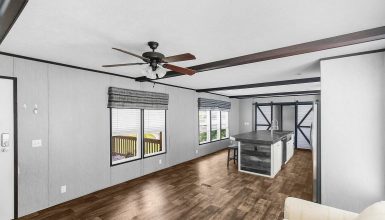
First off, let’s talk about adaptability. Your mobile home is unique, and laminate flooring is ready to match that. With its wide range of styles, you can choose from a rustic wood look, sleek stone, or even colorful tile designs. So no matter your vibe, laminate’s got you covered.
- Cost-effectiveness
Next, we’ve got to mention cost-effectiveness. Updating your home shouldn’t mean emptying your wallet. With laminate, you get a high-end look without the high-end price tag. It’s like scoring a designer dress at a fraction of the cost.
- Ease of installation
Thirdly, there’s the ease of installation. Laminate flooring is the DIY hero of the flooring world. It comes in easy-to-install planks that snap together like puzzle pieces. No need for any fancy tools or complicated instructions. Just you, your flooring, and a free afternoon.
- Durability
And, of course, we can’t forget durability. Laminate flooring can take a beating and still look fabulous. It’s resistant to scratches, dents, and even fading. So bring on the pets, kids, and dinner parties – laminate flooring can handle it all.
- Easy to clean
Finally, it’s about peace of mind. Laminate flooring is easy to clean and maintain. A quick sweep or mop, and you’re good to go. No special cleaners or intricate care routines are required. It’s low maintenance with a capital ‘L.’
So, there you have it. Laminate flooring isn’t just an option for your mobile home; it’s fantastic. It’s stylish, cost-effective, easy to install, durable, and oh-so-easy to care for. What’s not to love? Ready to dive deeper? Let’s keep going!
Types of Laminate Flooring
Okay, we’ve sung the praises of laminate flooring. But did you know there are different types of laminate flooring? Just like ice cream flavors, there’s something for everyone. Let’s dish out the details.
- Textured Laminate
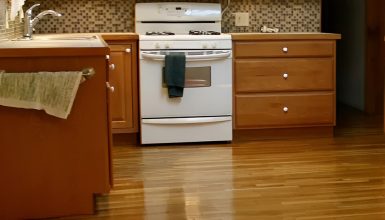
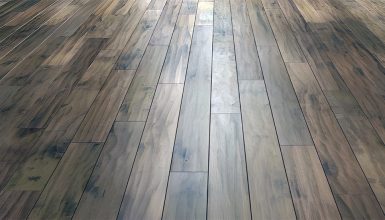
First up, we’ve got textured laminate. This beauty feels like natural wood underfoot. You’ll see knots, scrapes, and graining that mimic the natural allure of hardwood. Perfect for creating that cozy, rustic vibe in your mobile home.
- Smooth Laminate
Next in line is smooth laminate. As the name suggests, it’s soft to the touch, delivering a sleek, modern finish. It’s a bit like wearing a polished suit – it just adds that refined touch.
- Embossed Laminate
Ever heard of embossed laminate? This one is all about dimension and depth. The design layer is embossed to create a textured surface that follows the print below it. It’s a little like 3D for your floors.
- High-Gloss Laminate
Now, let’s talk about high-gloss laminate. This laminate flooring is shiny and reflects light, giving a vibrant, elegant look. Imagine a glossy magazine cover, but it’s your floor!
- Hand-Scraped Laminate
Last but certainly not least is hand-scraped laminate. It’s the rough-around-the-edges rebel of the laminate world. Its handcrafted look is perfect if you love a rustic, well-lived feel.
How To Choose The Right Laminate Flooring
Choosing the right laminate flooring for your mobile home is like selecting the perfect outfit. It must match your style, fit well, and be comfortable for everyday living. Here’s a step-by-step guide to making the ideal choice.
1. Determine Your Style
Start by asking yourself what vibe you’re going for. Is it rustic, modern, or something in between? Remember, laminate flooring comes in a wide variety of designs. Pick one that suits your taste and complements your decor.
2. Consider Your Lifestyle
Do you have kids or pets? Lots of foot traffic? Look for a durable, scratch-resistant laminate that can withstand heavy use. It’s like choosing jeans for a hiking trip – you want something tough and resilient.
3. Take Into Account Your Budget
Laminate flooring offers a wide range of prices. Figure out what you’re comfortable spending before you fall in love with an option that might stretch your wallet.
4. Check Out Samples
Like swatching lipstick, getting samples of your laminate flooring options is a good idea before you buy. How do they look in your mobile home? How do they feel underfoot? Take time to live with them and see which one feels like home.
5. Don’t Forget About Installation
Consider whether you’ll DIY or hire a pro. Some types of laminate may be easier to install than others. Go for what feels suitable for you.
How to Install Laminate Flooring in a Mobile Home
Installing laminate flooring is like a fun-sized home makeover project you can tackle over a weekend. But before you jump into the installation process, you’ll need to gather your tools and materials. Think of this as prepping your toolbox for a successful DIY project. Here’s what you’ll need:
- Laminate Flooring: Of course, you’ll need your laminate planks. Make sure to buy a bit extra to account for cuts and errors.
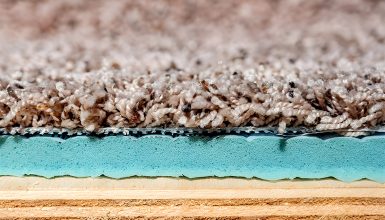
- Underlayment: This foam layer is like the comfy padding for your laminate floor. It helps with noise reduction and comfort.
- Tape Measure: To accurately measure your space and the planks.
- Saw: You’ll need a circular or miter saw to cut your laminate planks to the correct size.
- Rubber Mallet: This is handy for gently tapping your planks into place without damaging them.
- Pull Bar: This is used to pull planks together at the ends of rows where it’s harder to use the mallet.
- Spacers: These are used to maintain an expansion gap between your laminate and the wall. Laminate can expand and contract, so this gap helps prevent warping.
- Pencil: To mark where you need to cut your planks.
- Safety Gear: Don’t forget your safety glasses and gloves to protect yourself during the installation.
- Baseboards or Quarter-Round Molding: To finish off the edges of your room and hide any gaps.
Now, with these tools and materials ready, you can transform your mobile home’s flooring.
Step-by-Step Guide to Installing Laminate Flooring
Let’s walk through it together, step by step:
Step 1: Preparation
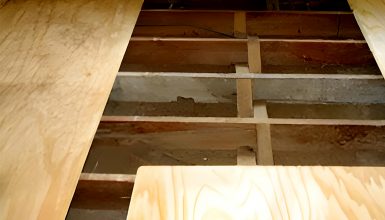
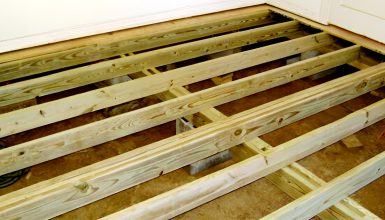
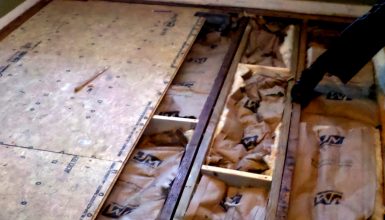
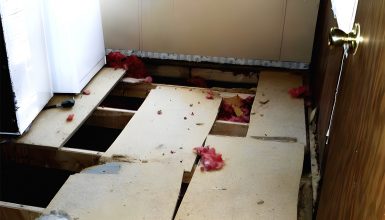
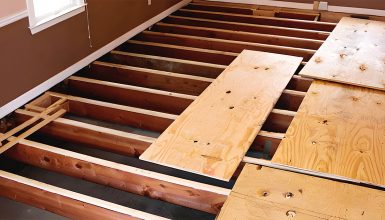
Clear out your space, remove old flooring, and clean the subfloor. Make sure it’s smooth, dry, and free of any debris. It’s a bit like creating a blank canvas for your new masterpiece.
Step 2: Acclimate your laminate
Next, you’ll want to acclimate your laminate. What’s this mean? Just open up the packages and let them sit in the room where they’ll be installed for about 48 hours. It helps the laminate adjust to the room’s temperature and humidity, preventing future warping. Consider it like a little ‘get to know your new home’ period for your flooring.
Step 3: Lay down your underlayment
This thin, foam-like layer acts as a cushion, reducing noise and helping your floor feel comfortable underfoot. It’s like the comfy insoles for your floors.
Step 4: Installing laminate planks
Time to get down to business and start installing your laminate planks. Starting in one corner of the room, begin snapping the pieces together. It’s a bit like assembling a jigsaw puzzle. Just keep going, row by row, until you’ve covered the entire floor.
Step 5: Finishing touches
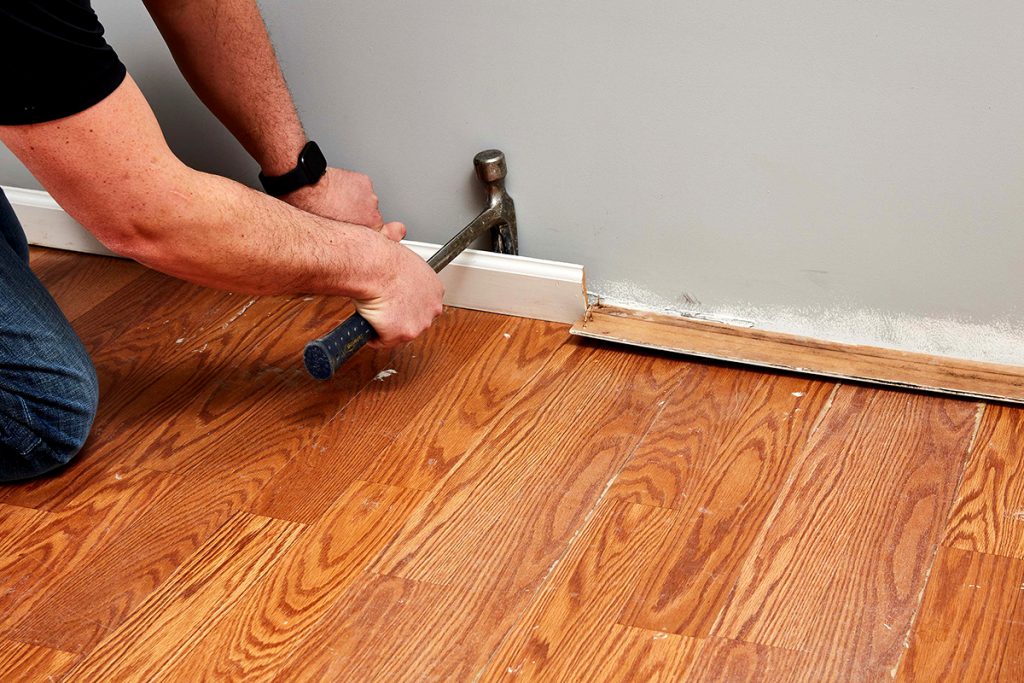
Lastly, add your finishing touches. It means installing baseboards or quarter-round molding around the edges to hide gaps. It’s like adding the icing to your DIY cake.
Common Mistakes to Avoid When Laying Laminate Flooring
Nobody’s perfect, and a few mistakes are bound to happen regarding DIY projects. But guess what? We can learn from those who’ve gone before us. Let’s discuss some common slip-ups folks make when laying laminate flooring in a mobile home and how you can sidestep these pitfalls.
1. Skimping on the prep work
We get it; you’re excited to get started. But take a beat and ensure your subfloor is clean, smooth, and level. Skipping this step is like trying to paint a masterpiece on a wrinkled canvas. Not ideal, right?
2. Forgetting about the acclimation period
Remember when we talked about letting your laminate flooring get to know its new home for about 48 hours? Don’t skip this step. It helps prevent warping and buckling down the line.
3. Ignoring expansion gaps
Laminate flooring needs a little room to breathe. Always leave an expansion gap between your laminate and the wall. No crammed-in spaces here, please.
4. Neglecting a moisture test
It is vital if you’re installing over concrete. Use a moisture meter to check the subfloor. Excess moisture can damage your laminate flooring over time.
5. Starting with damaged planks
Inspect each plank before installation. If it’s damaged or flawed, set it aside. It’s like picking out the perfect apple – why settle for one with a bruise?
6. Rushing the installation
Take time, follow the instructions, and ensure each plank is snugly connected. Remember, it’s not a race. You’re creating a space you’ll love for years to come.
7. Not planning your layout
Before you start, plan your layout. You want to avoid tiny pieces at the walls or narrow strips at the ends of rows. A little foresight can save you a headache later.
These common mistakes are avoidable with a bit of planning and patience. Remember, laying laminate flooring is like embarking on an exciting DIY adventure. Equip yourself with the proper knowledge, take your time, and you’ll navigate this journey like a pro.
Conclusion
We’ve journeyed together through the beautiful world of laminate flooring for mobile homes. From understanding the basics to tackling the installation process, you’re now armed with the knowledge you need to make an informed decision. Remember, choosing the right flooring is a bit like choosing the right pair of shoes. It has to match your style, fit well, and feel comfortable for everyday living.
FAQs
You’ll be pleased to know that laminate flooring is pretty tough. It can withstand scratches, dents, and even stains. It’s like your favorite superhero, ready to take on the day-to-day challenges of a busy mobile home.
Even superheroes have their kryptonite. For laminate, it’s water. While some types can handle a bit of moisture, extended exposure can cause damage. It’s also not as visually warm as natural wood and can be slippery when wet. However, its strengths—like durability and cost-effectiveness—often far outweigh these downsides.
Thickness matters when it comes to laminate. You’ll typically find options ranging from 6mm to 12mm thick. Thicker is generally better, providing more comfort underfoot and better sound insulation. Aim for at least 8mm thickness, if possible, for a solid feel and longevity.
Well, it depends on your current flooring. Laminate can go over some surfaces like vinyl, but not all. For example, carpeting needs to go. It’s like trying to run on sand – it doesn’t provide a stable enough surface.
Yes, indeed! Underlayment is a must-have. It’s like a good support system, offering a cushion for your flooring, reducing noise, and even providing a moisture barrier. Think of it as the best friend your laminate flooring never knew it needed.
Sweeping or vacuuming without a beater bar will free your laminate from dust and dirt. Use a damp mop and a cleaning solution made specifically for laminate for deeper cleaning. Avoid excessive water, and never use wax or polish. It’s all about the gentle touch.
Accidents happen! If a plank gets damaged, don’t worry. You can replace it without disturbing the rest of your floor. A little hiccup doesn’t mean a total redo.
Absolutely! But remember that rooms are prone to moisture, like bathrooms or laundry rooms. It’s best to choose a laminate specifically designed to withstand water. It’s all about choosing the right tool for the job.
Yes, but not in the way you might think. Laminate floors must float; you shouldn’t fasten them directly to the subfloor. However, there shouldn’t be a gap between the laminate and the subfloor—this is where your underlayment comes in, providing a cushion and moisture barrier.
Start by removing the old flooring and checking the subfloor for uneven spots. Use a long level to find these areas. Then, depending on the size and severity of the uneven area, use a self-leveling compound or plywood sheets to create a smooth, level surface. It’s like prepping a canvas before painting—a smooth surface yields the best results.
The cost can vary based on the laminate you choose and the size of your mobile home. On average, laminate can cost between $1 to $5 per square foot, and professional installation can run from $2 to $8 per square foot. But remember, doing it yourself can save on installation costs!

