
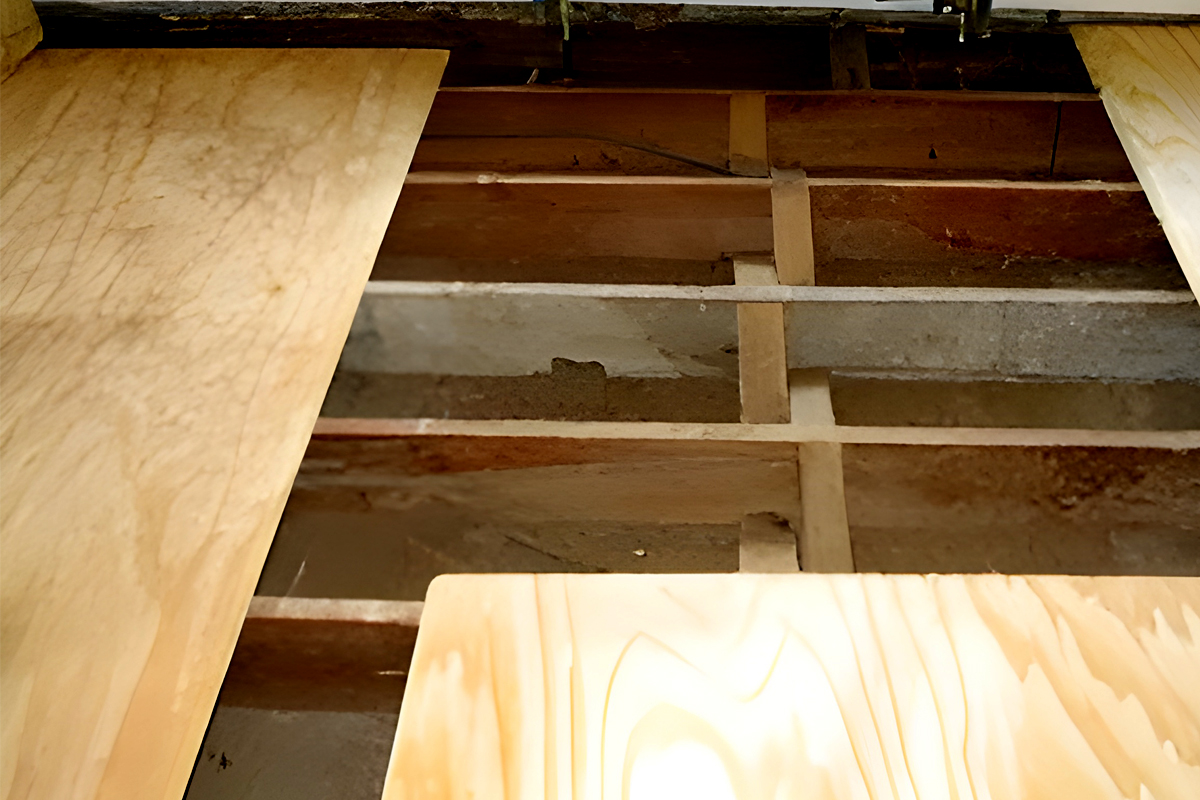
Subfloor is a hidden gem, one you may not often see, but it plays a vital role, supporting every step you take. Sometimes, our trusty subfloors need a little TLC, especially when they’re made of plywood and have seen better days. Replacing your plywood subfloor might seem like a tall order, but with the right tools, some grit, and a step-by-step guide (that’s where we come in). You’ll be on your way to a sturdy, safe home in no time. Let’s get this show on the road, shall we?
Signs Your Plywood Subfloor Needs Replacement
Just like a trusty old car starts to cough and sputter when it’s time for a tune-up, your subfloor also gives you signs when it’s time for a change. Knowing these signs is key to maintaining the health of your mobile home, so let’s delve right in.
- Bouncy Floor
Ever feel like you’re walking on a trampoline instead of your floor? A spongy, bouncy feeling underfoot is a classic sign of a subfloor in distress. It could mean the plywood is damaged or rotting, a clear call for some subfloor TLC.
- Creak Sounds
Next, let’s talk about sounds. If a symphony of creaks and squeaks accompanies every step you take, it could mean your subfloor cries out for help. At the same time, a stray creak here and there as usual, a regular concert of them is a sign that something’s amiss below the surface.
- Visible Damages
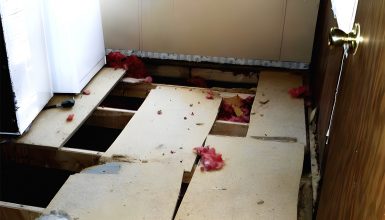
Another sign is visible damage. Think discolored spots, visible mold, or even soft, crumbly areas in the plywood. These signs often mean water damage, and if you’re spotting these, it’s time to consider a replacement pronto.
- Odor Smells
Lastly, let’s talk about smells. If you notice a persistent musty, moldy odor, your subfloor might be waving a red flag. This smell can signal mold or mildew growth due to moisture issues, indicating that your subfloor needs attention.
If any of these signs sound familiar, it’s time to roll up your sleeves and dive into some subfloor repair. But remember, when in doubt, call a pro. They’re like home repair superheroes, swooping in to save the day and your subfloor!
Materials and Tools Needed
Now, let’s get down to your nitty-gritty shopping list because you can’t embark on this DIY adventure without the right gear. Here’s what you’ll need:
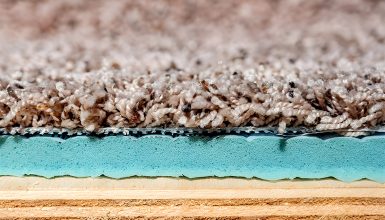
- Replacement Plywood: Start with some top-notch plywood for your new subfloor. Look for high-quality, exterior-grade plywood. It should be thick enough for strength but not so heavy that it’ll weigh down your mobile home. The Goldilocks zone? Usually, 5/8″ to 3/4″ hits the sweet spot.
- Circular Saw: This will be your trusty sidekick for cutting out the old plywood and sizing your new pieces. Choose one that feels comfortable in your hand and is easy to maneuver.
- Pry Bar and Hammer: These two make quite the dynamic duo when lifting the old plywood. You’ll need these to pry up the damaged sections and any stubborn nails.
- Tape Measure and Straight Edge: Precision is critical when replacing your subfloor. These tools ensure your measurements are spot on and your cuts are as straight as an arrow.
- Screwdriver or Drill: You’ll need this to secure your new plywood. A power drill can speed things up, but a screwdriver does the trick.
- Screws or Nails: Go for rust-resistant, heavy-duty options. Your new plywood deserves the best, after all!
- Plywood Sealant: Last but not least, a high-quality sealant. It’s like your new subfloor’s final coat of armor, protecting it from moisture and damage.
Remember, quality tools and materials ensure a smooth project and long-lasting results.
Step-by-Step Guide to Replacing Plywood Subfloors
Alright, roll up those sleeves. It’s time to dive into the step-by-step process of replacing your plywood subfloor. It might seem daunting, but trust me, with some patience and elbow grease, you’ll have a brand-new subfloor in no time!
Step 1: Preparing for Replacement
Start with a clean slate. Clear the room of all furniture and fixtures. Anything that could get in your way or be damaged should be moved out. With everything out of the way, inspect the extent of the damage. This will give you a clear idea of how much plywood you need to replace.
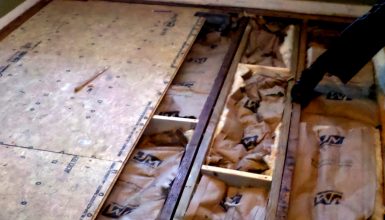
Step 2: Removing Old Subfloor
Safety first! Grab those safety glasses and gloves. Cut out the damaged sections of your plywood subfloor using your circular saw. Remember, measure twice, and cut once! Pry up the cut sections using your pry bar and hammer, careful not to damage any surrounding areas.
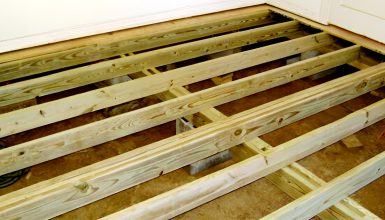
Step 3: Preparing the Area for New Subfloor
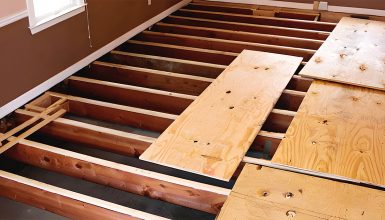
With the old subfloor gone, it’s time to prep for the new arrival. Thoroughly clean the exposed floor joists. Remove any dust, debris, or lingering pieces of old plywood. It’s like preparing your garden before planting new seeds. Be sure to check for any structural issues. If something looks suspicious, don’t hesitate to call a pro.
Step 4: Cutting and Installing New Plywood
Now for the fun part! Measure the areas where the new plywood will go, and cut your replacement pieces to fit. Your tape measure and straight edge are key here. Once your plywood is cut, fit them into place and secure them with your screws or nails.
Step 5: Sealing and Finishing
Almost there! Once the new plywood is secure, seal it using your chosen sealant. This step is like the cherry on top, giving your new subfloor extra protection. After sealing, let it dry completely. Congratulations, your new subfloor is ready for whatever flooring you install next!
And there you go, step by step, to a brand new subfloor. It’s a project that might take a bit of time and effort, but the satisfaction of a well-done job makes it all worthwhile.
Conclusion
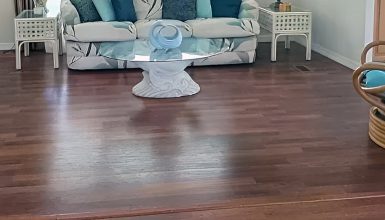
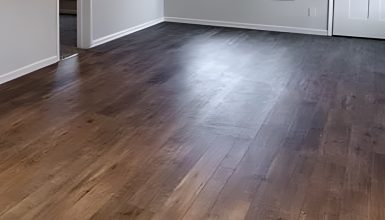
A sturdy subfloor is like the unsung hero of your mobile home. It might not get the spotlight like those polished hardwood floors or that plush carpet. But it’s hard at work daily, providing a solid foundation for your home. Whether dealing with a minor repair or a complete subfloor overhaul, you have the knowledge to tackle it head-on.


