
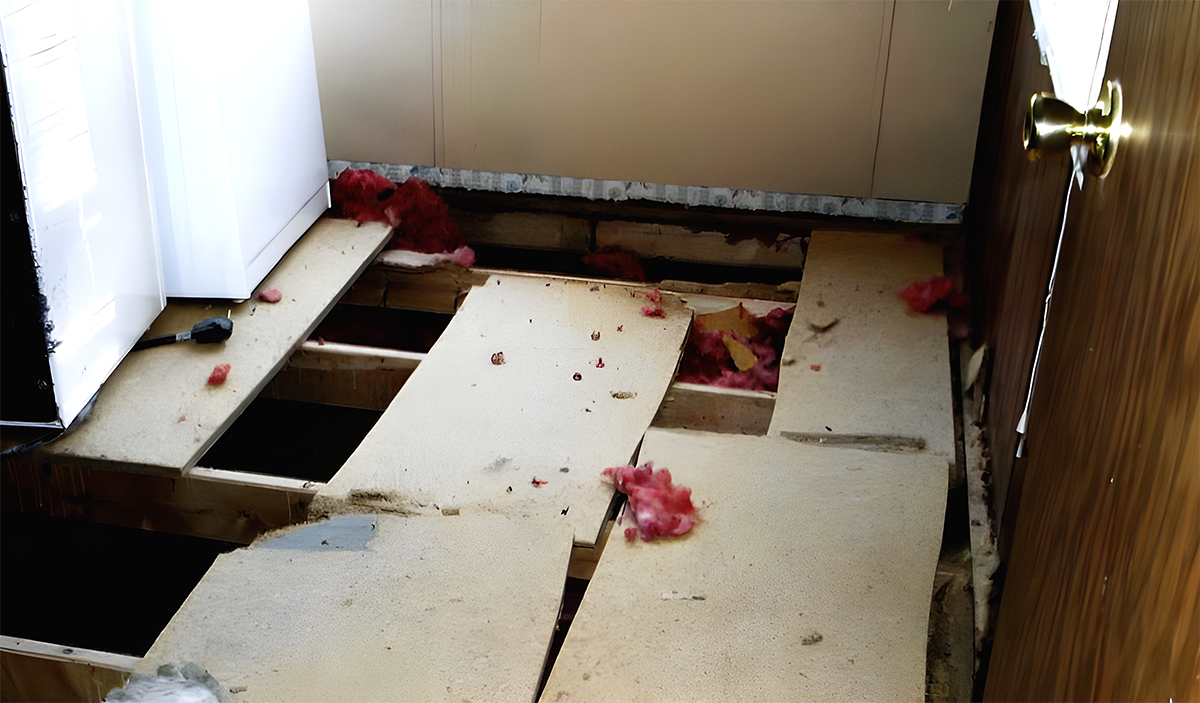
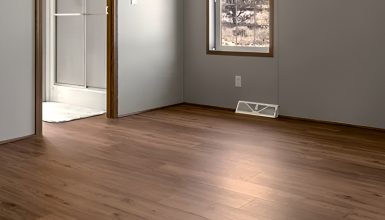
We’ve all been there. That moment you step and feel a slight give underfoot. You lift the corner of that rug and have a hole in your floor. But don’t despair! Patching up a floor hole is a doable project. Let’s tackle it step by step, shall we?
Tools and Materials Required
Alright, so we will need some tools and materials to get the job done. Don’t worry. Most of these are probably already in your toolbox or are readily available at your local home improvement store.
- Safety First! Grab safety goggles and work gloves to protect yourself from splinters and dust. We’re not aiming for any ‘DIY Gone Wrong’ stories here!
- You’ll need a utility knife or circular saw to remove the damaged floor section. Remember, a sharp blade makes for cleaner cuts.
- A measuring tape and pencil are crucial for marking the exact size of the hole to be patched. We want a snug fit, not an abstract puzzle.
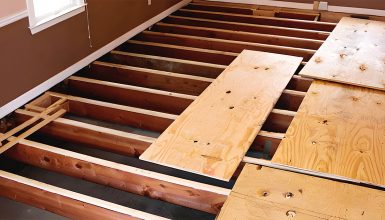
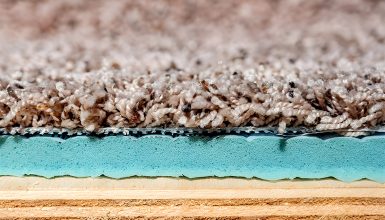
- Get yourself some plywood of the same thickness as your existing floor for the patch.
- You need screws, nails, and a drill or hammer to secure the new patch. Choose the one that matches your existing floor’s fastening method.
- Lastly, a good-quality sealant or floor-leveling compound will help smooth things over.
Got your toolbox ready? Great, let’s move on to the next step.
Step 1: Assessing the Damage
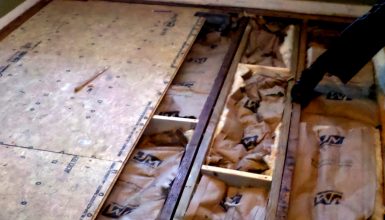
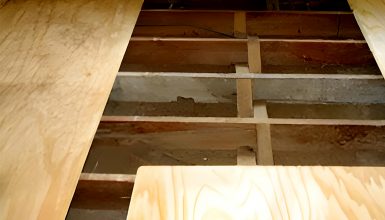
The first thing we need to do is look at our little problem. Take a flashlight and get down on your hands and knees if needed. How big is the hole? Is it just a tiny puncture, or are we dealing with something larger? And most importantly, is it just the surface floor, or has the damage gone deeper into the subfloor? The answers to these questions are crucial.
Now, listen carefully. If you spot severe damage like mold, rot, or large crumbling areas, it might indicate that more is going on beneath the surface. It’s usually best to call in a professional when things get to that point. But for a straightforward hole or two? You’ve got this!
Step 2: Removing the Damaged Area
Now, it’s time to remove the damaged area. Are you excited? It is where things start getting real.
- First things first, put on your safety goggles and gloves. Yes, this is important, don’t skip this step!
- Carefully cut out the damaged area using your utility knife or circular saw. Think of it like you’re cutting a piece of cake. We want a neat, tidy rectangle or square, not a random blob shape.
- Remember to extend your cuts about an inch beyond the actual damage. This way, we ensure the patch rests on solid, healthy flooring.
- Pull up the damaged piece. It might take a little elbow grease, but be patient. Don’t force it and risk causing more damage.
- Once the damaged part is out, inspect the area underneath for any signs of underlying issues like moisture damage or rot. If all looks good, then great! If not, it might be time to call in the pros.
- Finally, clean up the area, removing any debris or dust. We want a clean, smooth surface to work with.
Voila! The damaged area is gone! Now, let’s get to the fun part – patching it up!
Step 3: Preparing the Patch
Oh, you’re doing great! Now that the damaged area is history let’s discuss preparing the patch.
- Measure the cut-out area. Grab that tape measure and jot down the length and width. Remember, accurate measurements are critical, so double-check your numbers!
- Head over to your replacement flooring. If you don’t have any spare pieces lying around, you’ll need to purchase a piece that matches your existing floor.
- Lay the new flooring on a solid surface, marking the measurements from step one onto it. Again, check twice, and cut once.
- Cut out the patch using your utility knife or saw. It’s crucial to keep your lines straight, just like when you removed the damaged piece.
- Try fitting the patch in the opening. It should fit snugly, like a puzzle piece. If it doesn’t, trim it down until it’s just right.
And there you have it! Your patch is ready to make its grand debut. It’s like the understudy prepared to step in for the leading role. But first, let’s make sure the stage is set right with some prep work on the flooring underneath.
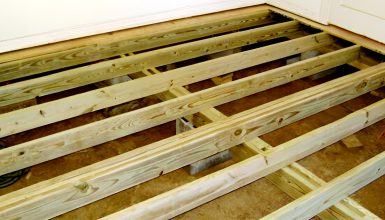
Step 4: Installing the Patch
Awesome job on preparing the patch! Now, let’s bring it all together with some finishing touches.
- Get ready with your adhesive. Spread it on the subfloor within the cut-out area using a trowel. Be generous, but not overly so. It’s like spreading jam on toast – you want a nice even layer.
- Place your patch carefully onto the adhesive. It should fit snugly into its new home. Apply some pressure to make sure it sticks, just like a postage stamp on an envelope.
- Remember those matching nails or screws? Now is their time to shine. Secure the patch to the subfloor by nailing or screwing it down. It’s like tying the bow on a present.
- Now let’s deal with those seams around the patch. Grab your wood filler or seam sealant and apply it along the edges. It’s like icing between cake layers, smoothing everything out.
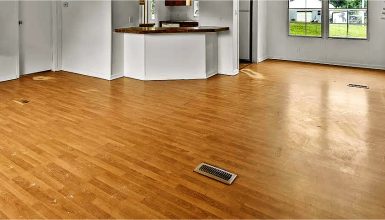
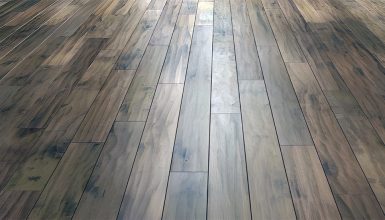
- Once everything is dry, give the repaired area a good clean. Vacuum, mop, whatever it takes, make it looks like the hole was never there.
Congratulations, you’ve successfully fixed a hole in your mobile home floor!
Conclusion
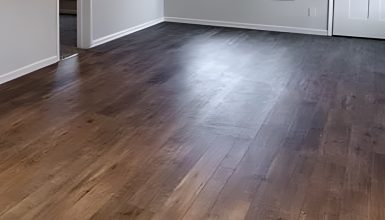
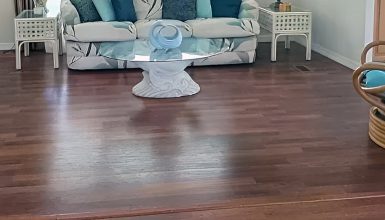
Now that wasn’t so daunting, was it? With the right tools, patience, and a handy guide (like this one!), you’ve transformed a hazardous hole into a seamless patch in your mobile home floor. Remember, it’s about taking it one step at a time and giving each process stage the attention it deserves. In the future, remember to keep an eye out for any signs of wear or damage to prevent minor issues from becoming big ones.


