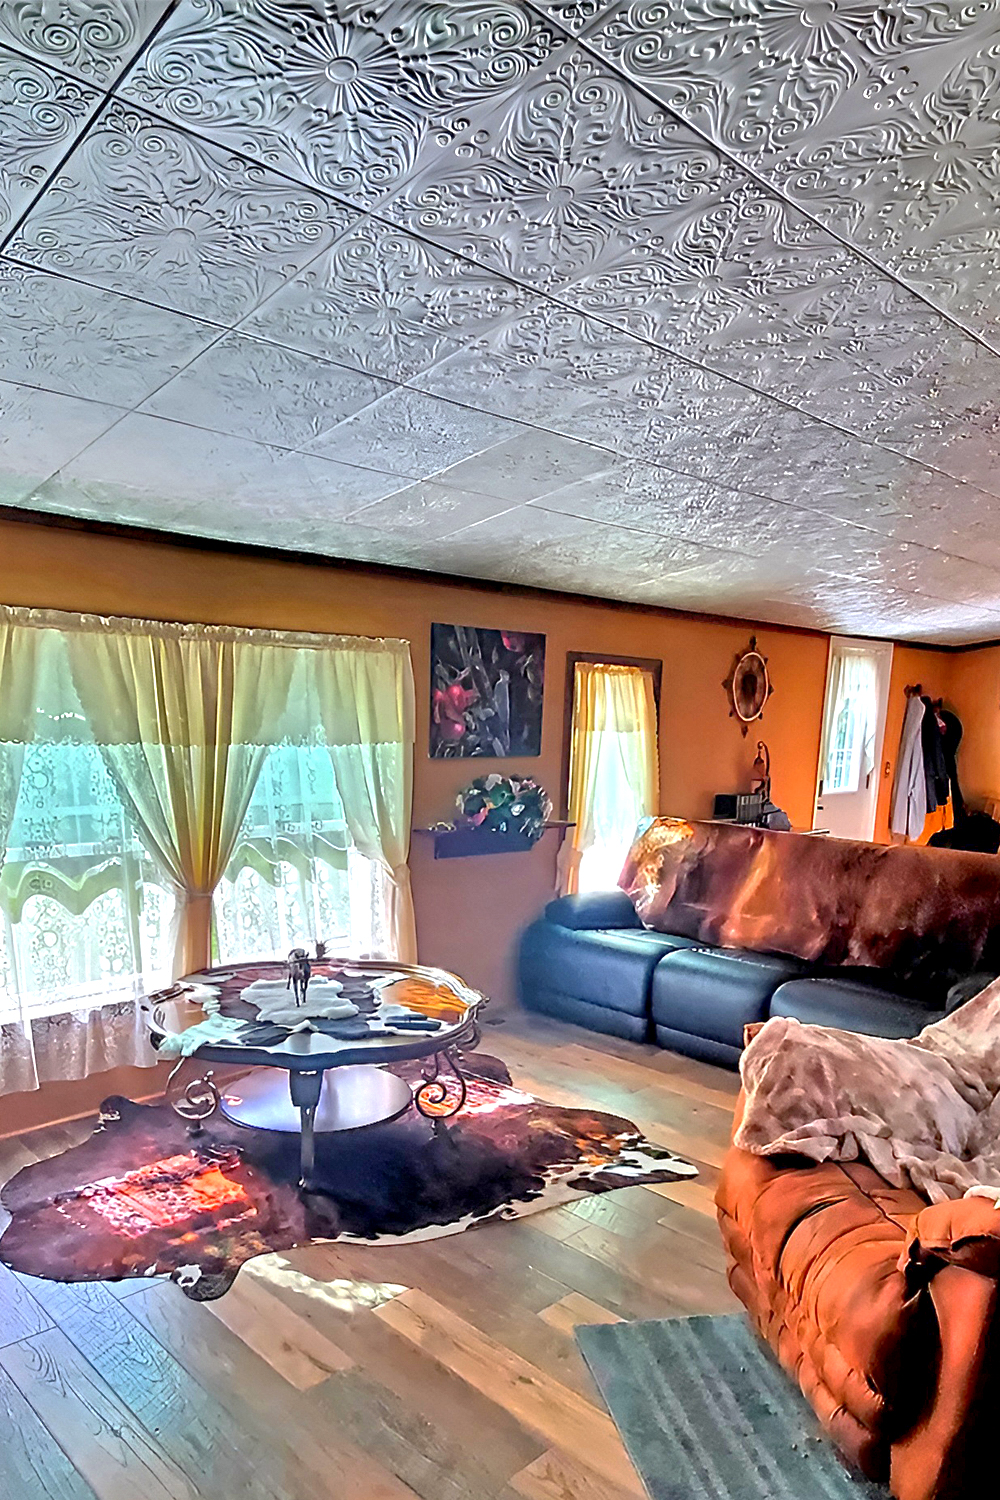
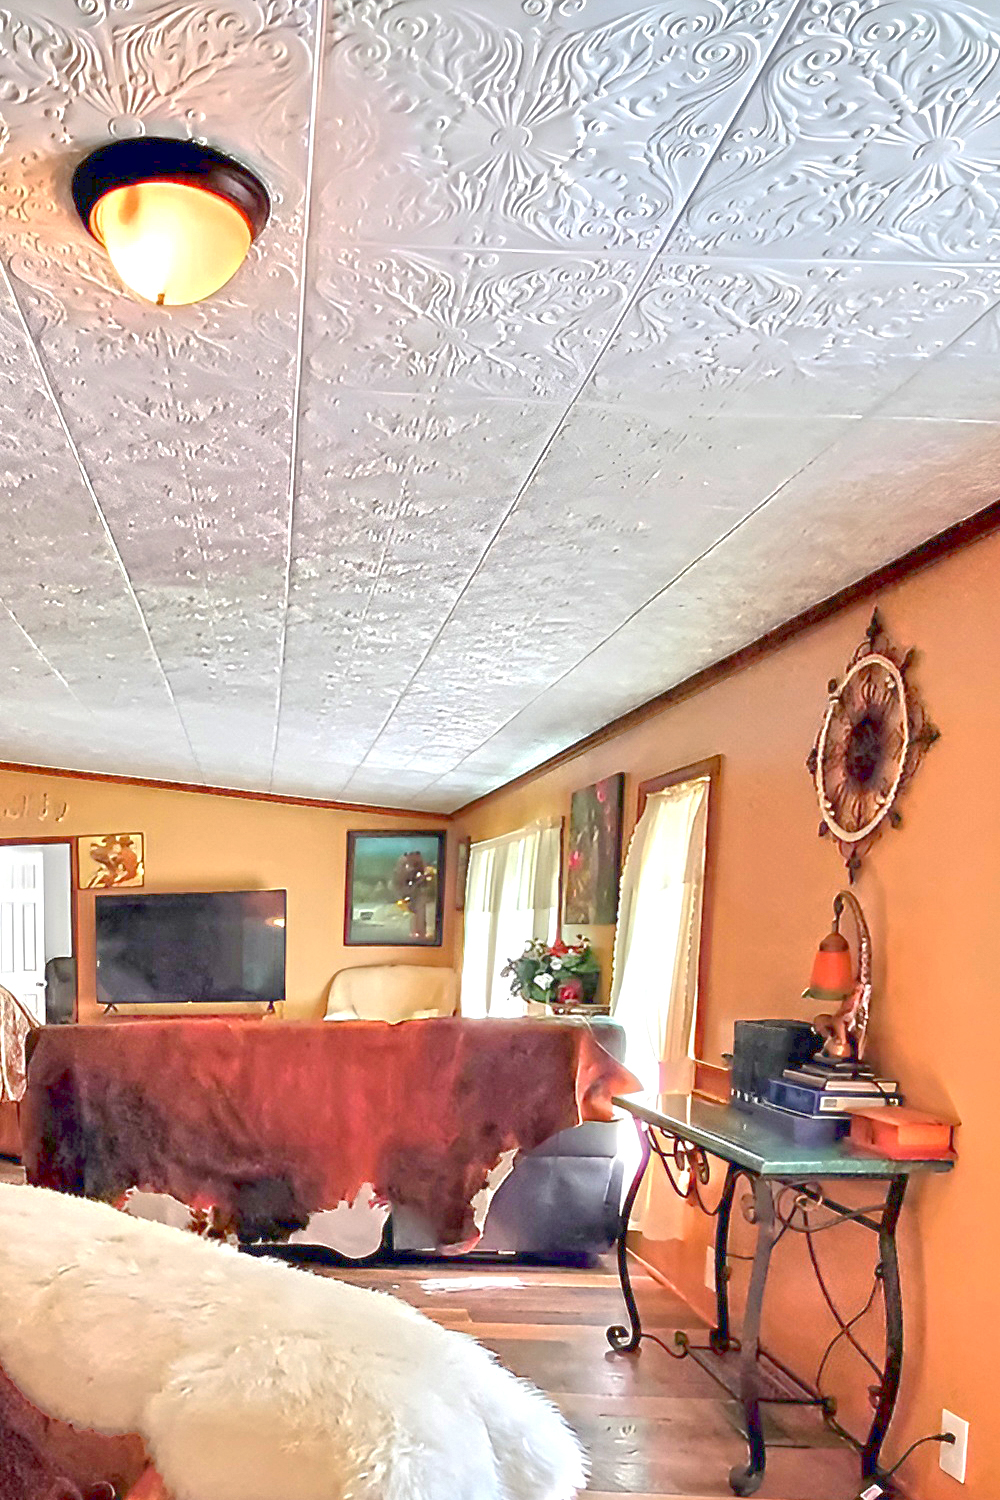
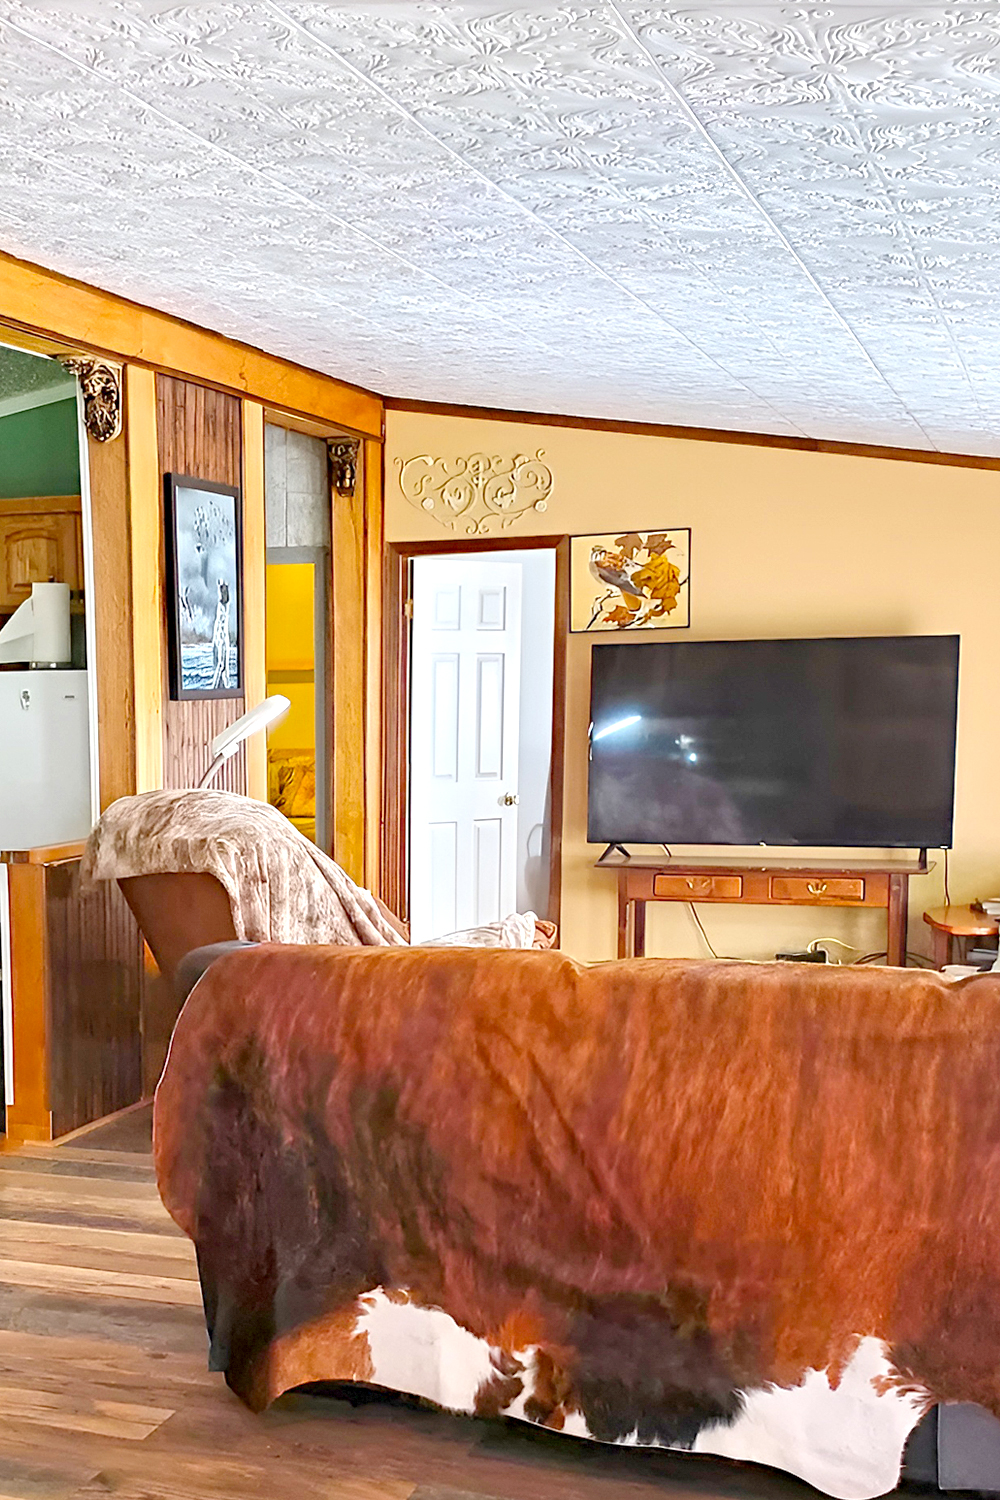
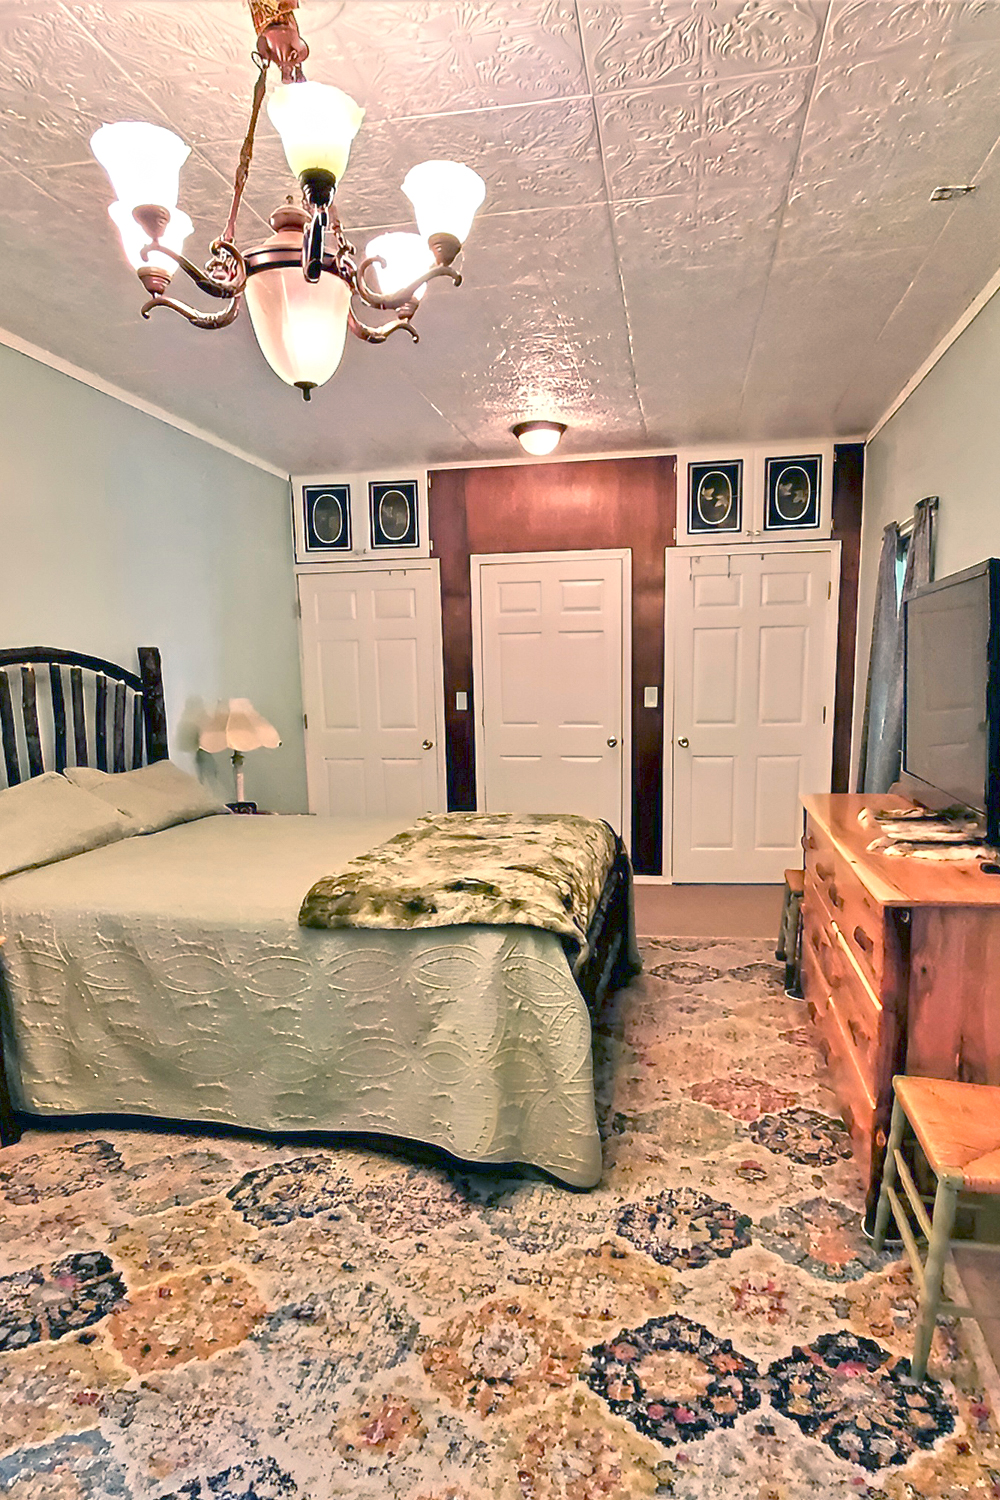
Peel and stick tiles are a game-changer for updating your home. Think about giving your mobile home ceiling a fresh, new look. It’s simpler than you might think. These tiles are not only budget-friendly but also easy to use. You don’t need fancy tools or special skills. Plus, they can completely transform a room. Your space can go from plain to eye-catching in just a few hours. This makes peel-and-stick tiles a top choice for a quick, impactful home makeover. So, let’s dive in!
Step 1: Preparing Your Ceiling
Before diving into your ceiling makeover, take a good look at your ceiling’s condition. A smooth, clean surface is critical for the tiles to stick well. If your ceiling is bumpy or has old paint flaking off, those tiles might only stay up for a short time.
Here’s a quick tip for those with textured ceilings: you might need to sand them down. A smoother surface means your tiles will adhere better and last longer. Just remember to wear a mask and safety glasses to protect yourself from dust.
Now, let’s get that ceiling ready. Start by removing dust or cobwebs with a soft broom or a vacuum cleaner with a brush attachment. Next, wipe the ceiling down with a damp cloth to remove leftover dirt. Make sure it’s scorched before moving on.
When it comes to materials, you’ll need a stable ladder, sandpaper (if you’re dealing with texture), a vacuum, cloths for cleaning, and maybe some mild detergent for stubborn spots. This prep work might seem like a bit of effort, but it sets the stage for a successful tile application.
Step 2: Choosing Your Peel and Stick Tiles
Picking out the suitable peel-and-stick tiles is fun. First, think about weight. You want tiles that are light enough for the ceiling to hold. Next up is material. Some tiles are waterproof vinyl, which is excellent for kitchens or bathrooms. Others might be made of metal or foam for a different look.
Design options are endless. From sleek and modern to cozy and rustic, there’s a style for every taste. For mobile homes, consider the size and height of your rooms. Light colors can make a small space seem bigger, and glossy finishes help reflect light, brightening the area.
Measuring your ceiling might sound tricky, but it’s pretty straightforward. Grab a tape measure and find the length and width of your ceiling. Multiply these numbers to get the total area in square feet. Most tile packages will tell you how much area they cover so you can figure out how many you need.
But wait, there’s more. Think about your tile layout. Do you want them straight across or in a diamond pattern? Some patterns might need more tiles because of cutting and fitting. To be safe, add an extra 10% to your total. This covers any mistakes or misfits, ensuring you won’t run out of tiles halfway through your project.
Step 3: Installation Process
First things first, plan where your tiles will go. This step makes a big difference in how your project turns out. A great strategy is to start from the center of the ceiling and work your way out. This way, any cut tiles will be at the edges and less noticeable. Use a chalk line or a laser level to mark your starting point. It helps keep everything straight and aligned.
The right spot to start? It’s usually the center, but consider your room’s shape and the tile design. For example, start there and work outward if you have a focal point like a light fixture.
Now, let’s stick those tiles up. Peel the backing off your first tile. Aim carefully and press it onto the ceiling, starting from one side and smoothing it out to the other to avoid air bubbles. Press firmly along the whole tile to make sure it sticks well.
Sometimes, tiles need a bit more to hold them up, especially in a mobile home where the ceiling material might not be ideal. If that’s the case, a bit of extra adhesive can help. Just put a few dots of a robust and universal adhesive on the back of the tiles before you stick them. Remember, not too much, or it could seep through and make a mess.
Keep going, tile by tile, following your layout plan. Make sure each one is snug against its neighbors for a seamless look. Use a sharp utility knife and a straight edge if you need to cut a tile to fit. Measure twice, cut once, as they say. And there you have it. Step back and admire your work. You’ve just given your ceiling a major upgrade with your own two hands.
Step 4: Finishing Touches and Maintenance
It’s all about precision when you get to the edges or need to fit tiles around fixtures. If a tile is too big, measure the space left and mark your tile for cutting. A straight edge and a sharp utility knife will do the trick. Score the tile along your mark, then bend it gently to snap it cleanly. For circles around fixtures, trace the shape onto the tile and use sharp scissors or a specialized cutting tool. Take your time to ensure a snug fit. These details make your project look professional and polished.
Your new ceiling is up, and it looks fantastic. To keep it that way, a little upkeep is in order. For cleaning, a soft cloth or a duster works well to remove any dust. If your tiles are waterproof, wipe them down with a damp cloth for a deeper clean. Avoid harsh chemicals or abrasive scrubbers; they can damage the tile’s finish.
Long-term, keep an eye on the edges and corners of the tiles to make sure they stay stuck. If one starts peeling, a bit of adhesive can fix it. And there you have it: a great ceiling that is easy to maintain. With these simple steps, your mobile home ceiling will stay fresh and new for years.

