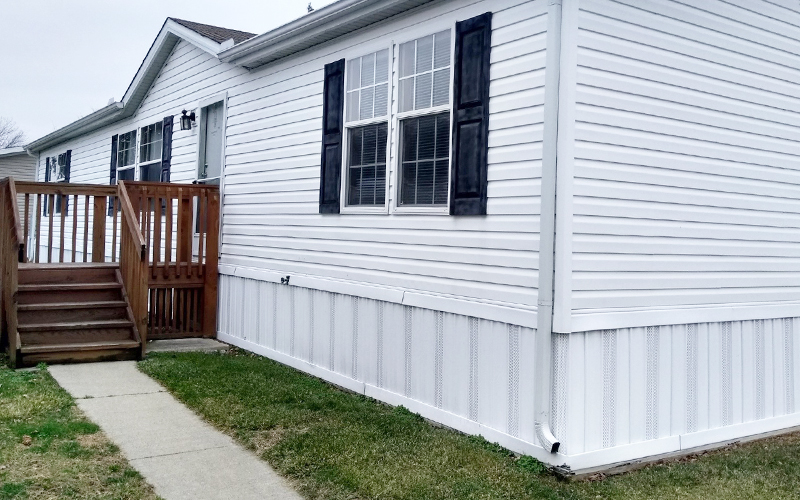
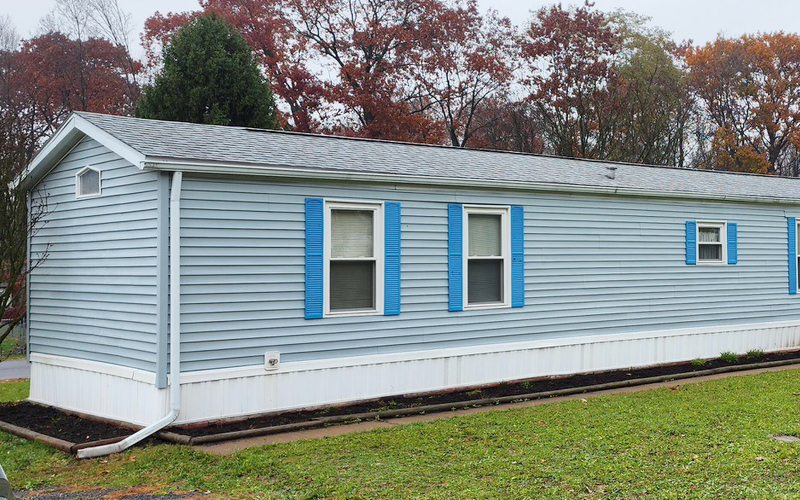
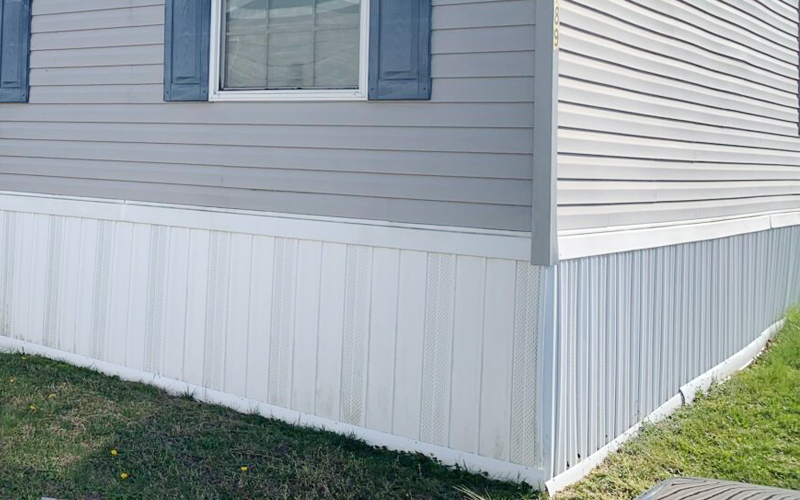
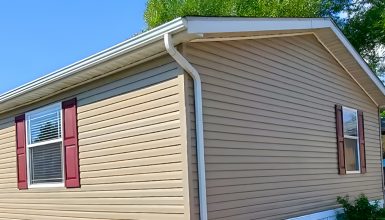
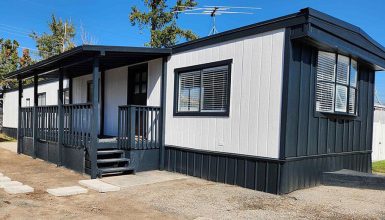
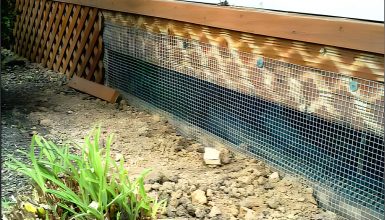
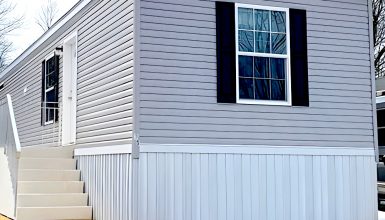
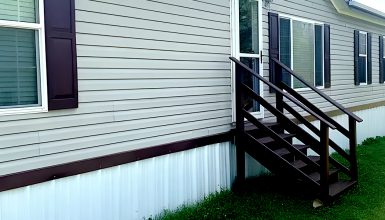
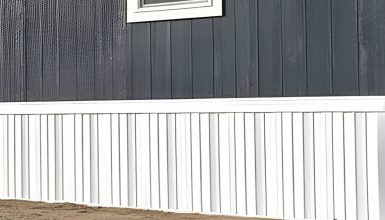
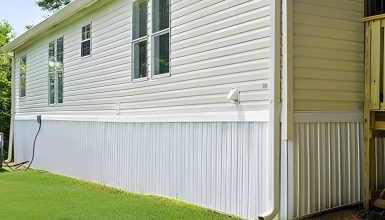
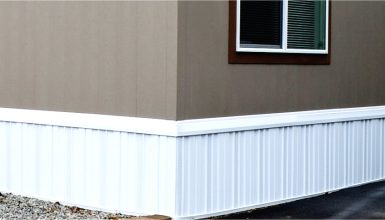
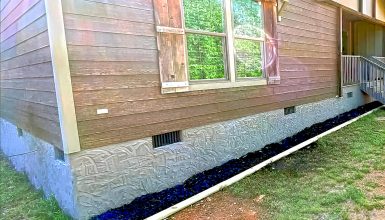
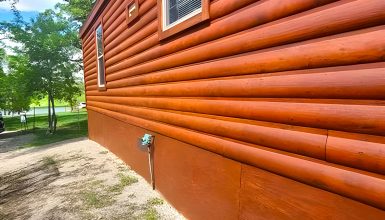
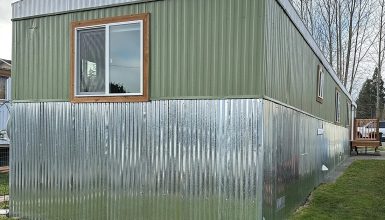
Vinyl skirting is a simple and effective way to give your mobile home an attractive and practical finish. Not only does it enhance your home’s curb appeal, but it also helps to protect against the elements and improve energy efficiency. Whether you’re looking for a durable and long-lasting option or want to refresh the appearance of your mobile home, vinyl skirting is worth considering.
Benefits of Vinyl Skirting
Vinyl skirting offers a variety of benefits for mobile homeowners, from practical to aesthetic.
- Protection from elements
Firstly, it protects from the elements, including wind, rain, and snow, which can be especially important in areas with harsh weather conditions. By shielding the underside of your home, vinyl skirting can prevent damage to your home’s structure, plumbing, and other systems, potentially saving you thousands of dollars in repair costs.
- Energy efficiency
Another benefit of vinyl skirting is improved energy efficiency. By creating an insulating barrier between the outside air and the underside of your home, it can help to reduce your energy bills by preventing heat loss in the winter and keeping your home cooler in the summer. It can be especially beneficial for mobile homes, which are often less energy-efficient than traditional homes.
- Aesthetics
In addition to practical benefits, vinyl skirting can enhance your mobile home’s appearance. With various colors and textures, it can create many styles, from rustic to modern. Plus, it’s easy to maintain, with no need for painting or other upkeep.
- Pest control
Vinyl skirting can also help to keep pests at bay. Sealing off the underside of your home makes it more difficult for rodents, insects, and other unwanted creatures to enter. It can be essential if you live in an area with a high risk of pest infestations.
- Durable
Finally, vinyl skirting is a durable and long-lasting option. Made from sturdy materials, it can withstand weather conditions and resist damage from impacts and other sources. Plus, it’s cost-effective, making it a wise investment for any mobile homeowner. Overall, vinyl skirting is a practical and attractive option offering many benefits for mobile homeowners.
Vinyl Skirting Components
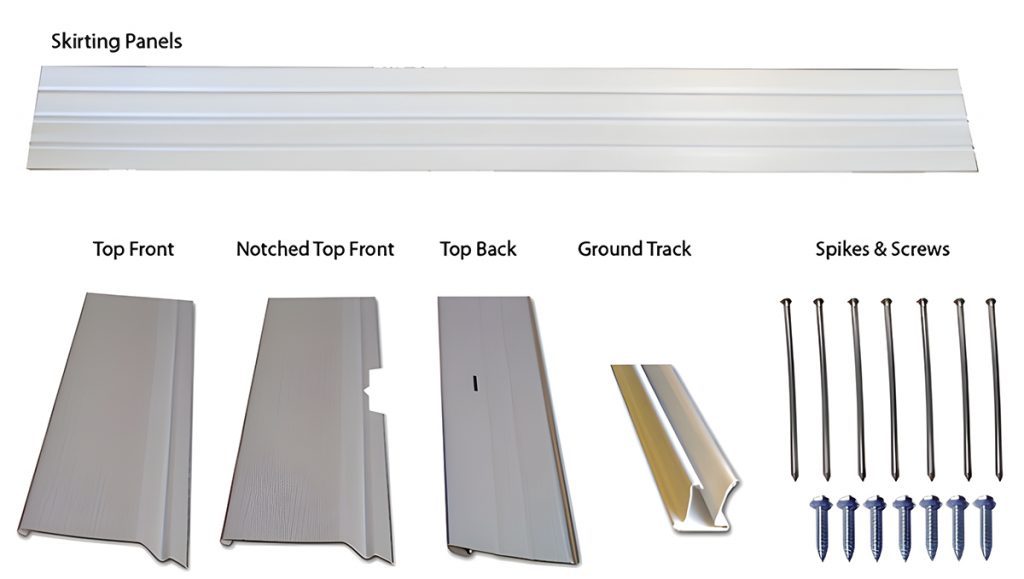
In addition to the panels, a few other key components make up a complete vinyl skirting system for mobile homes. These include:
- Skirting panels
As mentioned earlier, the skirting panels are the system’s primary component. These interlocking panels are made from durable vinyl material and installed around the perimeter of a mobile home.
- Top front and top back
The top front and top back components are to cap off the edge of the skirting panels at the front and back of the home. It helps to provide a finished look and prevent pests and debris from entering the underside of the mobile home.
- Ground track
The ground track is a crucial component of track-style vinyl skirting systems. It’s to secure the bottom edge of the skirting panels to the ground, providing additional stability and support. The ground track is typically a sturdy metal material. It is anchored to the ground using stakes or other support structures.
Vinyl Skirting Options
When it comes to vinyl skirting options for your mobile home, there are several factors to consider.
- Thickness and weight
One of the most important is the thickness and weight of the skirting material. Generally, the thicker and heavier the vinyl, the more durable and long-lasting it will be. However, heavier vinyl can be more challenging to install and may require additional support structures to keep it in place.
- Color and texture
Another factor to consider is color and texture. Vinyl skirting comes in various colors, from neutrals like white and beige to bolder hues like blue and green. You can also choose from different surfaces, such as smooth or textured, to create a unique look for your home. Selecting a color and texture that complements your home’s overall style and color scheme is essential.
- Installation types
Regarding installation, there are two main types of vinyl skirting: snap-together and track systems. Snap-together skirting is relatively easy to install and does not require additional support structures. On the other hand, track systems are more challenging to install but offer a more secure fit and can be more durable in the long run. Your choice will depend on your personal preferences, as well as the particular needs of your home.
- Vinyl skirting kit
The kit is a package of materials that includes everything you need to install vinyl skirting on your mobile home. It typically contains panels, rails, and other necessary hardware and accessories. In addition, it will also have the required screws or nails, as well as ground spikes or other mounting hardware.
It’s also worth considering whether you want to add additional features to your vinyl skirting, such as vents or access doors. Vents can help to improve air circulation and prevent moisture buildup. At the same time, access doors can make it easier to access the underside of your home for maintenance and repairs.
How to Install Mobile Home Vinyl Skirting
Get ready to add some serious curb appeal to your mobile home with a vinyl skirting installation. Below, we’ll guide you through each step of the installation instructions, from preparing the ground to interlocking the top front and top back rails.
Tools Required:
- Tape measure
- Hammer
- Drill
- Square
- Plumb Bob
- Chalk Line
- Tin Snips
- Snap-lock Tool
- Saw
Materials:
- Skirting panels
- Ground track
- Top front rail
- Top back rail
Before you begin installing vinyl skirting, it’s essential to ensure the ground is level. To ensure the floor is level, walk around your mobile home and look for any areas that appear sloping or uneven. You can use a carpenter’s level to confirm that the ground is even at each corner and along the home’s perimeter. Once it is level, the next step is to install the skirting. Let’s get started!
Step 1: Attach Back Rail
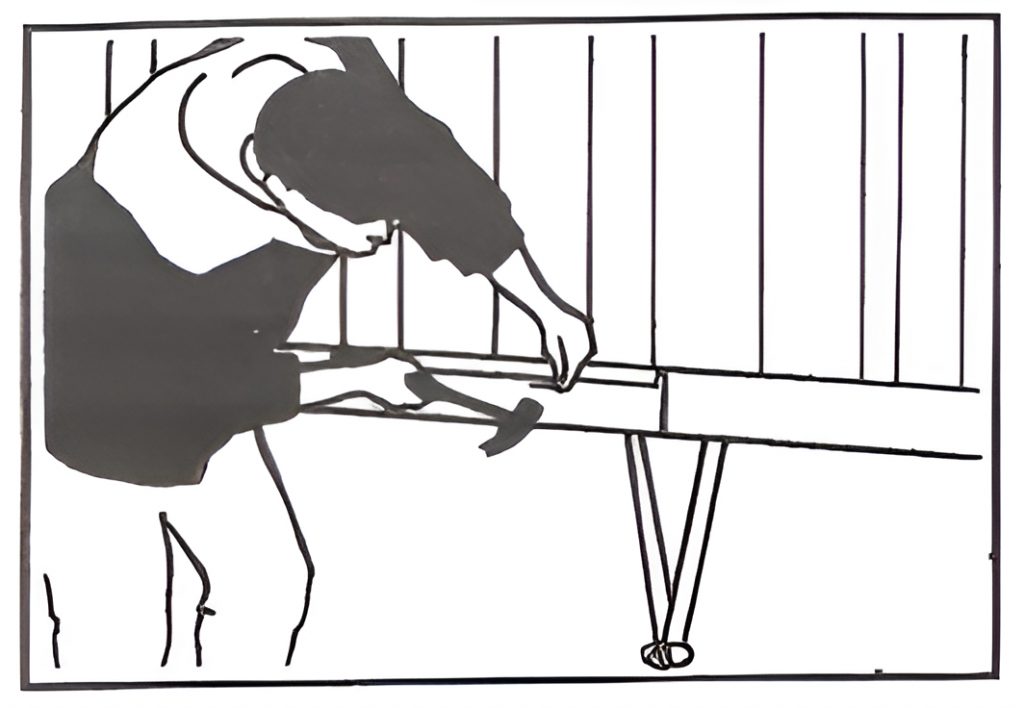
Attaching the back rail is the first step in installing vinyl skirting on your mobile home. To start, you’ll need to determine the location for mounting the back rail and snap a chalk line around your home to guide the rail’s top edge. It’s essential to ensure it is straight and level, as this will affect the rest of the installation.
Next, you’ll need to screw or nail the back rail into place. It is where you’ll want to take care, as it’s crucial to avoid screwing it too tightly. You’ll want to leave a 1/16″ clearance for normal expansion and contraction, which is vital in extreme temperatures. Be sure to provide a 1/2″ gap between each section of the back rail for normal thermal expansion.
Properly attaching the back rail will give your vinyl skirting the support it needs. And provide a strong foundation for the rest of the installation process.
Step 2: Mount Bottom Rail
Once you’ve attached the back rail, the next step is to mount the bottom rail. First, ensure the ground is smooth and obstacle-free to prevent uneven soil settling.
Using a level or plumb bob, mark the ground directly below the outside bottom edge of the home at each corner. A chalk line or a nylon string can help you position the bottom rail.
Once you’re ready to install, position the bottom rail with the back leg towards the perimeter of the chalk line. To ensure the stability of your vinyl skirting, drive ground spikes every 19 inches into the two sets of holes provided in the bottom rail. Remember, the 1/2″ gap between each back rail section is vital for thermal expansion.
If you’re installing the vinyl skirting on concrete, don’t worry! You can still secure it using a 3/4″ masonry nail or drilling a hole for a 3/16″ molly screw and plastic sleeve.
Properly mounting the bottom rail is essential in providing the necessary support for your vinyl skirting. This ensures that it stays in place for years to come. So, follow these simple steps and enjoy the benefits of well-secured and beautiful vinyl skirting!
Step 3: Panel Installation
The third step is panel installation. It is where you’ll begin to see your project take shape. Start by measuring from the ground up to 1 1/2″ above the bottom edge of the back rail, starting 24″ away from the lowest corner of the home. But if the temperature is below 40 degrees F with frozen ground, measure 3″ above the back rail edge. If the ground is sloping, don’t forget to take measurements every 16″ to ensure everything lines up perfectly.
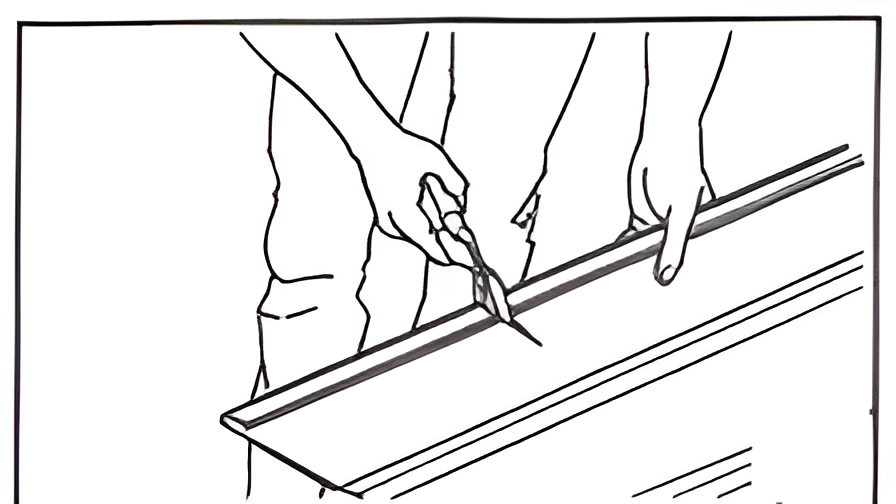
To angle, the ground, cut the bottom of each panel section to align at 90 degrees to the bottom edge of the home. You can use aviation snips or a power saw with a fine-toothed blade turned backward to do the job.
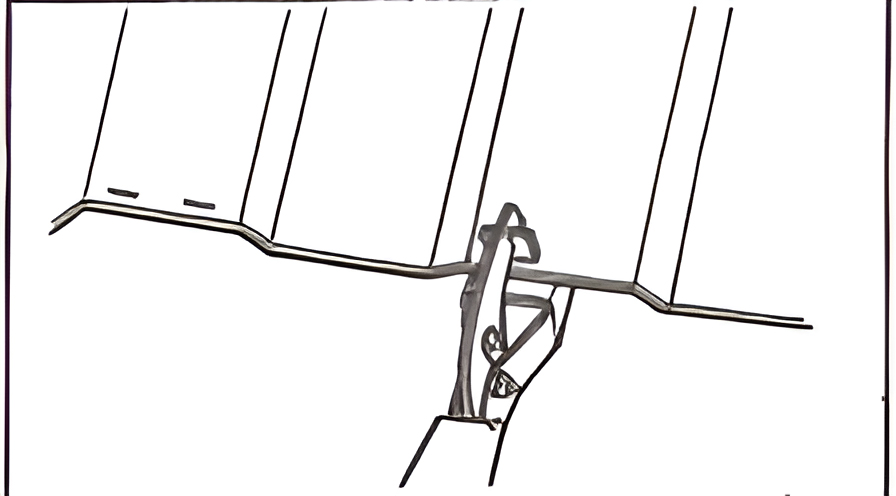
Use a snap lock punch tool to punch lock tabs every 4″ along the top and bottom edge of cut panel sections. Ensure these tabs are in an outward position to catch on the hooked edge of the rails.
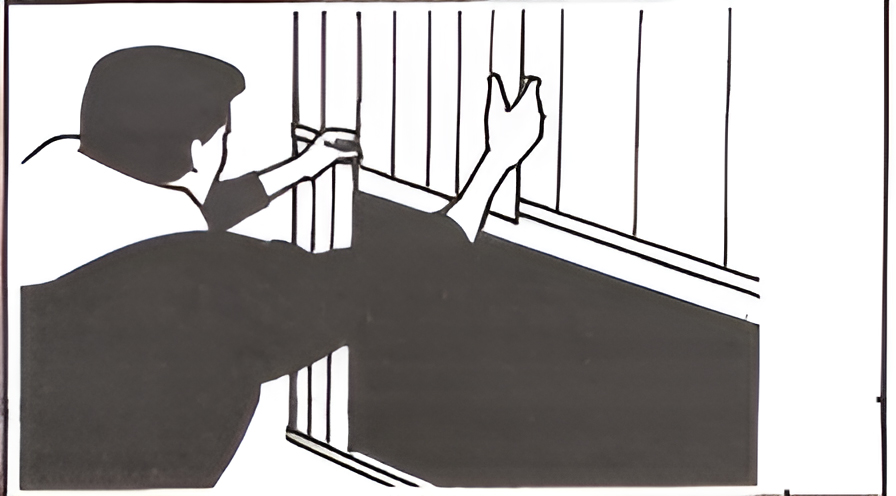
Start by inserting the first panel into the bottom rail, ensuring the lock tabs snap past the hooked edge of the rail. Then, insert the next panel section into the interlock hooks along the vertical edge of the panels. Make sure each panel is securely seated into the bottom rail.
Repeat the process of interlocking panels until you form a 12 ft. section or until you reach the desired length of your skirting.
Step 4: Interlock Top Front Rail With Top Back Rail
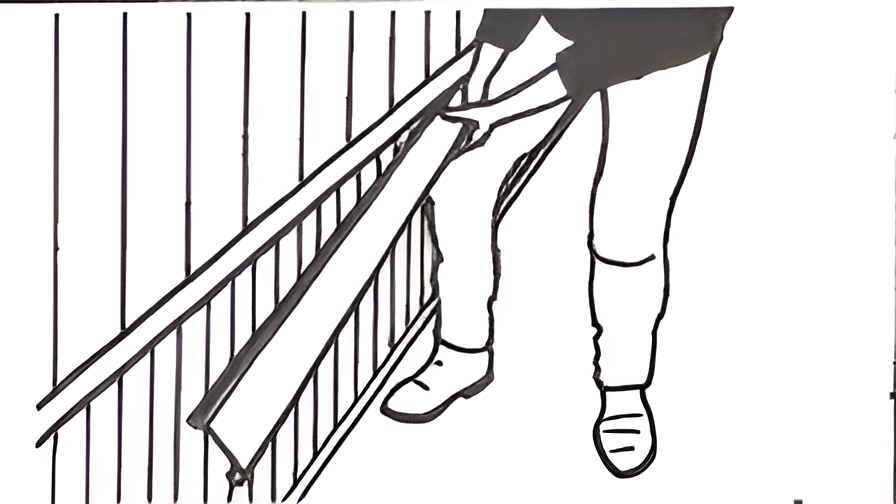
Once the panel installation is complete, it’s time to move on to the fourth step. This step involves interlocking the top front rail with the back rail top.
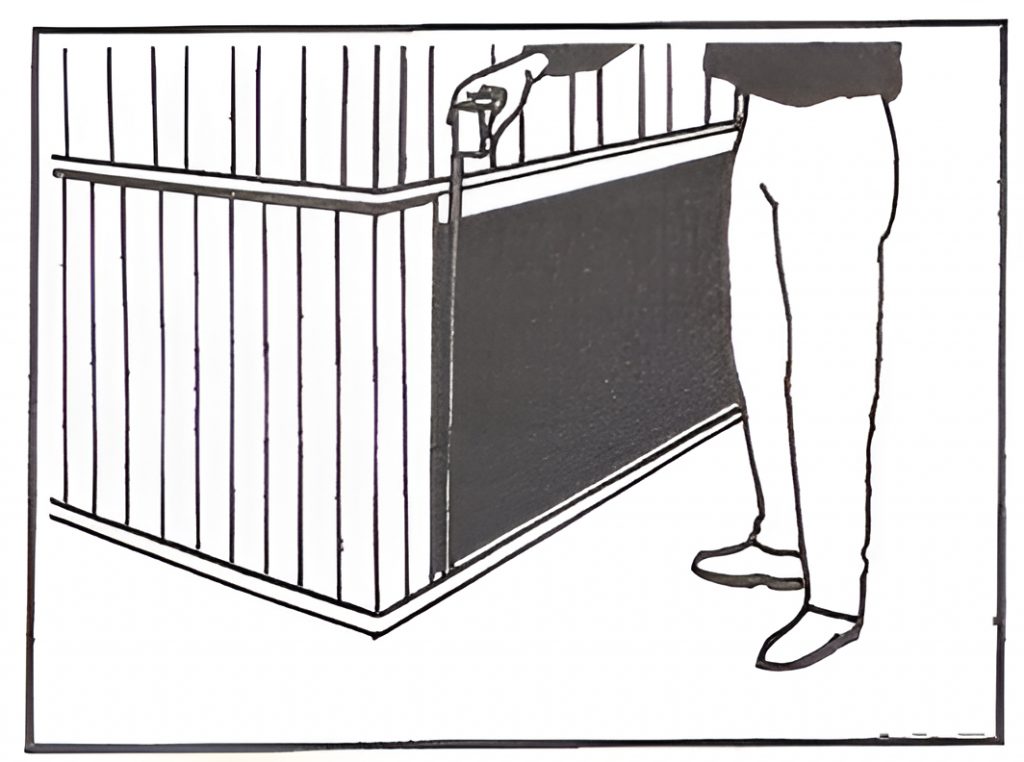
Begin by snapping one end of the front top rail into the back top rail to create an interlock. Then, push the front top rail upward until it’s fully interlocked with the back rail. Make sure to overlap one inch of each top rail section to ensure stability.
It’s crucial to ensure that your skirting won’t shift or move once it’s installed, and this step plays a significant role in achieving that. So, take your time and make sure everything is securely interlocked.
Step 5: Corner Installation
The corner installation is the final step. This step can be tricky, but it’s essential to get it right to ensure your skirting installation is correct.
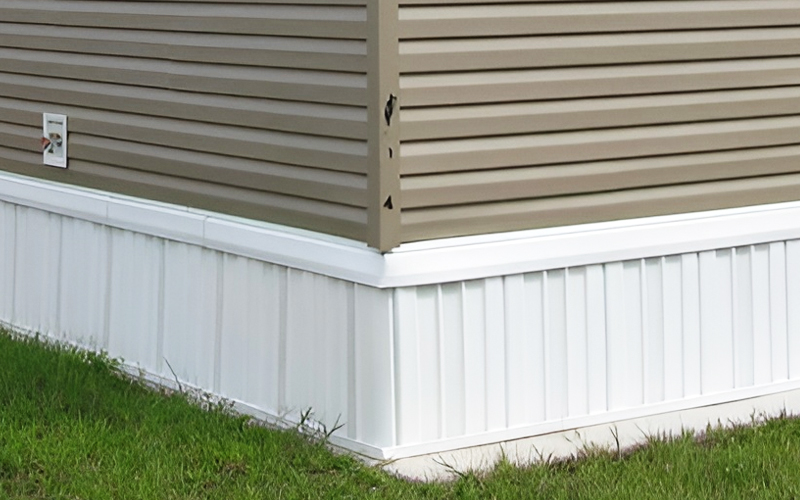
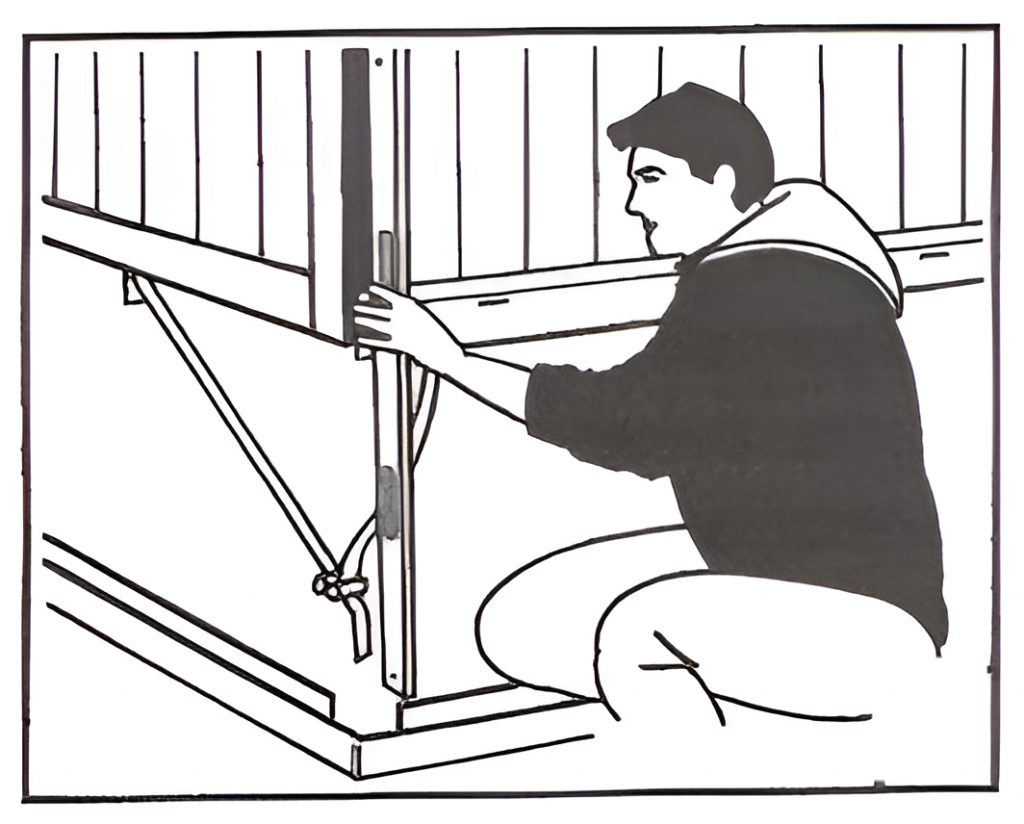
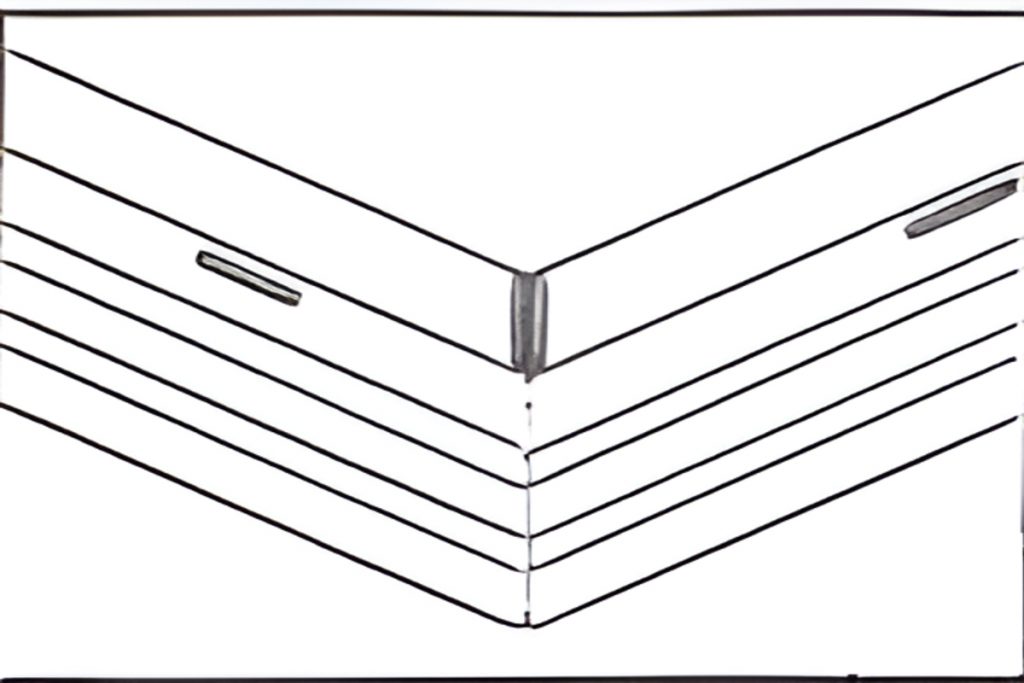
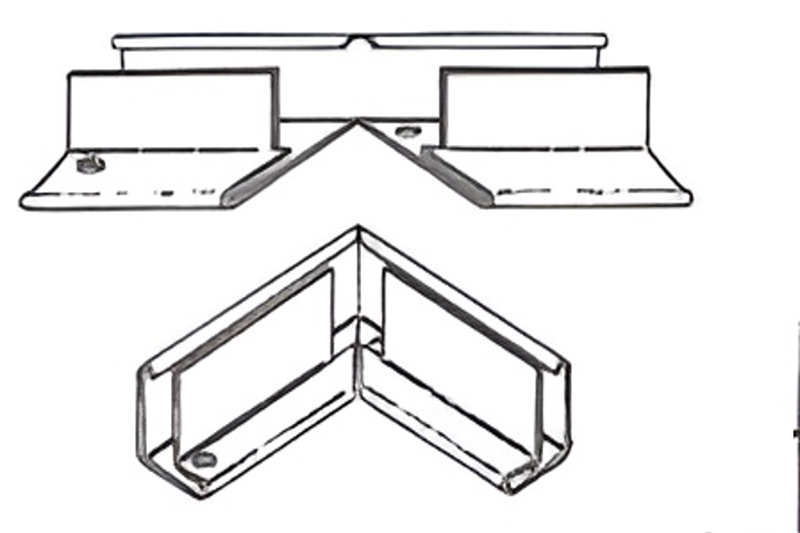
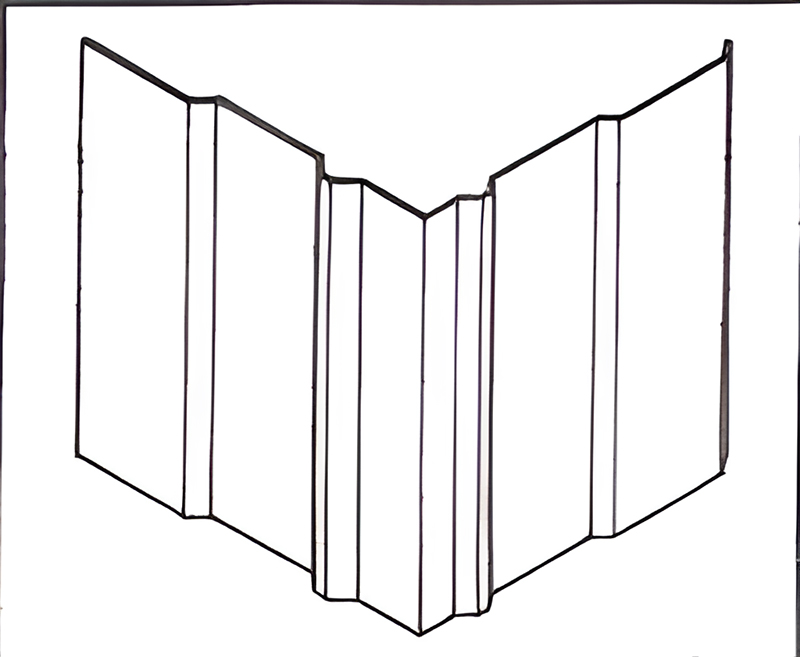
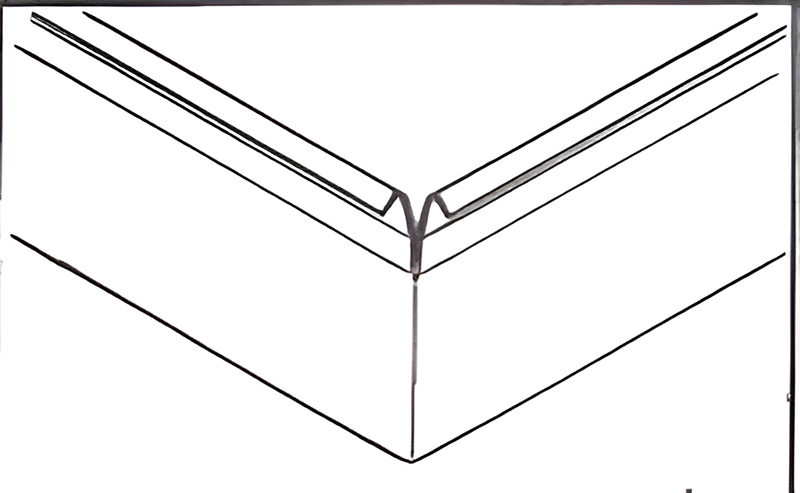
Begin with the top back rail, where you’ll make a one-inch vertical slit from the top of the rail. Be sure to cut through the top interlock hook entirely and create a 45-degree notch on the curved bottom leg.
Notch the bottom rail’s back portion using snips, bend the railing around the corner, and attach it to the ground.
Next, cut the vinyl panel to the appropriate height and determine the point of the corner bend. It would help to bend it over a table edge, forming a uniform angle.
Finally, it’s time to notch the top front rail. Ensure to notch it at the top and bottom hooks before bending the railing around the corner and fitting it into the interlock with the top back rail. It creates a secure and stable framework that keeps the vinyl panels in place.
Maintenance and Repair
Vinyl skirting is a low-maintenance option, but it still requires some care to keep it in good condition. Here are some tips for maintaining and repairing your vinyl skirting:
- Regular cleaning
It’s essential to clean it regularly to keep your vinyl skirting looking its best. Use a garden hose or power washer to rinse away dirt and debris, then scrub with a soft brush and mild soap. Avoid using harsh chemicals or abrasive materials that could damage the vinyl.
- Repairing cracks and holes
Over time, your vinyl skirting may develop cracks or holes that allow pests or moisture to enter. You can use a vinyl repair kit to repair these issues or patch the damaged area with a piece of vinyl cut to size. Be sure to use a strong adhesive to secure the patch in place.
- Replacing damaged panels
Sometimes, your vinyl skirting may break beyond repair, so you must replace it. To do this, replace it with a new one, following the same installation process.
Inspecting your vinyl skirting regularly for signs of damage or wear is also essential. Look for cracks, holes, or sagging panels that could indicate a problem. Address these issues promptly to prevent further damage.
Conclusion
Congratulations! You have successfully installed vinyl skirting on your mobile home. You can now enjoy a more polished look, added protection, and energy efficiency. Remember to check your local regulations and acquire any necessary permits before installation. Thank you for reading!
Reference:
https://mobilehomepartsstore.com/vinyl_skirting_installation.html

