
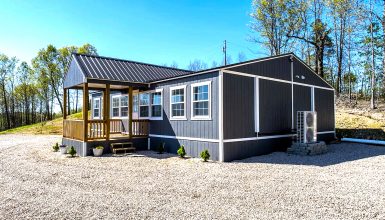
Ready to upgrade your mobile home’s cooling game? A package AC unit is just the ticket to keep your space comfortable and energy-efficient. But getting the installation right is crucial—ensuring your unit works effectively, lasts longer, and keeps those energy bills in check. Let’s dive into package AC units and discover how proper installation can make all the difference in your mobile home’s comfort!
Pre-Installation Preparation
Before diving into the installation process, ensure you’re set up for success with some essential pre-installation prep. Trust us, planning now will save you time and headaches later!
1. Choose the right package AC unit
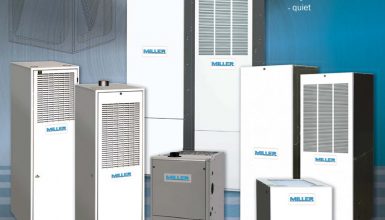
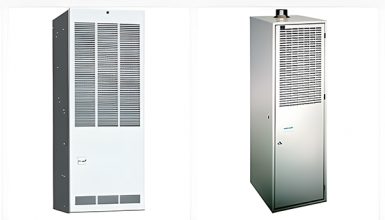
First, select a package AC unit suitable for your mobile home. Consider your home’s size, climate, and energy efficiency needs.
2. Gather tools and materials
Gather all the necessary tools and materials beforehand to streamline the installation process. Some essentials include a drill, level, tape measure, wrenches, screwdrivers, and any specific components required for your package AC unit.
3. Prepare the installation site
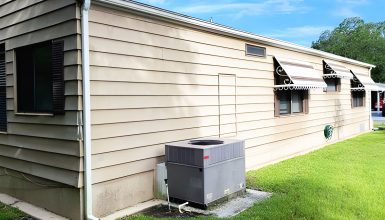
Find the perfect spot for your outdoor unit—it should be level, sturdy, and clear enough for proper airflow. Make sure the area is free of debris and obstructions. Pick a location for the indoor unit that provides easy access to the ductwork, electrical wiring, and drain lines. Keep in mind that it should be easily accessible for future maintenance.
Step-by-Step Guide
With the pre-installation preparations complete, you’re well on your way to a smooth and successful package AC unit installation. Now, let’s get ready to transform your mobile home into the comfortable oasis you deserve!
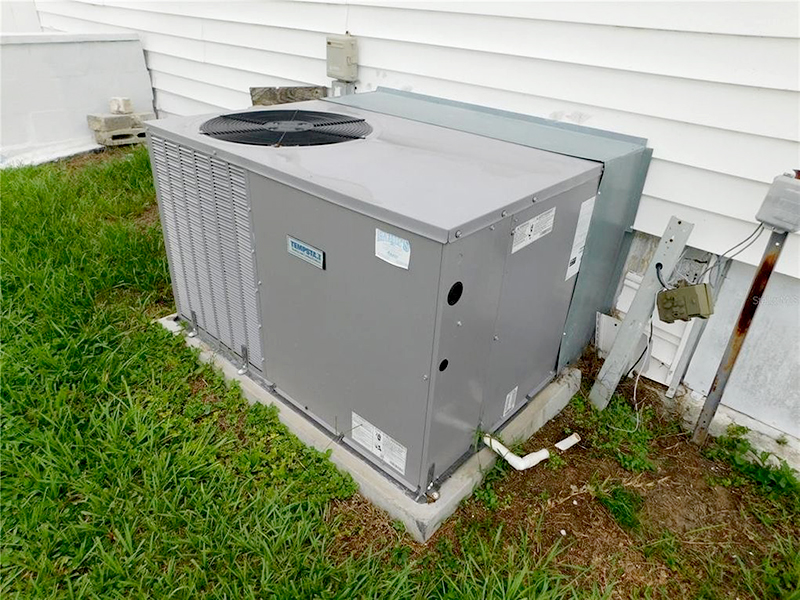
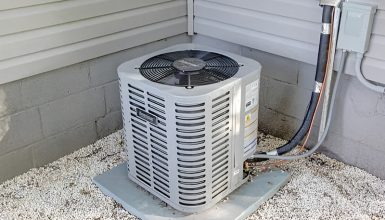
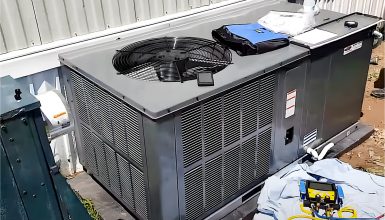
Step 1: Installing the Outdoor Unit
Now that you’re all prepped, it’s time to get down to business and install the outdoor unit! Just follow these steps, and your mobile home will be on its way to cool, breezy comfort in no time:
- Position the outdoor unit: Carefully place the outdoor unit on the level, the sturdy surface you’ve prepared. Leave enough clearance around the unit for proper airflow and maintenance access.
- Level the unit: Use a level to ensure the AC sits evenly on the ground. Adjust the unit or add shims to create a balanced foundation if necessary. An even base provides optimal performance and helps prevent excess noise and vibrations.
- Connect refrigerant lines and electrical wiring: Consult your package AC unit’s manual for specific instructions on connecting the refrigerant lines and electrical wiring. Be sure to follow all guidelines and safety precautions.
- Secure the unit: Anchor the outdoor unit to the ground using brackets, straps, or bolts as the manufacturer recommends. This step ensures your AC stays put, even during high winds or rough weather.
With your outdoor unit securely installed, you’re halfway to enjoying the cool comfort of your new package AC unit! Keep up the excellent work, and let’s move on to the indoor portion of the installation.
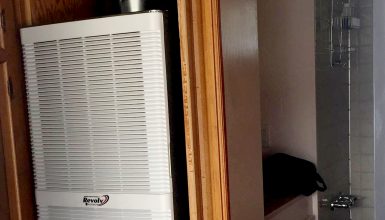
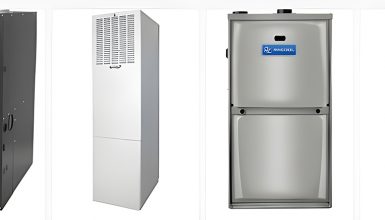
Step 2: Installing the Indoor Unit
Great job on the outdoor unit! Now, let’s tackle indoor unit installation. Follow these steps, and you’ll be one step closer to a cool, comfortable mobile home:
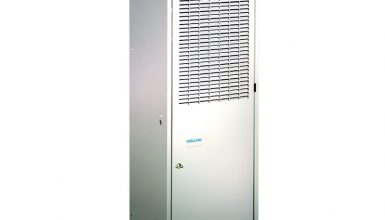
- Choose the right location: If you haven’t already, select a spot for your indoor unit that allows easy access to ductwork, electrical wiring, and drain lines. Keep in mind; it should also be easily accessible for future maintenance.
- Mount the indoor unit: Following the manufacturer’s instructions, securely mount your unit to the wall or ceiling. Ensure it is level and stable, which helps ensure optimal performance and reduces noise.
- Connect refrigerant lines, drain lines, and electrical wiring: Carefully connect the refrigerant lines, drain lines, and electrical wiring to the indoor unit, as per the package AC unit’s manual. Always follow safety guidelines and manufacturer recommendations.
With the indoor unit installed, you’re almost ready to bask in the comfort of your new package AC unit.
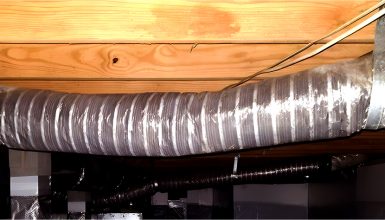
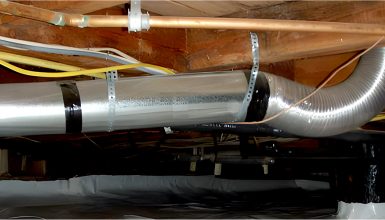
Step 3: Connecting the Ductwork
You’re doing great! Now that the outdoor and indoor units are in place, it’s time to connect the ductwork. This step ensures that cool air is distributed evenly throughout your mobile home. Let’s dive in:
- Plan your ductwork layout: Before you start cutting and assembling the ductwork, plan your layout. Determine the most efficient path from the indoor unit to the air vents in each room. Keep in mind that shorter, straighter runs are generally more efficient.
- Measure and cut the ductwork: Carefully measure the distances between the indoor unit, air vents, and any turns or junctions in your planned layout. Using these measurements, cut the ductwork pieces to the appropriate lengths.
- Assemble the ductwork: Fit the duct pieces according to your layout plan. Use duct tape and mastic sealant to create airtight connections between the sections. Don’t forget to install any necessary insulation or supports as you go.
- Attach the ductwork to the indoor unit and air vents: Finally, connect the assembled ductwork to the indoor unit and the air vents in each room. Use the appropriate fasteners and supports to hold the ductwork securely.
With the ductwork connected, you’re on the home stretch of your package AC unit installation! Just a few more steps, and you’ll be ready to enjoy your new cooling system.
Step 4: Final Steps and Testing
You’ve made it this far—congrats! Now it’s time to wrap up the installation process with some final steps and testing. Let’s make sure your new package AC unit is ready to keep your mobile home cool and comfortable:
- Charge the refrigerant system: With everything connected, it’s time to charge it. This process ensures the correct amount of refrigerant is circulating in your unit. It’s essential to follow the manufacturer’s guidelines for charging it.
- Seal and insulate the ductwork: Proper sealing and insulation of your ductwork help maintain efficient airflow and prevent energy loss. Use duct mastic and insulation materials to seal gaps and wrap the ductwork as needed. This step boosts efficiency and helps prevent condensation and mold growth.
- Test the package AC unit: It’s time to test your new cooling system! Turn on the package AC unit and check each room for proper airflow and temperature control. Ensure no unusual noises or vibrations coming from the indoor or outdoor units. If everything looks and sounds good, you’re ready to enjoy your new cooling system!
Give yourself a pat on the back—you’ve successfully installed a package AC unit in your mobile home! Now, sit back and savor the cool comfort you’ve worked hard to achieve.
Troubleshooting Common Issues
Of course, even the best-laid plans can hit a snag. But don’t worry—we’ve got you covered with tips for troubleshooting some common issues you might encounter during your package AC unit installation:
- Insufficient cooling
If you find that certain rooms aren’t cooling as they should, check for any leaks or gaps in the ductwork. Make sure the ducts are properly sealed and insulated. Also, ensure that the air vents are open and not blocked by furniture or curtains.
- Unusual noises or vibrations
Hearing strange sounds or feeling excessive vibrations from the indoor or outdoor units? Double-check that both units are properly leveled and securely fastened. In case the issue persists, consult the manufacturer’s manual for guidance or contact a professional HVAC technician.
- Electrical issues
If your package AC unit isn’t powering on or is tripping circuit breakers, ensure all electrical connections are secure and properly grounded.
- Refrigerant leaks
If you suspect a refrigerant leak, look for oil stains or a hissing sound around the refrigerant lines. It’s crucial to address leaks immediately, as low refrigerant levels can damage the compressor. This job is best left to an HVAC professional, who can safely identify and repair the leak and recharge the system.
Remember, don’t hesitate to consult your package AC unit’s manual or contact a professional HVAC technician for help when in doubt.
Maintenance and Care
Now that you’ve got your package AC unit up and running, keeping it in tip-top shape with proper maintenance and care is essential. Follow these steps to ensure your cooling system stays efficient and reliable for years to come:
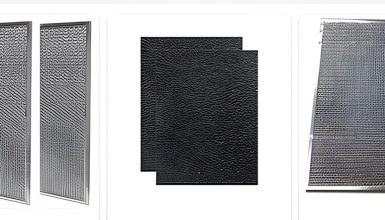
- Clean or replace air filters
Regularly check your air filters and either clean or replace them as needed. Dirty filters restrict airflow, reduce efficiency, and damage your unit. Aim to clean or change them at least every 1-3 months or more often if you have pets or allergies.
- Clean outdoor unit
Keep the area around your outdoor unit free of debris, such as leaves, grass, or dirt. Clean the unit’s fins and coil with a soft brush or gentle spray of water to remove any buildup. It helps maintain proper airflow and efficiency.
- Inspect and clean ductwork.
Periodically inspect your ductwork for any signs of leaks, gaps, or damage. Seal any leaks with duct mastic and insulate as needed. Keep air vents clean and unobstructed to ensure efficient airflow.
- Check refrigerant levels
If you notice a decline in cooling performance or suspect a refrigerant leak, have a professional HVAC technician inspect and recharge the system as needed. Proper refrigerant levels are vital for optimal performance and energy efficiency.
- Schedule routine maintenance
Schedule routine professional maintenance at least once a year to keep your package AC unit running smoothly. An HVAC technician can identify and address potential issues before they become more significant problems.
Conclusion
You’ve successfully navigated the ins and outs of installing a package AC unit in your mobile home. By following this guide, you’ve boosted your home’s comfort and gained valuable skills. Remember to keep up with regular maintenance and care to ensure your new cooling system runs smoothly for years.
