
You might think installing a new furnace sounds complicated. You might even feel like leaving it to the pros. We get it. But you’d be surprised at just how manageable it can be. Think of it as a weekend project, a DIY adventure that brings you warmth and the satisfaction of a well-done job.
This guide is all about taking you from start to finish. We’ll explain the nuts and bolts, break down the steps, and illuminate the dark corners. We’re all about the details, but we’re not about jargon. We’ll keep things simple, clear, and practical. So, put on your DIY cap. Let’s bring some warmth into your home. Furnace installation? You’ve got this!
Pre-Installation Checks and Preparations
Before we dive into the nuts and bolts of installing your new furnace, we need to do some homework. Pre-installation checks and preparations might not sound thrilling, but trust us; it’s a vital step. And it will save you time, energy, and headaches.
- Tools
First things first – your toolbox. Grab a notebook and jot down these must-haves: screwdrivers (both flat-head and Phillips), a wrench set, pliers, wire strippers, a multimeter, and a drill. You’ll also need some HVAC aluminum foil tape and sealant for those duct connections. Got it all? Great!
- Safety
Next up: safety. We’re dealing with gas and electricity here, so there are no shortcuts, okay? Safety glasses, work gloves, and a fire extinguisher should always be within arm’s reach.
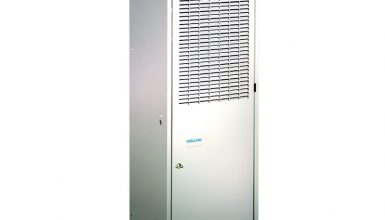
- Furnace
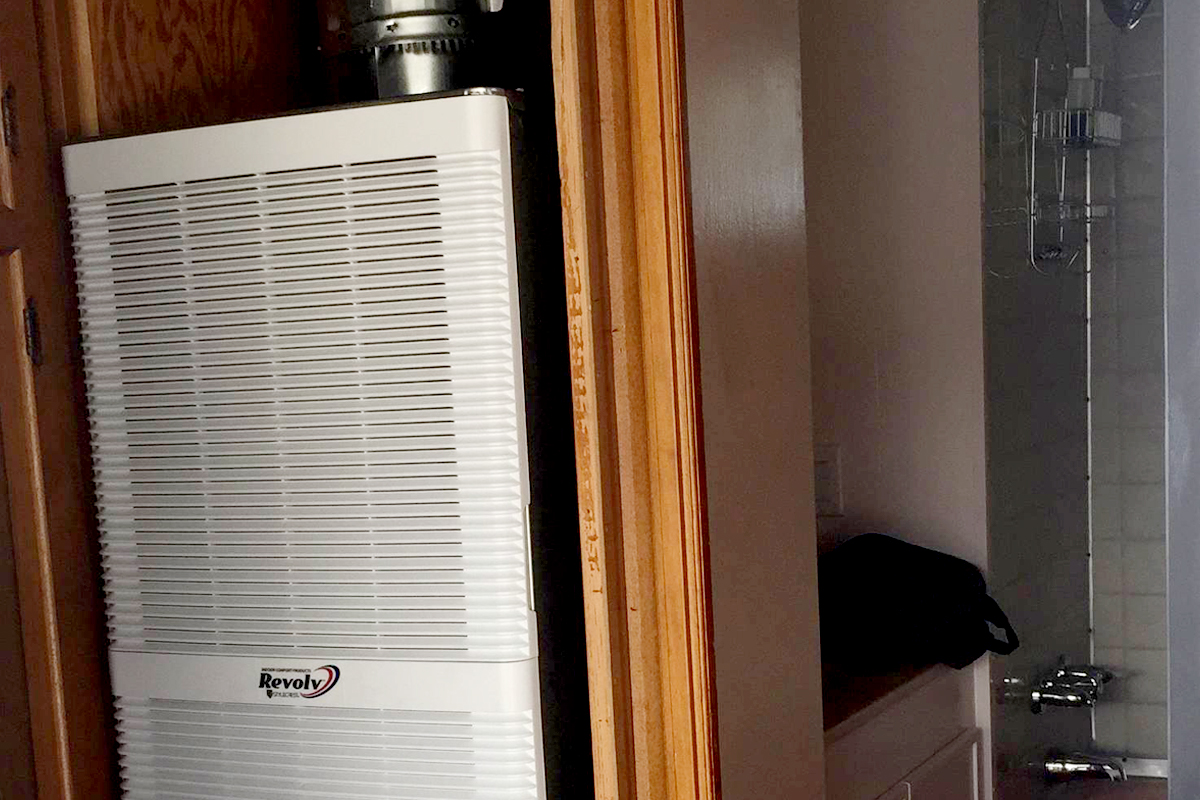
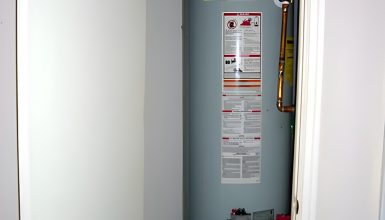
Now, let’s talk about the star of our show – the furnace. Not all furnaces are created equal. You must ensure your furnace model is compatible with your mobile home. Check the size and capacity, and make sure the furnace is HUD-approved.
- Local building codes
Finally, let’s chat about rules and regulations. They’re not the most fun, but they’re essential. Double-check your local building codes. Some places require permits for this sort of work. Remember, it’s always better to be safe than sorry.
There you have it – pre-installation checks and preparations in a nutshell. It’s like mapping out your route before hitting the road. Now, you’re all set, and we can move on to the next step of our exciting DIY journey!
Understanding the Furnace Key Parts
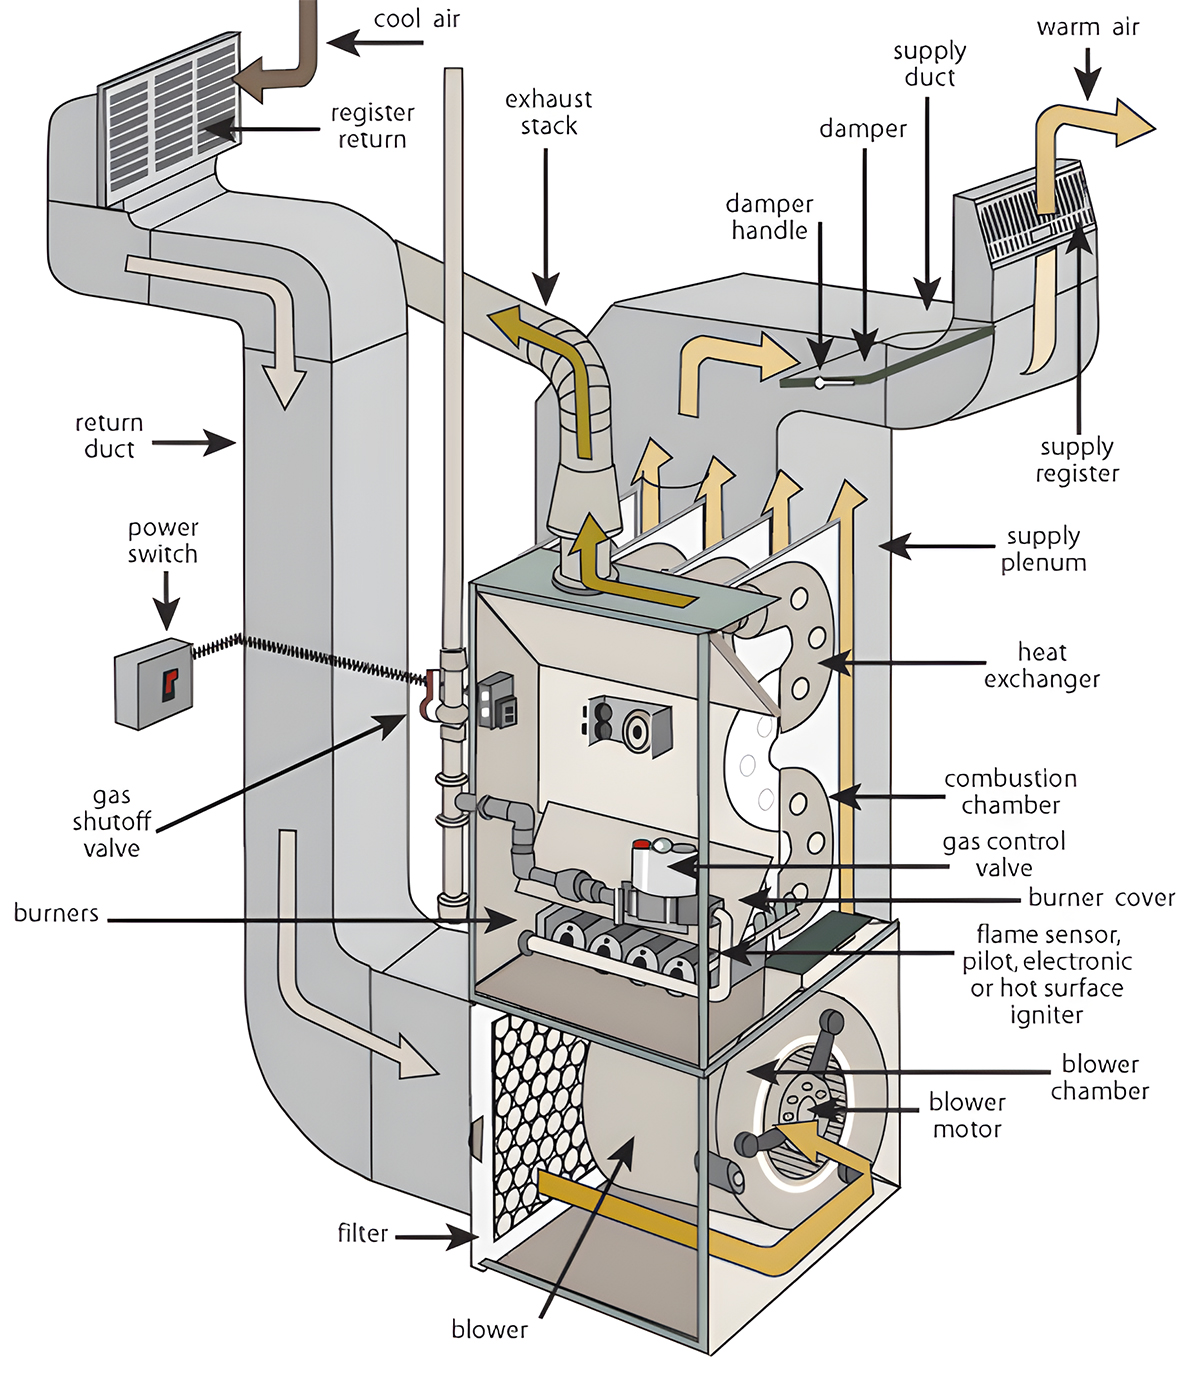
The furnace may seem intimidating, complex, but it’s all about teamwork. Every part has a role to play. And understanding these roles? That’s your ticket to a smooth installation.
1. Thermostat
First up is the thermostat. Think of it as the brain of the operation. It’s where you dial in your desired temperature. It listens, then tells the furnace, “Hey, time to heat things up!”
Then we have the burner. It’s the heart of the furnace, where all the heat generation happens. It’s fueled by gas ignited to create a controlled flame – a cozy, controlled inferno in your mobile home.
2. Heat exchanger
Next is the heat exchanger. It is the middleman of our operation. It absorbs the heat from the burner and passes it onto the air blowing over it. It’s like a courier service, delivering warmth right to your doorstep.
3. Blower motor
Speaking of blowing air, that’s where the blower motor comes in. It’s the powerhouse, pushing that now-toasty air through your home’s ductwork. It’s like a friendly wind, only warmer, carrying all that good heat throughout your mobile home.
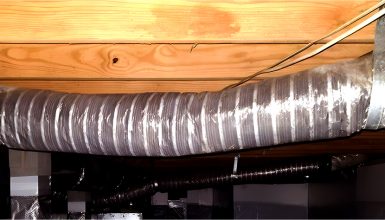
4. Vent pipe
And finally, we have the flue or vent pipe. After the heating process, there are some by-products. The flue safely escorts them out of your home. It’s your furnace’s bodyguard, keeping everything safe and sound.
The anatomy of your furnace – not as complex as you thought, right? Each part is crucial, and understanding them brings you one step closer to mastering your furnace installation.
Step-by-Step Guide to Removing the Old Furnace
It’s time for action! Ready to get your hands dirty and remove that old furnace? It’s a bit like saying goodbye to an old friend. But trust us; the new one will be so much better. Here’s how we’ll do it, step by step.
Step 1: Power Off
Before we start, safety comes first! Turn off the gas supply. Then, cut off the electricity. Both these moves are like hitting the pause button – they ensure nothing will startle us.
Step 2: Disconnect
Now, we’ll unplug the furnace from the gas line and the electrical supply. You’ll need your wrench for this task. Just remember, righty-tighty, lefty-loosey!
Step 3: Ductwork Detach
Next, we’ll disconnect the furnace from the ductwork. It is where your screwdriver comes into play. Take out the screws carefully and store them somewhere safe – you don’t want to lose them.
Step 4: Furnace Removal
Here comes the heavy lifting. The furnace might be a bit weighty, so you might want to call in a friend to help. Carefully lift it out of its position, ensuring not to damage any nearby wires or connections.
Step 5: Cleanup
With the old furnace out, take a minute to clean the area. You’ll be surprised what might have accumulated over the years. Plus, a clean workspace is a happy workspace!
Voila! Your old furnace is out, and you’re ready for the new kid on the block. Take a breather – you’ve done great. Ready for the next stage? Let’s move on to installing your new furnace.
Installing the New Furnace
The old furnace is out, and it’s time to usher in the new. This is where the magic happens, turning your mobile home into a toasty haven. So let’s get down to business and start installing your new furnace.
Step 1: Position Perfect
First, we place the new furnace in its designated spot. Align it just right. You want it to fit snugly but not too tight. And remember, it needs to connect with the existing ductwork and gas supply.
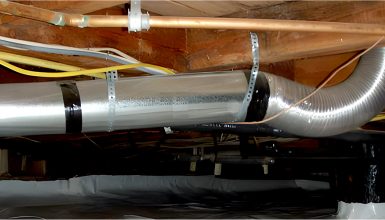
Step 2: Ductwork Connect
Next, let’s connect the furnace to the ductwork. Reach for your HVAC aluminum foil tape and sealant. It’s time to make a seamless connection, ensuring warm air travels freely and without escaping.
Step 3: Gas Supply
Now, let’s bring on the heat – literally. Connect the furnace to the gas supply. Your wrench is your best friend here. Just remember not to over-tighten. A firm connection will do just fine.
Step 4: Electric Supply
It’s time for the furnace to meet electricity. Connect the wires as per the manufacturer’s guide. It isn’t a step for guesswork. If you’re unsure, it’s best to call in a professional. Safety comes first, always.
Step 5: Venting
Finally, we need to take care of the by-products of all that heating. It is where the flue or vent pipe comes into play. It’s like your furnace’s exhaust system, guiding all the gasses safely out of your home.
Your new furnace is now installed. But hold the celebrations just yet – we have a few more things to check before we kick back and enjoy the warmth.
Final Checks and Safety Measures
With your new furnace snug in its place, it’s time for the grand finale – the final checks and safety measures. These steps are our safety net, ensuring everything runs smoothly and safely. So let’s dive right in!
Step 1: Gas Leak Check
First, let’s make sure our gas connection is tight and right. For this, you’ll need a solution of dish soap and water. Apply it to the gas line connection. See any bubbles forming? That’s a sign of a gas leak, and it’s time to tighten things up.
Step 2: Power On
Now comes the moment of truth. Turn on the gas supply and switch on the electricity. We’re waking up our furnace, preparing it for its primary job – keeping you warm.
Step 3: Test Operation
It’s time for a test run. Turn up the thermostat and listen. Hear the furnace kick on? Feel the warm air flowing out of the vents? Congratulations, you’ve done it! If not, it’s time to double-check your connections and refer back to the manufacturer’s guide.
Step 4: Safety First
Finally, let’s go over some safety tips. Keep flammable materials away from the furnace. Regularly check for any unusual sounds or smells. And remember, when in doubt, always call in a professional.
That’s it! Your new furnace is installed and ready to work its magic. We told you you’ve got this, didn’t we? But our journey’s not over yet. It’s now time to learn about maintaining this heat-giving gem. After all, we want it to keep you warm for years.
Maintenance Tips for Your New Furnace
Well done, furnace installer extraordinaire! Now that your mobile home is basking in the glow of warmth let’s ensure it stays that way. Like any hard-working hero, your furnace needs a little TLC to keep running smoothly. So, here’s your handy maintenance checklist.
1. Filter Fitness
Let’s start with the furnace filter, the first line of defense against dust and debris. A clean filter means cleaner air and a happier furnace. Aim to check it monthly and replace it when it looks dirty. It’s a quick task that makes a big difference.
2. Vent Vigilance
Next, keep an eye on your furnace’s vents. Keep them clear of any blockages, like furniture or curtains. Good airflow is a key to efficient heating.
3. Regular Cleaning
Take some time every few months to clean your furnace. Wipe down the exterior, and use a vacuum to clean out the blower compartment. A clean furnace is a happy furnace!
4. Annual Checkup
Finally, consider an annual checkup from a professional. They can give your furnace a thorough once-over, spot any potential issues, and give it a clean bill of health. This is like your furnace’s yearly doctor’s appointment.
There you have it! With these tips, you’ll keep your furnace running smoothly, keeping you and your mobile home snug and warm.
Conclusion
You’ve done it! You’ve navigated the ins and outs of your new furnace, mastered the art of installation, and are primed to keep it in tip-top shape. Not bad for a weekend DIY project, right? Remember, this was never just about staying warm. It was about the satisfaction of conquering something new and transforming your mobile home into a true haven of comfort.
