
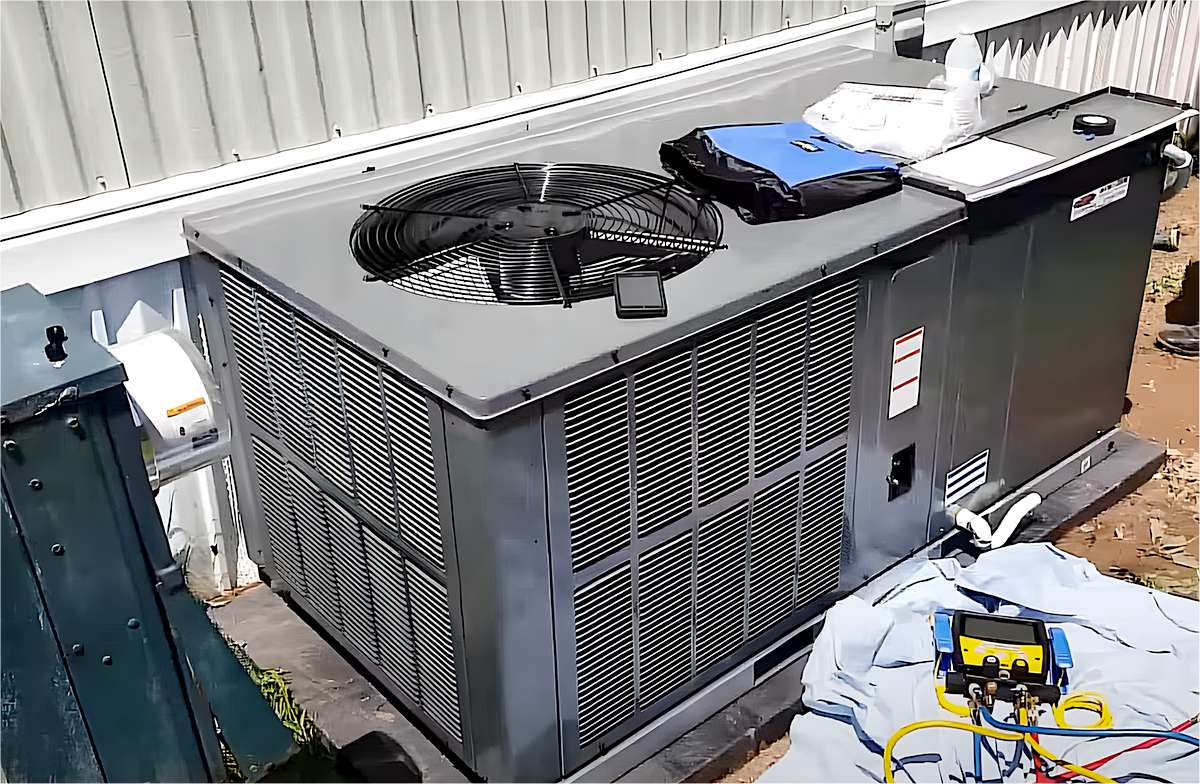
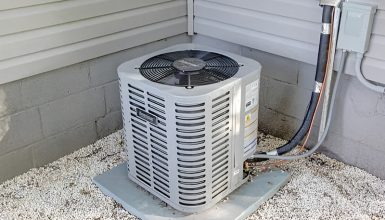
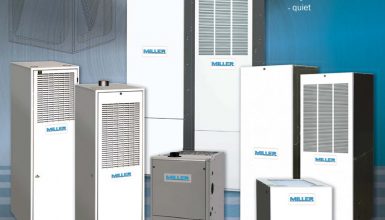
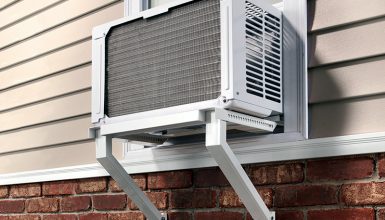
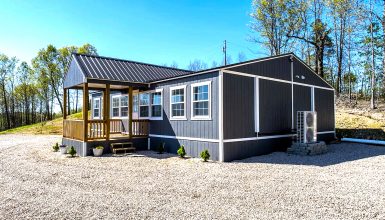
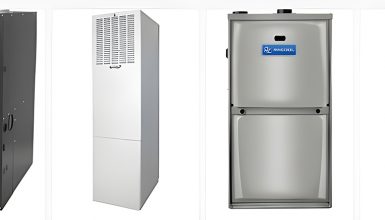
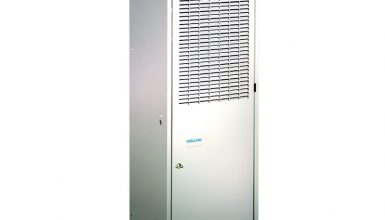
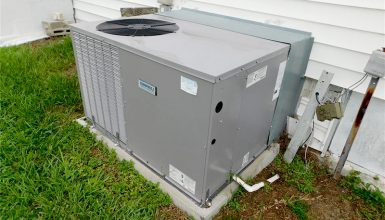
A package unit typically houses a furnace, an air conditioner, and a fan to distribute the air. Some models even throw in a heat pump for good measure. It’s like a Swiss army knife for your home’s temperature control! It’s compact, efficient, and ready to change your home’s comfort game. But hold up! Installing a package unit might seem like uncharted territory. I hear you! That’s why we’re here together, about to delve into the world of package units. Let’s roll up our sleeves and dive in.
Necessary Tools and Equipment for Installation
Got your toolbelt handy? Good, because it’s about to see some action! Let’s discuss the tools and equipment needed to install your new package unit. Preparation of everything will make the process smoother, faster, and less frustrating.
- Hand tools
First, we need a set of good old hand tools. You know the drill – no pun intended! A screwdriver (Phillips and flathead), a wrench set, pliers, and a hammer. Don’t forget a good utility knife, too. It’s a DIYer’s best friend!
- HVAC tools
Next up, HVAC-specific tools. You’ll need a refrigeration manifold gauge set to check your cooling system pressure. A vacuum pump is also essential to ensure no air or moisture is left in the system when installed.
- Electrical tools
Let’s not forget the electrical tools. A wire stripper is going to be your go-to for any electrical connections. And it’s a good idea to have a multimeter on hand. It’s like the detective of your toolkit, helping you solve any electrical mysteries that might pop up.
- Safety equipment
Safety equipment is crucial. Get a good pair of work gloves to protect your hands. Safety glasses are also necessary to keep your eyes safe from flying debris. And don’t forget a sturdy ladder – we might need to reach high places.
Finally, you’ll need duct tape and a high-quality sealant. We’re not just talking about duct tape but the UL-181-rated stuff. It’s the superhero version designed to withstand the temperatures and pressures of HVAC systems.
Step-by-step Guide to Install a Package Unit
Alright, folks! It’s time to hit the ground running. We’re installing a package unit. Just remember – this isn’t a race. Take your time, stay safe, and let’s get that unit installed!
Step 1: Removing the Old Unit (if applicable)
Does your mobile home already have an old unit on the out? If so, it’s eviction time. This part is all about removing the old unit. Think of it like unclogging a bottleneck before pouring in something fresh and new.
First off, we need to cut the power. Head over to your electrical panel and switch off the breaker connected to the unit. This step is non-negotiable. After all, electricity and DIY don’t mix without caution.
Once the power’s off, we start the removal process. Begin with disconnecting any electrical wiring attached to the unit. Usually, there’s a disconnect box nearby – you should see a thick cable running from it to the unit. Unscrew the cover, pull the plug or switch it off, and disconnect the wires. Remember to cap the ends with wire nuts for safety.
Next up, say goodbye to the ductwork. Detach the connections between the ducts and your unit. You might need a utility knife to cut through any tape or sealant. Do it gently; we don’t want to damage the ducts.
Okay, now for the main event. We’re lifting the old unit. Depending on its size, you might need help with this. After all, there’s no heroism in pulling a muscle. Gently lift the unit off its base, careful not to damage any mobile home parts.
Step 2: Preparing the Installation Site
With the old unit out of the way, we’ve got a vacant spot ready for your shiny new package unit. But, hold your horses. Before placing the new unit, we must ensure the area is prepped and primed. So, let’s roll up those sleeves and dive in!
First things first, let’s give the area a good clean-up. Sweep away any leaves, dirt, or other debris. We want a clean slate for your new unit. Think of it as rolling out the welcome mat for your new climate-controlling buddy.
Next up, look at the surface where your new unit will sit. It needs to be level. Why, you ask? Well, a level surface ensures your unit operates efficiently and doesn’t vibrate or make unnecessary noise. So, bring out that trusty level tool and check the ground. You might need some patio stones or a concrete slab to level it out if it’s uneven.
Also, ensure enough clearance around your new unit for proper airflow. Check the manufacturer’s instructions for specific clearance requirements. This is crucial – we don’t want your new unit gasping for air.
Lastly, it’s all about location. Keep the unit close enough to your home for easy connection to the ductwork and electrical supply, but not so close that it will be noisy or disruptive.
Step 3: Positioning the Package Unit
This step might seem straightforward, but it’s more than just a heavy-lifting job. It’s like finding the perfect parking spot for your new ride.
Firstly, take a moment to appreciate the weight of this mission. Literally! Package units are hefty, which isn’t a job for one pair of hands. Get help for this stage – a few extra pairs of hands will make this task much easier and safer.
Now, imagine your package unit is a giant puzzle piece. Your job? Fit it into its new spot perfectly. It means aligning the unit with your existing ductwork and electrical connections. It’s a bit like a ballet – it has to be positioned just right.
Remember, the unit needs to be close enough for the ductwork and electrical connections to reach but not so close that it bumps up against your home’s side. And remember those clearance requirements we talked about earlier? Make sure you’re meeting those, too.
Another thing to consider is the orientation. Check the manufacturer’s instructions for this. But generally, the access panels should generally face outwards for easy maintenance, and the air should flow toward the home.
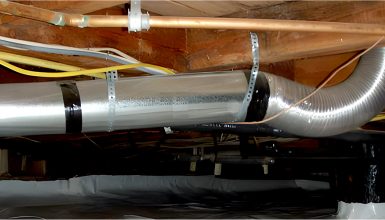
Step 4: Connecting the Ductwork
It’s time to get your package unit talking to your mobile home via ductwork. That’s right; we’re connecting the ducts.
Think of the ductwork as the messenger between your package unit and your home. It carries cooled or heated air from your unit into your living space, and who doesn’t want those messages delivered on time, right?
Firstly, take a moment to inspect your existing ductwork. It should be in good condition – no tears or damages. If there’s any damage, now’s the time to repair or replace it. We want that airflow to be smooth and unobstructed.
With your ductwork ready, align the unit’s duct connections with your home’s ductwork. If the ducts are a bit off, you might need to modify them to fit.
Now, let’s connect! Slide the home’s ductwork over the package unit’s duct stubs. Secure the connection using HVAC foil tape. This tape is like the ultimate peace treaty – it ensures no air escapes from the joint.
Once the foil tape is in place, slather some mastic sealant over the tape. This sealant is like the icing on the cake. It makes sure the connection is airtight. Let it dry, and voila, your ductwork is connected.
Step 5: Electrical Connections
Now, this might seem intimidating, but don’t worry. We’ll walk through it together. First and foremost, safety is paramount. Don’t hesitate to bring in a professional if you’re unsure or uncomfortable with this step. Remember, you’re a home improver, not a daredevil. Before we start, make sure your unit’s power source is OFF. I can’t stress this enough – safety first, folks.
Next, it’s time to bring out the unit’s wiring diagram. It is like your treasure map, guiding you through the electrical connections. You’ll find it in the manual that came with the unit.
There are typically two types of connections: the power supply connection and the control wiring connection. The power supply connection usually involves larger wires that carry high voltage. These will connect to your home’s electrical panel or a disconnect box near the unit.
For the control wiring, you’ll be dealing with smaller wires. These wires connect to your home’s thermostat and other controls. They tell your unit when to start when to stop, and when to go all out because it’s a hot day!
Remember, color coordination is key. Generally, red wires are for power, white for heat, yellow for cooling, and green for grounding. Make sure to match them correctly. It’s like connecting the dots but with colors.
Once you’ve connected the wires per the diagram, secure them with wire connectors or electrical tape. No loose ends allowed here! Finally, with all connections secure, close up the access panel on the unit.
Step 6: Finalizing the Installation
With the electrical connections secured and your package unit sitting pretty in its spot, it’s time to give everything one final check. Go through each step we’ve taken and make sure everything’s as it should be. Think of this as your victory lap.
Have all the connections been made securely? Is the unit level? Are the ducts appropriately sealed? Is the area around the unit clear? You’re ready for the next step if you’ve checked all these boxes.
Now, it’s the moment of truth. Head over to your electrical panel and restore the power to the unit. As you flip that switch, take a moment to pat yourself on the back. You’ve just installed a package unit in your mobile home!
But wait, we’re not entirely done yet. Let’s put your new unit to the test. Set your thermostat to cool or heat, depending on the season, and let the system run for a while. Listen for any unusual noises, and feel for any cool or warm air coming through your vents. If everything checks out, congratulations! You’ve successfully installed your package unit!
Troubleshooting Common Problems
It’s time to tackle those hiccups you might encounter along your package unit journey. Like every rose has its thorns, even the smoothest installations can hit a few bumps in the road. So let’s dive into some common problems and how to troubleshoot them.
1. Silent Unit
First up the case is the Silent Unit. You’ve done everything right, but the unit won’t turn on. Before you panic, check your power supply. Is the unit plugged in? Is the circuit breaker on? Often, it’s as simple as flipping a switch or plugging the cord in securely.
2. Noisy Operation
Then, there’s the mystery of the Noisy Operation. If your unit is humming a tune you don’t like, it might be due to loose parts or an unlevel surface. Tighten any loose components and double-check that the unit is level. Also, ensure that nothing obstructs the fan blades, like leaves or twigs.
3. Insufficient Heating or Cooling
Next, we have the problem of Insufficient Heating or Cooling. If your unit isn’t doing its job, check your thermostat settings. Is it set to the correct mode and temperature? Then, check the duct connections. Any leaks could be letting the cooled or heated air escape.
4. Constantly Running Unit
Another common problem? The riddle of the Constantly Running Unit. If your unit acts like an Energizer bunny, you might set your thermostat to ‘ON’ instead of ‘AUTO.’ Switch it to ‘AUTO’ so the unit only runs when needed.
5. Frozen Unit
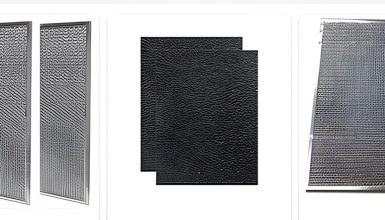
Lastly, we have the enigma of the Frozen Unit. If your unit resembles an igloo, it could be due to restricted airflow or low refrigerant levels. Check the air filters and clean or replace them if necessary. If the problem persists, you might need a pro to check the refrigerant.
Estimated Cost of Professional Installation
Sometimes, calling in the pros is just what the home improvement doctor ordered. So, let’s break down what professional installation might set you back.
First, remember that the cost of professional installation can vary quite a bit, just like home styles. You’ve got tiny homes, sprawling ranches, and everything in between. But for a ballpark figure, you typically look at around $1,000 to $3,500. Yes, that’s quite a range, but stick with me.
The lower end of that scale, around the $1,000 mark, usually covers basic installations in smaller homes. This is your white picket fence, a straightforward kind of job.
In the middle of the range, you’ll find more complex installations. Maybe there’s old equipment to be removed, or your home needs additional prep work. These jobs could set you back around $2,000 to $2,500.
Now, at the higher end of the scale, you’re looking at the big kahuna of jobs. We’re talking about significant ductwork modifications, installing high-end units, or tackling larger homes. These projects could cost you upwards of $3,000.
Remember, though, these figures are just an estimate. Getting a few quotes and asking lots of questions is always a good idea. After all, your home is your biggest investment, and your comfort is priceless.
Conclusion
And there you have it! A step-by-step guide to installing a package unit. So whether you’re ready to tackle this as a DIY project or prefer to hand it off to a pro, remember you’re making your home more comfortable.