
Skirting trim is more than just a finishing touch for your mobile home; it’s a vital part of the structure that protects it from various elements. That neat facade at the base of your mobile home works overtime, guarding against weather woes and uninvited pests. This guide delves deep into mobile home skirting trim. Helping you figure out when it’s time for a replacement, how to do it, and ensuring it stands the test of time.
Sections | Summary | Tips |
Delves into what skirting trim is and why it is a crucial component in mobile homes. Discusses the types, materials, and sizes available, helping you to get acquainted with the basics. | Knowledge is power; understand your material options well. | |
Recognize the signs that indicate the need for a skirting trim replacement, discussing factors like wear and tear, and environmental influences. | Schedule regular inspections to avoid sudden replacements. | |
How to choose the best materials for skirting trim, focusing on durability, aesthetics, and compatibility with the existing structure. | Research and possibly consult an expert for the best material choice. | |
The necessary tools needed for the replacement process. | Preparing a toolkit in advance saves time and stress. | |
The preparation steps before the replacement, include safety precautions and setting a proper foundation for the new skirting trim. | Safety first; ensure the working area is safe and well-prepared. | |
A step-by-step guide detailing how to remove the old skirting and install the new one, emphasizing precision and patience to achieve the best results. | Take it step by step, following the guide closely for a seamless process. | |
How to maintain the new skirting trim properly to ensure longevity and sustained aesthetics, touching on regular cleaning and pest control measures. | Embrace routine maintenance to enhance durability. |
What is Mobile Home Skirting Trim?
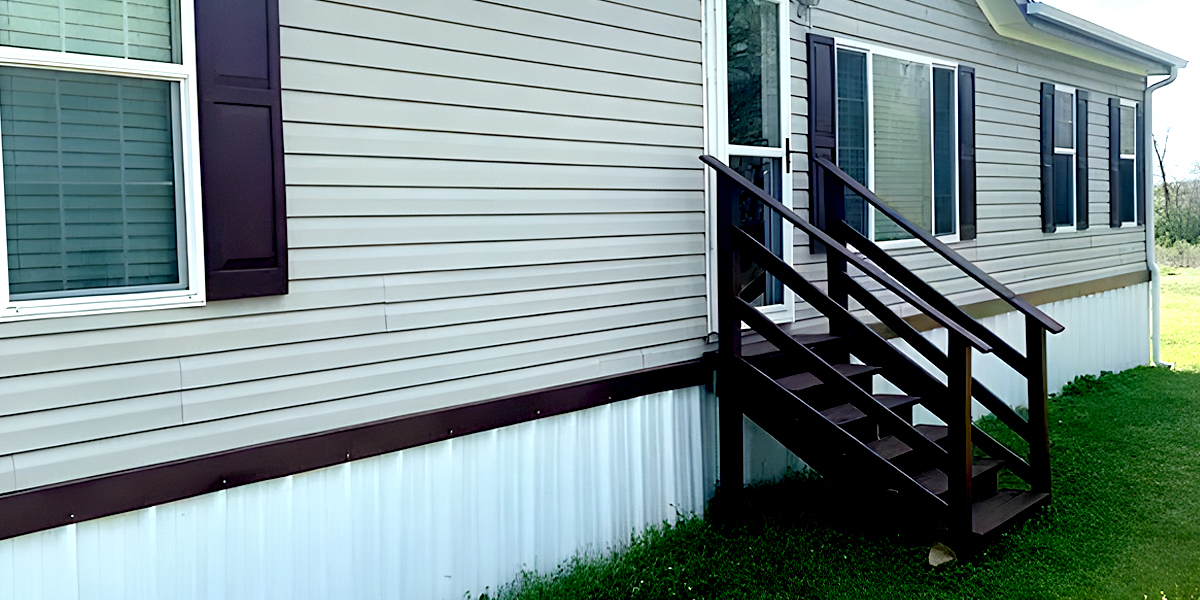
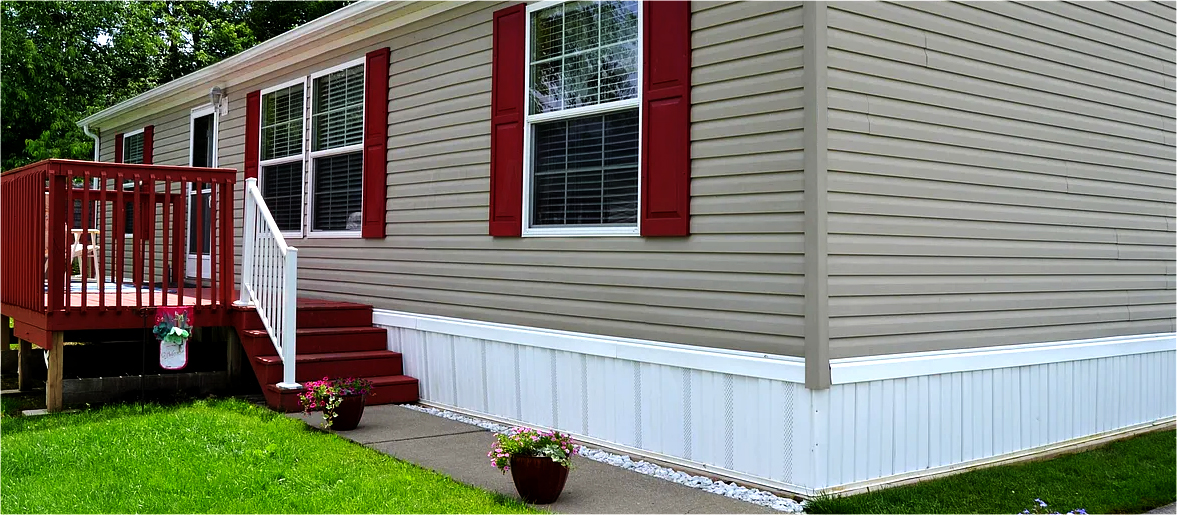
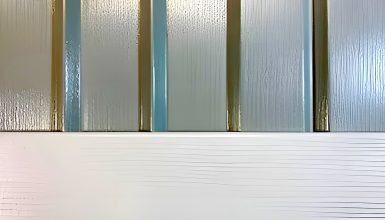
First, let’s chat about what mobile home skirting trim is. In the simplest terms, it’s the material graces the bottom perimeter of your mobile home. It’s that sleek, protective barrier that stands gallantly between your home and the outside world, giving a polished, finished look while keeping the underbelly of your home shielded from various elements.
Types
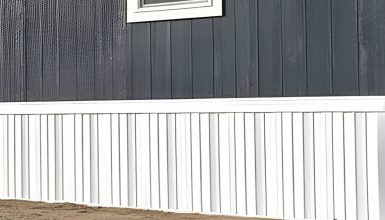
We’ve got a few different types to choose from. There’s the standard trim, which runs horizontally along the bottom of your home. Then, we have the ground channel trim that ensures everything stays in place, snug with the ground. And let’s not forget the front face trim that gives that polished look we all love.
Materials
Next up, materials. We’ve got the classic vinyl, a superstar in the skirting world for being affordable and easy to maintain. Metal is your go-to for durability and that modern, sleek vibe. And then there’s the warm embrace of wood, bringing that touch of classic elegance to any mobile home.
Dimensions
Finally, the dimensions. It’s not one size fits all. You’ve got to measure the height from the ground to the base of your home to get it just right. The width of the panels typically runs from 16 to 28 inches, offering a range to suit different home sizes. Remember, it’s all about that perfect fit, like finding that dream pair of jeans, but for your home!
So, there we have it, a whirlwind tour through the vital world of skirting trim. Stay tuned as we dive deeper, offering you the ultimate guide to giving your mobile home the robust and stylish foundation it deserves!
Recognizing When to Replace Your Skirting Trim

So, you’ve been eyeing that skirting trim and wondering, is it time for a change? You’ve come to the right place because we’re about to dissect the signs that shout, “Replace me!”
1. Visible Damages: Cracks, Holes, and Rust
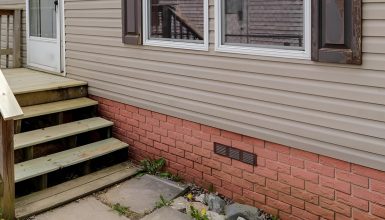
First on the list is noticeable wear and tear. Let’s face it: even the toughest materials have a breaking point. Maybe you’ve spotted cracks that are getting harder to ignore or holes that grow daily. And let’s not even talk about rust; it’s like the lousy guest at the party, slowly spreading and taking over. Yes, damages like these are your first cue to start considering replacement.
2. Age of the Current Skirting Trim
Now, think about how long your current trim has braved the elements. If it’s been a good long run, a round of applause for the trim! But everything has an expiry date. Generally speaking, if it’s been over a couple of decades, it’s time to embrace a new beginning for your skirting trim.
3. Signs of Pest Infestation
Lastly, let’s talk bugs and rodents – not the most pleasant topic. If you find traces of these uninvited guests making a home behind your skirting, it’s a glaring red sign. Replacing your skirting trim could be the barrier that keeps these critters at bay.
So, there you have it, folks. Watch for these signs; your home will thank you for it. And remember, it’s all about nipping the issues in the bud before they grow into more significant problems.
Choosing the Right Trim Materials
Choosing the suitable material for your skirting trim is like picking the perfect outfit; it has to be just right! So, let’s walk down the material aisle and find the ideal match for your mobile home.
Here we are, at the grand stage, where three materials battle for your attention: vinyl, metal, and wood. Let’s break them down one by one:
1. Vinyl Trim
Meet the crowd-pleaser who fits snugly into most budgets and says, “Hey, I am easy to work with!” It’s resistant to pests and doesn’t demand much in the maintenance department. A little soapy water, and it shines like new. Pretty neat, right?
2. Metal Trim
Now, here comes the sturdy player in the game, the metal. Yes, it might be a bit pricier, but it stands tall against harsh weather, promising longevity. It’s like a reliable friend with your back, come rain or shine.
3. Wood Trim
Lastly, we have wood, bringing in that timeless, classic vibe. Picture a cozy cabin in the woods; that’s the warmth wood skirting offers. Yes, it demands a bit more TLC, but for that aesthetic payoff, it’s worth it!
There you go, a rundown of the top contenders in the skirting trim world. Whichever road you go down, remember it’s all about finding that perfect blend of beauty, durability, and affordability. Happy choosing!
Tools You’ll Need

Before we dive into the world of installation and dazzle the neighborhood with a fresh, new look, we’ve got to gather our toolkit. Trust us, having the right tools is half the battle won. So, let’s roll up our sleeves and get our tool checklist ready!
- Tape Measure
- Level
- Hammer
- Nails
- Saw
- Drill
Preparing for the Replacement

Before we dive headfirst into the transformation, we’ve got to lay down some groundwork, literally and figuratively. Yes, it’s prep time, the unsung hero of any home improvement project.
1. Clearing the Area
First things first, we’re clearing the deck. Ensure the area around your mobile home is free from debris, plants, or any other objects that might get in the way. Picture a clean canvas, ready for the masterpiece that is your new skirting trim.
2. Inspecting the Foundation
Next stop: foundation inspection! Take a walk around your home with keen eyes on the lookout for any issues with the foundation. We’re talking cracks, uneven ground, the works. Spotting these early means smooth sailing later on.
3. Taking Measurements
Now, it’s time to bring out that trusty tape measure we talked about earlier. We are getting down to the details, measuring your home’s height and perimeter. Remember, accuracy is your best friend here.
Before we hit the ground running, let’s do a quick roll call of our materials and tools. Have you got everything? Fabulous! Nothing? Time for a short shopping trip. It’s all about being prepared, folks.
Step-by-Step Installing The New Skirting Trim

We’ve reached the climax of our skirting trim adventure — installing your new skirting trim. We know it’s exciting! Grab those tools and materials because we’re going step by step to ensure your new trim is installed perfectly.
Step 1: Removal of the Old Skirting
Alright, it’s out with the old. Gently remove the existing skirting trim, not damaging the underlying structure. It’s like peeling an onion, revealing layers ready for a fresh start.
Step 2: Leveling the Ground
Next, grab that level we mentioned earlier. It’s time to ensure the ground is even and ready to support your fabulous new trim. Think of it as laying a solid foundation for a house; it’s got to be just right!
Step 3: Installing the New Trim
Now, the show’s star, the new skirting trim, takes the stage. Starting at one end, slowly work your way around, securing the trim in place with nails or screws. Remember, slow and steady wins the race!
Step 4: Cutting and Fitting
Here comes the precise part: cutting and fitting. Cut the pieces to the exact measurements using your saw, ensuring a snug fit. It’s like tailoring a suit; every cut matters.
Step 5: Sealing the Edges
Don’t forget this crucial step: sealing those edges to keep moisture and pests out. It’s the protective shield, the guardian of your skirting trim, if you will.
Step 6: The Final Inspection
Finally, take a step back and admire your work. Do a walk-around, checking that everything is secure and looks fabulous. Yes, give yourself a pat on the back; you did it!
Maintenance Tips

Now that your mobile home is rocking that new skirting trim let’s chat about keeping it looking sharp and sturdy season after season. Yes, a little TLC goes a long way, so let’s dive into some maintenance tips that are easy to follow and super effective!
Regular Cleaning
First on the list is regular cleaning. Grab a soft brush and a mild detergent to clean the surface gently. It’s like giving your skirting trim a little spa day, keeping it fresh and bright.
Pest Control
Next up is pest control. Be sure to seal any openings that might invite unwanted guests. Think of it as guarding the fortress, allowing no intruders!
Quick Repairs
Oh, did you spot a tiny crack or dent? Quick repairs are your best friend. Address minor issues promptly to avoid bigger problems down the line. Yes, being proactive is the key!
Inspection
Make it a habit to do a seasonal check. A little walk-around to inspect the skirting can spot potential issues early on. It’s like a regular check-up but for your home!
Paint and Sealing
Lastly, don’t forget the paint and sealing. A fresh coat of paint now and then and properly sealing the edges can work wonders. Imagine it like a fresh haircut, always looking neat and presentable!
Conclusion
You’ve transformed your mobile home with a brand-new skirting trim. Yes, you’ve done everything from selecting the perfect materials to nailing the installation with expertise. Now, your home looks fantastic and stands firm, guarded against weather and time. Remember, a well-maintained skirting trim is a happy one. So here’s to your beautiful, refreshed home — the true star of the neighborhood. Bravo!


