
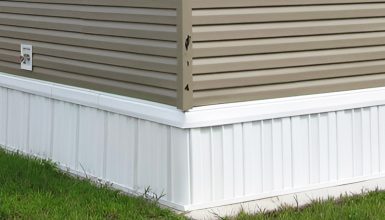
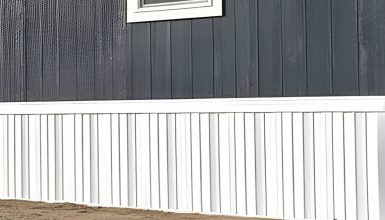
Strengthening your mobile home vinyl skirting is crucial. Picture your home without sturdy skirting—it’s like a cake without frosting, incomplete and vulnerable. Vinyl skirting does more than just add to your mobile home’s curb appeal—it’s your home’s shield against the forces of nature.
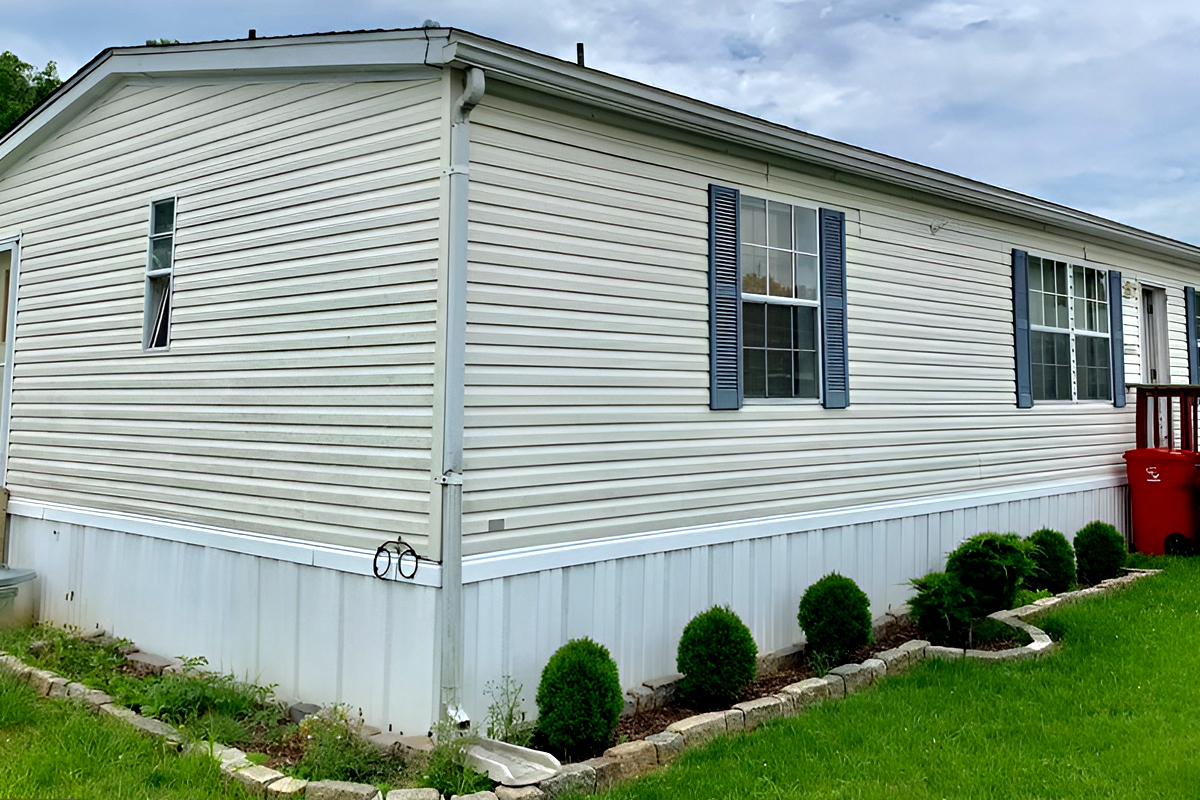
Think about it for a second. Mother Nature, as beautiful as she is, can also be pretty harsh. Rain, wind, snow, you name it—your mobile home faces it all. And it’s your vinyl skirting that stands like an unsung hero, protecting your humble abode from these elements. But it needs to be robust and well-maintained to do its job effectively. Now, let’s move forward and discuss some methods for reinforcing your vinyl skirting.
5 Effective Methods for Strengthening Mobile Home Vinyl Skirting
These are some effective methods to give your mobile home vinyl skirting the strength it needs to protect and enhance your home.
1. Regular Inspection and Maintenance
Let’s get down to the nitty-gritty of regular inspection and maintenance. Think of this as a routine doctor’s check-up but for your mobile home. It might seem like an extra chore on your list, but trust me. It’s so worth it.
Just like early catching a health issue can save you a lot of trouble, spotting a minor issue with your vinyl skirting can prevent a more significant problem. It’s all about prevention, folks. Regular inspections mean you’re proactive, not reactive, and that’s the key to a long-lasting mobile home.
So, what should you look out for during these inspections? Let’s get our checklist ready!
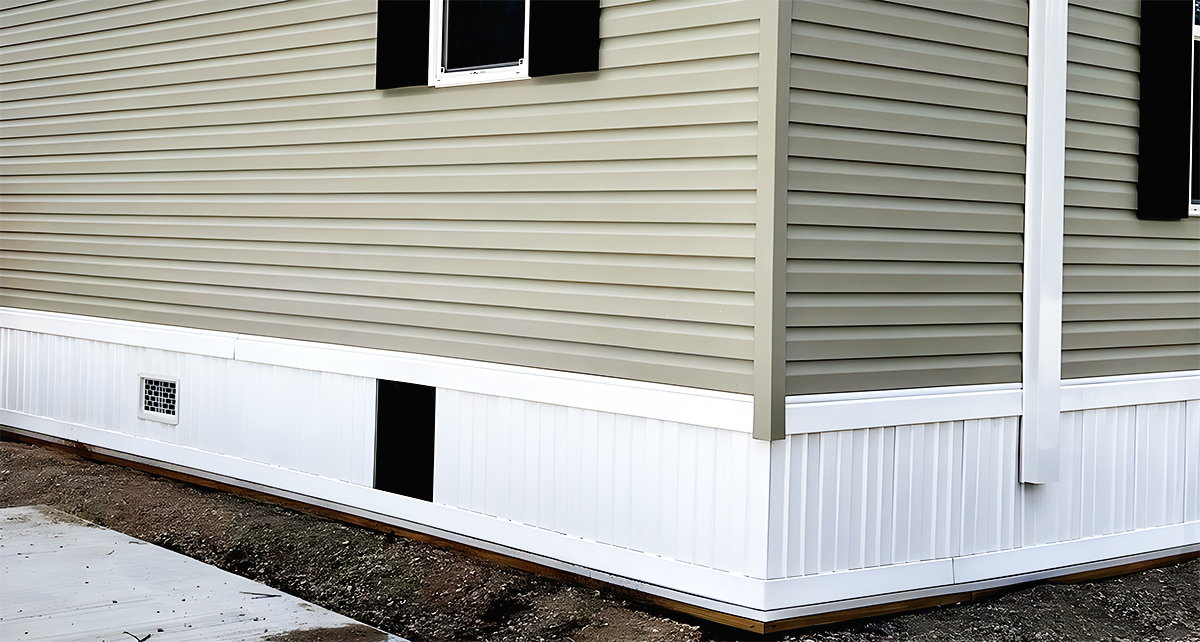
- Vinyl Skirting Panels
Check each panel closely. You’re looking for wear and tear, cracks, holes, or discoloration. These might seem minor but, left unchecked, could become a bigger headache.
- Attachment Points
These are where the skirting connects to your home. Ensure the attachments are secure and show no signs of looseness or damage. A secure connection is vital to sturdy skirting!
- Vent Covers
These little guys are essential for proper ventilation. Make sure they’re clear of debris and damage. Blocked vents could lead to moisture build-up, and trust me, that’s not a good thing.
- Access Doors
Check the access doors for smooth operation. They should open and close quickly. While you’re at it, make sure the locks are working well. Remember, these doors are the main entry points for necessary under-home repairs.
- Overall Stability
Finally, give your skirting a little shake (not too hard, though!). It should feel solid and secure. If it wobbles or moves too quickly, you might need some reinforcements.
So, please don’t put off those repairs, whether it’s a little crack or a loose attachment. Tackle them head-on as soon as you spot them. It might seem like extra work now, but your future self will thank you.
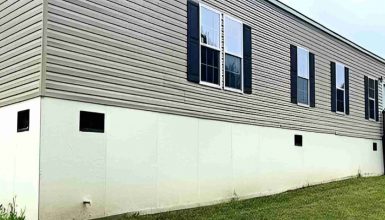
2. Upgrading to Thicker Vinyl Skirting
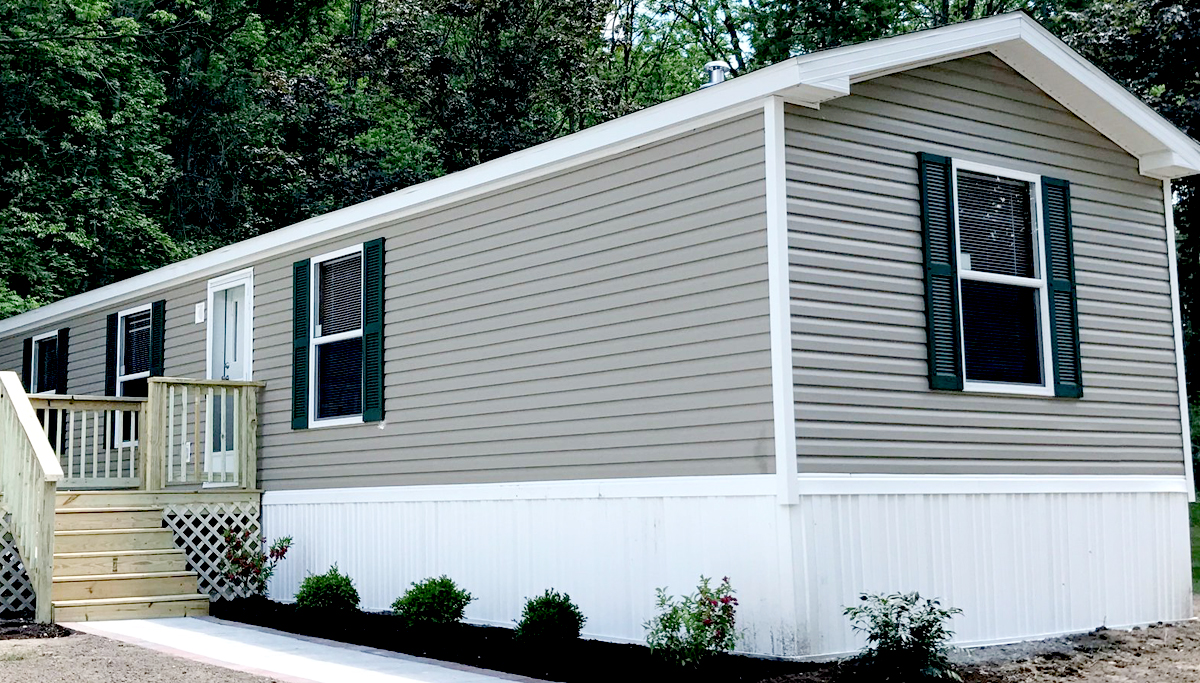
The following up method is upgrading to thicker vinyl skirting. Picture this – you’ve got an old worn-out t-shirt, and it’s time to upgrade. So, you decide to go for a sturdier, high-quality option. It’s the same deal with your vinyl skirting!
First, let’s talk about the pros and cons because every good decision starts with understanding both sides of the coin.
- Pros
Thicker vinyl skirting is like the big sibling to your standard skirting – it’s more robust, durable, and can handle much more. It can resist weather elements like a champ and is less likely to dent or crack. In other words, it’s a powerhouse for protecting your home.
- Cons
But as you probably guessed, this super strength comes with a higher price tag. Also, because of its bulk, it might be a bit trickier to install. You’ll need to decide if the benefits outweigh the costs.
Now, onto choosing the right thickness. It’s not about going for the thickest option available. It’s about finding the right fit for your specific needs.
Take a look at your environment. Do you deal with harsh weather often? Is there a lot of activity around your mobile home that could cause damage? If yes, going for a higher thickness might be your best bet.
But if your home is in a milder climate, or there’s not much risk of physical damage, you might not need the thickest option. Remember, it’s about balance. Too thin, and your skirting might not be as effective. Too thick, and you might be overdoing it (and spending extra money).
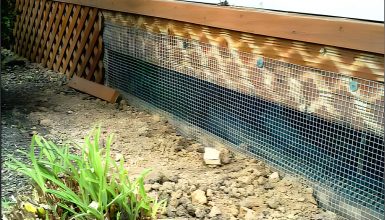
3. Installation of Support Backing
Let’s move on to the next tool in our home strengthening toolkit: installing support backing. Picture the braces behind a kid’s bike; they might not be the main attraction, but provide crucial support. Similarly, the backing is like a secret strength booster for your skirting.
The backing helps distribute the load evenly across your vinyl skirting. It’s like an extra layer of defense that can stand up against the wind and other forces of nature. It helps your skirting stay sturdy and stable. So, it might not be the show’s star, but it certainly plays a crucial role backstage!
Now, let’s talk about the different types of backing. The most common ones are foam and plywood. Foam backing is lightweight and easy to install, but it provides less strength. Plywood backing, on the other hand, offers more support but can be a bit trickier to install and maintain. Think about what your skirting needs and choose accordingly.
Ready for some action? Let’s move on to our step-by-step guide to installing support backing.
Step 1: First, measure the height and length of your skirting. This will determine the size of the backing material you need. Remember, measure twice, and cut once!
Step 2: Next, cut your backing material according to your measurements. Be careful and take your time.
Step 3: Now, it’s time to install the backing. Start at one end of the skirting and work your way around. The backing should fit snugly behind the skirting.
Step 4: Secure the backing to the skirting. You can use screws or other suitable fasteners. Make sure it’s firmly attached. We don’t want it going anywhere!
Step 5: Check to ensure everything is secure and stable. Good job, you’ve successfully installed support backing!
Remember, adding support backing to your vinyl skirting is like adding a support beam to a building. It strengthens the structure and ensures it can stand firm long.
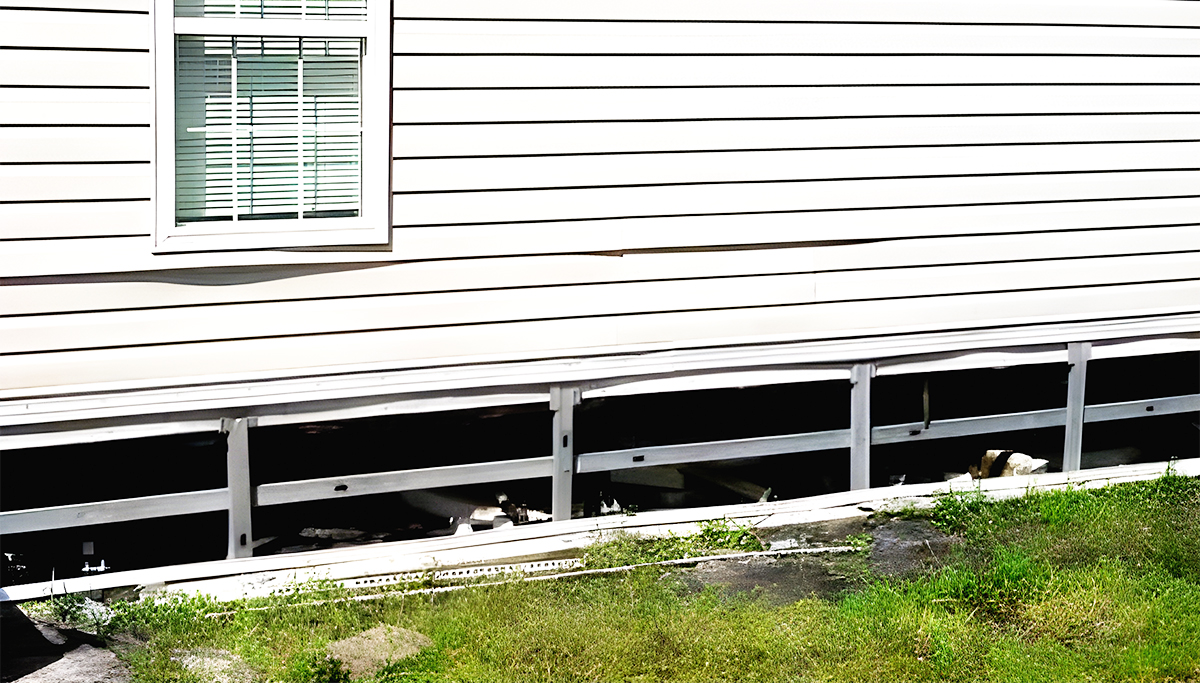
4. Reinforcement with Wind Rods
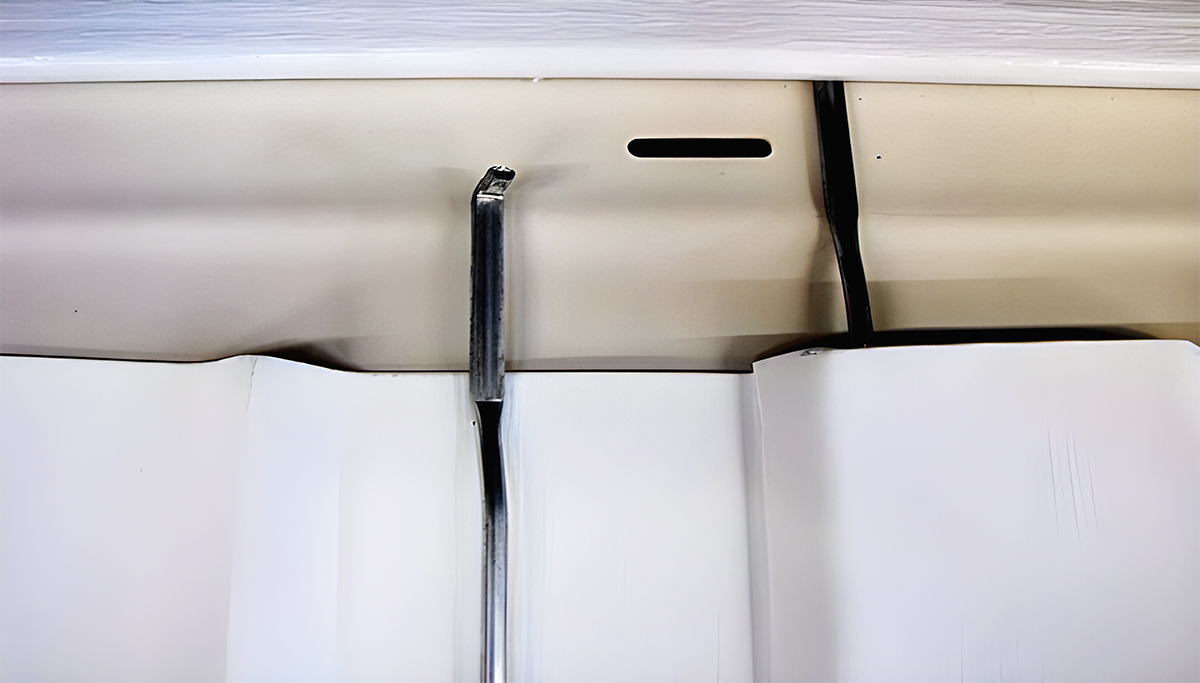
Let’s blow into our next topic: reinforcement with wind rods. If you’ve ever seen a kite soaring high in the sky, you know it needs a solid framework to resist the wind. Think of wind rods as that same framework but for your vinyl skirting.
So, why wind rods? Imagine a strong gust of wind sweeping across your mobile home. Your skirting might flex, bend, or damage without wind rods. But with them, your skirting can resist the wind like a pro. They give your skirting the stability and strength to stand firm, even in a howling storm.
Now, let’s get into the how-to of installing wind rods.
Step 1: Start by measuring your skirting from top to bottom. This will tell you how long your wind rods need to be.
Step 2: Purchase the right length of wind rods. They usually come with a set of brackets to hold them in place.
Step 3: Place the top of the wind rod in the top bracket, and fasten it securely. Then, slide the bottom of the rod into the bottom bracket.
Step 4: Make sure the rod is tight and secure. It should be perpendicular to the ground.
Step 5: Repeat these steps for each section of your skirting. Remember, it’s better to have too many rods than too few!
And that’s it! With your wind rods in place, your skirting can stand tall and strong, even in strong winds. It’s a simple addition that can make a difference when protecting your mobile home.
5. Proper Ventilation

Let’s take a breath and dive into our final topic: proper ventilation. It might sound like a left-fielder when we’re talking about strengthening your vinyl skirting, but hear me out because it’s an absolute game-changer.
Here’s the deal with ventilation – it helps maintain a dry and healthy environment under your mobile home. Without it, moisture can build up, causing your skirting to warp, deteriorate, and weaken over time. Think about leaving a wet towel in a bag overnight. Not a pretty sight, right? Similarly, trapped moisture is a big no-no for your skirting.
Ventilation also prevents any harmful gases that might build up under your home from becoming trapped. So, it’s not just about the strength of your skirting but also the health and safety of your home.
Now, how do we ensure proper ventilation? There are a few simple techniques that can do the trick.
Technique 1: Install vent covers. These should be evenly distributed along your skirting, allowing constant airflow. Just make sure to keep them clear of any debris or blockage.
Technique 2: Use a fan or vent fan to promote air circulation under your mobile home. This can be especially useful in damp climates where moisture build-up can be a concern.
Technique 3: Regularly check and clean the area under your mobile home. A clean under-home area promotes better airflow and reduces the chances of moisture and gas build-up.
Focusing on proper ventilation strengthens your vinyl skirting and creates a healthier environment under your mobile home. It’s like hitting two birds with one stone, right? So, go on, let your skirting breathe a little. It’s a small step that can make a huge difference.
Conclusion
That wraps up our deep dive into practical methods for strengthening mobile home vinyl skirting. I hope you’ve found it helpful, and remember a little care and attention can go a long way in preserving your mobile home!


