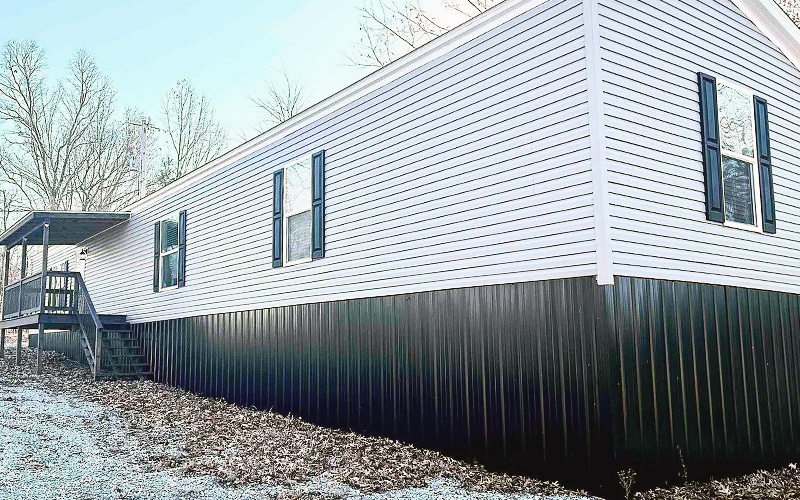
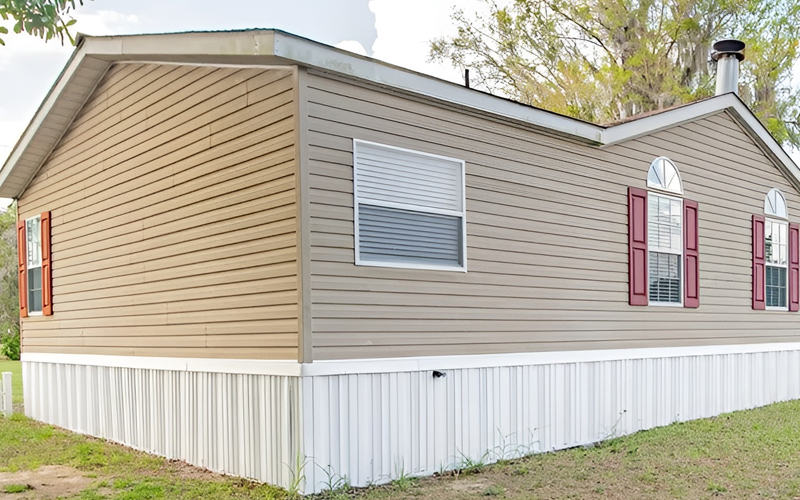
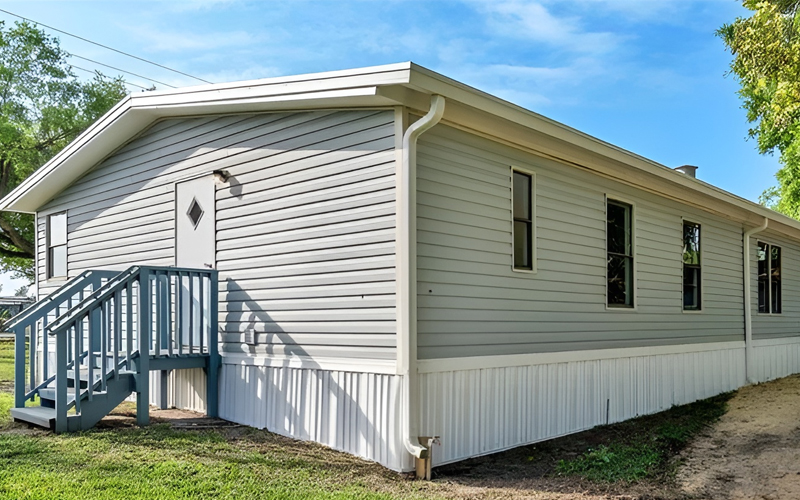
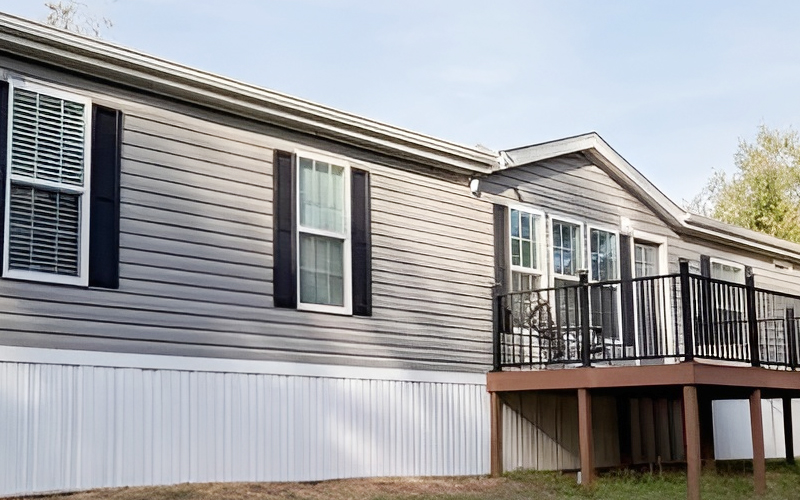
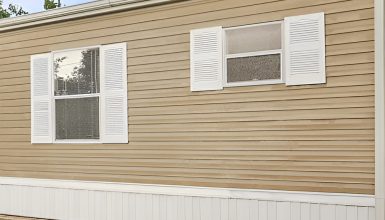
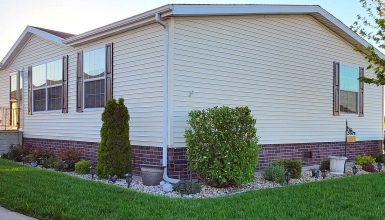
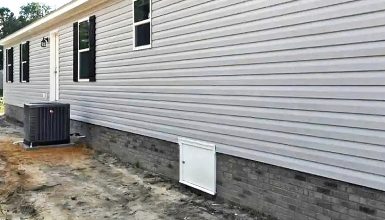
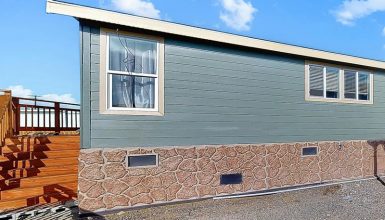
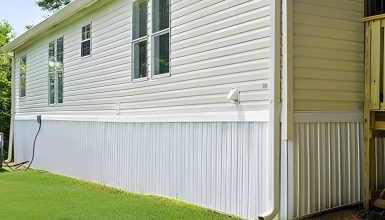
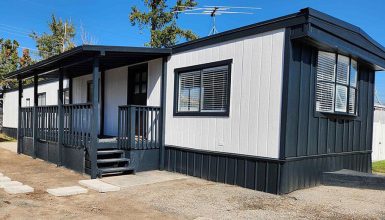
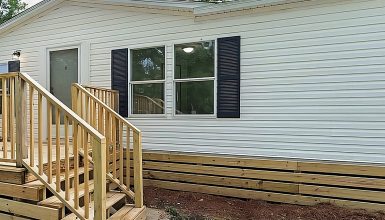
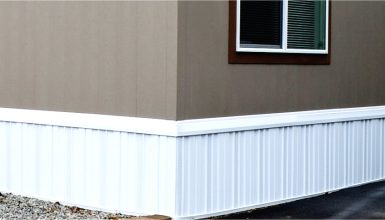
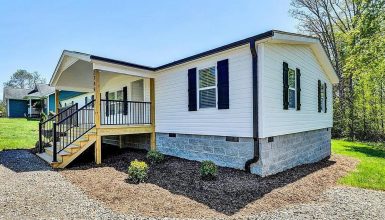
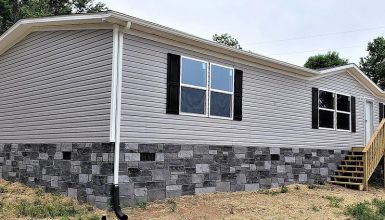
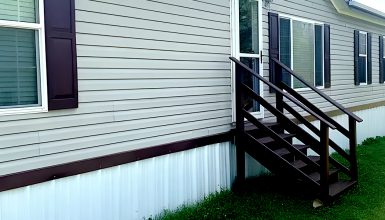
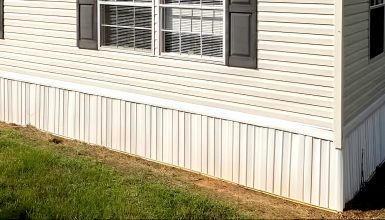
Are you tired of looking at that drab, outdated skirting around the bottom of your home? It’s time to give your exterior a much-needed makeover with modern, durable metal skirting. The go-to skirting material was galvanized metal for years – plain and uninspiring. But these days, metal skirting has undergone a significant transformation, and it’s now a stylish and practical choice for your mobile home.
Benefits of Metal Skirting
Metal skirting is quickly becoming the preferred choice for mobile home exteriors, and for a good reason. Here are some of the top reasons:
- Durability
Metal skirting is incredibly durable and can withstand harsh weather conditions, such as high winds, heavy rain, and even hail. It makes it an excellent choice for mobile homes often exposed to the elements.
- Low-maintenance
Unlike other types of skirting, such as vinyl or wood, metal skirting requires very little maintenance. It doesn’t need to be painted or stained and won’t rot or warp over time.
- Aesthetics
It comes in various finishes and colors, making it easy to match the exterior of your mobile home. Plus, it can be customized to mimic the look of other materials, such as brick or stone.
- Insulation
Metal skirting can be insulated to help keep your home more comfortable and energy-efficient. It can help you save money on your heating and cooling bills and make your home more comfortable year-round.
Overall, metal skirting is a wise investment for any homeowner. It’s durable, low-maintenance, and can even help improve your home’s energy efficiency and security. So, if you want to upgrade your mobile home’s exterior, consider metal skirting your top choice.
Installing Metal Skirting on Your Mobile Home
To install metal skirting on your mobile home, having all the necessary materials and tools on hand before you start is essential. Here’s a rundown of what you’ll need:
- Metal skirting: This is the primary material you’ll need. Make sure to measure the length of the area you want to cover to purchase the correct amount of skirting.
- Self-tapping screws: You’ll need these to attach the metal skirting to the bottom rail.
- Rubber-backed washers will go under the screws to help secure the skirting.
- J-channel top track: This is to hold the top edge of the skirting in place against the house.
- Corner channel: You’ll need this to finish the edges between the sides.
- Treated 2×4: This is to create the bottom rail that supports the skirting.
- Wooden stakes: These will secure the bottom rail to the ground.
- 3-1/2inc galvanized screws will attach the bottom rail to the wooden stakes.
- Vents: These are important for ventilation.
- Pea-gravel: You’ll need this to create a base for the skirting to sit on.
As for tools, here’s what you’ll need:
- Drill
- Saw (to cut the metal skirting and wooden rail)
- Level (to ensure everything is straight)
- Chalk line (to mark where the skirting will go)
- Tape measure
- Plumb line (to provide the base is level)
- Shovel (to dig the trench for the bottom rail)
Ensure you have all your materials and tools before starting the installation process.
A Step-by-Step Guide to Mobile Home Metal Skirting Installation
Ready to install metal skirting on your mobile home? Here’s a step-by-step direction to help you through the process:
Step 1: Install the top track
Installing the top track is the first step to installing metal skirting on your mobile home. The J-channel is part of the skirting that will attach to the top edge of your mobile home and hold the rest of the skirting in place. So, take your time to find the perfect spot for the top of your skirting. Once you have it, grab your screws and get to work! As you screw the J-channel into your home, keep your level handy. You want to ensure the top track is level around your home.
Step 2: Prepare the ground for the base
Now, let’s get down to the ground level. This step is crucial because you want your skirting to be perfectly aligned and level.
To get started, you’ll need a plumb line, stakes, and a lot of patience. Hang the plumb line at each corner of your mobile home and put a stake or nail in the ground where the plumb-bob rests. Then, run a line around all the nails at every corner to establish a footprint for your home.
Once you’ve got your footprint marked out, it’s time to clear the area of any rocks, clumps of dirt, and small stumps. It might take some elbow grease, but it is essential to ensure the ground is as level as possible. A level base will ensure that your skirting sits appropriately and looks great.
Step 3: Build the bottom rail
Now, let’s lay the foundation for your beautiful new metal skirting! Building the bottom rail is essential to ensure your skirting stays secure and doesn’t get blown away by the wind.
To get started, grab your 2×4’s and place them inside the line you marked out between your corner markers. Make sure to lay them on edge to provide maximum support for your skirting.
Once your 2×4’s in place, it’s time to secure them to the ground. Lift all your stakes, then raise your 2×4 rail about an inch and secure it to the stakes with 3-1/2-inch galvanized screws. It will ensure that your skirting stays in place, no matter what Mother Nature throws your way.
But we’re not done yet! Dig a 5-6 inches deep trench in front of the wooden rail, then fill it halfway with pea-gravel. It will help support the skirting and provide a solid base for it to sit on.
Step 4: Install the skirting
Now, the fun part is to install the metal skirting on your mobile home! To get started, cut the pieces of skirting to length and fit them under the J-channel and on top of the pea-gravel. It might take a bit of finesse, but with the right tools and a steady hand, you’ll have it looking great in no time.
Once your skirting is in place, it’s time to secure it to the bottom rail. Use self-tapping screws and rubber-backed washers to make sure the metal stays put. You can also use one or two more screws with washers on each seam between your mobile home skirting pieces to secure them together. It will ensure the skirting is secure and doesn’t come apart over time.
And don’t forget the finishing touches! Use the corner channel to finish the edges between the sides. It will polish the skirting to make your home stand out.
Step 5: Add insulation (optional)
Adding insulation to your skirting can make a huge difference in keeping the heat and cold out of the bottom of your home and keeping your energy costs down.
The easiest way to insulate your skirting is to cut foam board to fit behind it. It is a cost-effective and efficient way to keep your home warm in the winter and cool in the summer. You can even glue the foam board to the metal for extra security.
But, if you want to take it to the next level, you can spray expanding foam onto the back of the metal. It is a more expensive option, but it’s much more efficient and doesn’t leave any gaps for air to get through.
Step 6: Add vents and doors
Adding vents and doors is crucial in ensuring your mobile home is adequately ventilated and easily accessible.
Cutting holes for at least one door on each side of your home is vital for convenience and accessibility. Make sure to locate them near utilities like gas and water shut-off valves so you can easily access them when needed. It will make maintenance and repairs much easier in the future.
And don’t forget about the ventilation! Cutting holes to install vents is crucial to maintaining good airflow and preventing moisture buildup under your home. Be sure to check your local building code for requirements on ventilation, but a good baseline is one square foot of open vent for every 150 sq. ft. of floor space.
With your vents and doors installed, your mobile home will be adequately ventilated and easy to access.
Step 7: Finishing touches
Congratulations, you’re almost done! You’ve installed your new metal skirting, added insulation, and installed vents and doors. Now it’s time for the finishing touches to ensure your skirting stays in place for years.
First, make sure to fill up the pea-gravel trench that you dug earlier. If the ground swells at the base, it will give the bottom of your skirting a place to go. It might not seem like a big deal, but this step will ensure your skirting stays in place and looks great for a long time.
And if you live in an area with harsh winters, there’s one more thing to consider. You might not want to screw the skirting to the house at the J-channel. Instead, leave extra space above the skirting to allow for vertical movement. It will prevent any damage to your skirting caused by the ground shifting during freeze-thaw cycles.
That’s it! Following these steps, you can install metal skirting on your mobile home and enjoy a durable, low-maintenance exterior that enhances your home’s curb appeal.
Maintenance Tips for Metal Skirting
Congratulations on your new metal skirting! Once installed, you’ll want to ensure it looks great for years. Here are some maintenance tips to keep in mind:
- Keep it clean
Dirt and debris can build up on your skirting over time, making it look dull and dingy. Hose it down with water and use a mild detergent to keep it looking its best.
- Check for damage.
Your skirting protects your home from the elements, so ensuring it’s still doing its job is essential. Check for any dents, scratches, or other damage that might have occurred over time. If you find any, repair them as soon as possible.
- Inspect your insulation
If you’ve added insulation to your skirting, check it periodically to ensure it’s still in good condition. Look for any signs of damage or wear, and replace them if necessary.
- Keep an eye on your vents.
Your skirting vents are essential for maintaining proper airflow under your home. Make sure they’re not clogged with debris or obstructed in any way. And if you live in an area with harsh winters, cover them with vent covers to prevent cold air from entering your home.
By following these simple maintenance tips, you can help ensure that your metal skirting stays in great shape for years.

