
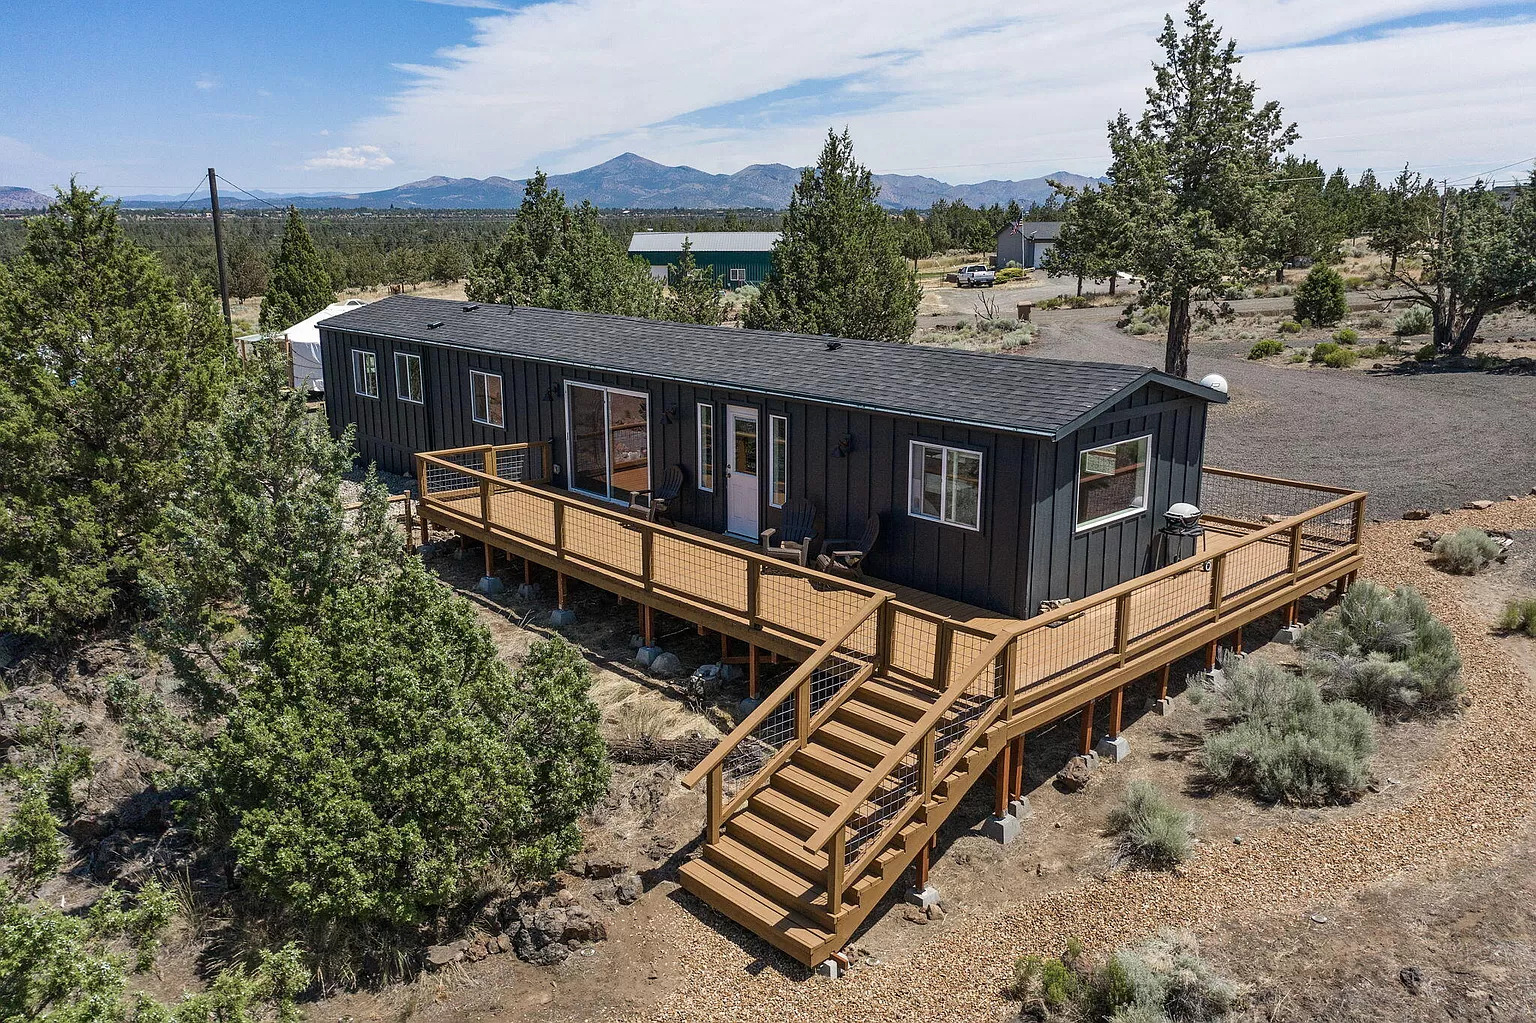
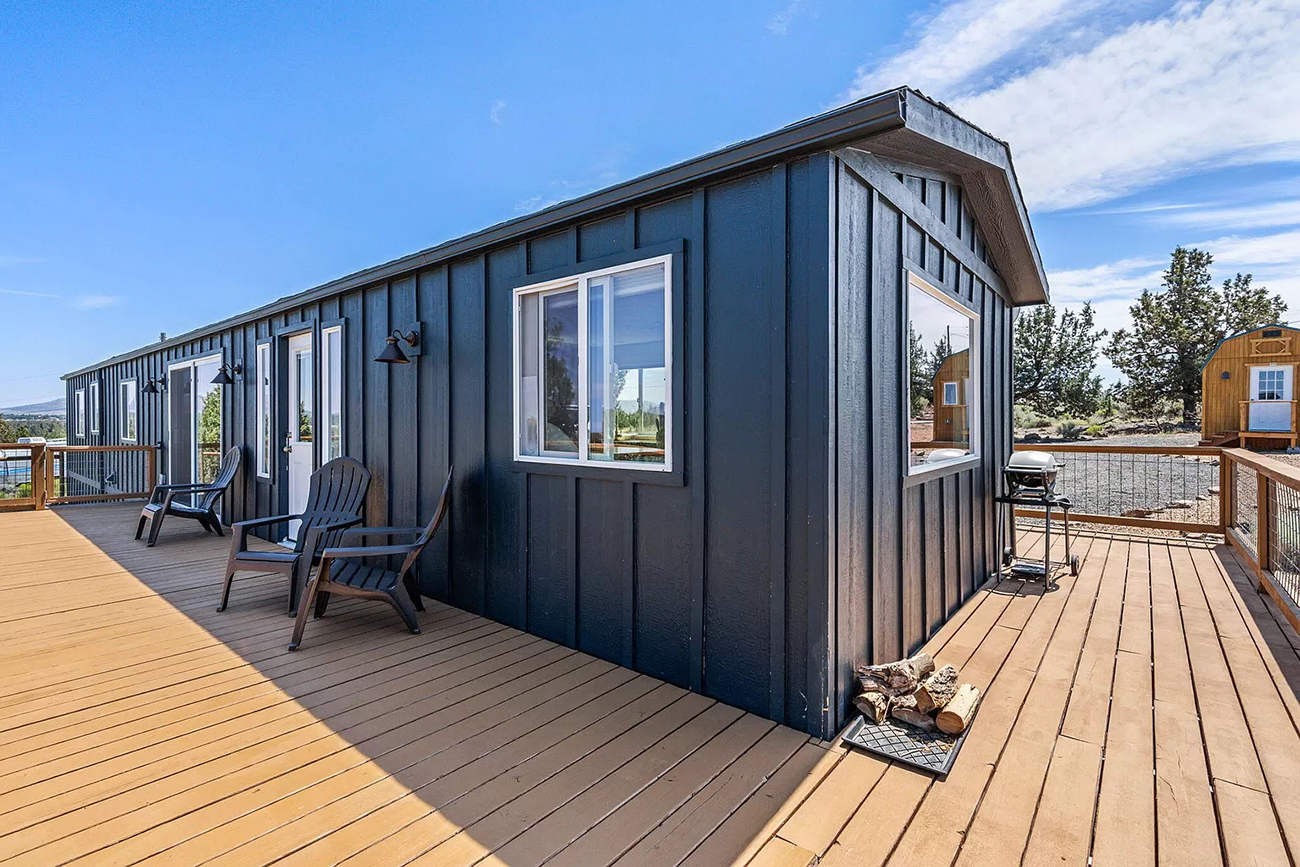
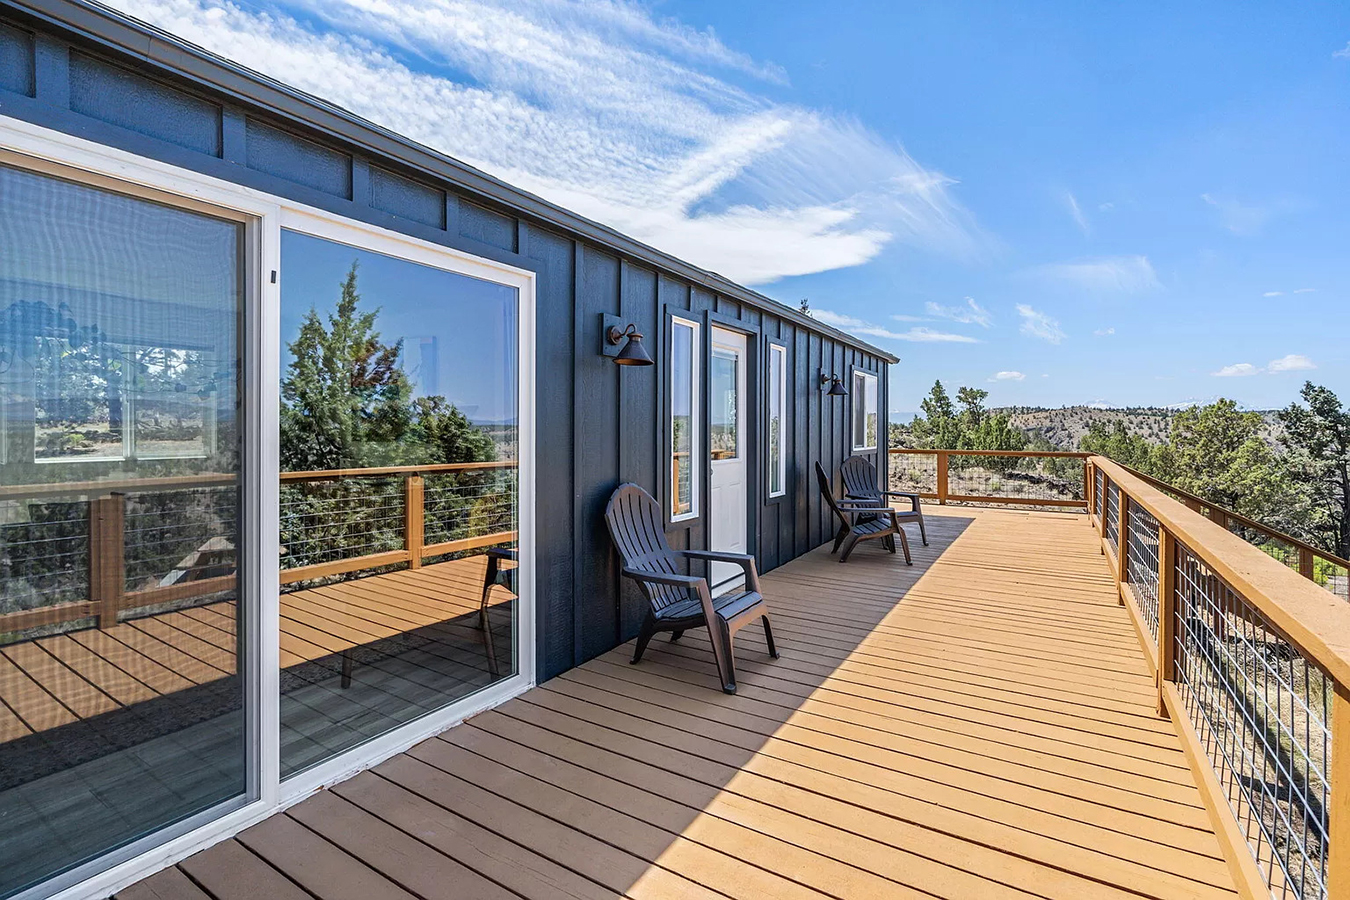
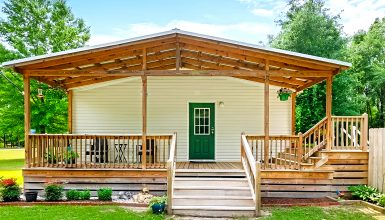
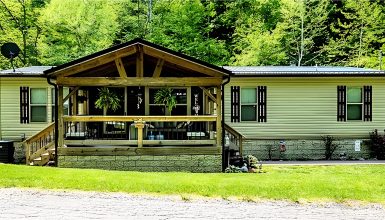
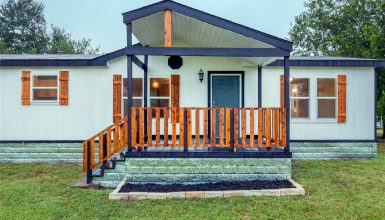
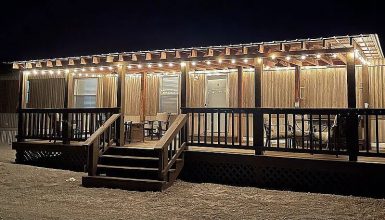
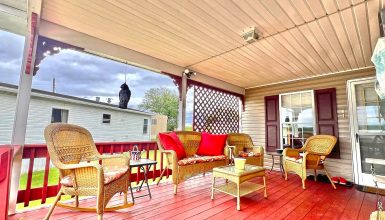
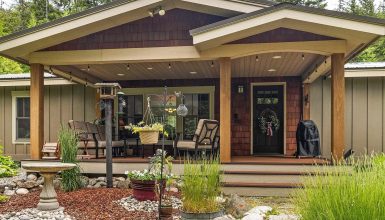
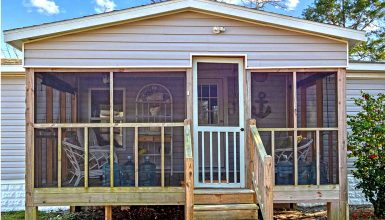
A raised deck can work wonders for your mobile home. It extends your living area, giving you much-needed breathing space and relaxation. Think about the barbecues and quiet afternoons with a book—these little moments that a raised deck can host. It’s not just a structure; it’s a lifestyle upgrade.
Raised decks also add a layer of practicality. They keep you above the ground, away from mud and water. This means less dirt tracked inside and a cleaner home. And let’s not forget the view. Elevated off the ground, you get a better, unobstructed view of your surroundings.
But there’s more. A well-built raised deck can increase the value of your mobile home. It’s an investment that pays dividends in quality of life and financial value. So, let’s explore some tips for building a raised deck for your mobile home.
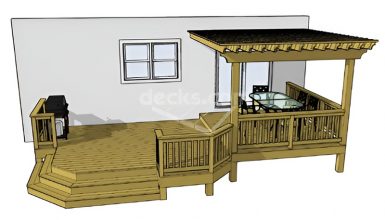
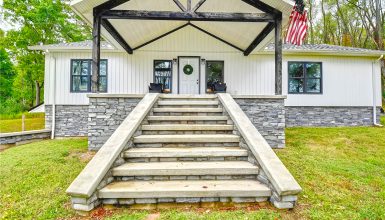
1. Designing Your Deck
When building a deck, size and style are your starting blocks. You want a deck that fits just right—not too big to overwhelm your mobile home, not too small to cramp your outdoor dreams. Measure your space. Think about how you’ll use your deck. Will it be for quiet family dinners or large get-togethers? This vision will shape the size.
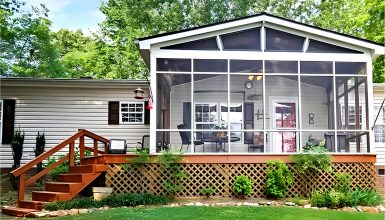
Style is your deck’s personality. It can be a simple square, a multi-level masterpiece, or something with curves that flow with the land. Choose a style that reflects your taste and fits the mobile home’s design.
Materials matter. Wood brings natural warmth but needs more love with regular staining and sealing. Composite, on the other hand, asks less of you. It’s tough, lasts longer, and says ‘no’ to rot and bugs. Both have pros and cons, so pick the best for your lifestyle and climate.
Don’t forget the paperwork. Plans need to be clear for permits. Local codes can be strict, and you’ll want to be on the right side of the rules. It’s about safety and ensuring your deck stays up for all those good times ahead.
2. Materials
Ready to get your hands dirty? First, let’s talk shopping list. You’ll need posts, beams, joists, and deck boards. Don’t skip on the hardware—screws, hangers, and anchors are the heroes that hold your deck together.
Tools are your trusty sidekicks. A saw for cutting, a drill for securing, and a level for keeping things level. Safety gear is a must, too. Gloves to protect your hands, goggles for your eyes, and a good old hammer. Make sure these are all ticked off your list before you start.
3. Laying the Foundation
Alright, it’s time to get down to earth—literally. Laying the foundation is like building the legs of your deck. Start by digging holes for the footings. These need to go deep, below the frost line, to keep your deck from moving when the ground freezes and thaws. Once you’ve dug the holes, it’s concrete time. Fill them up and set the pier blocks. This is the solid base your deck dreams are built on.
Now, grab your level. This is your best friend in making sure everything is even. A deck that’s off-kilter is a no-go. Adjust the piers until they’re perfect. It’s all about stability. You want your deck to be as level as a pancake. Once those piers are set, you’re ready for the big leagues: the frame.
4. Constructing the Frame
With a steady foundation, you’re set to frame your deck. This is the skeleton of your outdoor oasis. First up, ledger boards. These guys anchor to the side of your home and support one end of the deck. Secure them with bolts, not just any screws. We’re talking about strong connections here.
Next, we roll out the joists. They stretch across the deck, giving it shape and strength. Think of them as the backbone. They need buddies, though, so bring in the beams. These heavy lifters sit on top of your piers and carry the weight of the joists—and, eventually, all those backyard barbecues.
Square and level—these are the magic words. Use your carpenter’s square to keep the corners honest, and double-check with your level. A square and flat frame is the secret to a deck that looks good and feels right underfoot. Keep these tips in mind, and you’ll have a frame ready for the spotlight—or, you know, deck boards and sunny days.
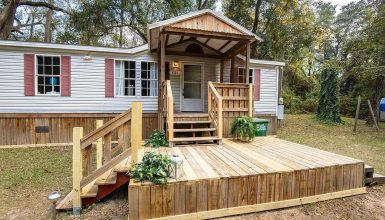
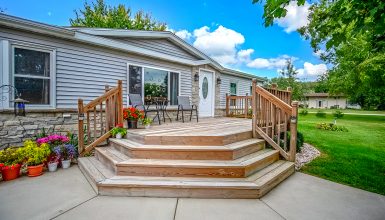
5. Installing the Decking
Now, we’re at the part where your deck looks like a deck. Deckboards are the star of the show. Lay them across the joists, and you’ll see your deck take shape. Start with a board at the edge, lining it up nicely and straight. Each board is a step closer to your outdoor hangout spot.
Spacing is key. Too tight, and water won’t drain. Too loose, and you’ll have a toe-stubbing hazard. Using nails or spacers to keep your gaps even is a little trick. This way, your deck breathes and dries out after a rainy day.
Securing the boards is next. Screws are better than nails here—they hold tight and don’t pop up over time. Sink those screws in at each joist and watch as your deck becomes a sturdy stage for all your outdoor activities.
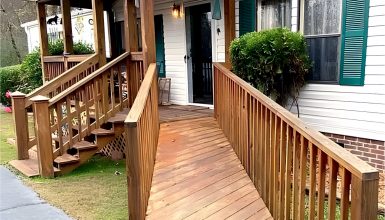
6. Building and Attaching Stairs
Stairs are a big deal. They’ve got to be safe and comfortable to step on. For this, you need to get your math hat on. Rise and run are the words of the day. Rise is the height of each step; run is the depth. There’s a sweet spot that makes stairs easy to climb, and building codes usually tell you what that is.
To get stairs right:
- Measure the total height from the ground to the deck.
- Divide that by the ideal rise, and you have the necessary steps.
- For each step, ensure the rise and run add up to the magic number in the codes.
Building stairs needs care. Use stringers—they’re like the spine of your staircase. Secure them well and make sure they’re identical. If they’re off, even by a little, you’ll feel it every time you take a step. Attach the treads and make sure they’re solid. After all, these stairs will carry the precious cargo of your friends and family for years to come.
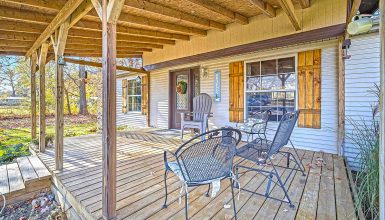
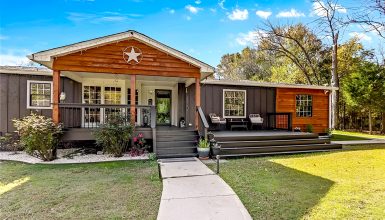
7. Adding Railings for Safety
Railings are like the guardrails of your deck—they keep everyone safe. Plus, they’re a big part of how your deck looks. When you’re picking out materials, you have choices. Wood is classic and can match your deck. But if you’re not into painting or staining every few years, there’s vinyl or composite. They last a long time and ask for less work from you.
Installing railings is a serious business. They need to stand firm so there is no shaking when you lean on them. Start by setting your posts. They need to be bolted, not just nailed or screwed. When you add the rails, ensure they’re high enough to be safe and spaced so nothing bigger than a soda can fits between them. That’s for safety—so kids and pets stay put.
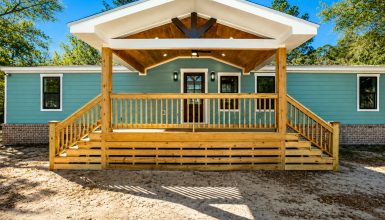
8. Applying Finishing Touches
Your deck is almost ready for its big day. But first, let’s make sure it stays looking good. Sealing your deck is like putting on sunscreen. It keeps the sun and rain from doing damage. You’ll need to do this every few years to keep your deck in top shape.
Now for the fun part—making it yours. You can stain the wood to bring out its beauty. Or paint it to pop with color. Add some lights for evening chill-outs. Maybe even some planters for a garden touch. This is your chance to give your deck a dash of personality. Go ahead, make it a place that says ‘you.’ After all, it’s where you’ll make memories that last.