
Heat tape is an unsung hero in mobile homes, stepping up when the mercury drops. See, in the dead of winter, the last thing you want is a frozen water pipe, and that’s where heat tape comes in. It’s like a warm hug for your pipes, wrapping them up snugly and keeping the chill at bay. We’re about to dive into the top heat tapes on the market. Dishing out the deets so you can choose the perfect one for your mobile home.
What is Heat Tape?
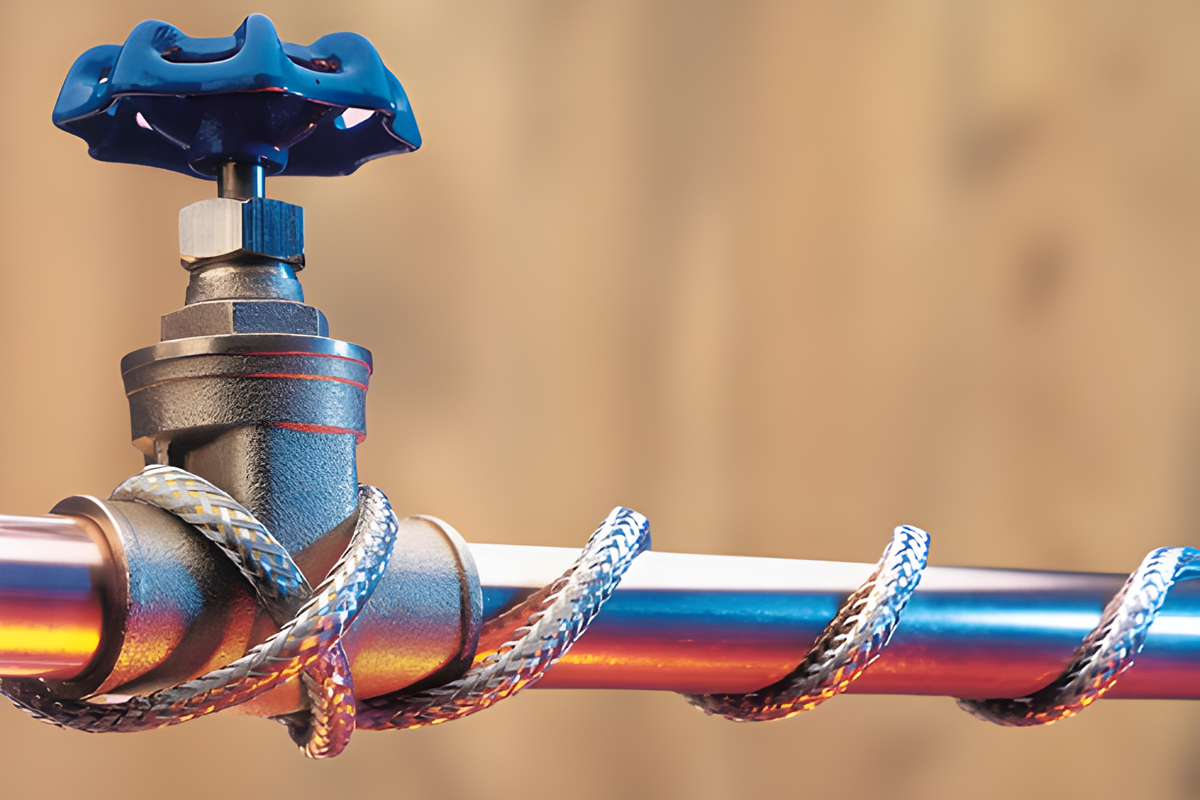
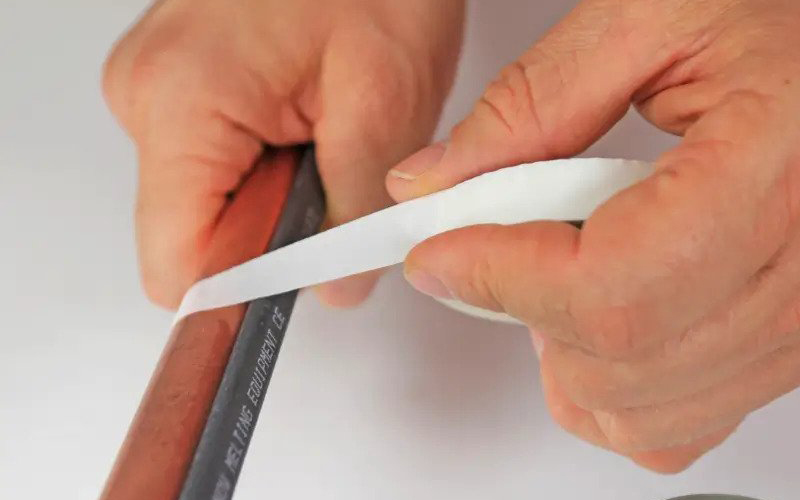
So, you’re probably wondering, “What on earth is heat tape?” Heat tape is a flexible cable that wraps around your mobile home’s water pipes. When plugged in, it heats up, transferring warmth to the pipes and preventing them from freezing. It’s like giving your pipes a warm winter coat!
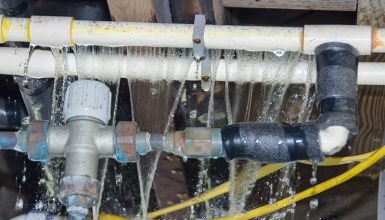
Why do we need heat tape, you ask? Picture this: it’s a frigid winter day, and you turn on your faucet, but nothing comes out. Your pipes have frozen, and you’re stuck without running water. Those frozen pipes could burst, leaving you with a hefty repair bill. Not the winter wonderland you were hoping for, right?
5 Best Heat Tapes for Mobile Homes
There are quite a few heat tapes, each with bells and whistles. But don’t worry. We’ve done the legwork for you! Let’s delve into some of the top picks for your mobile home and find out which makes your heart and pipes warm.
1. EasyHeat Freeze Free Heating Cable

First up, we have the EasyHeat Freeze Free Heating Cable. This self-regulating system prevents pipe freeze-ups down to a bone-chilling -60°F. It’s available in 100′ and 300′ reels, and you can cut it to desired lengths for ultimate flexibility. The game-changer here? This bad boy reduces power consumption when your pipes don’t need protection. Cost-effective and efficient? Yes, please!
2. Radiant Solutions Pipe Freeze Pro Kit
Next on the list is the Radiant Solutions Pipe Freeze Pro Kit. This kit is all about self-regulation. It only pulls power when needed, so no energy goes to waste. It’s designed for metal and plastic pipes and has a stellar installation manual. Best of all, it has a built-in Thermostatic Switch that controls power. Less energy, more savings!
3. HEATIT HTM Braid Pipe Heating System
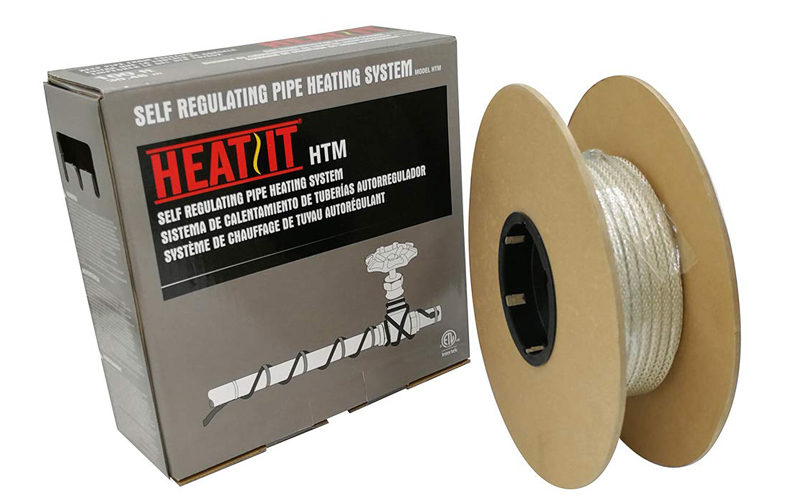
Then, we have the HEATIT HTM Braid Pipe Heating System. This one is a dream come true for folks seeking versatility and safety. You can use it on residential metal or plastic water supply and drain pipes. Its self-regulating feature means no worries about overheating. Plus, it’s got a tinned copper braid jacket for that extra touch of safety.
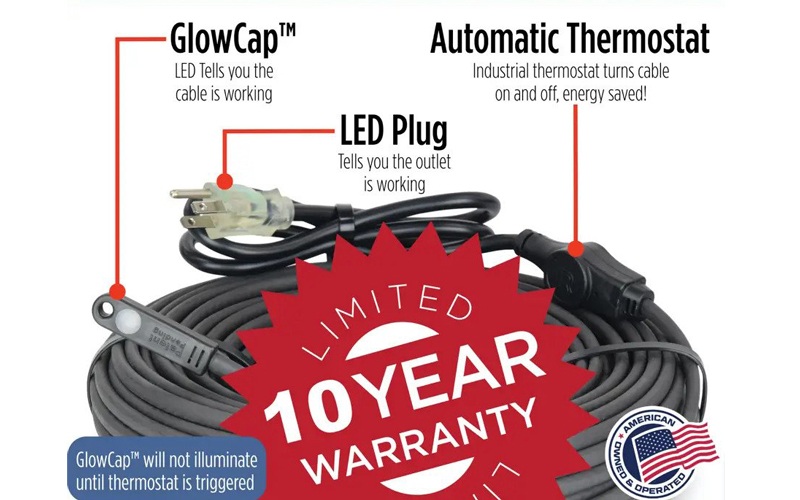
4. Frost King Automatic Electric Heat Cable Kits
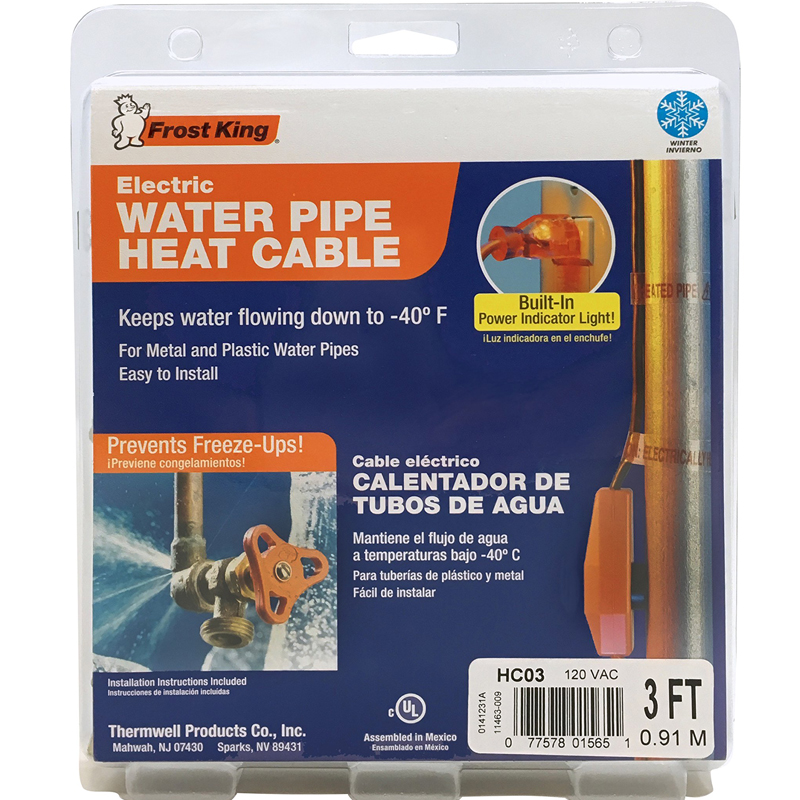
The Frost King Automatic Electric Heat Cable Kits are not to be underestimated. They’re perfect for keeping your pipes toasty down to -40 degrees Fahrenheit, with a built-in thermostat that does all the hard work for you. Its power indicator light is like a little beacon of hope, letting you know it works tirelessly to protect your pipes.
5. Frostex Heat Tape
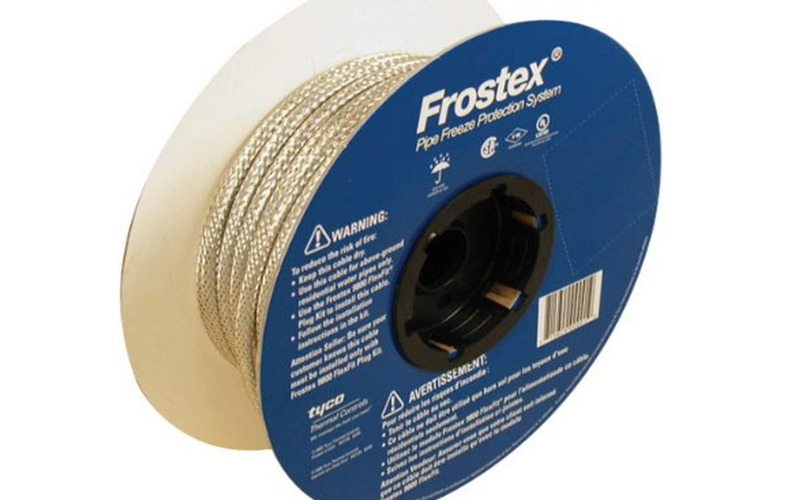
Last but certainly not least, the Frostex Heat Tape is a trusted name in pipe freeze protection. Whether your pipes are plastic or metal, Frostex has got you covered. It’s a custom fit for your lines based on type, diameter, and the lowest expected air temperature. It’s all about personalization with Frostex!
Factors to Consider when Choosing Heat Tape
Now, onto the nitty-gritty – picking the suitable heat tape. Just like choosing the perfect paint color for your living room, there’s no one-size-fits-all solution. A few key considerations will guide you toward the best fit for your mobile home. Let’s dive in!
- Size
First off, size matters. Not just the size of your mobile home but the size of your pipes. Ensure you measure them accurately, as this will determine the length of heat tape you need. The last thing you want is coming up short in the middle of installation!
- Rating
Heat tape products can vary but generally come in ratings of 3, 5, 7, or 10 watts per foot. This number tells you how much heat the tape will produce for every foot of length. For instance, a 3 watts/ft heat tape will use 3 watts of electricity to heat one foot of pipe.
The wattage you need will depend on several factors, including your local climate and how much insulation you have around your pipes. For colder climates with severe winters, you might need a higher wattage, like 7 or 10 watts per foot. Low wattage (3 or 5 watts per foot) could be sufficient in milder climates.
- Durability
Next up durability. Winter after winter, your heat tape will face cold weather, moisture, and wear and tear. You need heat tape that’s built to last. Look for one that’s weather-resistant and designed for long-term use.
- Energy efficiency
Then, there’s energy efficiency. We all want to keep our energy bills in check, right? An energy-efficient heat tape will provide the warmth your pipes need without sending your electricity bill through the roof.
- Installation
Don’t forget about the ease of installation. Some heat tapes are easy to install, while others might need extra time and effort. If you’re a DIY kind of person, make sure to choose one that you can easily install yourself.
- Safety
Safety should be your top priority. Look for heat tapes with built-in safety features, like an automatic shut-off when the temperature is too high. It can prevent overheating and give you peace of mind.
- Compatibility
Lastly, compatibility is key. Ensure the heat tape you choose suits your mobile home’s piping system. Some heat tapes work best with specific pipe materials, so choosing a compatible option is crucial.
How To Determine the Length of Cable You Need
To determine the length of the heating cable you need for your mobile home, you’ll need a tape measure, some math, and some keen observation. Here’s how:
1. Identify the Pipes to be Covered
First, you need to know which pipes you’ll apply the heat tape to. Are we talking about the water supply pipes? The drain pipes? Make a clear note of it.
2. Measure the Length of the Pipes
Now that you know which pipes need the heat tape, measure their length. Simply run your tape measure along the line from one end to the other.
3. Account for Bends, Valves, and Fittings
If your pipes have any bends, valves, or fittings, you’ll need extra heat tape to cover these areas. For every valve or fitting, add 1 foot to your measurement. For bends, add the appropriate length required to cover them entirely.
4. Consider Pipe Diameter
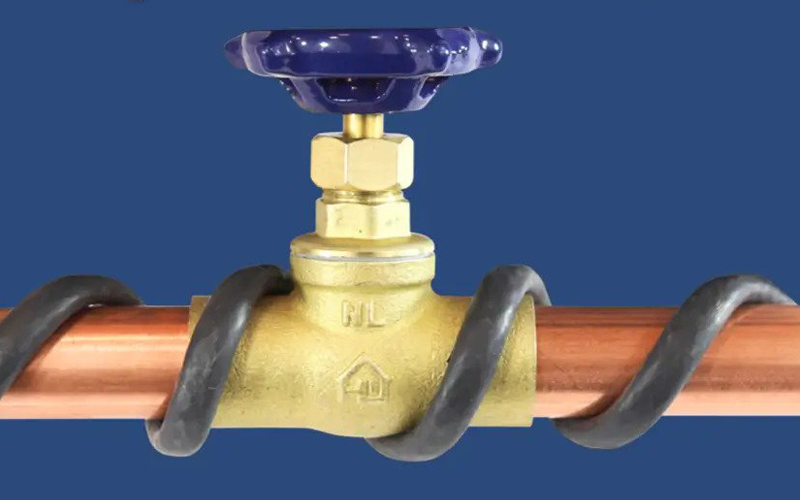
The diameter of your pipes also plays a part in this calculation. If your pipes have a larger diameter, you may need to spiral the tape around them to ensure they’re adequately heated. It will require more length. Check the heat tape manufacturer’s instructions for guidance on this.
5. Add a Safety Margin
Lastly, adding a little extra length for safety and convenience is a good idea. It also accounts for any measurement errors.
6. Total it Up
Now, add up all those measurements. This total is the approximate length of heat tape you’ll need for your mobile home.
Example
Let’s say you have a water supply pipe that’s 25 feet long. You measured this by running your tape measure from one end to the other. This pipe has two bends and three valves and is made of 1″ PVC.
Here’s how you would calculate the length of heat tape needed:
- Base Length: The pipe itself is 25 feet long.
- Bends: The manufacturer of heat tape recommends adding 1 foot of tape per bend. So, you’ve got two bends. That’s an extra 2 feet.
- Valves: For each valve, you add 1 foot of tape. You’ve got three valves, so that’s an extra 3 feet.
- Safety Margin: Let’s add a safety margin of 5 feet to account for any mismeasurements or unexpected twists and turns.
Adding all these up, you get: 25 feet (base) + 2 feet (bends) + 3 feet (valves) + 5 feet (safety margin) = 35 feet of heat tape required for this particular pipe.
It is a simple example, and your situation might be more complex. Just remember, always check the heat tape manufacturer’s guidelines, and a little extra won’t hurt when in doubt!
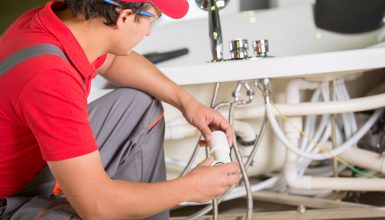
How to Properly Install Heat Tape
So, you’ve picked your heat tape, and now it’s time for the fun part – installation! First things first, safety. Before you begin, make sure the water pipes are dry. You’re dealing with electricity here, so water is a no-go. Remember, safety always comes first.
Here is your step-by-step guide to installing heat tape.
Step 1: Measure Your Pipes
Grab that tape measure and determine the length of your pipes. It will tell you how much heat tape you need. Remember, too much is better than too little!
Step 2: Dry and Clean Your Pipes
Before you start, your pipes must be as dry and clean as possible. Wipe them down and ensure there’s no moisture. We’re setting the stage for the heat tape to stick and work its magic!
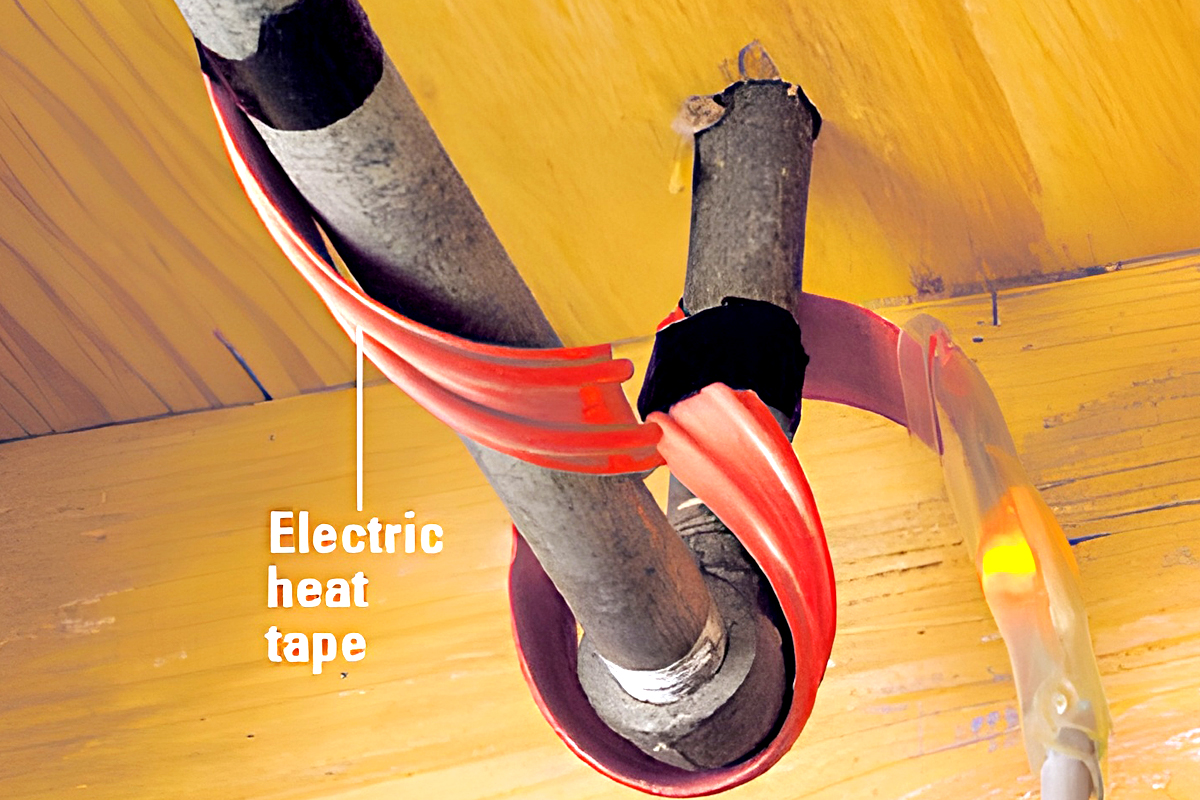
Step 3: Apply the Heat Tape
Now, gently wrap your heat tape around the pipes. Follow the product’s instructions here – some may require a specific wrapping pattern or tightness. It’s like dressing your lines in their winter best!
Step 4: Secure the Tape
Once wrapped, secure the heat tape according to the manufacturer’s guidelines. It could involve using electrical Tape or built-in clips. The goal? A snug and secure fit!
Step 5: Connect to Power
Now, plug the heat tape into your electrical outlet. Remember, this step requires dry hands and caution.
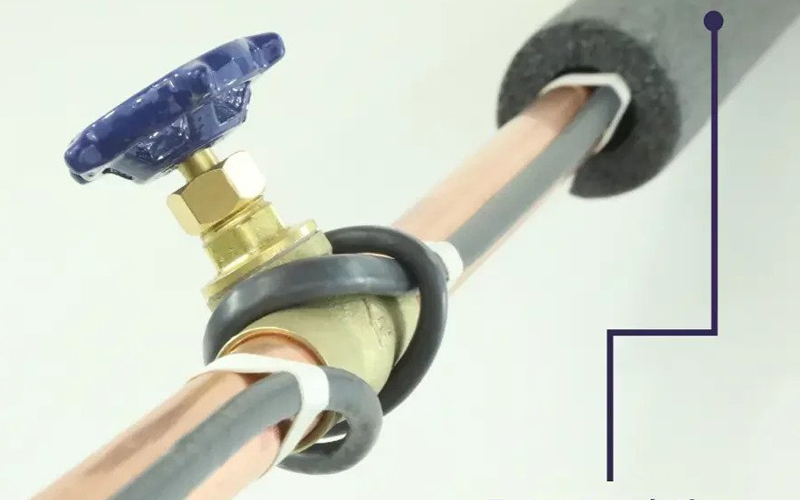
Step 6: Add Insulation
Time to bundle up! Wrap insulation around your pipes and the heat tape. This extra layer will help keep the heat where it belongs – with your lines.
Step 7: Check Your Work
Finally, power up your heat tape and check that everything works smoothly. You’re looking for even, gentle warmth along the pipes.
Conclusion
Choosing the proper heat tape is more than just the price tag. Consider your home’s needs, the local climate, and the tape’s quality and safety features. And once that box arrives at your door, take the time to install it correctly or hire a pro to do the job. It’s all about peace of mind.
FAQs
Absolutely! You can use heat tape on both plastic and metal pipes. Just make sure to follow the manufacturer’s instructions for the best results.
There’s no hard and fast rule here, but as a guideline, inspect your heat tape each year before the winter season. If you spot any damage or wear, it’s time for a replacement.
Generally, no. Overlapping can lead to overheating and potential fire hazards. Always follow the manufacturer’s instructions in the letter.
If misused, yes, heat tape can cause a fire. But don’t worry – installing it correctly and performing regular checks is generally safe.
It’s a good idea to unplug your heat tape during warmer months. Not only will this save energy, but it will also prolong the lifespan of your heat tape.

