
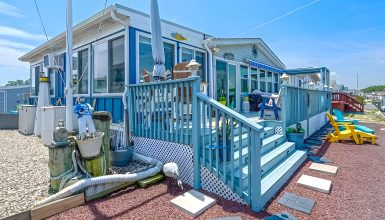
Awnings are the unsung heroes of outdoor comfort. They shield you from the elements and give you more privacy. And also they add a dash of style to your mobile abode. We’re diving into everything you need to know about mobile home awnings. We’ve covered everything from fabrics to frames, expensive features, and simple setups. Ready? Let’s roll.
What is An Awning?
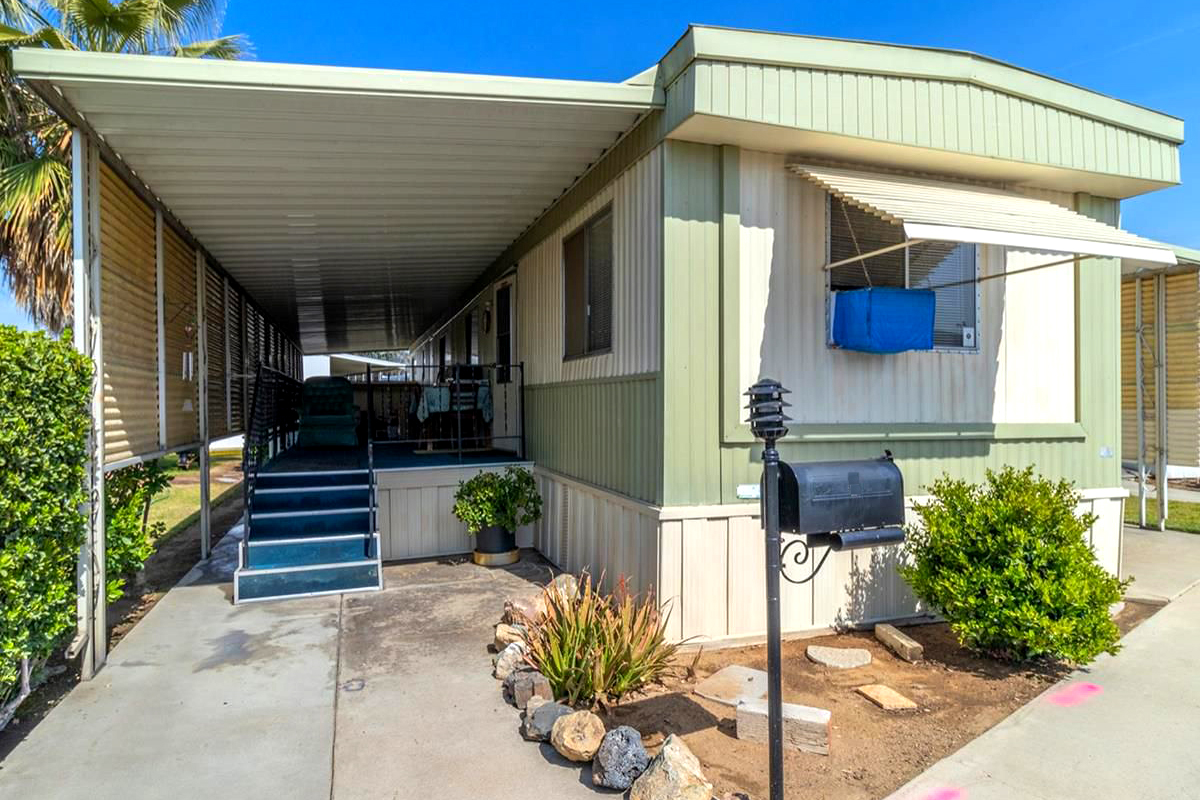
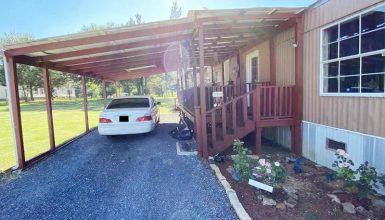
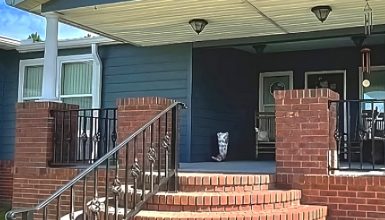
Alright, so let’s get down to basics. What’s an awning, anyway? Imagine it as a mini-roof or, better yet, a stylish umbrella for your mobile home. It hangs out above your windows, doors, or patio, and its job is simple: keep you comfy. How? By shielding you from the sun’s glare and those surprise rain showers.
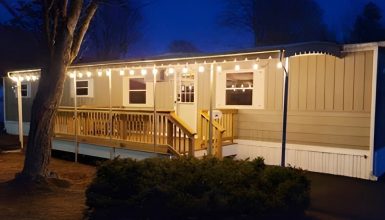
You can find awnings in all shapes and sizes. Some are like cozy tents with side panels for extra oomph. Others are sleek and minimal—just a sheet of metal or fabric doing its thing. The cool part? Awnings can be manual or motorized. Yup, a click of a button can roll them out or zip them back up. High tech meets high comfort!
So, why should you care? Because an awning is more than just functional. The finishing touch makes your outdoor space a go-to hangout spot. It’s like adding earrings to your favorite outfit. An awning takes your mobile home from “That’s nice” to “Wow, look at that!” Now, who wouldn’t want that kind of upgrade?
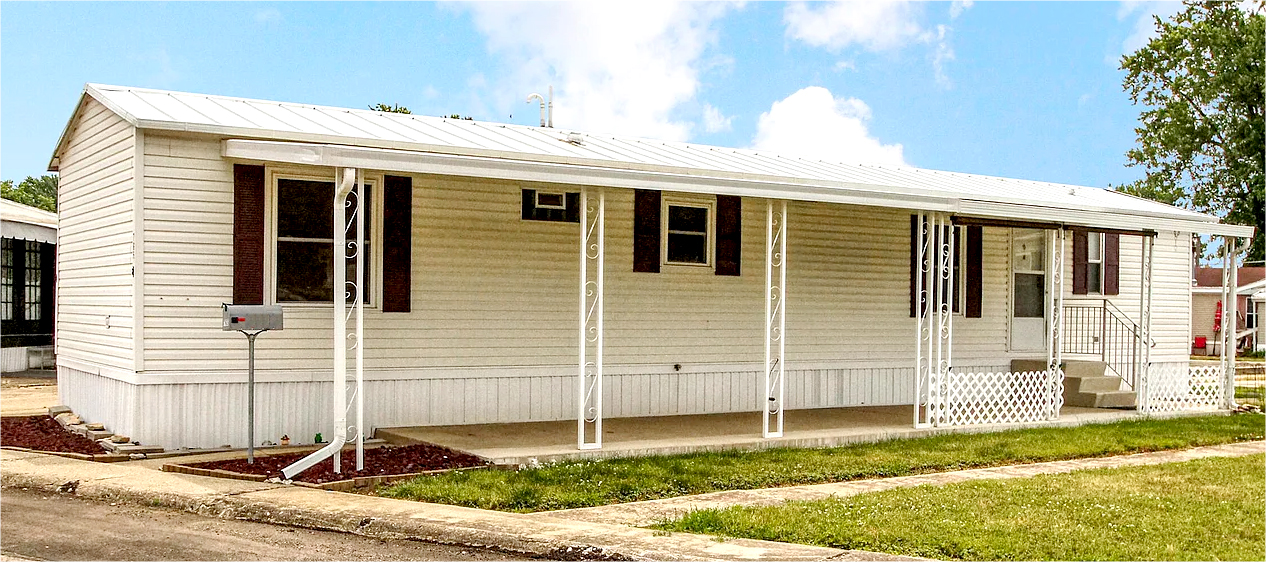
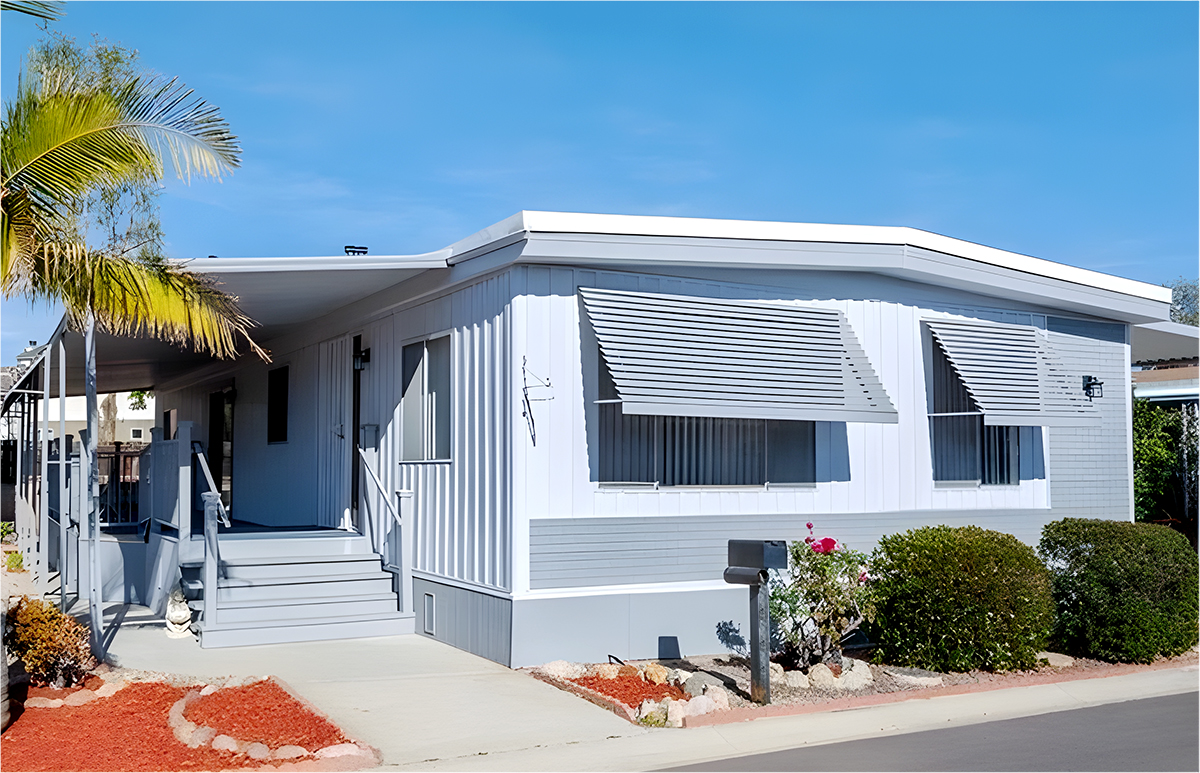
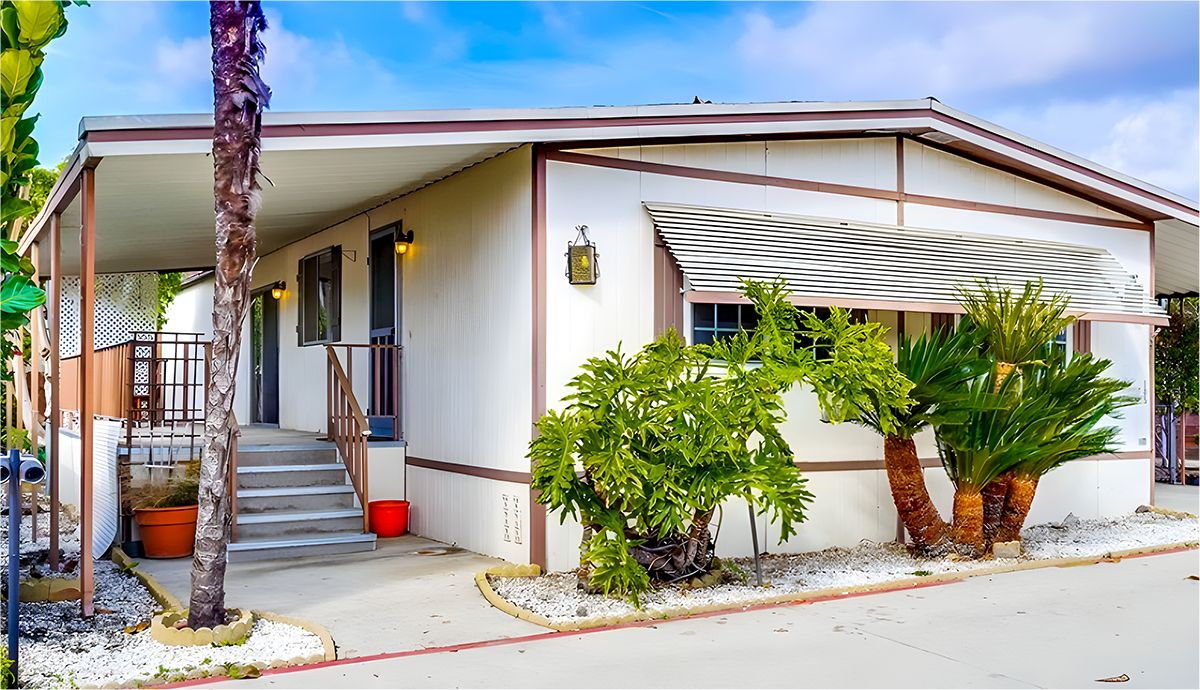
Types of Awnings for Mobile Homes
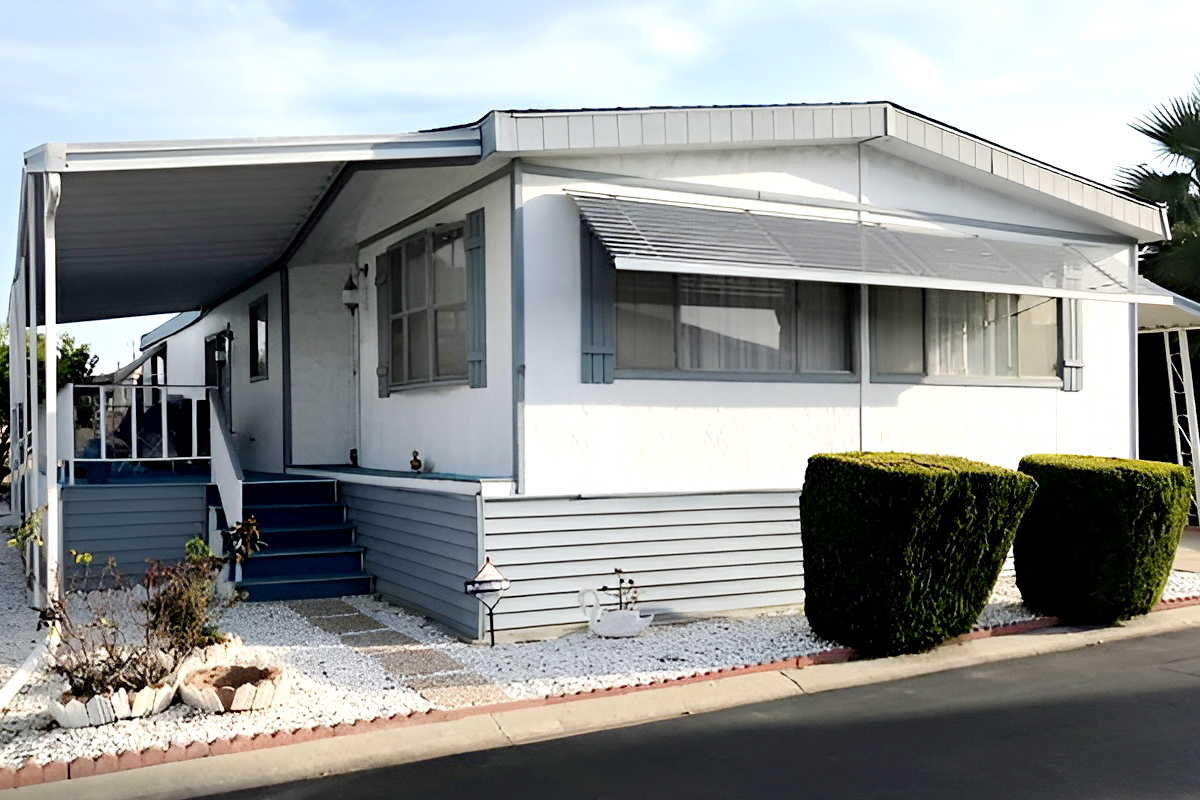
Awnings come in various styles, each with flair and function. Let’s break it down, shall we?
1. Fabric Awnings
First up, fabric awnings. These are the glam ones, friends. Picture vibrant colors, artsy patterns, and a bit of a breeze flowing through. Perfect for adding a splash of personality. But heads up—they’re not the best pick for super windy spots. Fabric can flap and wear out faster than other types.
2. Metal Awnings
Now, let’s talk metal awnings. These are the tough cookies built to last. You get sturdiness and durability, and they’re perfect for rough weather. But metal can heat up. So, if you’re aiming for a cool, shady spot, you might want to keep looking.
3. Retractable Awnings
Ever heard of retractable awnings? These guys are the transformers of the awning world. Need some sun? Roll it back. Too hot? Roll it out. These give you flexibility like no other, but they tend to be pricier. Worth it? You decide.
4. Motorized Awnings
Last but not least, motorized awnings. These are the VIPs. No cranking, no pulling, just press a button, and voila! Perfect if you love convenience but not so great if you’re watching your budget.
Awning Materials
So you’ve got the type of awning down pat. Awesome! But let’s not skip over something equally important—the material. It’s like choosing between silk and cotton; both do the job but in very different ways.
1. Polyester
First in line is polyester. Think of it as an all-weather friend. It’s durable and can handle sun, rain, you name it. But, just like that friend who never changes, it might lack a bit of pizzazz. It’s usually a solid color; no fancy patterns here.
2. Acrylic
Now, acrylic. Ah, the breathable one! Great for those hot summer days when you want some air circulating you. Plus, it’s color-fast, so it won’t fade in the sun—a bit of a show-off.
3. Vinyl
Got your eye on something shiny? Say hello to vinyl. It’s the waterproof superstar of the awning world. Rain just slides right off. But heads up—it can get warm under there, wildly when the sun’s beating down.
4. Aluminum
Last but not least, aluminum. It’s the strong, silent type. Perfect if you’re after something that’ll go the distance. It’s sturdy, weather-resistant, and no-nonsense. There are no flashy colors or patterns, but they are as reliable as they come.
So, what’ll it be? Each material has pros and cons, so consider what you need most. Want durability? Go for aluminum or polyester. Craving style? Acrylic might be your jam. Need to stay dry? Vinyl’s calling your name. Whatever you choose, make sure it fits your vibe. Your awning, your rules!
Features to Consider
You know the types of awnings and the materials they come in. But let’s not put the cart before the horse. We’ve got some features to think about, too. These little extras take your awning from “nice” to “Are you kidding me?!”
1. Size and Dimensions
First up, size. It matters. You don’t want an awning that overshadows your mobile home or is so tiny it barely gives you any shade. Measure your space and pick something that fits just right.
2. Angle
Now, let’s talk angle. Believe it or not, the tilt of your awning can be a game-changer. Aim for an angle that blocks the sun and allows rainwater to slide off easily. Because nobody likes a soggy porch, right?
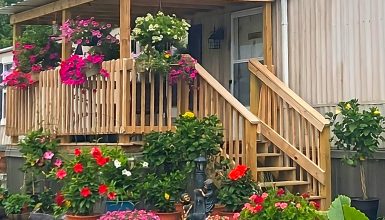
3. Side Panels
Side panels, anyone? These aren’t just for good looks; they add a touch of drama. Side panels give you extra shade and more privacy. So, if you’re sipping morning coffee in your PJs, you won’t be the neighborhood spectacle.
4. Operation Mechanism
And let’s not forget about the operation mechanism. Some awnings you roll out by hand, and that’s just fine. But if you’re all about that easy life, check out motorized options. Just remember, bells and whistles can bump up the price.
In a nutshell, your awning can be as simple or as tricked-out as you like. Just keep in mind what matters most to you. Is it size? Angle? The extras? Nail these features, and you’re on your way to awning nirvana. Get excited!
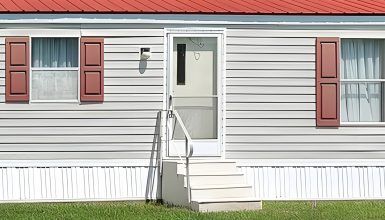
How to Install Awning on Mobile Home
Are you feeling handy? Great, because we’re talking DIY installation. Yep, you can install that awning yourself. So, let’s roll up those sleeves and dig into what you’ll need to make this project a home run.
First thing’s first: tools. You’re going to need a few basics. A measuring tape is a must for obvious reasons. A ladder, because you’ll need the height unless you’re an NBA player. Don’t forget your drill; you’ll need it to secure your awning. And let’s toss in some screws, wall anchors, and a level to keep things, well, level.
Ready for the action? Let’s break it down step-by-step.
1. Measure Twice
Use that measuring tape to mark precisely where the awning will go. This isn’t the time for eyeballing.
2. Drill Holes
Next, drill holes where your awning’s brackets will sit. Ensure they’re even, or you’ll have a wonky awning.
3. Anchor Away
Insert wall anchors into those holes. Your screws will grab onto these, so make sure they’re snug.
4. Get on Up
Time to climb that ladder. Hold your brackets up to the wall and screw them into the anchors. Use that level to double-check that everything is straight.
5. Attach the Awning
With the brackets in place, you can now attach the awning. This might be a two-person job, depending on the size.
6. Secure It
Once the awning is up, secure it with any additional fasteners. Don’t skip this; you don’t want a runaway awning!
7. Roll It Out
Time for the moment of truth. Unroll or extend your awning to make sure it operates smoothly.
There you have it! Seven steps to awning glory. Sure, it takes a bit of sweat equity, but imagine the pride you’ll feel sipping lemonade under that awning, knowing you put it up yourself. So worth it, right?
Maintenance and Upkeep

Okay, you’ve got this awning up; it looks stunning, and now you’re the envy of the block. High five! But let’s keep it real. Even the best awning needs a little TLC to stay fab year-round. So, what’s the scoop on keeping that awning in tip-top shape?
First, let’s talk cleaning. You’ll need a gentle soap and a soft brush for fabric awnings. Give it a good scrub, rinse it off, and let it air dry. Easy, right? Just hose it down for metal and maybe wipe it with a cloth. No drama.
What about those seasonal vibes? Consider retracting or removing your fabric awning in winter, especially if you’re in a snowy area. Snow can be heavy, and you don’t want sagging or tearing. Come spring, check for any wear and tear or loose screws. Nip those issues in the bud, and you’ll be golden.
And don’t forget, little fixes go a long way. Notice a small tear? Patch it up before it becomes a big problem. A squeaky retracting mechanism? A little lubricant might do the trick.
One last pro tip: if you’ve got a retractable or motorized awning, run it in and out a few times a month. Think of it as giving your awning a little exercise to keep it in shape.
Safety Precautions
We’ve covered the fun stuff, but we can’t ignore safety. Think of it as the seatbelt to your awning’s road trip. It’s essential, and it’s not negotiable. So, what are the must-knows to keep you and your awning safe and sound?
First on the list: wind sensors. Some have this genius feature if you’ve splurged on a motorized awning. When the wind kicks up, the sensor automatically retracts the awning. It’s like a built-in bodyguard for your outdoor setup.
Speaking of wind, let’s chat about tie-downs. If you’ve got a manual awning, these are your BFFs on windy days. They anchor the awning to the ground, giving it extra stability. Because of a flying awning? Not on the agenda.
Got kids or curious pets? Keep the awning’s crank handle out of reach when not in use. Trust me; you don’t want Junior or Fido thinking it’s a new toy.
And hey, let’s talk installation again for a second. If you’re doing it yourself, follow all the steps to the letter. Cutting corners could mean a poorly anchored awning, and that’s a safety no-go. When in doubt, get a pro to check your work.
Last but not least, fire safety. Some awning materials are more fire-resistant than others. Keep grills, fire pits, and anything else blazing hot well away from your awning. Safety first, s’mores second.
